How to Add Legs to Any Furniture: A Simple Guide
Want to change your furniture without buying new pieces? Lift it! Adding legs to your furniture can turn a basic cabinet into a standout piece. This simple change makes cleaning easier, looks better, and helps your floors dry.
This guide teaches you how to add legs to any piece. We’ll walk through each step, from picking the right legs to making them fit perfectly. You’ll need basic tools, about $35-50 for supplies, and a few hours.
Don’t worry if you’ve never done this before. We’ll cover everything: choosing legs, marking spots, drilling safely, and fixing common problems. Get ready to see your furniture from a whole new height!
Understanding Your Furniture Materials
1. Solid Wood Base
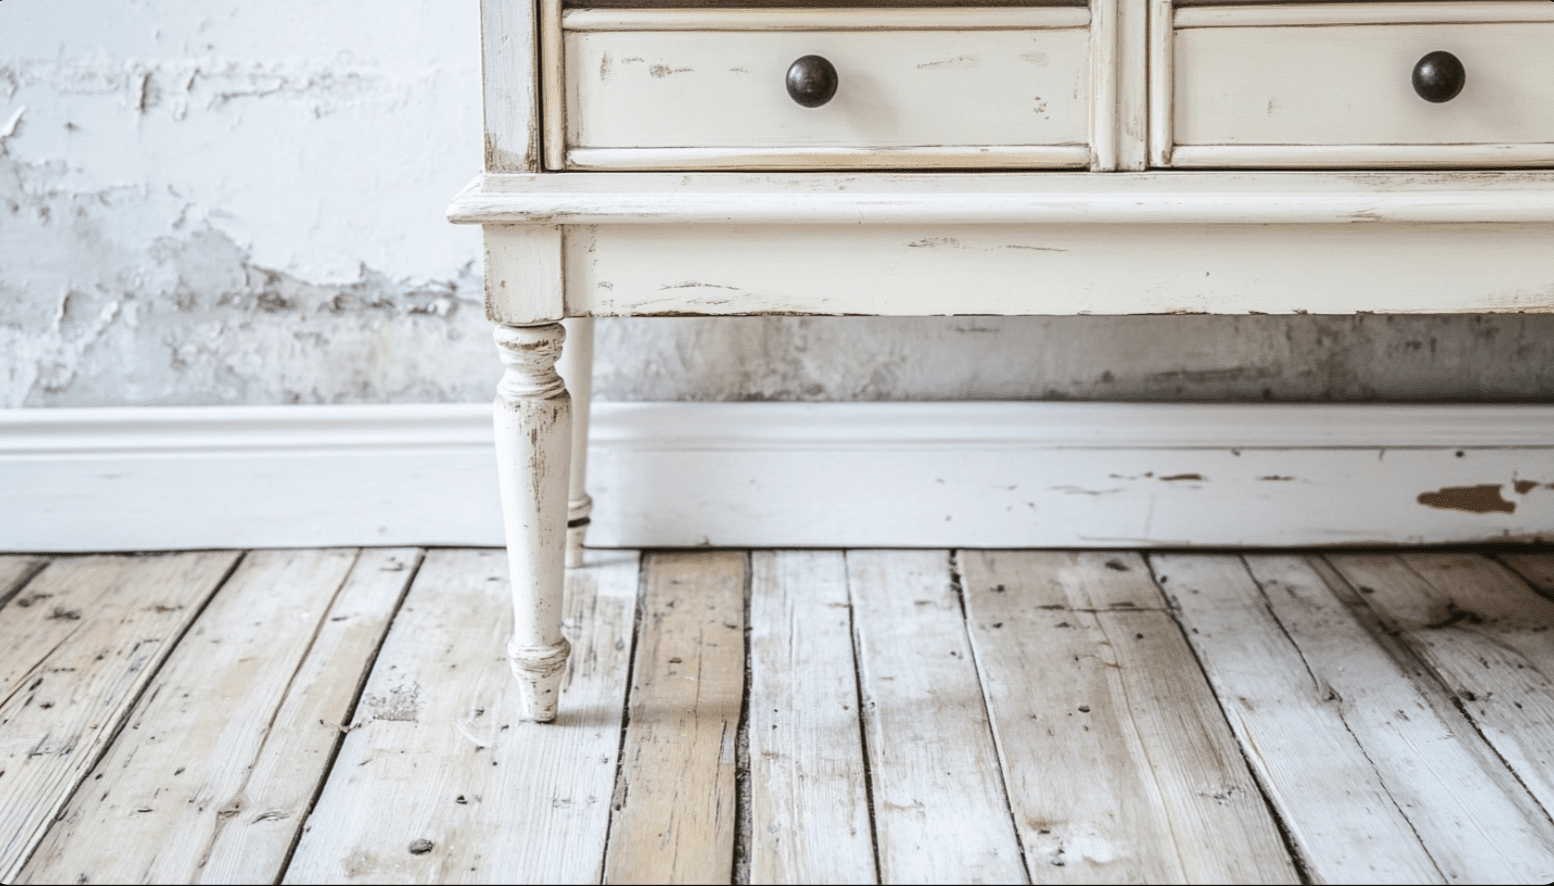
Your furniture’s base material guides how you’ll add legs. Solid wood offers the strongest base. This material lets you drill directly into it. The wood fibers grip the hardware firmly, giving you a stable foundation for your new legs.
2. Particleboard and MDF
These materials need extra care. They’re less dense than solid wood and can break apart. When working with these materials, you’ll need to add support blocks. Think of it as giving your furniture a stronger bottom layer before adding legs.
3. Upholstered Pieces
Upholstered furniture often hides its frame. You’ll need to find the solid frame beneath the fabric. Look for the corners where the frame is strongest. These spots will best support your new legs.
Weight and Stability Factors
Load-Bearing Needs
Consider what you’ll put on your furniture. A nightstand holds less weight than a dresser full of clothes. Pick legs that handle your furniture’s weight and what you’ll store.
Balance Points
Put your furniture on its side. Look at how the weight spreads out. Mark the spots where the legs will give the best support. Most pieces need legs at each corner, but some might need extra support in the middle.
Benefits of Adding Legs to Your Furniture
1. Style Updates and Changes
Fresh Look for Old Pieces
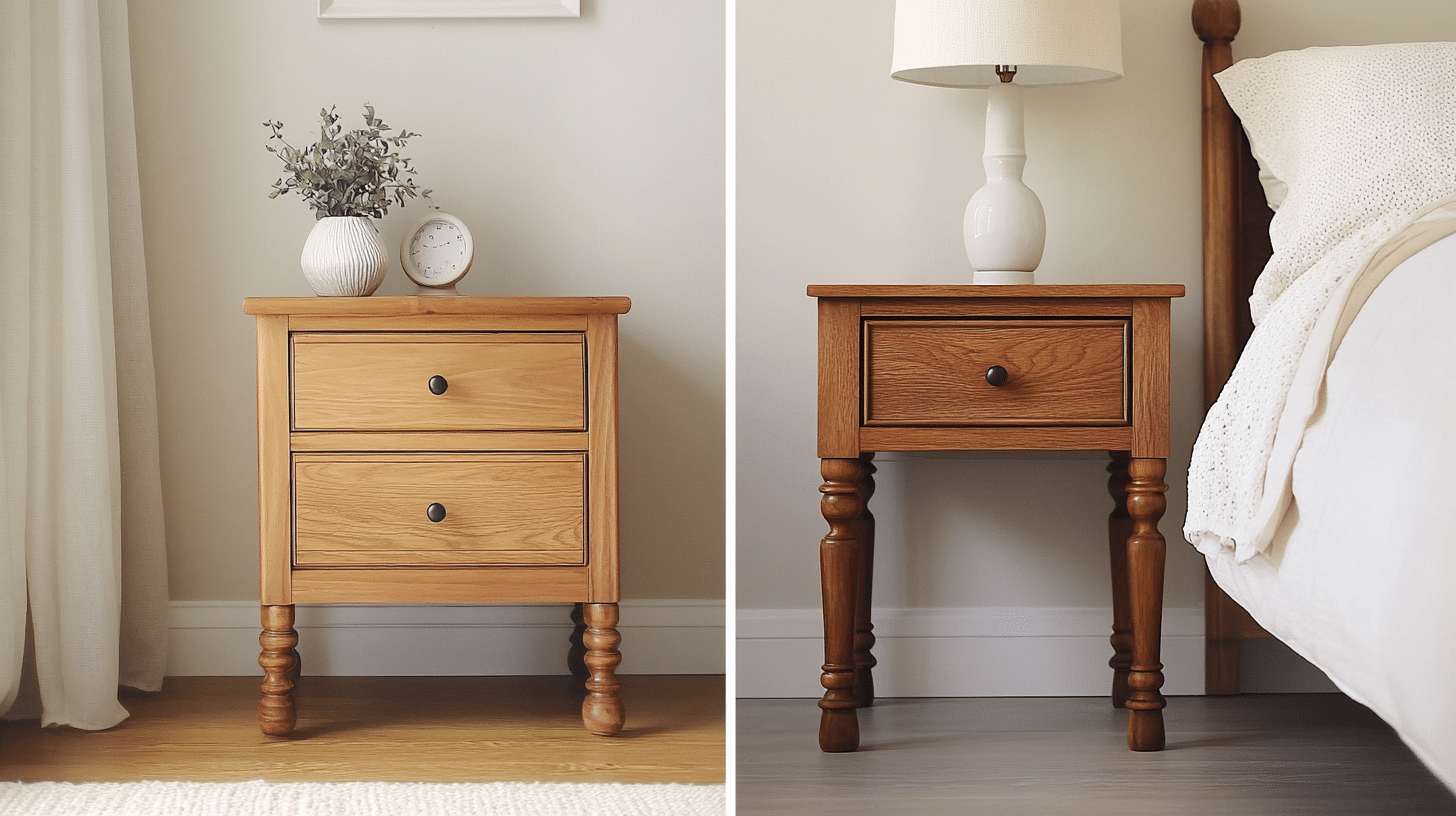
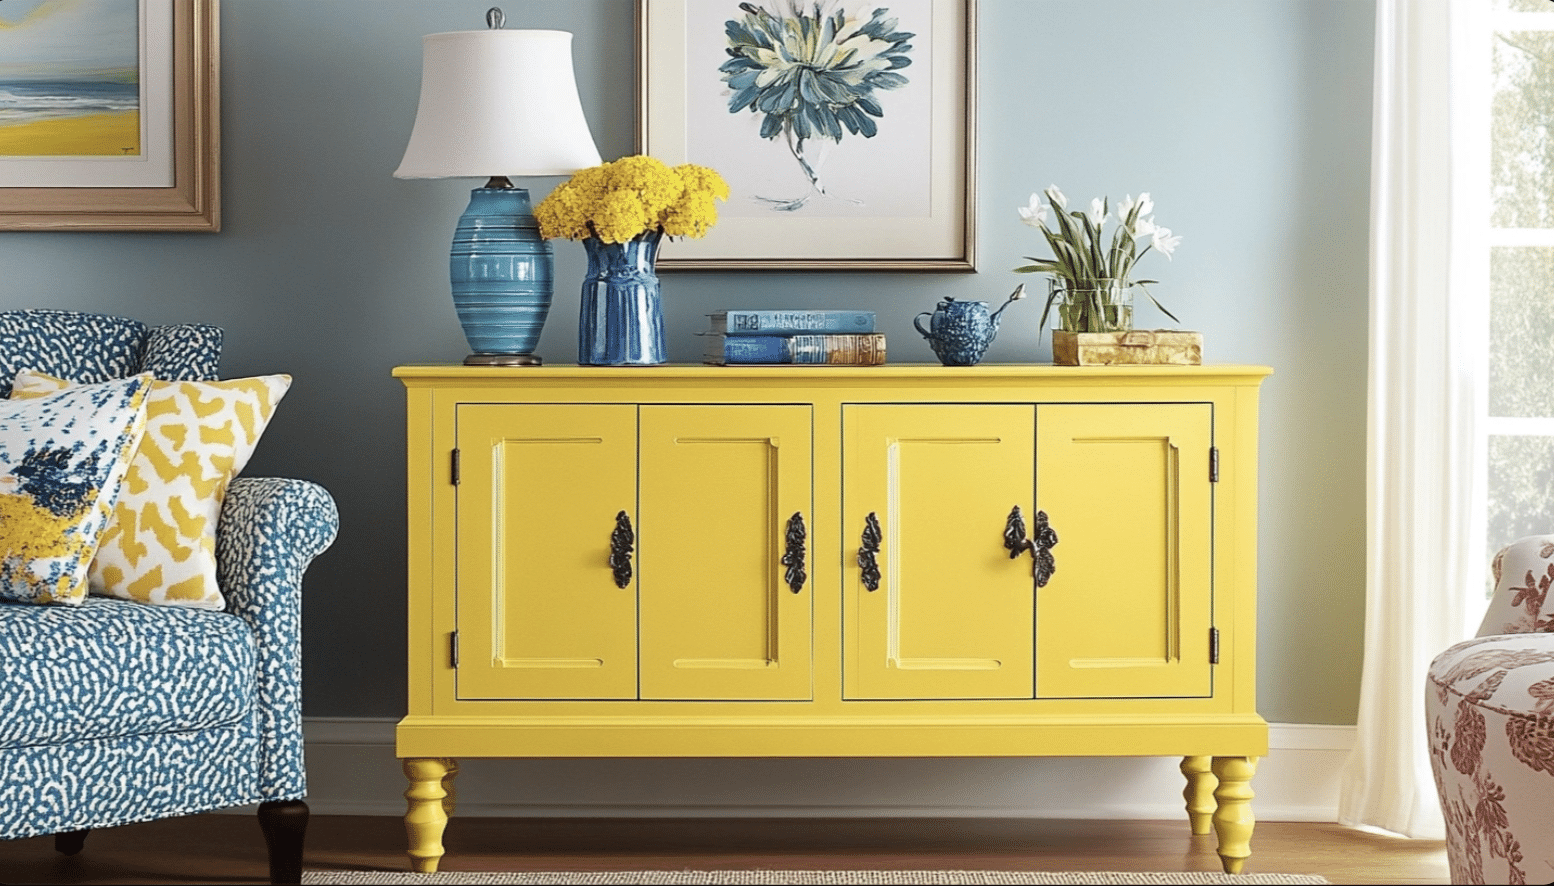
Adding legs can make old furniture look new again. Take a basic cabinet—lift it off the ground with new legs, and it will immediately seem different. Simple changes like this can update the whole feel of a piece.
Style Matching
Legs help furniture fit your room’s style better. Short, round legs work well in simple rooms, while tall, thin legs fit modern spaces. You can pick legs that match other furniture in your room.
2. Better Function
Cleaning Made Simple
Raised furniture makes cleaning easier. You can sweep and mop under pieces that sit on your legs, keeping your floors cleaner and helping your furniture last longer.
Space and Storage
Legs create useful space underneath your furniture. You can store small items or boxes under raised pieces, giving you more room without taking up extra floor space.
3. Protection Benefits
Floor Care
Legs keep furniture off wet floors, which is helpful in damp rooms like bathrooms or basements. Good legs also prevent scratches on floors.
Air Flow
Space under furniture lets air move around better, reducing moisture buildup under heavy pieces. Better airflow helps your furniture and your room stay in good shape.
Base Protection
Legs lift the main part of your furniture away from floor damage. This prevents water, dust, and dirt from touching the bottom of your pieces, keeping your furniture in better condition longer.
4. Room Enhancement
Visual Space
Furniture on legs makes rooms look bigger. Light and air can flow under the pieces, creating a more open feeling in your space.
Easy Moving
When you need to clean or rearrange, legs make moving furniture easier. You can often slide pieces instead of lifting them completely.
Essential Tools and Materials for Adding Furniture Legs
Tools You’ll Need
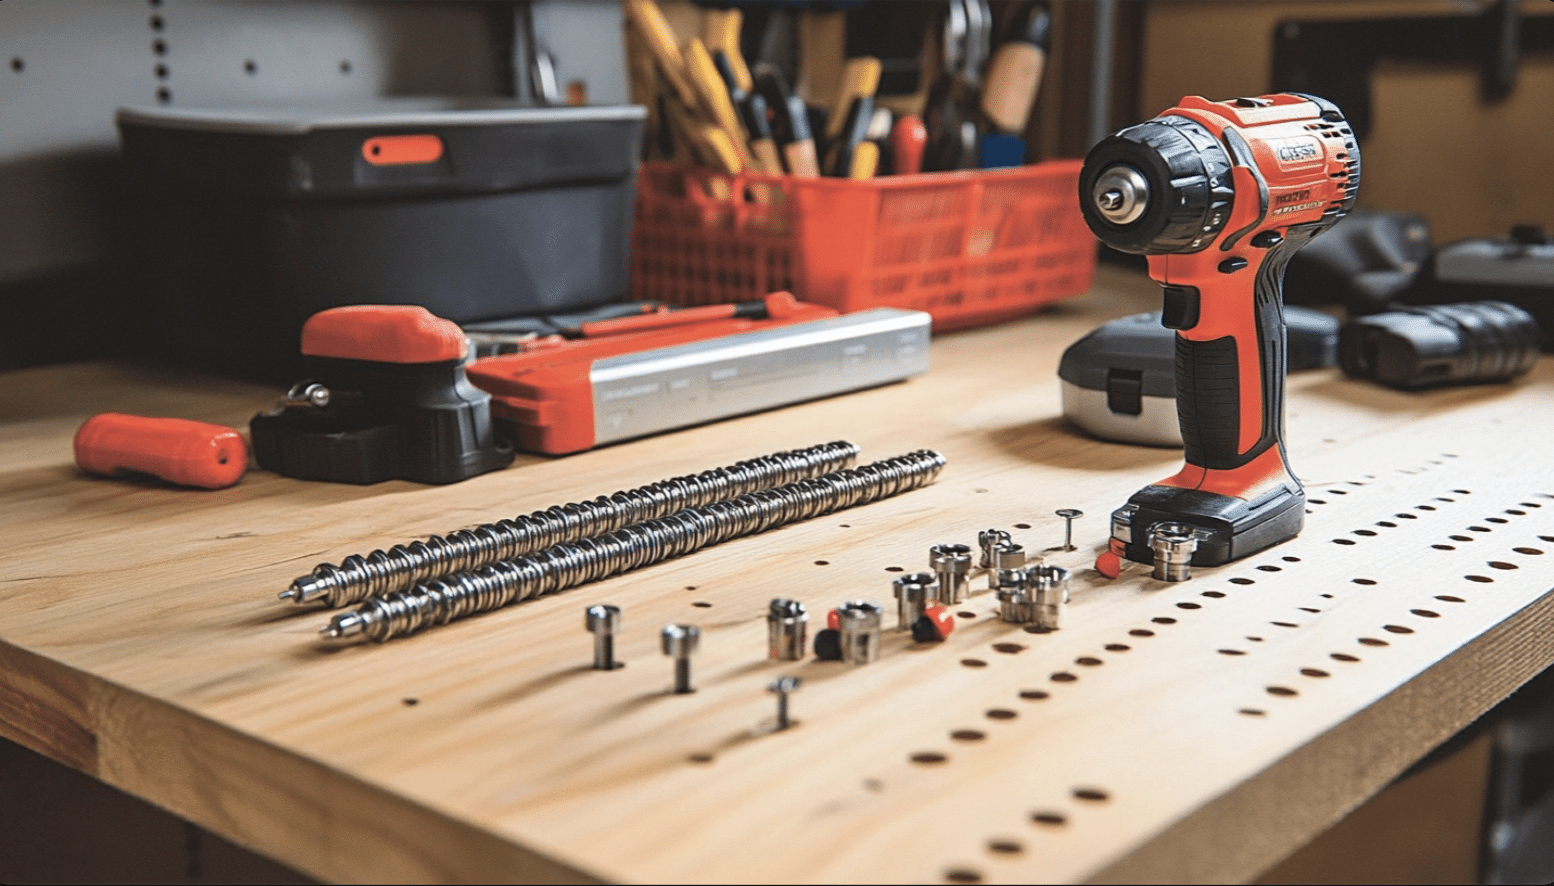
A drill with bits makes the main work easy. Keep these close:
- Measuring tape for exact spots
- Level to keep things straight
- Hammer for T-nuts
- Pencil for marking
- Safety glasses and gloves Remember: match your drill bits to your hardware size.
Basic Materials
Your project needs these items:
- T-nuts (50 cents each)
- Mounting plates
- Wood screws
- Bolt hangers
- Support wood strips
- Wood glue For extra help:
- Drop cloths protect floors
- Clamps hold pieces steady
- Felt pads guard against scratches
Choosing the Right Furniture Legs
Leg Basics
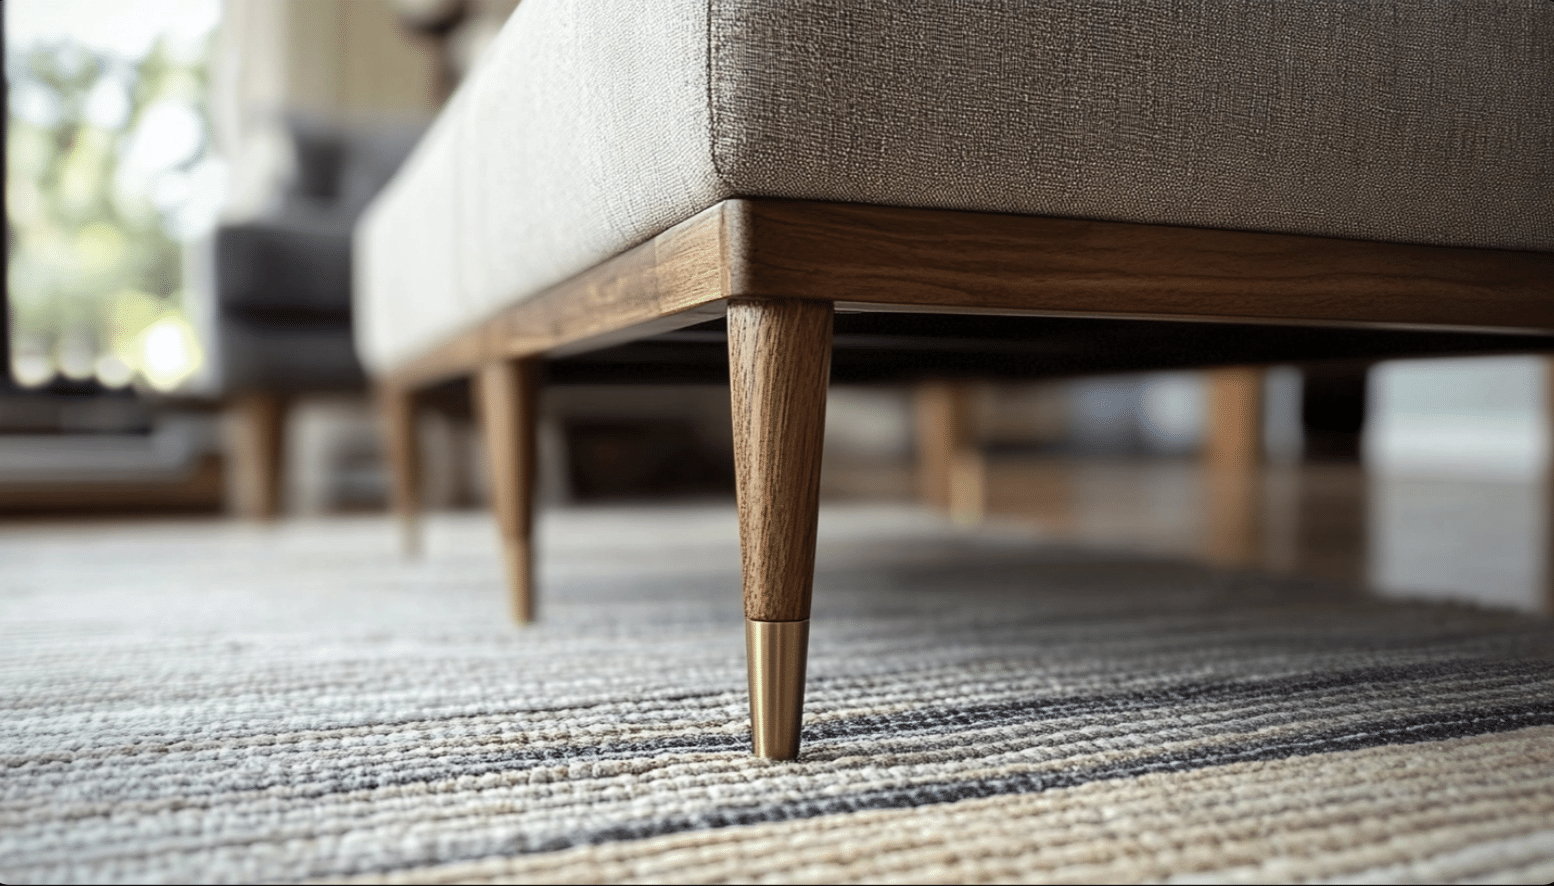
Wood and metal legs work best for most furniture. Wood legs fit classic pieces and cost about $24 for four. Metal legs suit modern items and often cost less. Think about your furniture’s style and weight before picking:
- Wood legs hold more weight
- Metal legs look sleek
- Bun’s feet suit low pieces
- Straight legs work on taller items
Getting the Height Right
Pick legs that make sense for your furniture’s use:
- Nightstands: 4-6 inches high
- Sofas: 6-8 inches high
- Storage pieces: 3-5 inches high.
TIP: Always set legs back half an inch from the edges for safety. Shorter legs work better on heavier pieces. Test the height by measuring with blocks before buying legs.
Preparing Your Furniture for New Legs

1. Check and Clean
Start with a good look at your furniture:
- Turn it upside down
- Clean the bottom surface
- Look for damaged spots
- Remove old hardware. Mark your work spots with a pencil. Keep the marks light so they won’t show later.
2. Making Strong Points
The bottom needs good support. Here’s what to do:
- Find solid spots for legs
- Mark the center points
- Add wood strips if needed
- Check that marks are even
TIP: If your piece has a thin particle board, add a wood strip base first. Use wood glue and screws to attach support pieces.
3. Finding the Right Spots
Put your legs in the best spots:
- Measure from each corner
- Keep legs 1/2 inch from the edges
- Mark all spots the same way
- Test with a level Check twice before you drill. Bad marks mean wobbly furniture.
Attachment Methods for Different Furniture Types
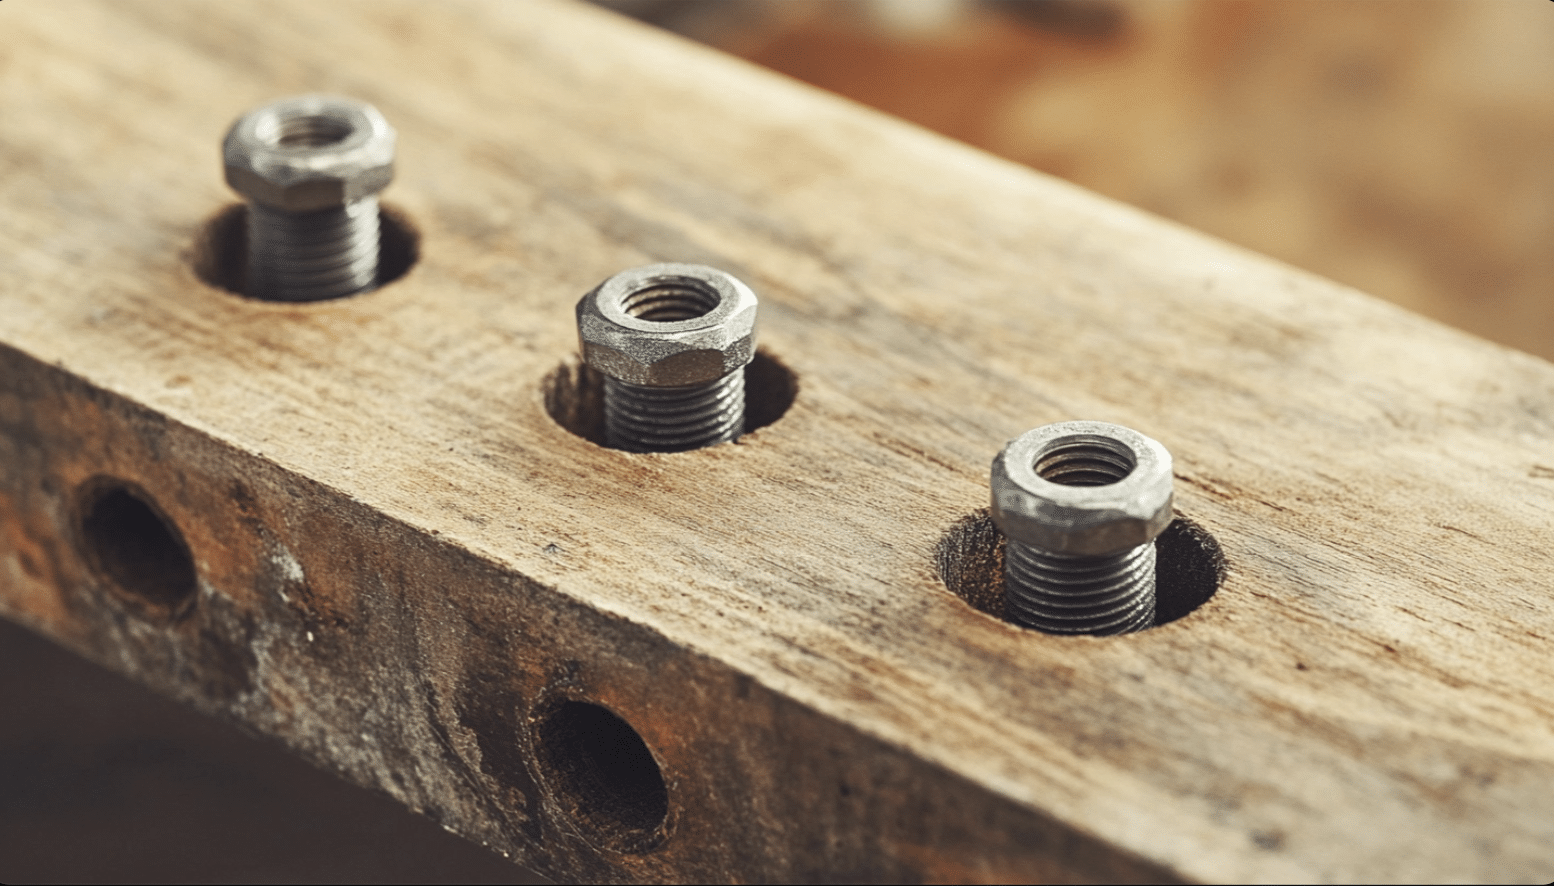
T-Nut Method: Most Common Way
Steps to Install
The T-nut method works for most furniture. Here’s how:
- Drill holes at marked spots
- Tap T-nuts into holes with a hammer
- Line up leg screws with T-nuts
- Turn your legs in until tight
Your holes must match the T-nut size. When done right, this holds strong and stays stable.
Special Cases
Working with Different Materials
Each material needs its approach:
- Solid wood: Direct T-nut install
- Particle board: Add wood base first
- Metal frame: Use mounting plates
- Softwood: Extra support blocks needed
Remember these tips:
- Pre-drill all holes
- Keep screws straight
- Don’t over-tighten
- Test weight before finishing
If the piece feels wobbly, stop and check your work. Bad connections only get worse with time.
Safety Tips and Best Practices

Essential Safety Points
- Test each leg’s strength before full use
- Keep weight spread evenly across legs
- Stop work if the wood shows cracks
- Check measurements twice before drilling
- Never force parts that don’t fit well
- Add felt pads under each leg
- Look for loose fittings monthly
- Fix small issues right away
Daily Care Tips
- Clean dust from leg joints often
- Watch for floor wear marks
- Keep legs dry in wet areas
- Pull gently when moving furniture
- Listen for squeaks or creaks
- Replace worn felt pads
- Tighten legs if they turn loose
- Call experts for big problems
Finishing Touches for Your Furniture
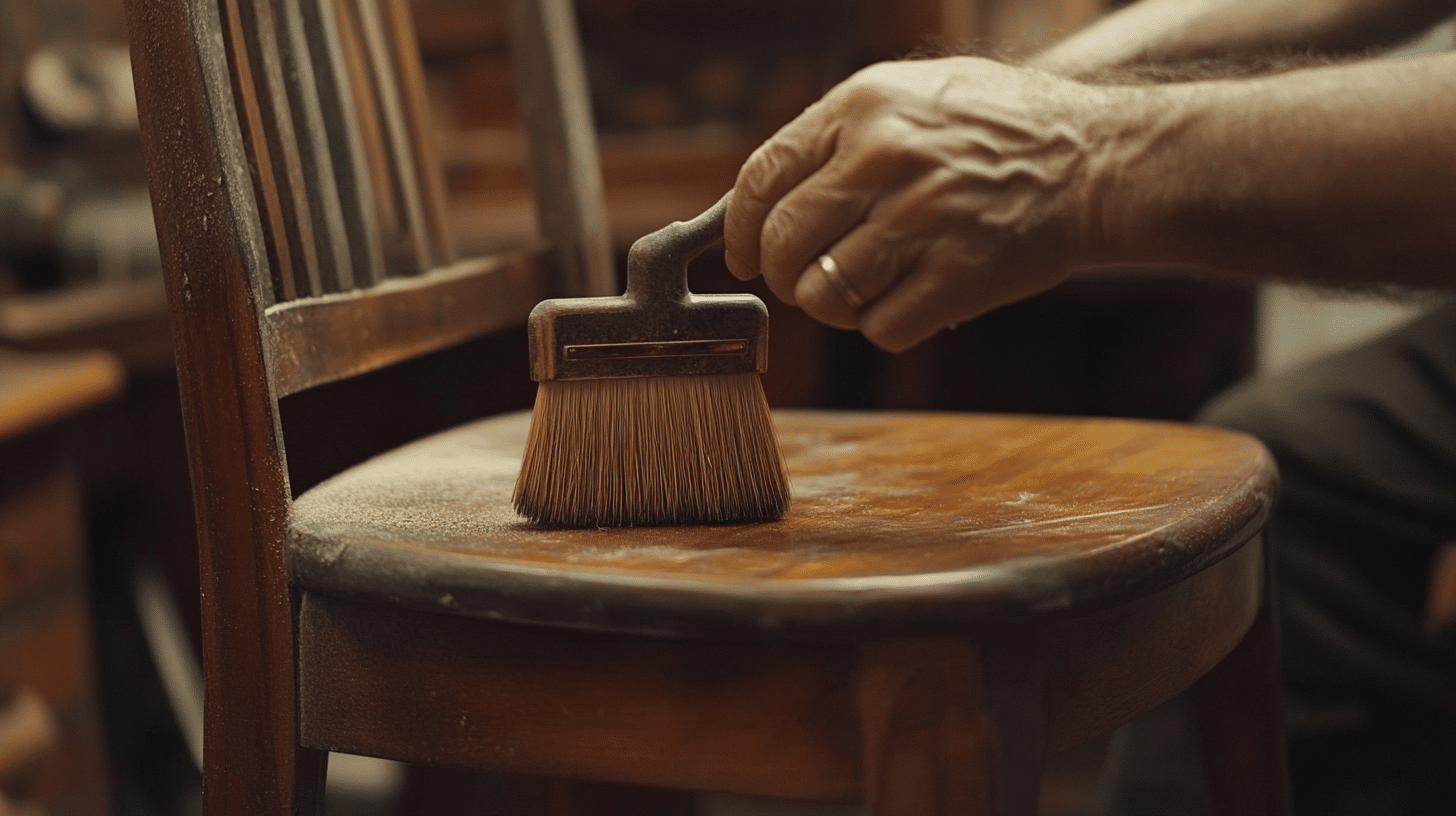
Making It Perfect
- Add paint or stain to match your piece
- Wait 24 hours for the paint to dry fully
- Use a clear coat for extra protection
- Keep colors simple and classic
- Fill any gaps with wood filler
- Sand rough spots until smooth
- Wipe clean with a soft cloth
- Let each coat dry completely
Final Checks
- Test all legs on flat ground
- Push gently from each side
- Look for even gaps under the legs
- Check all screws one last time
- Add floor guards if needed
- Take photos to track any changes
- Keep spare parts in the marked box
- Set reminders for monthly checks
Common Problems and Quick Fixes
1. When Things Go Wrong
No furniture project goes perfectly every time. If your piece wobbles, first check that all legs touch the ground simultaneously.
Put a piece of paper under each leg – they should all grip the paper equally. Often, a wobbly leg means the T-nut isn’t sitting flat, or screws need a simple tighten.
2. Fixing Basic Issues
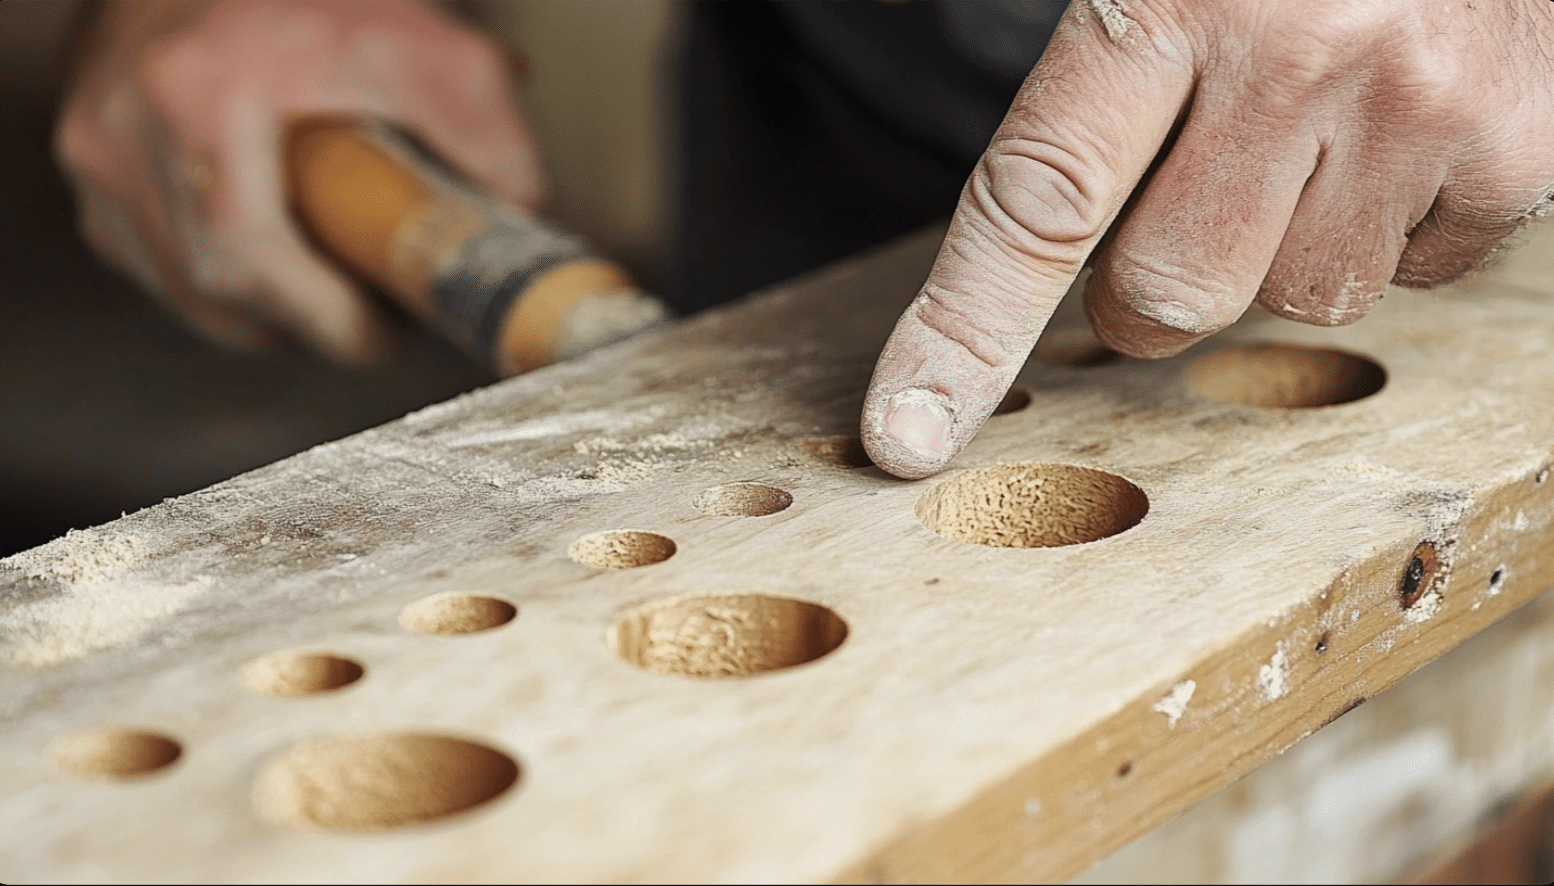
Sometimes, wood splits when you drill. Fill small cracks with wood glue and clamp until dry. For bigger splits, add a wood block behind the crack, glue both parts, and screw them together.
If your legs feel weak, check that you used the right size T-nut and bolt. Loose legs often need a quarter turn to tighten up.
3. Getting Back on Track
Bad measurements can throw off your whole project. If holes don’t line up, fill them with wood putty and start fresh—Mark new spots carefully.
When legs don’t turn straight, back them out and check the T-nut. Clean threads often solve turning problems. If a leg keeps coming loose, add a drop of glue to the threads.
Understanding Costs and Value
Here’s the organized table displaying the costs and value associated with adding legs to furniture:
| CATEGORY | ITEM | COST |
|---|---|---|
| Basic Supply Costs | Set of 4 wooden legs | $20-30 |
| Basic Supply Costs | T-nuts | $2 (50¢ each) |
| Basic Supply Costs | Mounting plates | $12-20 ($3-5 each) |
| Basic Supply Costs | Wood glue | $5-8 |
| Basic Supply Costs | Support wood strips | $5-10 |
| Basic Supply Costs | Basic screws and bolts | $3-5 |
| Tool Investment | Basic drill | $30-45 |
| Tool Investment | Drill bit set | $15-20 |
| Tool Investment | Measuring tape | $5 |
| Tool Investment | Level | $8-10 |
| Tool Investment | Hammer | $10 |
| Tool Investment | Total tool cost | $68-90 |
| Money-Saving Tips | Buying legs in sets | $24 for 4 |
| Money-Saving Tips | Using scrap wood for support | Free (if using scrap) |
| Money-Saving Tips | Borrowing tools from friends | Free (if borrowed) |
| Money-Saving Tips | Getting T-nuts in bulk | $5 for 20 (25¢ each) |
| Money-Saving Tips | Checking thrift stores for spare hardware | Variable |
| Total Project Cost | With owned tools | $35-50 |
| Total Project Cost | With new tools | $100-140 |
This table summarizes the costs of adding legs to furniture, from basic supplies to tools and money-saving opportunities, helping you plan and budget your DIY project effectively.
Lesser Known Facts About Furniture Legs

-
Ancient Origins: The use of decorative furniture legs dates back to ancient Egypt, where they were often carved to resemble animal legs, symbolizing strength and stability.
-
Style Indicator: The style of a furniture leg can reveal much about the piece’s age and origin. For example, cabriole legs are a hallmark of 18th-century French and American Queen Anne furniture.
-
Versatility in Design: Modern furniture legs come in various materials, including wood, metal, acrylic, and even glass, showcasing the evolution of furniture design technology and aesthetics.
-
Adjustable Innovations: Adjustable legs, a recent innovation in furniture design, allow for the height of a piece to be altered with ease, accommodating different uses and ergonomic comfort.
-
Preservation Tool: Adding legs to furniture enhances its look and serves a practical purpose by upgrading the base off damp floors, significantly prolonging the piece’s lifespan.
Video Tutorial
For More Details, Check out This Detailed Video by Glenda Chavez.
Conclusion
Adding legs to your furniture might initially seem hard, but you have this! You can change how your pieces look and work with basic tools for $35-50 and a free afternoon.
Take your time, follow each step, and watch your furniture rise to new heights.
Start with a simple piece, like a small side table or nightstand. Check your measurements twice, prepare your tools, and work quickly.
Share a photo of your finished piece in the comments below. Let us know if you hit any bumps – we’re here to help! Have questions before you start? Drop them in the comments. Your next furniture project is waiting for you.
Frequently Asked Questions (FAQs)
What Can I Use for Legs on Furniture?
You can use wood, metal, acrylic, or custom-designed legs. Unique alternatives include salvaged items like tree branches or vintage pieces.
Are There Specific Brackets Needed for Angled Legs?
Yes, angled mounting plates are required to attach angled legs to ensure stability and proper alignment.
What’s the Best Way to Attach Legs to Heavy Furniture with Drawers?
Use heavy-duty brackets and ensure even weight distribution. Reinforce the base if necessary to support the added weight.

