4-Step Guide to Staining Butcher Block
That gorgeous slab of wood in your kitchen isn’t just a countertop—it’s an opportunity waiting to happen.
Last month, I transformed a pale maple butcher block into a rich mahogany dream that made my client gasp.
The week before, we gave a tired oak surface new life, matching it perfectly to century-old ceiling beams.
What most people don’t tell you about butcher block is that it’s incredibly forgiving. Each stain attempt becomes part of the piece, like rings in a tree telling its story.
But before you grab that can of stain, let me share what 15 years of butcher block transformation have taught me—the triumphs, the disasters, and the perfect techniques that emerged from both.
Why This Matters?
Walk into any kitchen store, and you’ll hear the same tired advice about keeping butcher block “natural.”
But what if natural isn’t what your space needs? What if that perfect kitchen you’ve imagined requires something different?
I’ve seen butcher blocks transform from basic utility to stunning centerpieces. I’ve watched clients fall in love with their kitchens again because we dared to think beyond traditional.
Let’s explore how you can safely make your butcher block truly yours without compromising its function or durability.
Would you like me to continue with specific staining techniques and considerations?
What Makes Butcher Block Special
Think of butcher block as nature’s answer to modern countertops—solid pieces of hardwood fused together to create surfaces that work as hard as they look beautiful.
Unlike a slab of granite or engineered stone, butcher block lives and breathes with your kitchen.
At its core, butcher block starts with carefully selected hardwood pieces.
These strips are arranged in specific patterns—some lined up like soldiers at attention (edge-grain), others standing on end like tiny skyscrapers (end-grain), or laid flat to show off their best patterns (face-grain).
Under intense pressure and with food-safe adhesives, these pieces become one solid surface ready to handle everything from Sunday meal prep to holiday feast preparations.
You’ll most commonly find butcher block crafted from hard maple – the traditional choice proven in professional kitchens for centuries.
But don’t overlook options like oak, walnut, or cherry, each bringing character and color to your space.
Essential Materials Checklist For Staining Butcher Block
Before starting any butcher block project, proper preparation prevents frustrating pauses mid-process. Your workspace needs:
1. Safety Equipment
The day I skipped wearing a respirator taught me a valuable lesson about safety. Your kit should include:
- Professional respirator with VOC filters
- Chemical-resistant gloves (not standard latex)
- Safety glasses with side shields
- Old clothes or coveralls
- Drop cloths for extensive floor protection
2. Surface Preparation Tools
Think of these as your foundation tools – skimp here, and everything above suffers:
- Orbital sander with dust collection
- Sandpaper progression (80, 120, 150, 180, 220 grits)
- Tack cloths for dust removal
- Clean cotton rags (not polyester – it can melt)
- Mineral spirits for cleaning
- Pre-stain wood conditioner
3. Staining Equipment
Quality tools make application smoother and results more professional:
- Natural bristle brushes for oil-based products
- Foam brushes for water-based applications
- Clean glass jars for decanting
- Stirring sticks for proper mixing
- Application rags (lint-free)
- Paint strainer for removing debris
Step-by-Step Guide to Staining Your Butcher Block
Step 1: Workspace Preparation
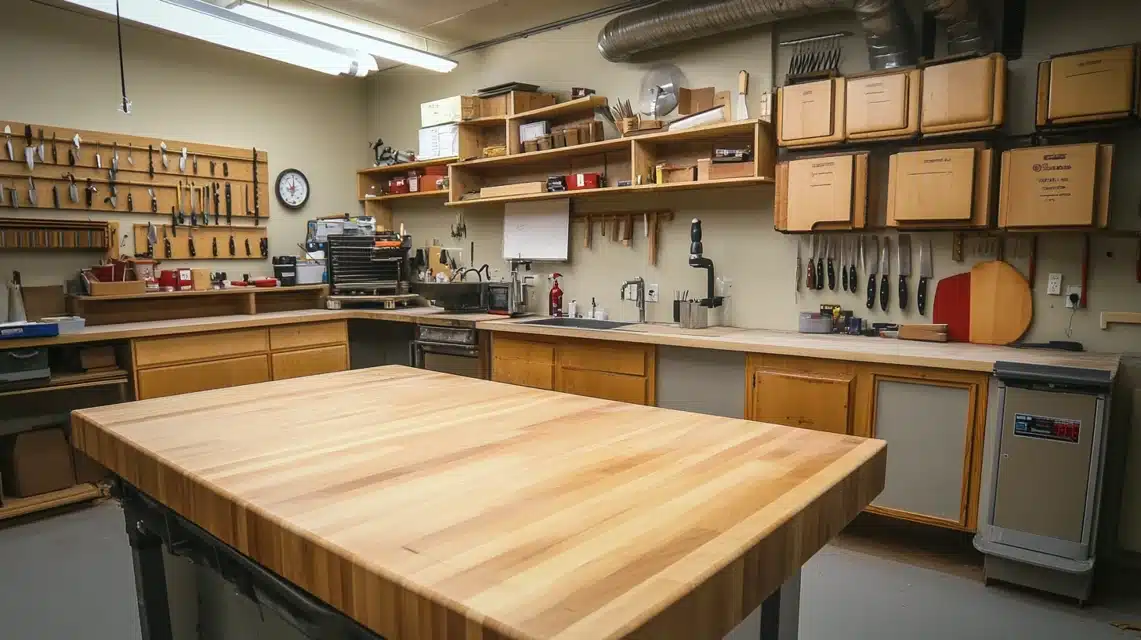
Your environment affects your results dramatically. I learned this when dust from another room ruined a perfect finish:
Create a clean, well-ventilated space with consistent temperature (65-75°F ideal).
Cover all surrounding surfaces with heavy kraft paper or plastic sheeting. Ensure adequate lighting from multiple angles to spot inconsistencies.
Step 2: Initial Application
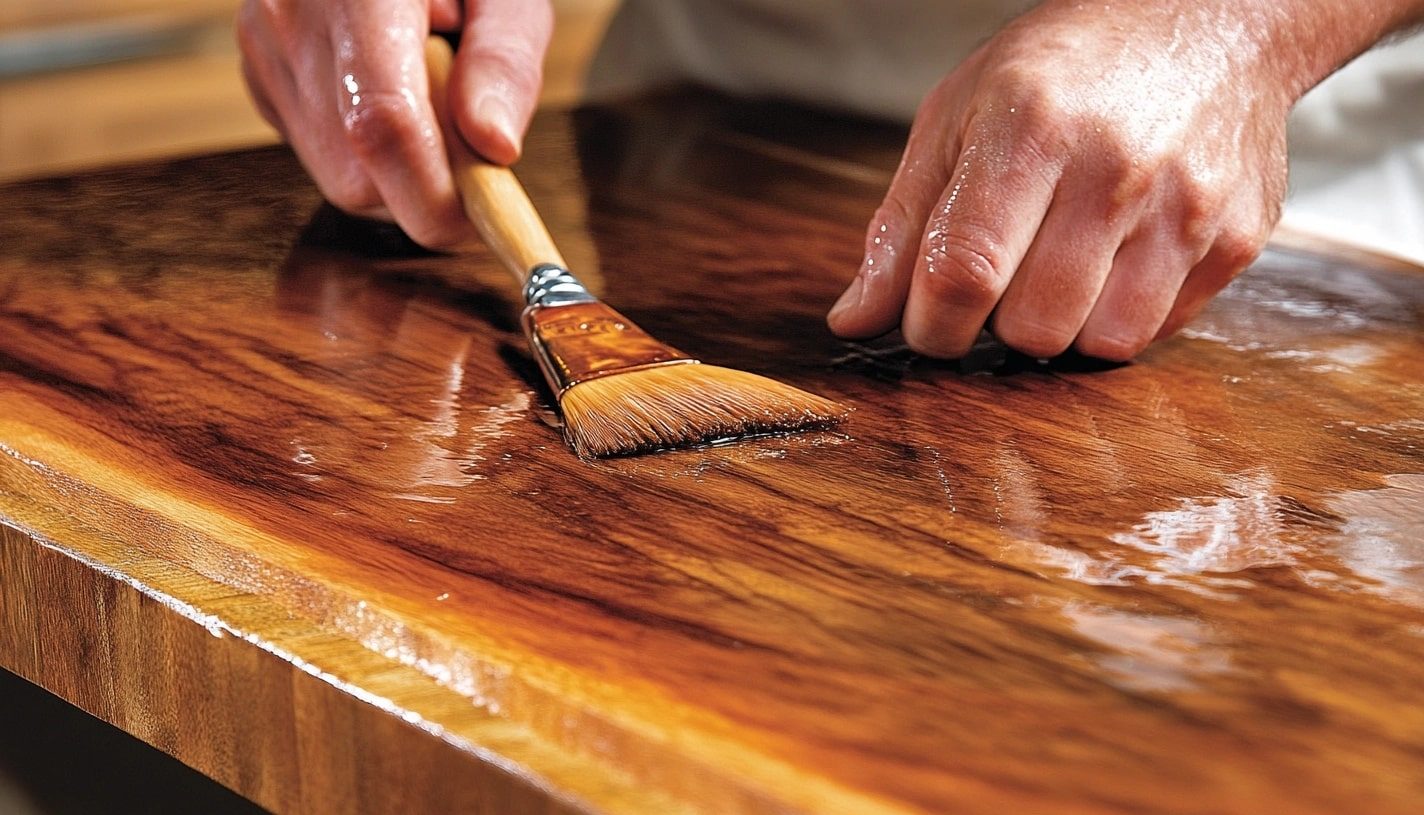
The first coat sets the tone for your entire project:
Begin in the wood grain’s direction, working in manageable 2-3 foot sections. Apply stain generously, but don’t let it pool. Keep a “wet edge” to prevent lap marks.
Work quickly but methodically – rushing causes streaks.
After application, wait 5-15 minutes (depending on desired darkness). Wipe excess with clean cloths, always following the grain.
Remember: multiple light coats create better results than one heavy coat.
Step 3: Building Color Depth
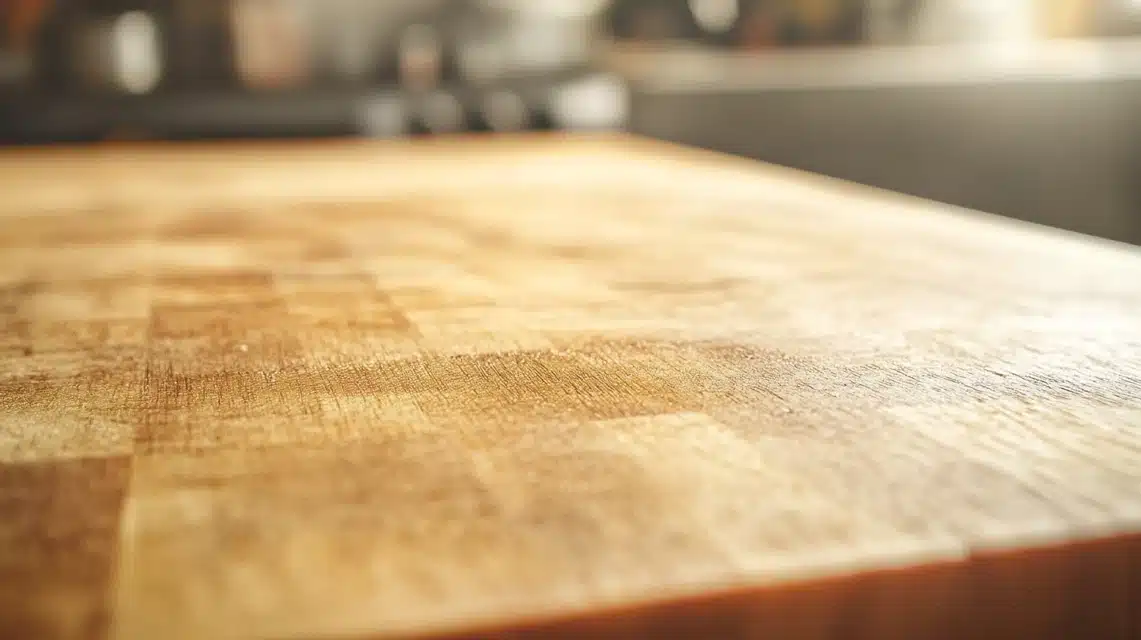
Patience between coats prevents disaster:
Allow 4-6 hours minimum between coats (overnight is better) if the grain rises, lightly sand with 320-grit paper.
Clean thoroughly with a tack cloth before the next coat.
For deeper color, apply a second coat following the same process. For optimal results, most butcher blocks need 2-3 coats.
Step 4: Final Steps and Curing
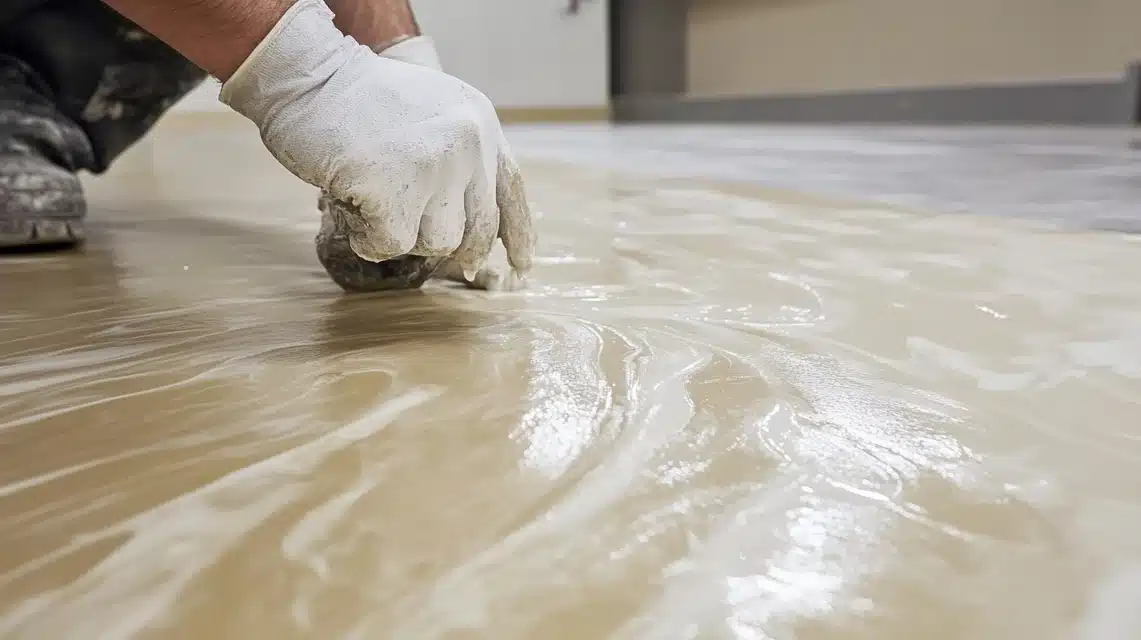
Proper curing makes the difference between good and great results:
After the final coat, allow 24-48 hours before light use. Full cure takes 7-10 days. During this time:
- Avoid water contact
- No heavy objects
- Keep temperature steady
- Resist testing hardness
Pro Tips From Experience
- Test the complete process on a scrap piece first
- Document exact mixing ratios and timing
- Photograph each stage for reference
- Keep detailed notes on temperature/humidity
- Save leftover stains for future touch-ups
Troubleshooting Common Issues
Sometimes, problems arise despite perfect preparation. Here’s how to handle them:
- Blotchy areas: Sand back, apply additional conditioner
- Uneven color: Light sand and additional coat
- Sticky surface: Insufficient wiping, needs longer cure
- Dull spots: Usually dust contamination, requires resanding
Why Choose Butcher Block?
1. Natural Benefits
- Naturally, antibacterial properties, when properly maintained
- Knife-friendly surface that won’t dull your favorite blades
- Self-healing properties that help minor cuts and scratches blend over time
- It brings natural warmth and character to any kitchen design
2. Practical Advantages
- Easy to clean and maintain with simple household products
- It can be refinished multiple times, unlike synthetic materials
- Quieter than stone or stainless steel during food prep
- Usually more affordable than high-end stone countertops
3. Design Flexibility
- Available in multiple wood species for different looks
- It can be stained to match any kitchen color scheme
- Ages beautifully, developing a rich patina over time
- Works in both modern and traditional kitchen designs
Can You Stain Your Butcher Block?
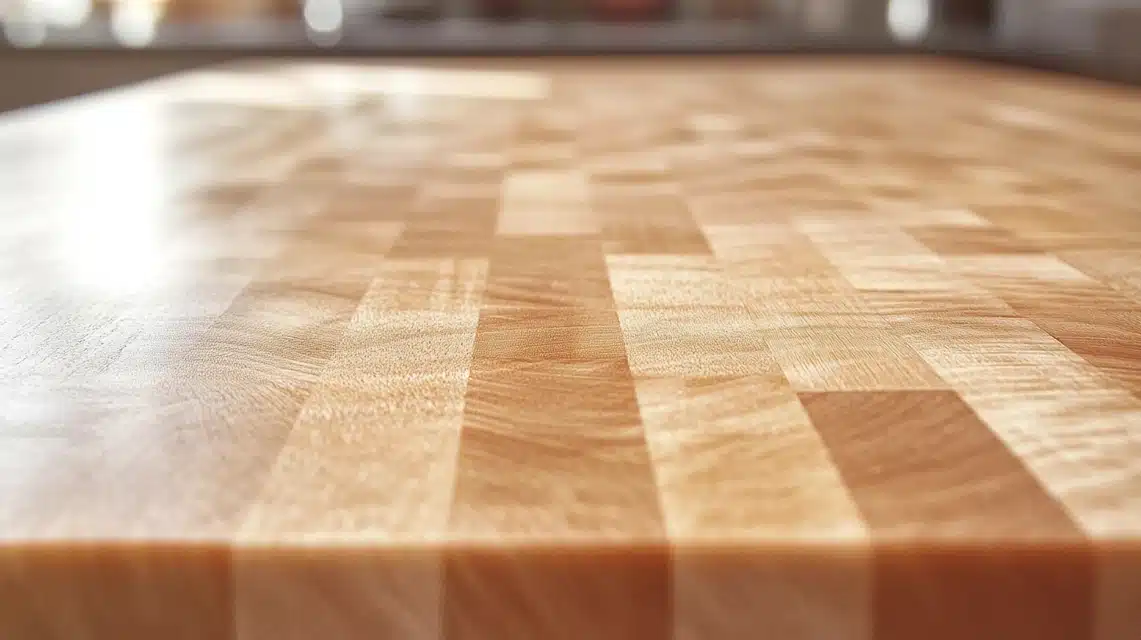
Staining butcher block is like giving wood a color makeover while letting its natural beauty shine.
The right approach enhances grain patterns while achieving your desired shade.
The process requires careful preparation and food-safe products, but the results can dramatically transform your space.
| Consideration | Details | Impact on Decision |
|---|---|---|
| Wood Type | Maple, Oak, Cherry, Birch | Dense woods like maple need longer staining time |
| Current Finish | Raw, Sealed, Previously Stained | It may require stripping or sanding first |
| Usage Plans | Food Prep vs. Decorative | Determines the type of finish needed |
| Location | Kitchen Island, Countertop, Bar | It affects wear level and finish choice |
Think of your butcher block’s daily life – will it see heavy chopping? Regular water exposure? These factors influence your staining choices.
Some blocks serve as prep surfaces, others as dining or display areas. Your block’s purpose should guide your finishing decisions.
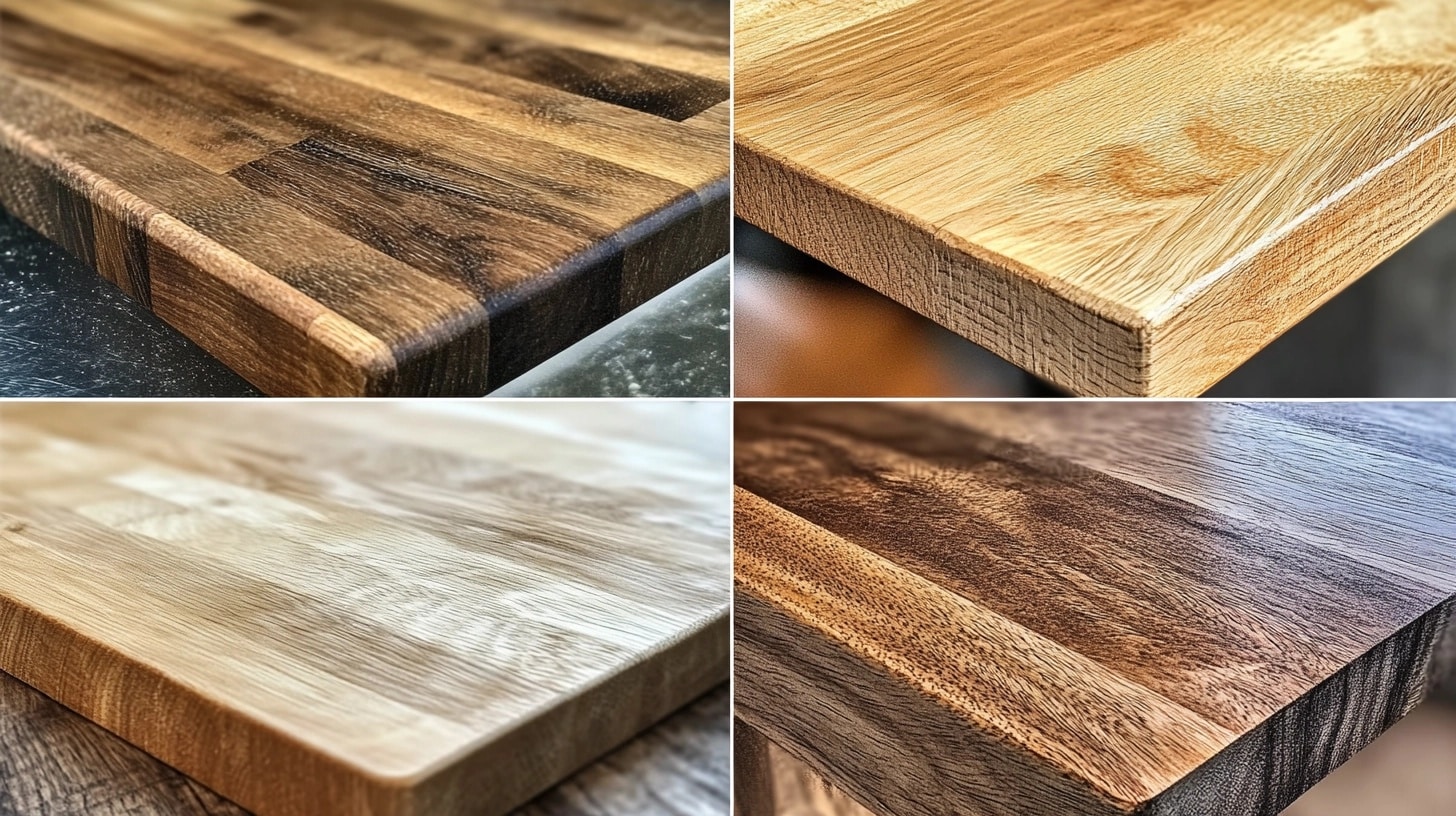
Every wood species accepts stains differently. Light woods like maple offer a blank canvas but sometimes stain unevenly.
Oak’s open grain creates deeper color variations. Cherry might need minimal staining as it darkens naturally with age.
Pros and Cons of Staining Butcher Block
Let me share how understanding these pros and cons helped one of my clients make the right choice for their kitchen island. After carefully considering each aspect, they made an informed decision that matched their lifestyle and needs.
| Category | PROS | CONS |
|---|---|---|
| Aesthetics |
• Custom color matching |
• Possible uneven coloring • Masks natural wood beauty • Can look artificial |
| Protection | • Better water resistance • Reduced staining • UV damage protection |
• May need frequent resealing • Surface can chip • Harder to spot-repair |
| Durability | • Added surface strength • Better scratch resistance • Longer lifespan |
• Less forgiving than raw wood • Cannot easily sand out damage • Surface can wear unevenly |
| Food Safety | • Sealed against bacteria • Easier sanitization • Less absorption |
• Limited food-safe finishes • No direct food prep • Chemical concerns |
| Maintenance | • Less daily care needed • Easier initial cleaning • Better spill resistance |
• Complex refinishing process • Regular resealing required • Special cleaners needed |
Choosing Your Perfect Butcher Block Finish
Let me share what happened when I experimented with different stains on a single piece of maple butcher block.
Each section told a different story, teaching me lessons about absorption, color depth, and lasting beauty.
1. Understanding Stain Types
Oil-based stains penetrate deep into the wood fibers, creating a rich, lasting color that enhances natural grain patterns.
They take longer to dry but offer unmatched depth. I’ve found them particularly forgiving on tricky woods like maple, where even coloring can be challenging.
Water-based options offer modern convenience, lower VOCs, and faster drying times. They’re ideal for kitchens where quick turnaround is important.
These stains excel at creating contemporary colors like greys and whitewashes, though they might raise the grain initially.
Gel stains changed my approach to vertical surfaces and end grains. Their thick consistency prevents drips and allows better control over color intensity.
They are the perfect middle ground between paint and traditional stain.
2. Mastering Color Selection
Testing becomes your best friend here. I always create a “sample board” from scrap pieces of matching butcher blocks.
Each test tells you something valuable about how your specific wood will accept color.
To achieve grey tones, I’ve learned to start with a base that counteracts the wood’s natural warmth.
Sometimes, this means using a green-tinted pre-stain on maple or purple tones on oak. It sounds counterintuitive, but these undertones create naturally beautiful greys.
Remember that wood species dramatically affect the final color. A “Dark Walnut” stain looks entirely different on maple than oak. Always test on your exact wood type.
3. Food-Safe Finishing Solutions
The final protective layer matters most for food safety and longevity. Pure mineral oil offers the most natural solution – it’s completely food-safe but requires regular reapplication.
I recommend starting with weekly applications and then monthly as the wood becomes saturated.
Beeswax blended with mineral oil creates a longer-lasting finish. This combination provides better water resistance while maintaining food safety.
It’s particularly effective in areas that see frequent water exposure.
Some modern food-safe sealants offer remarkable durability for maximum protection. Products like Waterlox Original or Food Grade Polyurethane create hard, water-resistant surfaces while meeting FDA standards for food contact.
These finishes significantly reduce maintenance needs but require proper curing time.
Let me share my process, which has developed over hundreds of butcher block transformations.
This comprehensive guide ensures beautiful, lasting results whether you’re tackling your first project or your fifteenth.
Final Thoughts
After years of transforming butcher blocks, I’ve learned that successful staining combines art with science. Your journey from natural wood to custom finish should enhance, not hide, the material’s inherent beauty.
Remember that each butcher block tells its own story through grain patterns and character marks. Staining adds another chapter to this story, but shouldn’t rewrite it completely.
Start with proper preparation, choose materials thoughtfully, and take time to test your process. The extra hours spent in preparation often save days of corrections later.
Most importantly, consider your block’s primary purpose. A purely decorative surface allows for different finishing choices than one used for food preparation. Let function guide your decisions while style informs your choices.
Frequently Asked Questions
Can you stain butcher block without sanding?
While possible using gel stains or specialized no-sand products, I strongly advise against skipping sanding. From experience, properly sanded surfaces accept stain more evenly and create longer-lasting finishes. Think of sanding like preparing soil for planting – proper preparation determines your results. If time constraints exist, consider professional services rather than shortcuts.
Is there a food-safe stain?
Yes, several manufacturers produce food-safe stains specifically for butcher block. Look for products with FDA approval for food contact surfaces. Pure pigments combined with mineral oil offer the safest option. Water-based stains, once fully cured (typically 30 days), also provide food-safe options. Always verify manufacturer specifications and certification.
How to achieve a specific color like grey?
Creating perfect grey tones requires understanding wood undertones. Maple, for example, often needs a green-based pre-stain to neutralize natural warmth. Start with lighter applications – you can always go darker. Consider:
- Testing multiple grey stains on scrap pieces
- Using white wash techniques for lighter greys
- Layering colors to achieve desired tone
- Documenting successful combinations

