14 Best White Paints for Trim and Baseboards Finish
You know that feeling when you stare at white paint samples for your trim, and they all look the same? I’ve been there too.
Getting the right white for baseboards and trim is harder than it seems—too bright and stand out like a sore thumb; too dull, and they fade into the walls.
I’m here to make your choice easier.
After testing numerous options and painting countless feet of trim, I’ve found the perfect white paints to make your woodwork look clean and fresh.
In this guide, I’ll discuss my top 14 white paint picks for trim and baseboards, with real-life examples and expert tips for a flawless finish.
Tips for Choosing the Right White Paint
Picking the perfect white paint for your trim doesn’t have to be confusing. Here’s what I look for when selecting white paint for my clients:
1. Room Lighting Matters
How your room catches light plays a big part in how white paint looks on your trim. In my experience, south-facing rooms are the easiest to work with.
The natural light stays steady throughout the day, making pure whites shine beautifully.
But I suggest warmer whites if you’re dealing with a north-facing room. These help balance out the cool light that comes through your windows.
For east or west-facing rooms, I always tell my clients to be extra careful – the light shifts a lot during the day, so what looks great in the morning might not work in the afternoon.
2. Consider Your Wall Colors
I’ve learned that your wall color can make or break your trim paint choice. When working with dark walls, bright, clean whites create beautiful, clear lines that frame your space perfectly.
If you have light-colored walls, I recommend looking at whites with similar undertones—this creates a smooth, pulled-together look.
The good news is that you’ve got more freedom if you have neutral walls. Most white shades will work well, giving you plenty of options.
3. Match Your Style
Your home’s style should guide your white paint choice. I love using clean, pure whites in modern homes.
They create sharp, clear lines that fit the style. For traditional spaces, I often reach for creamy whites. They add just the right amount of warmth without looking yellow.
If you’re going for a farmhouse look, try soft whites with gray undertones. They give the perfect lived-in feel without looking dated.
Pro Testing Tips for White Paints
Here’s my tried-and-true method for testing white paints: Paint sample paper strips. I like this better than painting directly on walls because you can move them around.
Take those strips and look at them in different spots throughout your space.
Check them in the morning, at noon, and in the evening—you might be surprised at how different they look.
Place them right next to your wall colors, too. And don’t forget to check under both natural and artificial light. This extra step has saved me from many paint mistakes!
Which Paint Finish Is Perfect for You?
| Finish Type | Appearance | Durability | Best Use |
|---|---|---|---|
| Matte | Non-reflective, smooth | Low durability, prone to scuffs | Rarely used on trim; suitable for a rustic look |
| Satin | Low sheen, soft finish | Moderate durability | Good for low-traffic areas, subtle elegance |
| Semi-Gloss | Noticeable sheen, reflective | High durability, easy to clean | Most popular for trim and baseboards, balanced look |
| Gloss | A high sheen, very reflective | Very high durability, easy to wipe | Best for high-traffic areas, adds bold contrast |
Popular White Paints for Trim and Baseboards Reviewed
1. Benjamin Moore White Dove – OC 17
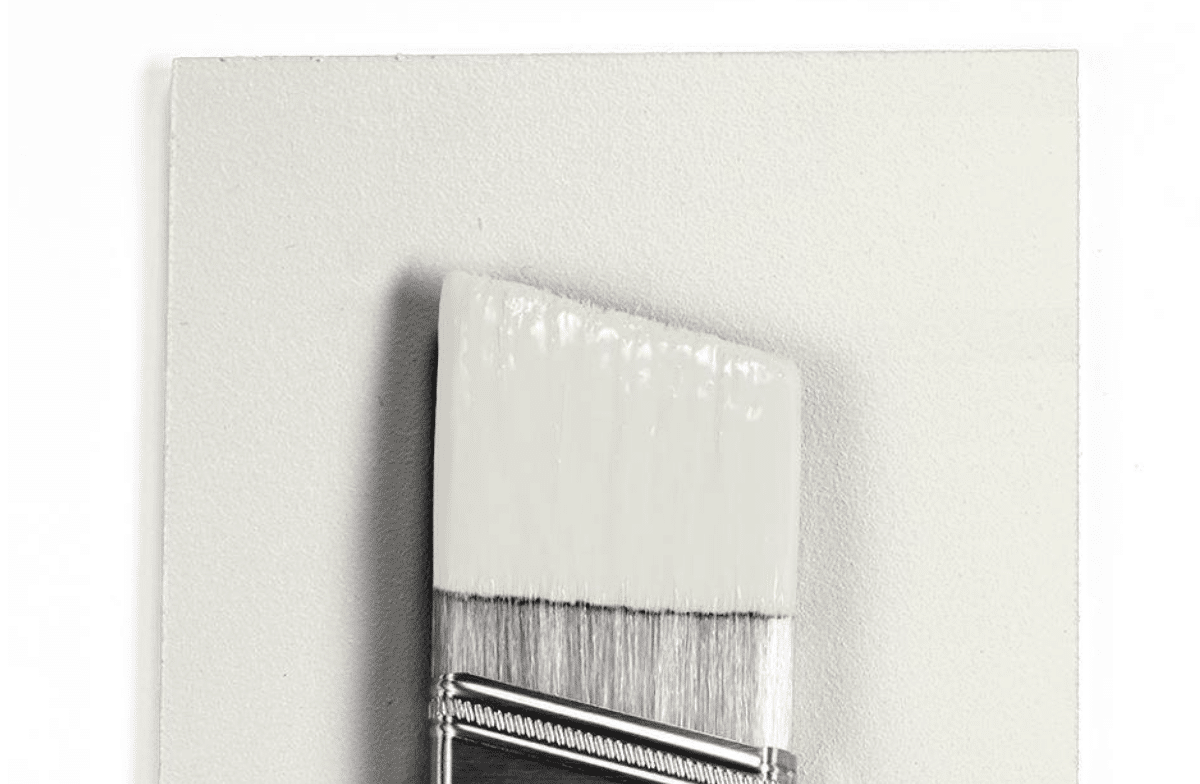
- Finish Type: Satin or semi-gloss.
- Undertone: Soft, warm, subtle yellow undertones.
Pros:
- Versatile shade that complements various wall colors.
- Creates a welcoming and warm appearance.
- Great for traditional and modern decor styles.
Cons:
- It may appear too warm under certain lighting conditions.
- It’s not ideal for those seeking a cooler, crisp white.
2. BEHR Premium Cabinet Paint
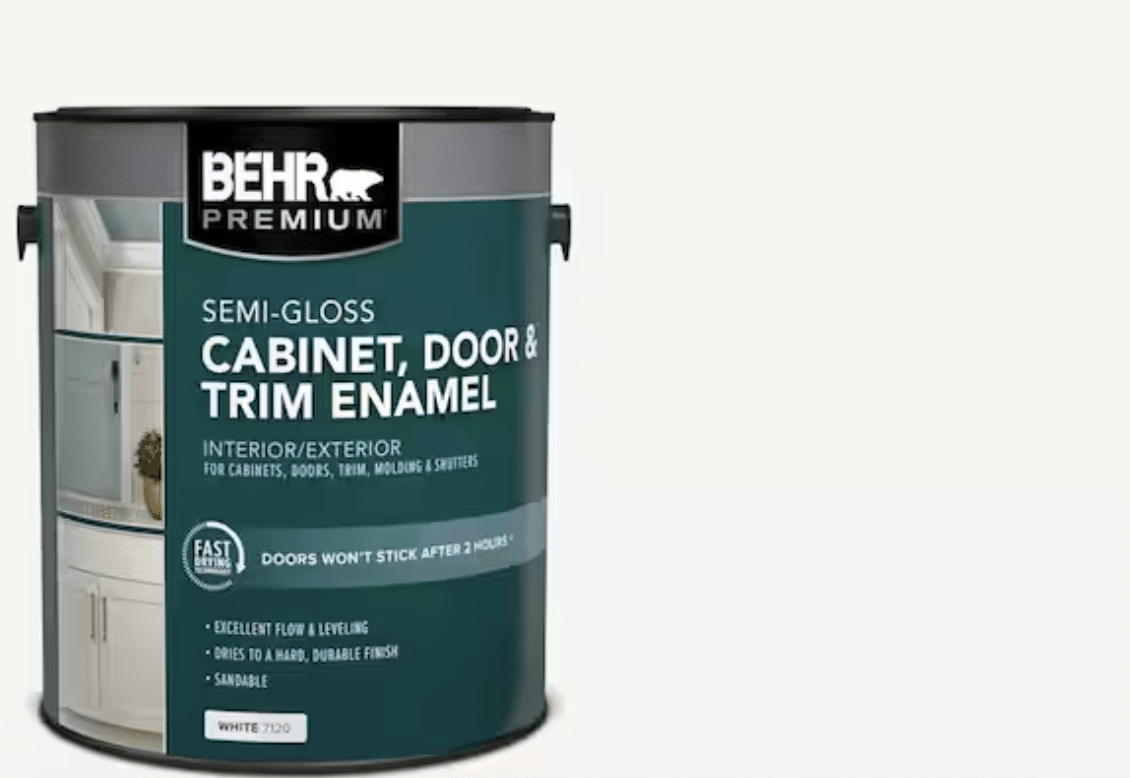
- Finish Type: Semi-gloss or gloss.
- Undertone: Neutral white, minimal undertones.
Pros:
- Durable and designed for high-traffic areas.
- Easy to clean and maintain.
- Provides a sleek, modern finish.
Cons:
- Glossy finishes may highlight imperfections on trim.
- Longer drying time compared to some other paints.
3. Sherwin Williams Extra White – SW 7006
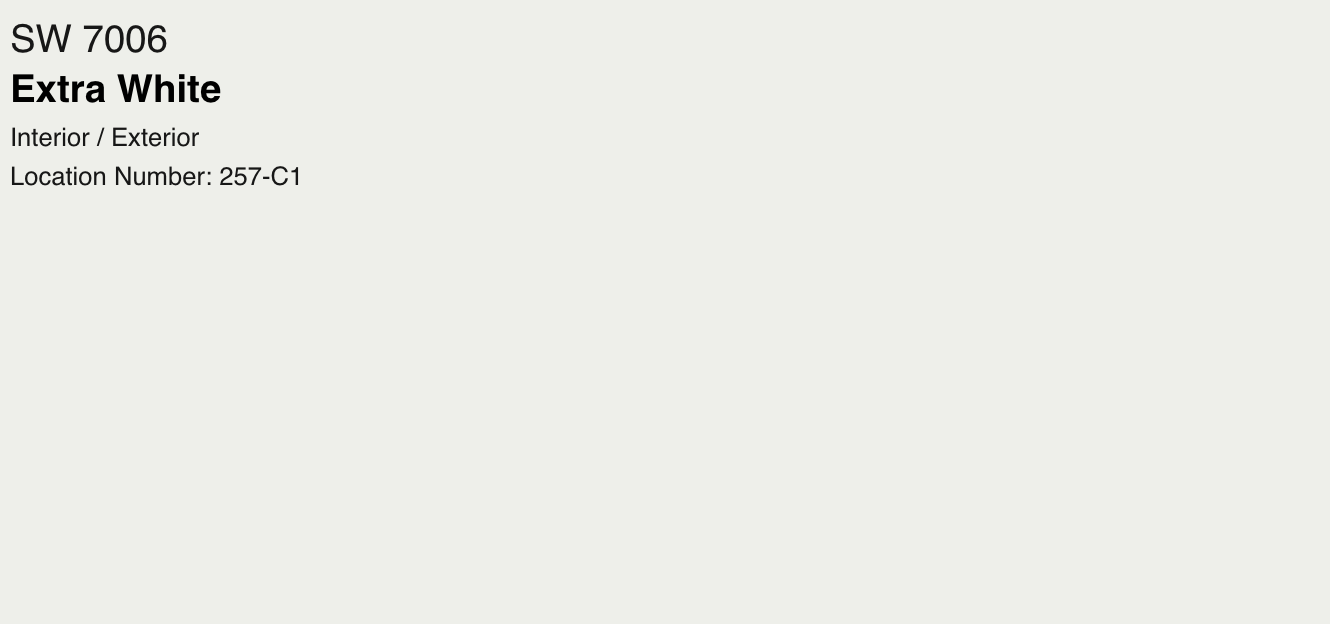
- Finish Type: Semi-gloss or gloss.
- Undertone: Cool undertones with a hint of blue.
Pros:
- Bright, clean white is ideal for modern spaces.
- It pairs well with cool-toned wall colors.
- Provides a crisp, polished look.
Cons:
- It can feel stark or cold in spaces with minimal natural light.
- It may not blend well with warmer decor tones.
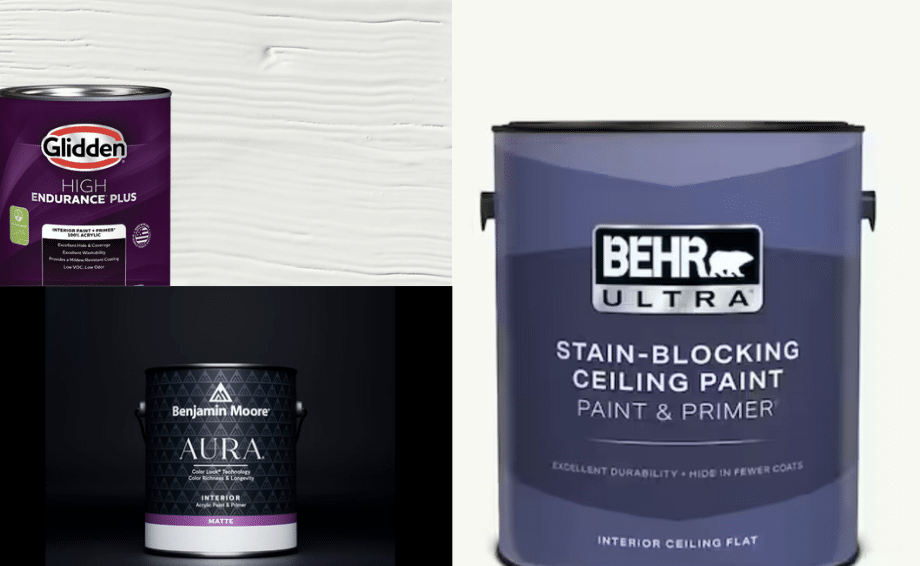
4. Glidden HEP Grab-N-Go Interior Paint + Primer
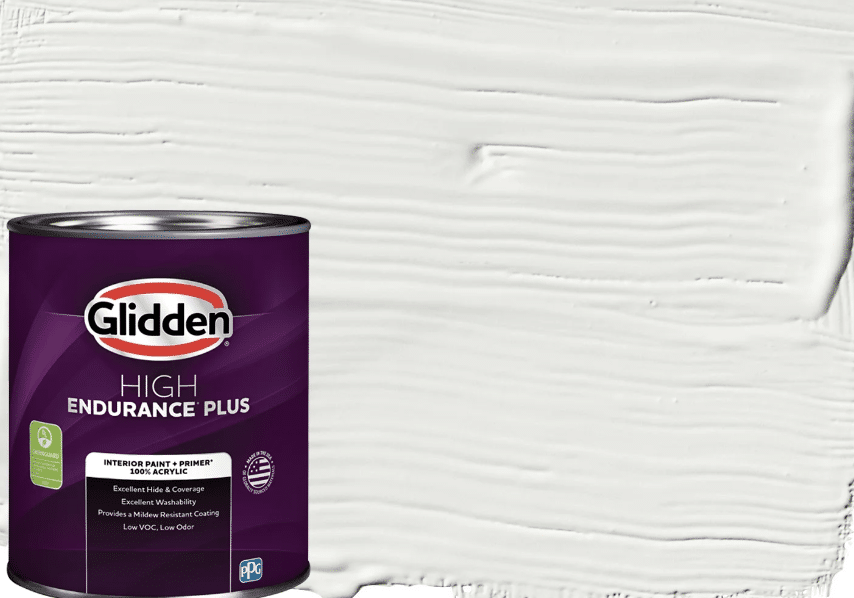
- Finish Type: Satin or semi-gloss.
- Undertone: True neutral white, no strong undertones.
Pros:
- Convenient paint-and-primer combination for easy application.
- Affordable and widely available.
- Good coverage and a smooth finish.
Cons:
- It may require multiple coats for full opacity on darker surfaces.
- Durability might not be as high as premium brands.
5. Sherwin Williams Alabaster – SW 7008
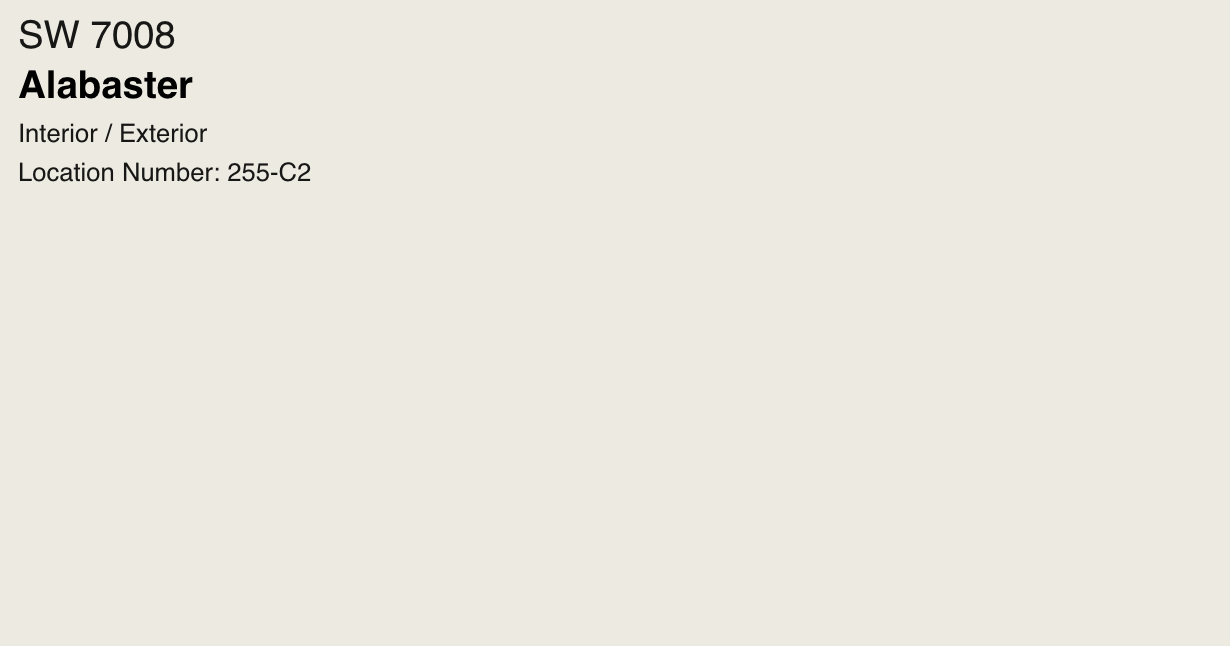
- Finish Type: Satin or semi-gloss.
- Undertone: Warm, creamy undertones.
Pros:
- Creates a cozy, inviting atmosphere.
- Works well with both traditional and modern decor.
- Softens the look of trim and baseboards without appearing too stark.
Cons:
- It can appear slightly yellow under certain artificial lights.
- It’s not the best choice for a sharp, ultra-modern look.
6. Benjamin Moore Simply White – OC 117

- Finish Type: Semi-gloss or gloss.
- Undertone: Subtle warm undertones with a touch of yellow.
Pros:
- Award-winning, popular choice for a reason.
- Versatile and adaptable to various lighting conditions.
- Adds brightness and warmth to trim and baseboards.
Cons:
- The warm undertones may appear more pronounced in low light.
- Not as suitable for those seeking a cooler, bluish-white.
7. Farrow & Ball All White – No. 2005

- Finish Type: Satin or gloss.
- Undertone: Pure white, no undertones.
Pros:
- Clean, bright white ideal for a contemporary look.
- Works well with both cool and warm decor.
- Gives a fresh, modern feel to trim and baseboards.
Cons:
- May appear too stark in low-light areas.
- Higher cost compared to standard paint brands.
8. Valspar Ultra White – 7006-24
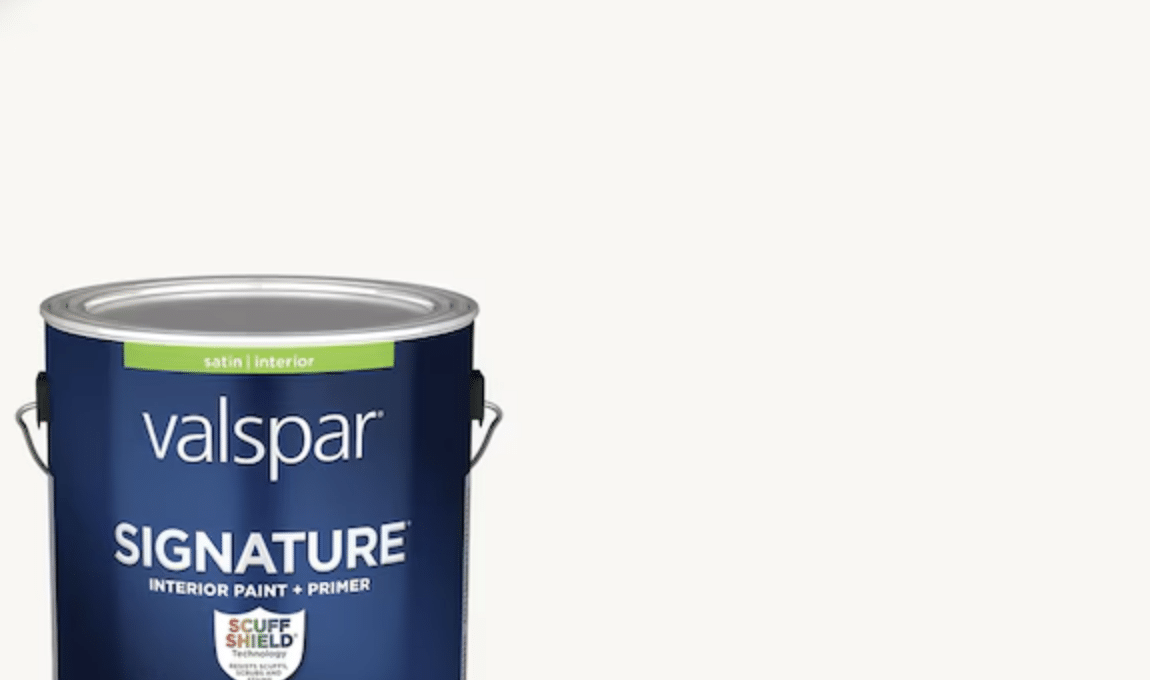
- Finish Type: Satin
- Undertone: Cool undertones, slightly bluish.
Pros:
- Affordable and widely available.
- Offers a crisp, bright finish.
- Good for high-contrast looks in modern spaces.
Cons:
- It can feel cold in rooms with warm lighting.
- It may not blend well with warm or earthy tones.
9. Dunn-Edwards Whisper – DEW340

- Finish Type: Matte or semi-gloss.
- Undertone: Soft, warm undertones.
Pros:
- Gentle, inviting white that suits both modern and traditional homes.
- Subtle warmth prevents the space from looking too stark.
- Durable finish ideal for trim and baseboards.
Cons:
- Warm undertones can appear yellowish under certain lighting.
- It might not be the best choice for ultra-modern spaces needing sharp whites.
10. Behr Ultra Pure White – 1850
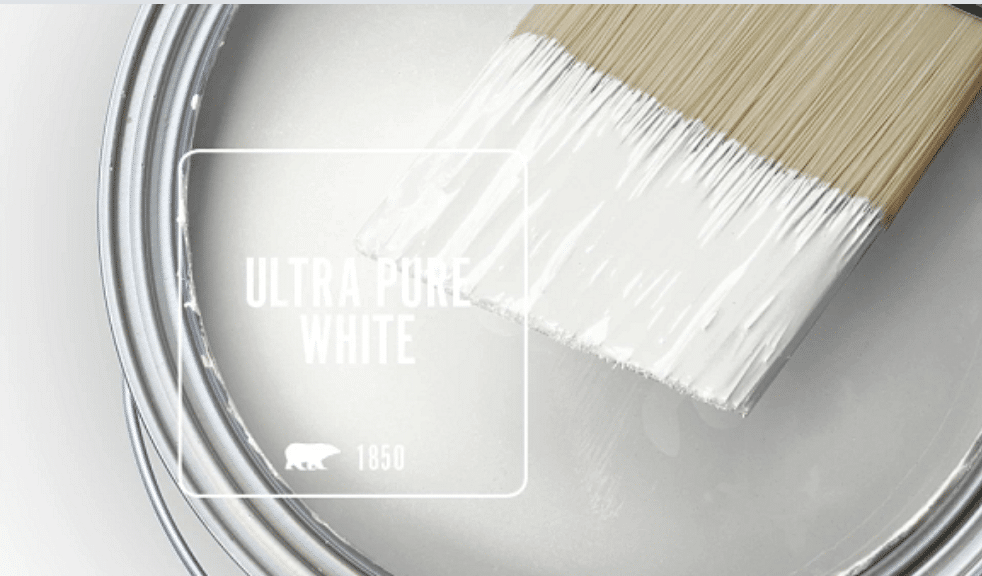
- Finish Type: Semi-gloss or gloss.
- Undertone: Pure white, no undertones.
Pros:
- It is extremely bright and clean, perfect for a modern aesthetic.
- Available in various finishes, allowing versatility.
- Works well in spaces with ample natural light.
Cons:
- Can highlight imperfections on trim surfaces.
- It may feel too stark for those preferring warmer tones.
11. PPG Timeless Pure White
- Finish Type: Satin or semi-gloss.
- Undertone: Neutral with no strong undertones.
Pros:
- Durable and long-lasting finish.
- Easy to clean and maintain.
- Suitable for both contemporary and traditional decor.
Cons:
- It might require multiple coats for darker surfaces.
- Higher gloss levels may show brush strokes.
12. Benjamin Moore Chantilly Lace – OC 65

- Finish Type: Satin or semi-gloss.
- Undertone: Cool, minimal undertones.
Pros:
- Bright and clean, it is perfect for modern and minimalist spaces.
- Works well with both warm and cool color palettes.
- It reflects light beautifully, making spaces feel larger.
Cons:
- It can appear overly cold in low natural light.
- It may require more than one coat for full coverage.
13. Dutch Boy Ultra White – DB10

- Finish Type: Satin or semi-gloss.
- Undertone: True neutral white.
Pros:
- Affordable and accessible.
- Clean, crisp appearance ideal for trim.
- It is good for pairing with bold wall colors.
Cons:
- It might not be as durable as premium options.
- A gloss finish could show imperfections on the trim.
14. Behr Frost – 57
- Finish Type: Satin or semi-gloss.
- Undertone: Slightly cool undertones.
Pros:
- Bright and neutral, it is ideal for modern and transitional spaces.
- Good coverage and easy application.
- Works well in rooms with ample natural light.
Cons:
- It can feel cold in dimly lit spaces.
- May highlight imperfections on older trim.
Preparation Tips Before Painting
Getting Your Trim Ready
From my years of painting trim, I’ve learned that good prep work is essential. Start by wiping down all your trim with a damp cloth to remove dust and grime.
Once dry, use medium-grit sandpaper to smooth any rough spots. After sanding, I like to run my hand along the trim, which helps me find spots I might have missed.
After sanding, wipe everything down again with a tack cloth to remove all the dust. This small step makes a huge difference in the final finish.
The Right Prime Time
Let me share a trick that saves time and money: prime your trim, even if it’s been painted before. I use a good-quality primer for trim work – it helps the paint stick better and last longer.
Apply one thin coat and let it dry completely. If you spot any holes or gaps after priming, fill them with wood filler. Once the filler dries, give those spots a quick sand and spot-prime them.
The Right Painting Method for Trim and Baseboards
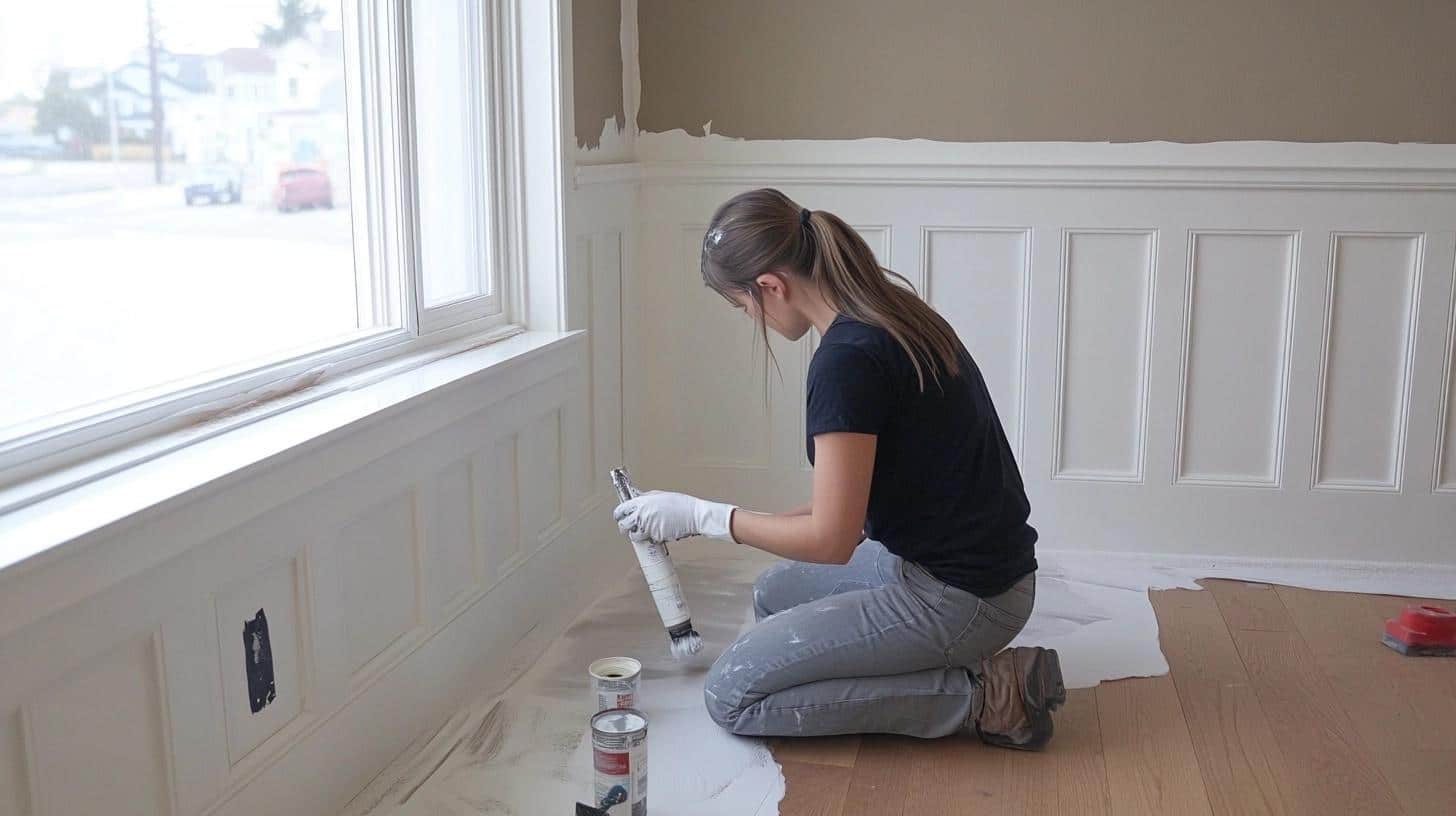
Here’s my detailed, step-by-step process for getting perfect trim:
1. Starting Point Strategy
I always begin in the least noticeable corner of the room. This lets me perfect my technique before moving to more visible areas.
Break your trim into 2-3 foot sections. Working in small areas helps you maintain a wet edge and avoid lap marks in your paint.
2. First Coat Application
Start by cutting in along the edges where your trim meets the wall. Use your angled brush with light pressure – too much force pushes paint where you don’t want it.
Load your brush properly: Dip only the first 1/3 of the bristles in paint, then tap (don’t wipe) against the can’s side.
3. Working With the Grain
Follow the wood’s natural direction when painting. Long, steady strokes create the smoothest finish. I start from the unpainted area and brush toward the painted section, using light pressure.
This method stops paint from building up at the edges of your strokes.
4. Managing Wet Paint
Watch for drips and catch them quickly. If you spot one, smooth it out right away with your brush. Keep a good light source nearby – it helps you spot problems early.
Clean any paint that gets on walls or floors immediately with a damp cloth.
5. Between-Coat Steps
Let your first coat dry for at least 4 hours. Then, lightly touch an inconspicuous spot to check the surface —it should feel completely dry.
Give the surface a quick, light sand with fine-grit paper (220 works well). Wipe off dust with a tack cloth before starting your second coat.
6. Final Coat Perfection
Apply your second coat just like the first, but pay extra attention to coverage. Look at the trim from different angles – this helps spot any missed spots or uneven areas.
Focus on making clean, sharp lines where trim meets walls. If needed, use painter’s tape for extra-crisp edges.
Maintaining Painted Trim and Baseboards
Regular Cleaning Tips
- Dust weekly with a soft, dry microfiber cloth
- Use a slightly damp cloth for sticky spots or marks
- Clean in a side-to-side motion, not up and down
- Avoid harsh cleaning products that might damage paint
- Pat dry immediately if using any moisture
Handling Daily Wear
- Keep furniture slightly away from baseboards
- Use felt pads under furniture legs
- Check for scuff marks weekly
- Clean up spills right away
- Watch for pet scratches near doorways
- Place doormats at entrances to reduce dirt
Quick Touch-Up Guide
- Save leftover paint in a small jar
- Label paint info (brand, color, finish)
- Keep a small touch-up brush handy
- Sand small areas before touching up
- Feather paint edges into the existing finish
- Let touch-ups dry fully (24 hours)
Long-Term Care
- Check for water damage near doors
- Look for gaps between trim and wall
- Fill small cracks as they appear
- Keep spare paint in a cool, dry place
- Note areas that need frequent touch-ups
- Plan for repainting every 3-5 years
What to Avoid
- Magic erasers (too abrasive)
- Steam cleaners near painted surfaces
- Oil-based cleaners
- Scrubbing too hard
- Letting stains sit too long
Wrapping It Up
Picking and applying white paint for your trim isn’t just about choosing a color – it’s about creating lasting beauty in your home.
I shared these tips because I know how much difference well-painted trim makes in a room’s overall look.
Remember to test your paint samples in different lights, prep your surfaces well, and take your time with an application. These steps might seem small, but they add up to make a big difference.
Want to keep learning about home improvement? Check out my guide on wall colors that pair perfectly with white trim.
Or, if you’re ready to start painting, save this article for future reference!

