Stepwise Guide for Rain Chain Installation
Are you looking to add a special touch to your home’s exterior? A rain chain might be the answer.
This guide shows you how to replace your standard downspout with a rain chain – a simple switch that can make rainy days more enjoyable.
Rain chains guide water from your roof in a way that’s both useful and nice to look at.
Whether you’re fixing up your front porch or want to make the sound of rain more pleasant, we’ll walk you through every step.
From picking the right spot to testing the final setup, this guide covers all you need to know.
TLDR
A rain chain is a simple swap for your regular downspout. It takes water from your roof to the ground while looking good and making pleasant sounds. To install one:
- Get your tools (rain chain, gravel, pot if wanted)
- Set up drainage with gravel or a drain cap
- Hang the chain using copper wire and screws
- Put gravel at the bottom
- Test with water to check the flow
Total time: About 15 minutes
Cost: Low
Skill level: Beginner-friendly
What is a Rain Chain?
A rain chain replaces a standard gutter downspout but does so with more style.
Instead of hiding water in a closed pipe, a rain chain turns falling rain into a water display you can watch and hear.
How It Works
- Replace your regular downspout
- Guides rainwater from your roof to the ground
- It creates a gentle sound as water moves down the chain
- It fits into your gutter system where a downspout would go
Where to Put Them
- On front porches
- Near entry areas
- Where they can see and hear them
- Places with good drainage below
Types of Setups
- Connect it to a ground drain
- Put it over a bed of stones
- Lead it into a decorative pot
- Secure it with a ground stake
Step-by-Step Guide for Rain Chain Installation
What You’ll Need
- Rain chain
- Gravel (1/2 to 3/4 inch size)
- Decorative pot (optional)
- Ceramic drill bit
- Copper wire
- Screws
- Flat drain cap (if using existing drain)
- Basic tools (drill, screwdriver)
Step 1: Check Current Setup
Start by looking at your current situation:
- If you have an old rain chain, Check if it needs a replacement
- If you have a downspout, You’ll need to remove it first
- If you’re starting fresh, Make sure you have a good spot picked out
Step 2: Set Up the Drain Area
You have two options for the bottom of your rain chain:
Option A: No Existing Drainz
- Put down a thick layer of gravel
- Use 1/2 to 3/4 inch stones
- Make the gravel bed wide enough to catch water spray
Option B: Existing Drain
- Take off the old drain cap
- Put on a flat drain cap
- Make sure it’s level and secure
Step 3: Get Your Pot Ready
If using a decorative pot:
- Pick a pot that fits your drain area
- Use a ceramic drill bit to make extra holes in the bottom
- Make sure holes are big enough for good water flow
- Test the drainage before going further
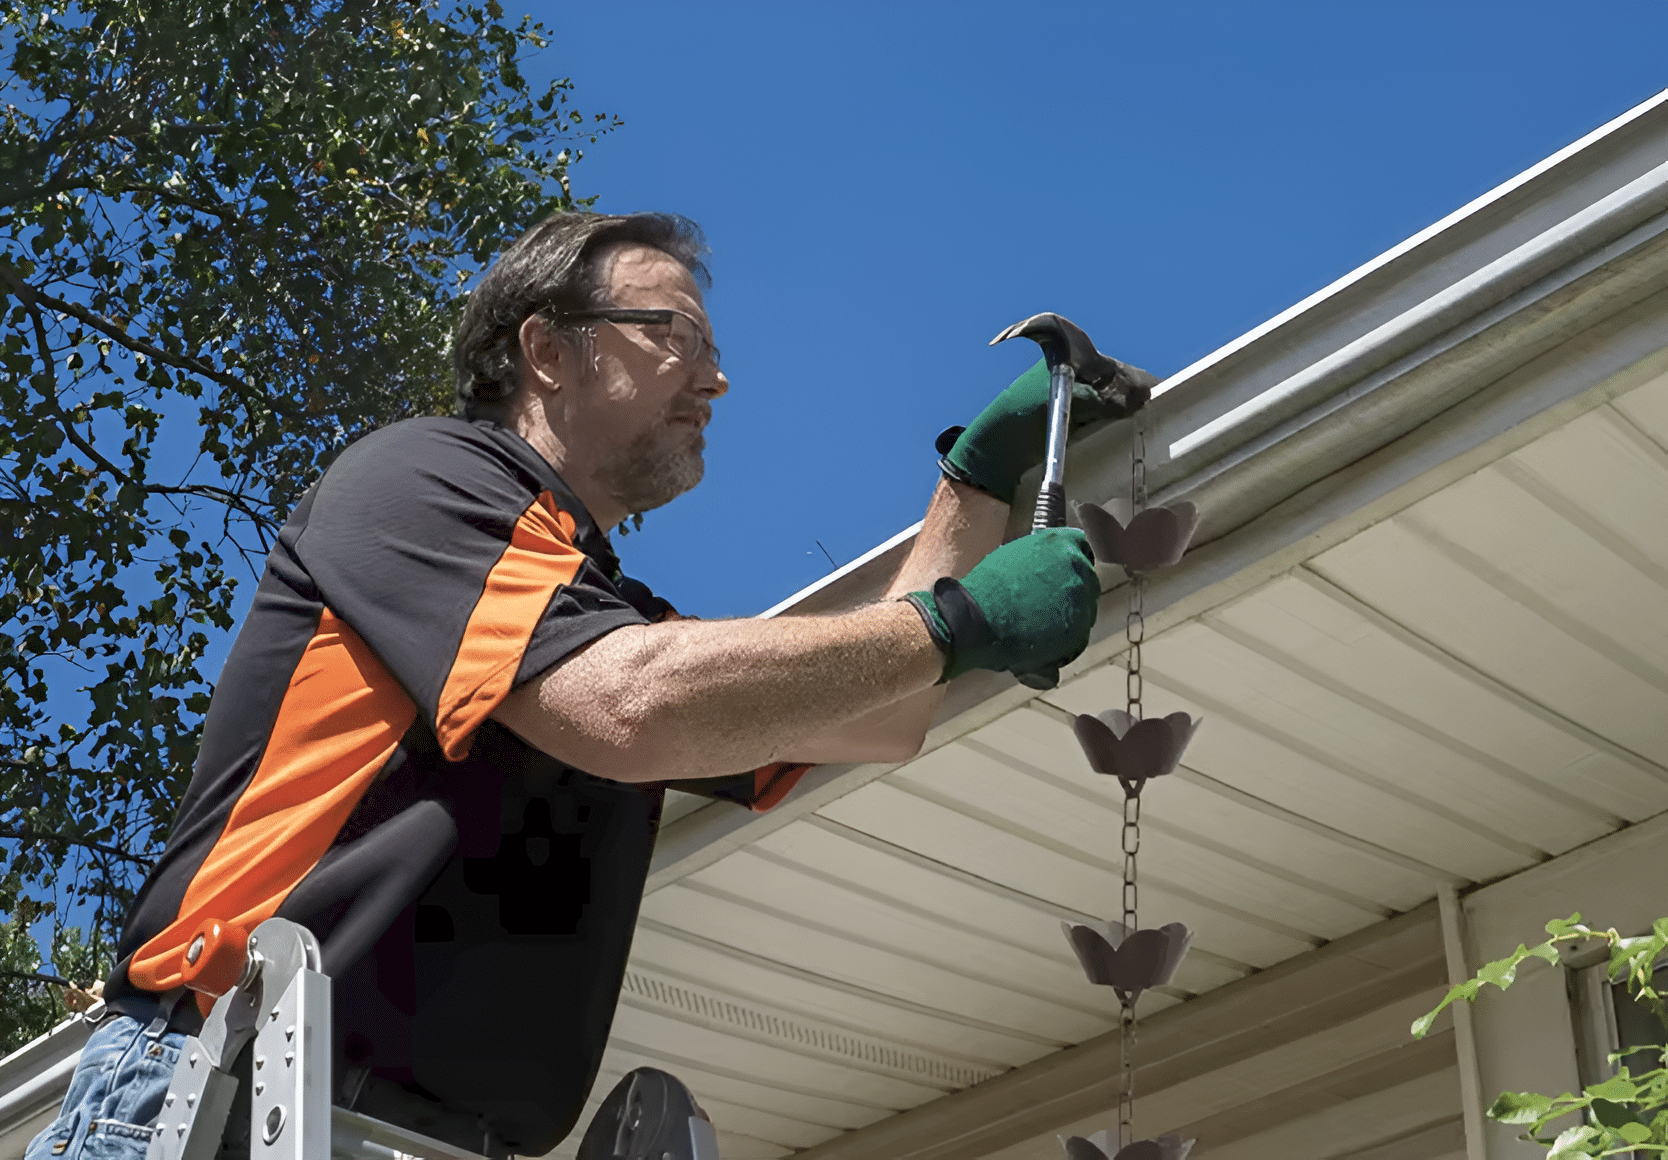
Step 4: Put Up Your Rain Chain
Install the top support:
- Use copper wire
- Put in two screws to hold it
- Make sure it’s very secure
Hang the chain:
- Thread it through the downspout opening
- Connect it to the wire
- Make sure it hangs straight down
- Let it drop right into your pot
Step 5: Add Stones and Protection
- Fill your pot with gravel
- Put gravel around the base
- Add a layer of mulch to stop water bounce
- Make sure materials won’t wash away
Step 6: Test and Adjust
Use a garden hose to test:
- Watch how water flows
- Look for any splashing
- Check drainage speed
Make fixes if needed:
- Adjust chain position
- Add more gravel if splashing occurs
- Fix any leaning or tilting
Tips for Success While Rain Chain Installation
- Position the chain away from your house to prevent water damage
- Use bigger stones at the bottom to reduce splash
- Check regularly during the first few rains
- Add more gravel if needed over time
Why People Choose Rain Chains?
1. Better Looks
- It makes your home’s entrance more welcoming
- Adds visual interest without standing out too much
- More subtle than bulky metal downspouts
- Creates a focal point that fits naturally
2. Pleasant Water Sounds
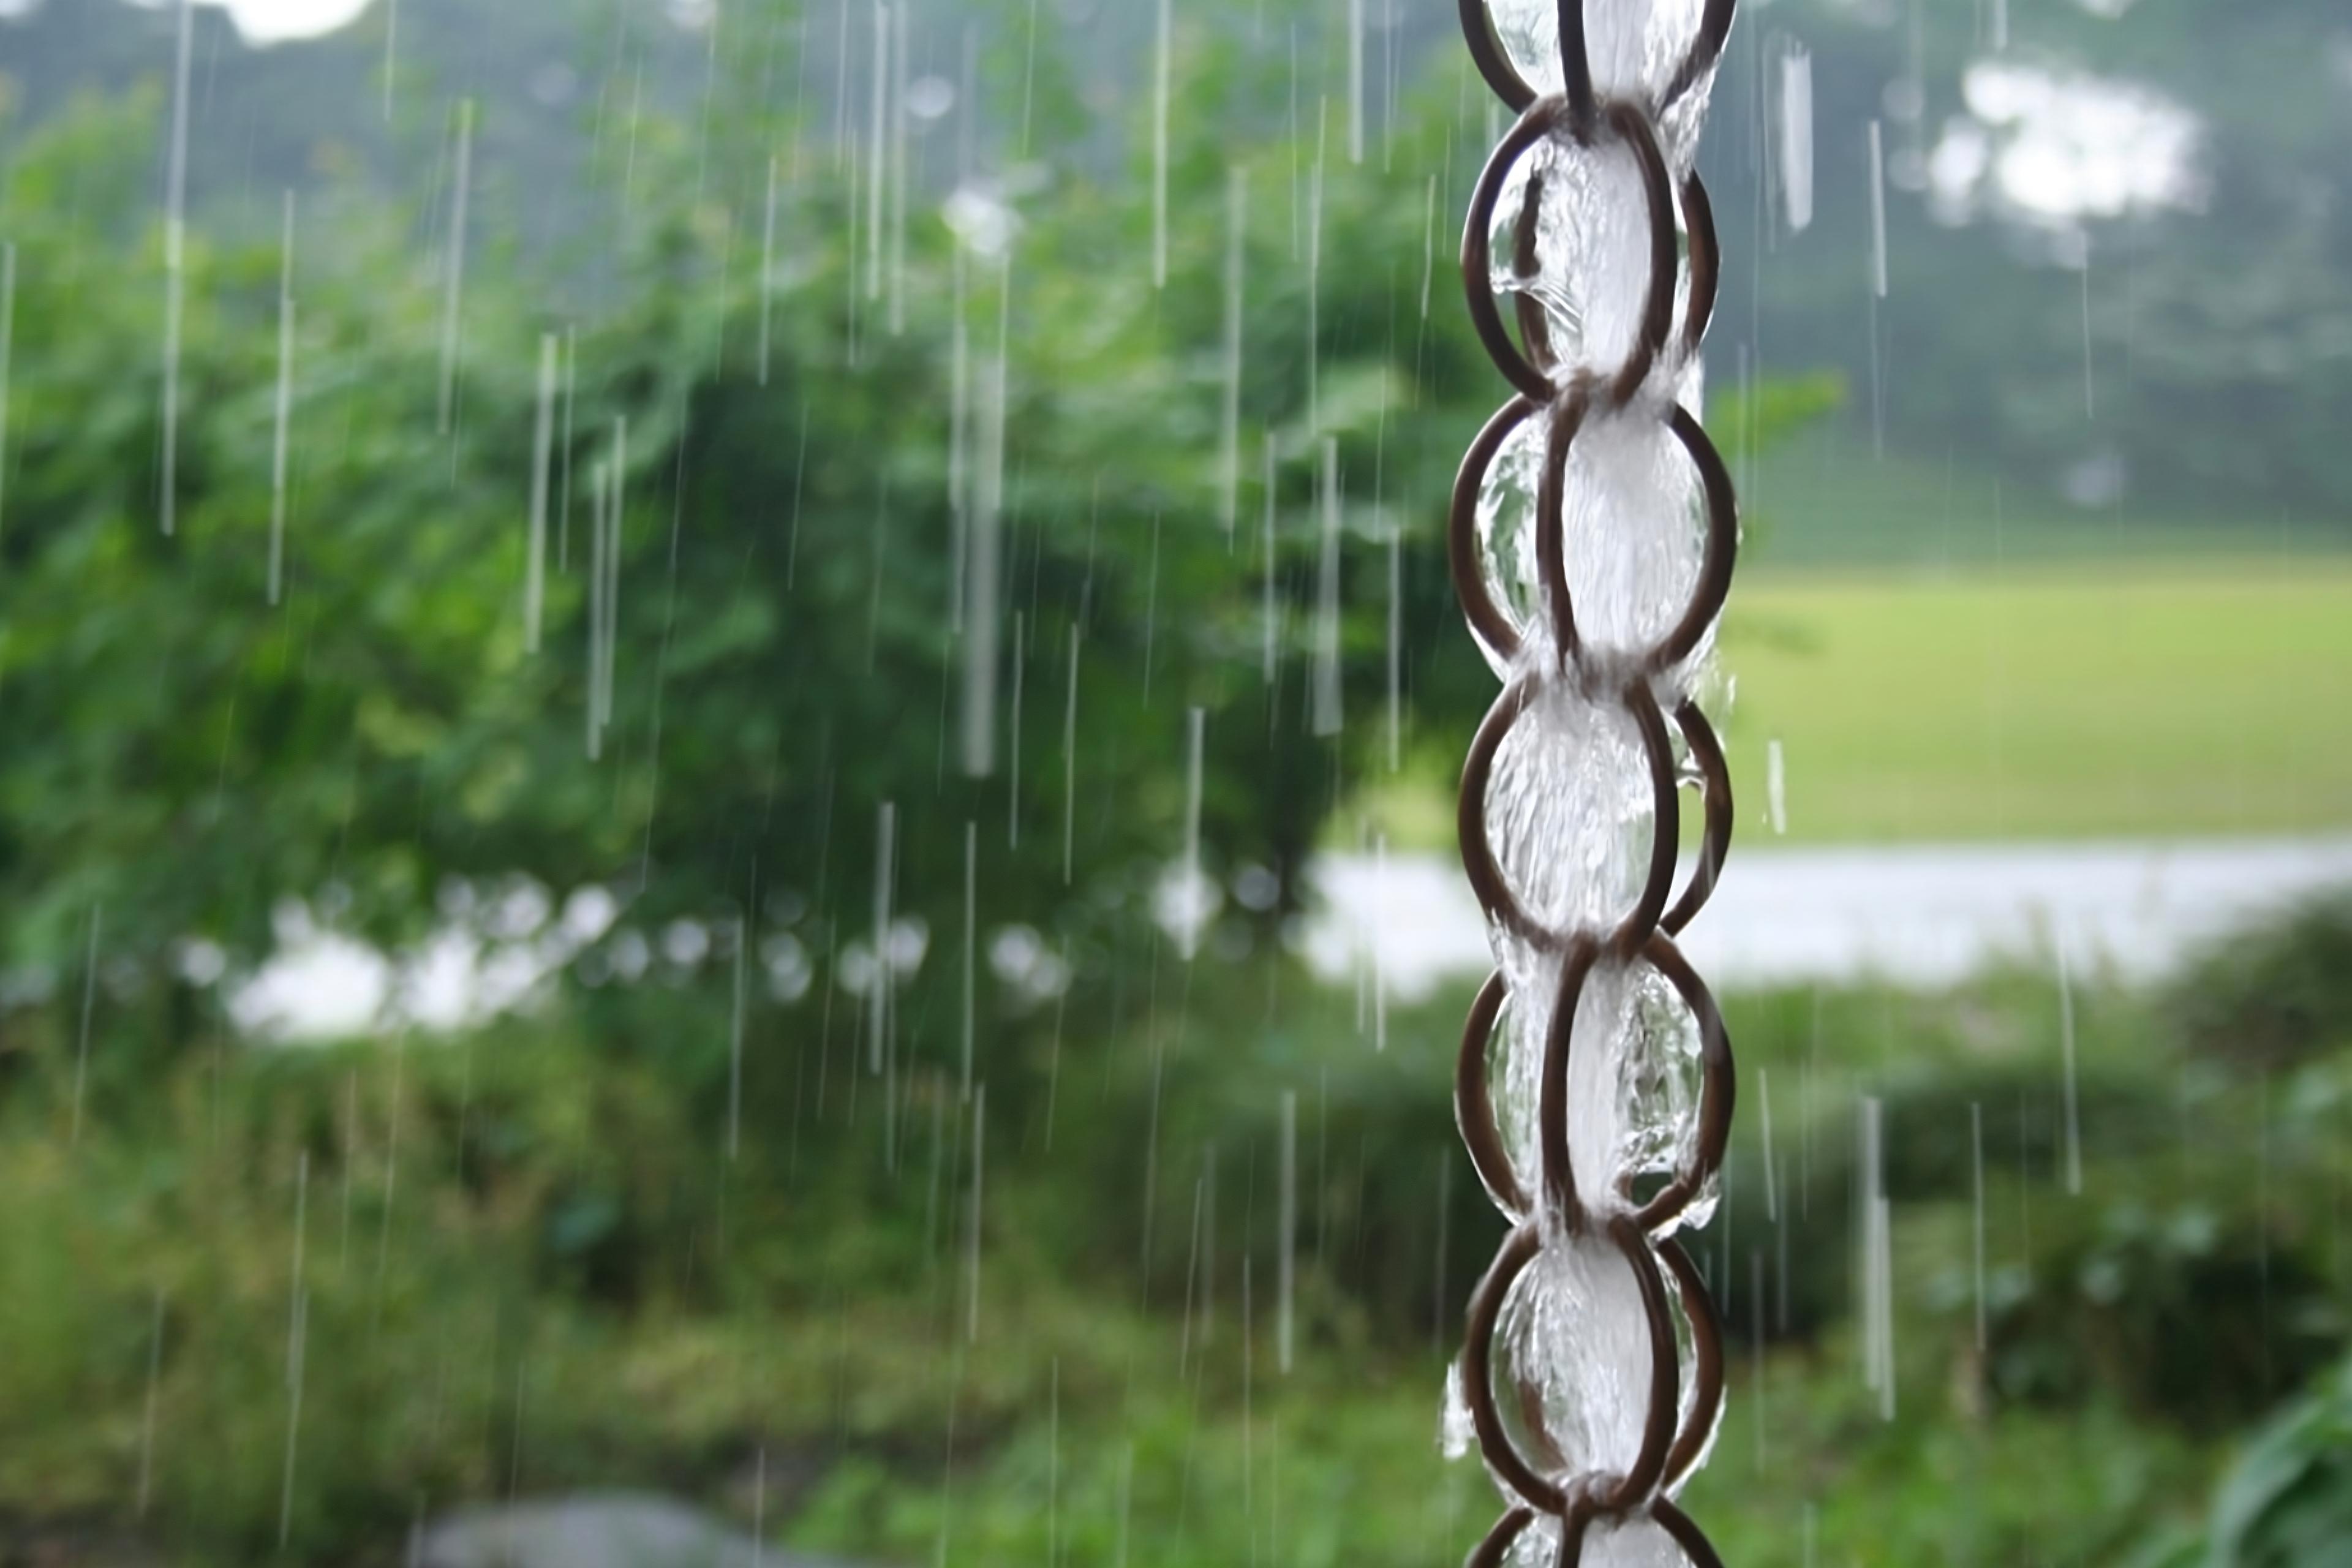
- Water makes soft tinkling noises as it falls
- Creates calm, relaxing sounds during rainfall
- Adds a gentle background sound to your porch
- It makes rainy days more enjoyable
3. Quick Setup
- It takes about 10-15 minutes to install
- It needs just basic tools
- No special skills needed
- Clear instructions make it simple
4. Low Upkeep
- No cleaning inside pipes
- No worrying about clogs
- Stays in good shape with minimal care
- Works well year after year
Summing Up
With basic tools and about 15 minutes, you can replace a plain downspout with something that makes rain more special.
The key is to take your time with each step, especially setting up proper drainage.
Once installed, your rain chain will work well for years and make your home look better.
Remember to check it during the first few rainstorms and add more gravel if needed.
This guide will give you a working rain chain that adds function and beauty to your home.
Frequently Asked Questions
Will a Rain Chain Attract Pests or Insects?
Generally, rain chains do not attract pests. However, standing water at the base could become a breeding ground for mosquitoes, so proper drainage is essential.
Do Rain Chains Make Noise?
Rain chains produce a soothing sound as water trickles down them, which many people find appealing. The sound level is generally gentle and not disruptive.
Can I Install Multiple Rain Chains in My House?
You can install multiple rain chains to replace several downspouts or handle more water in heavy rainfall areas.

