Step-by-Step Guide: DIY Construction-Themed Party Decorations and Ideas
Planning a construction party? This guide will help you set up fun decorations and activities for your special day.
I’ll show you how to make safety vest party favors, construction cone treats, and easy wall decorations using basic supplies from home.
My simple steps include making bulldozer cupcakes, creating a “Build Zone” play area, and setting up a tool-shaped snack station.
You’ll learn which materials work best and how to put everything together quickly.
Perfect for parents who want to create a memorable celebration without spending too much time or money. Each idea is tested and kid-approved, making your party planning simpler.
Ready to start building the perfect construction party? Let’s begin with the basics and work our way through each decoration idea.
Why Choose a Construction-Themed Party?
Kids love big trucks, tools, and building things.
A construction-themed party turns these interests into a fun celebration that gets everyone involved.
It’s a theme that works well for children aged 2-8 years old, with activities that can be adjusted based on age.
Theme’s Popularity Among Kids
Children are naturally drawn to construction equipment and building activities.
They enjoy pretending to be workers, wearing hard hats, and playing with toy trucks.
This theme lets them feel like real builders while having fun with friends.
Age Appropriateness
The theme fits perfectly for:
- 2-3 year olds: Simple building blocks and truck-spotting games
- 4-5 year olds: Basic tool use and guided building activities
- 6-8 year olds: More complex building projects and team activities
Benefits of this Theme
- Helps develop motor skills through building activities
- Teaches teamwork when kids work together on projects
- Makes learning fun with hands-on experiences
- Works well for both indoor and outdoor settings
- Offers many simple DIY decoration options
- Keeps kids busy with purposeful activities
- Fits any budget – from basic to detailed setups
- Easy to find supplies at local stores
Key Elements of Construction-Themed Party Decor
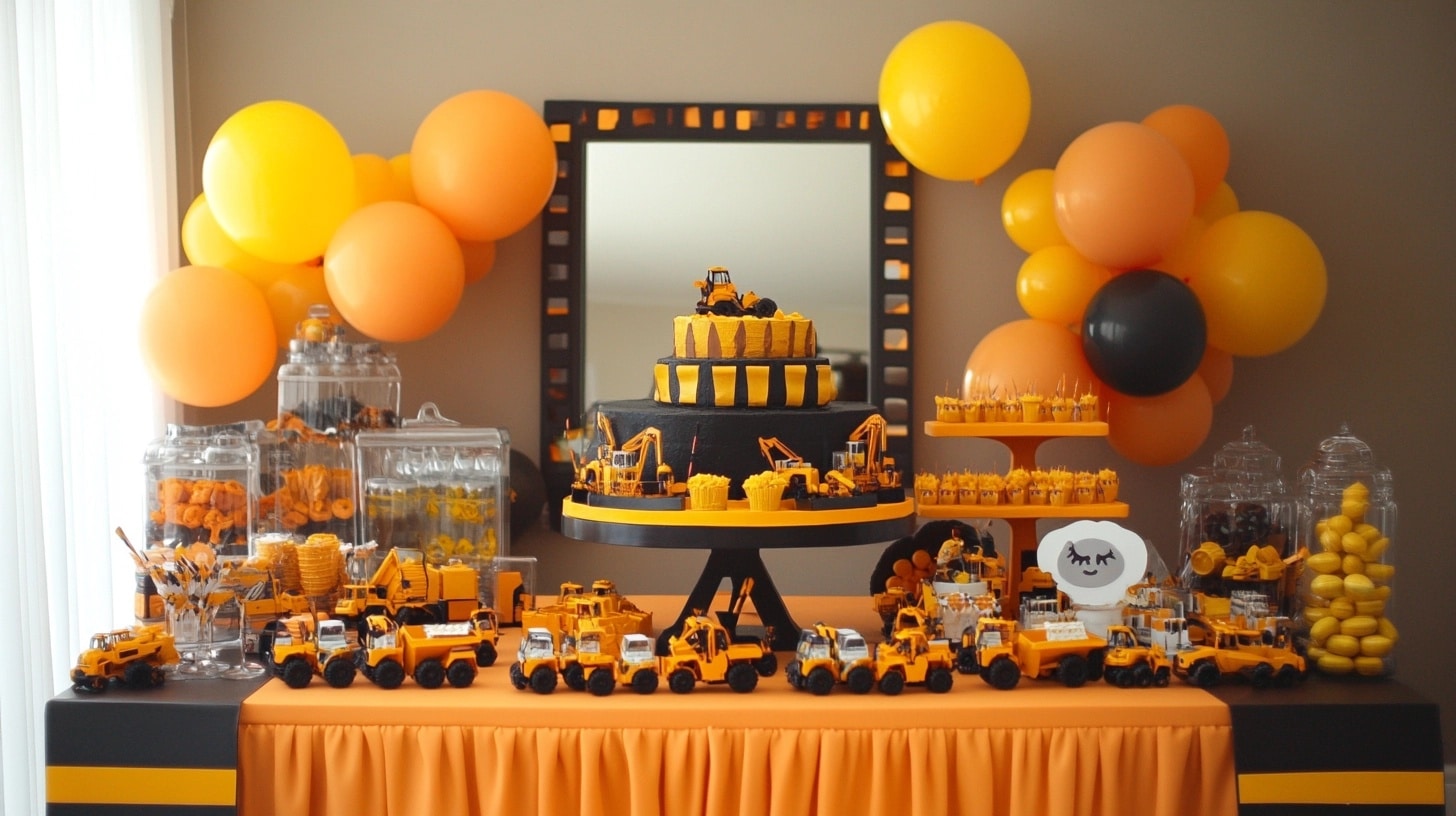
Set up your party space with these basic building blocks of construction-themed decorations. Focus on simple items that create the right look without too much work.
Color Scheme
The main colors for your party should include:
- Yellow: Like safety gear and machines
- Black: For tire marks and roads
- Orange: For work zone signs
- Gray: To match concrete and tools
Iconic Symbols
Must-have items for your party setup:
- Orange safety cones (real or paper)
- Plastic toy tools
- Yellow hard hats
- Toy dump trucks
- Yellow and black striped tape
- Road signs
- Building blocks
Material Inspiration
Create decorations using:
- Cardboard boxes: For buildings and barriers
- Paper: Signs and banners
- Balloons: Black and yellow bunches
- Wood: Simple building stations
- Foam boards: For signs and displays
Key Areas to Decorate
Focus your setup on these spots:
- Front door: Add signs and cones
- Food table: Tool-shaped snacks
- Play zones: Building areas with blocks
- Photo spot: Make a wall with tools and signs
DIY Decoration Ideas and Step-by-Step Tutorials
1. DIY Construction Theme Birthday Banner Guide
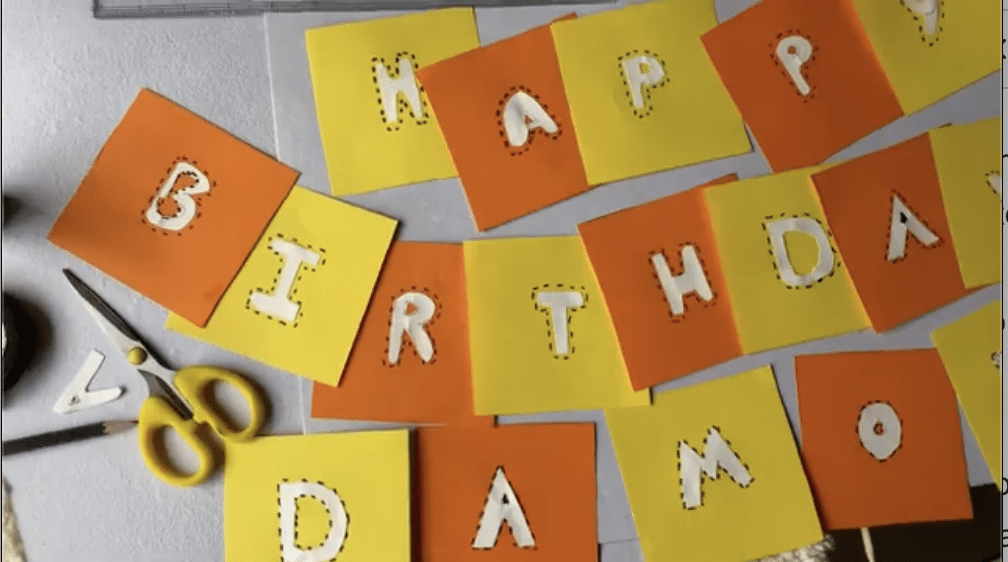
What You’ll Need:
- Multiple sheets of yellow and black cardstock paper
- A good pair of scissors or a paper cutter
- Strong craft glue or double-sided tape
- Sturdy string
- A standard hole punch
- A thick black marker
- A straight ruler
Step-by-Step Guide
1. Prepare Your Base Pieces
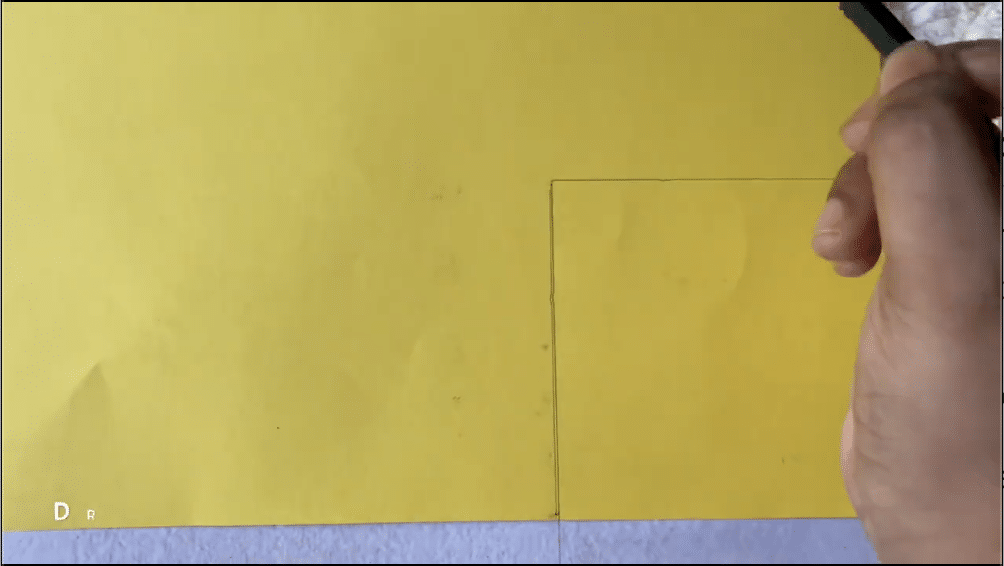
- Start by measuring and cutting triangles from yellow cardstock paper
- Each triangle should measure 6 inches on all sides for easy reading
- Use your ruler to draw straight lines before cutting each piece
- Create enough triangles to fit each letter of your birthday message
2. Create Your Letters
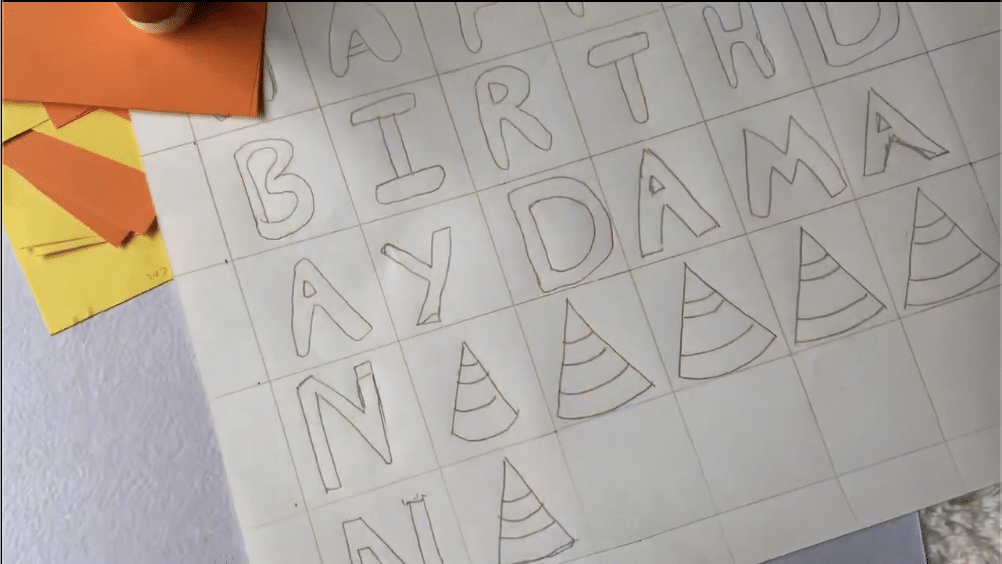
- Print out letter templates to trace onto black cardstock
- Cut each letter with care to maintain clean edges
- Lay out all letters on the floor to check spacing
- Make sure each letter is the same size for a clean look
4. Putting It Together
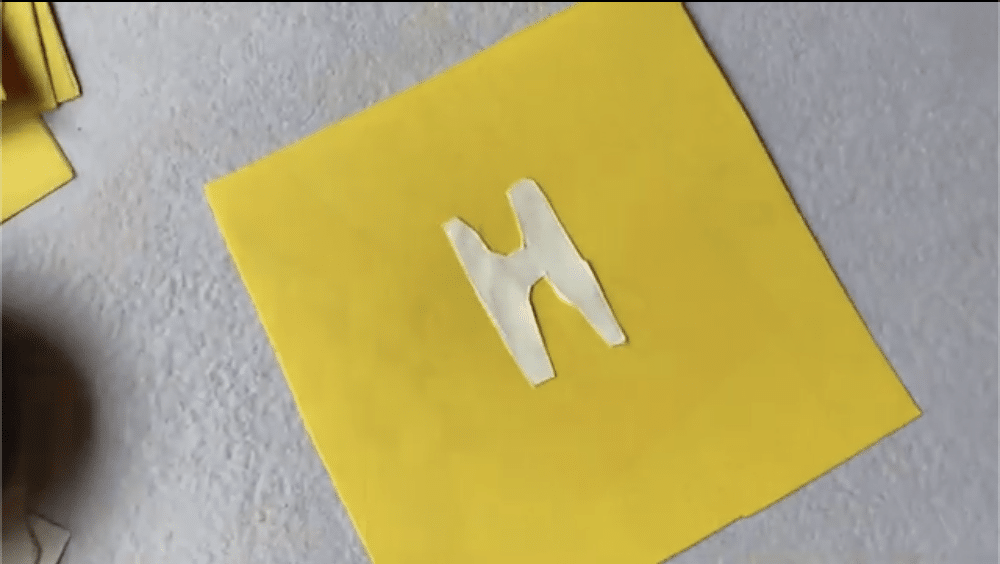
- Apply glue carefully to attach letters to triangles
- Make sure to leave one inch at the top for punch holes
- Create two holes at the top corners of each triangle
- Slide string through each hole in order
5. Final Touches
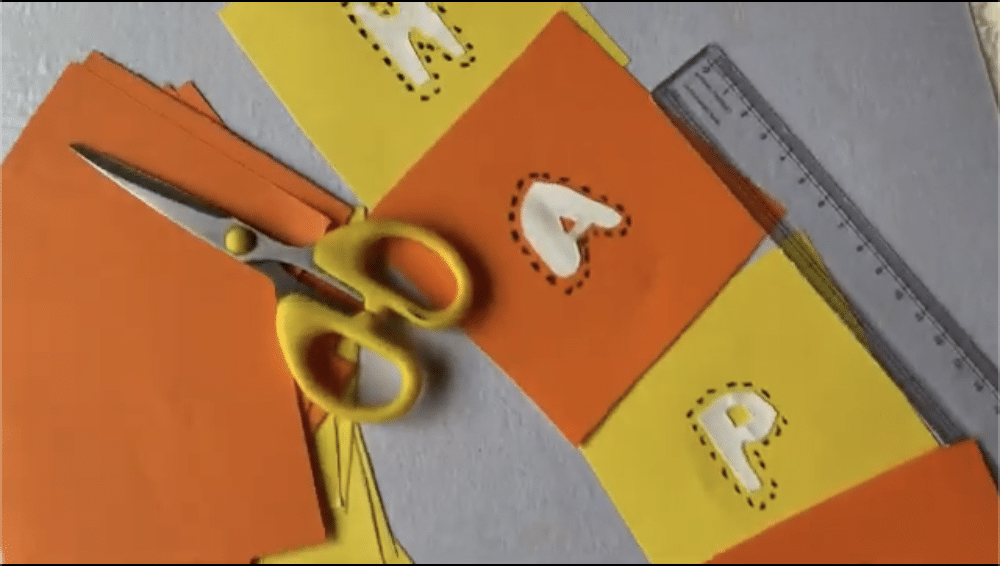
- Measure equal spaces between each triangle piece
- Place small paper decorations between the words
- Check that all pieces are firmly glued down
- Ensure the banner hangs level when displayed
Tips for Success:
- Take time to measure each piece before making any cuts
- Keep all letters consistent in size for better reading
- Place all pieces on the floor to check the full design
- Cut extra string length for easier hanging adjustments
For a more detailed look on the method click here.
2. DIY Construction Theme Balloon Garland
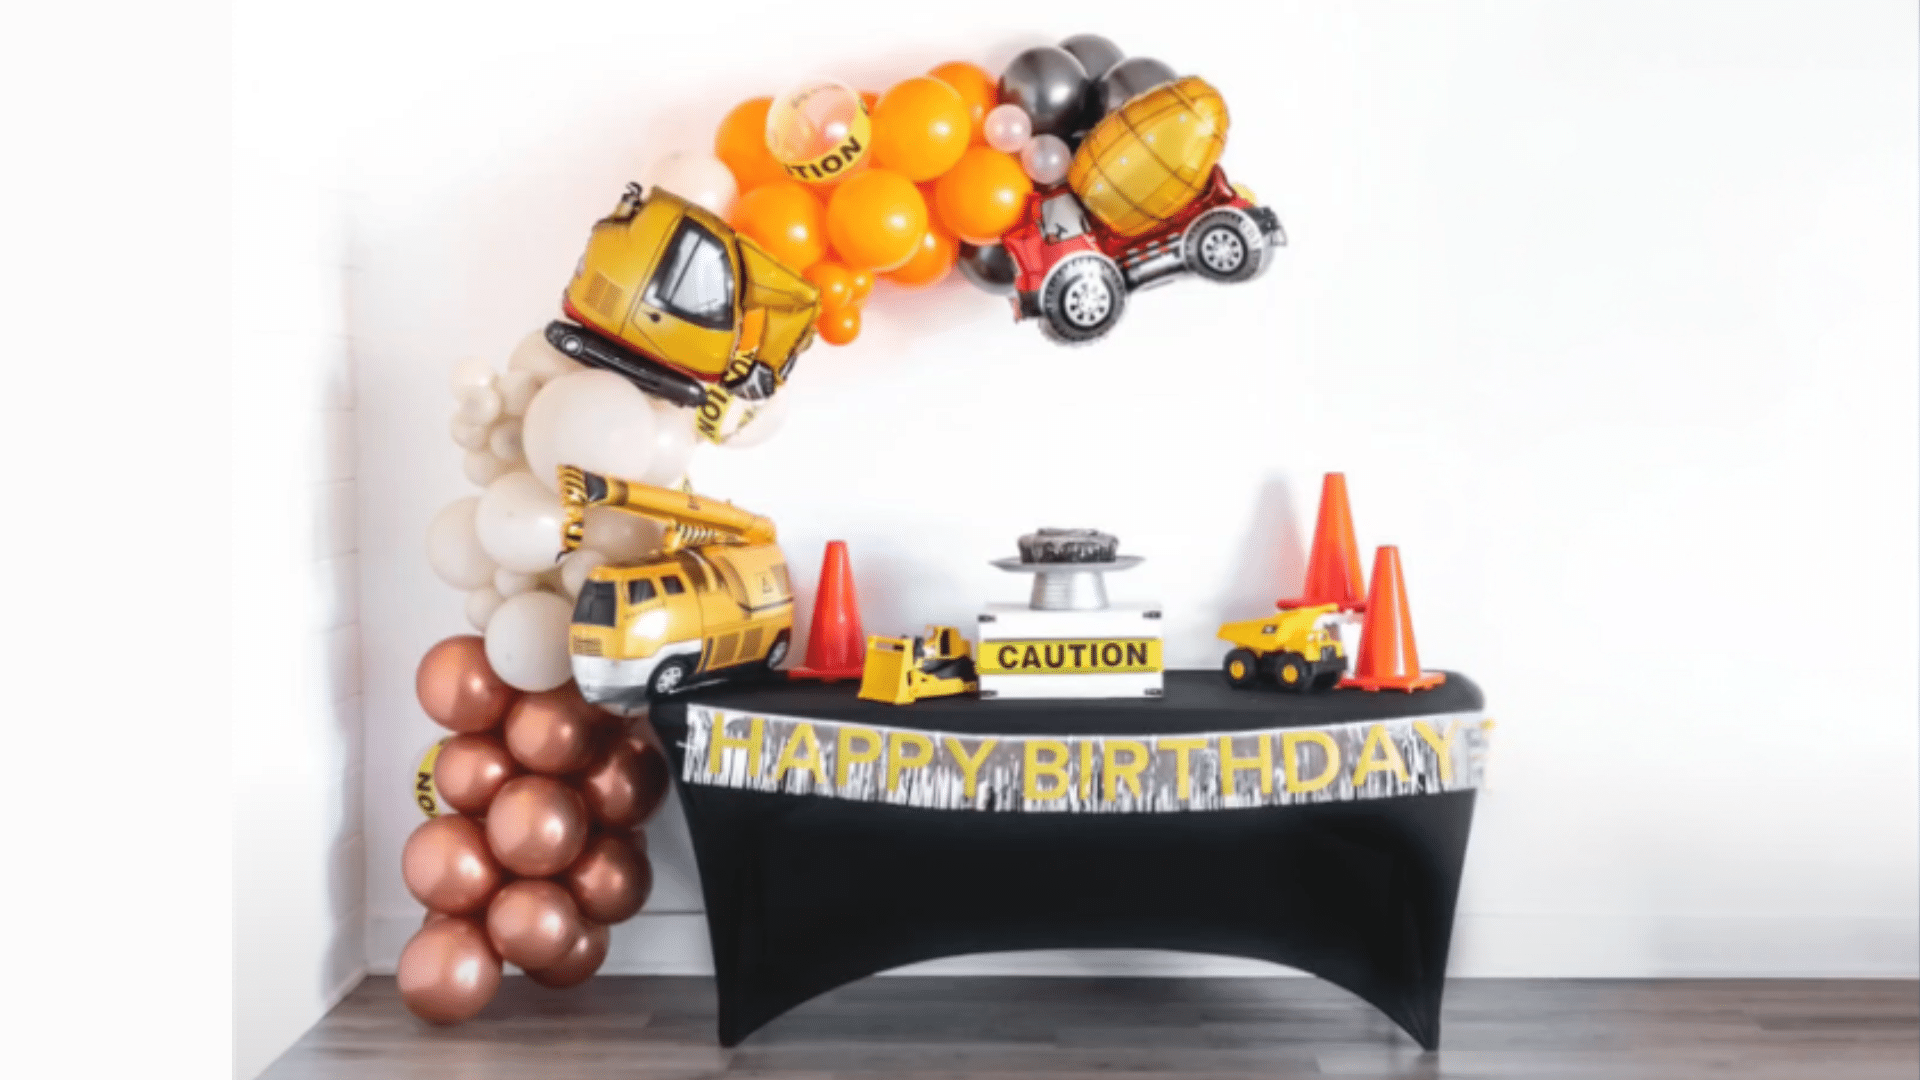
What You’ll Need
- Yellow 12-inch balloons (main color)
- Yellow 5-inch balloons (for clusters)
- Orange balloons
- Black balloons
- Silver balloons
- Electric balloon pump
- 160-size balloon for base
- Glue dots
Step-by-Step Guide:
1: Prepare Your Materials
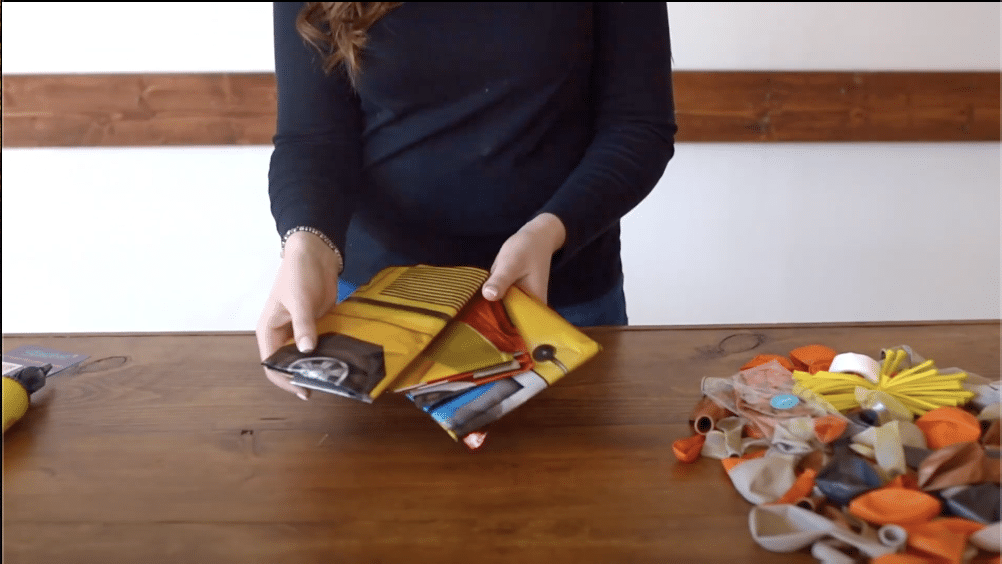
- Take out all balloons from their packages and group them by colors
- Place your electric pump in a spot where you can work easily
- Make sure you have enough space to spread out your materials
2: Start The Base
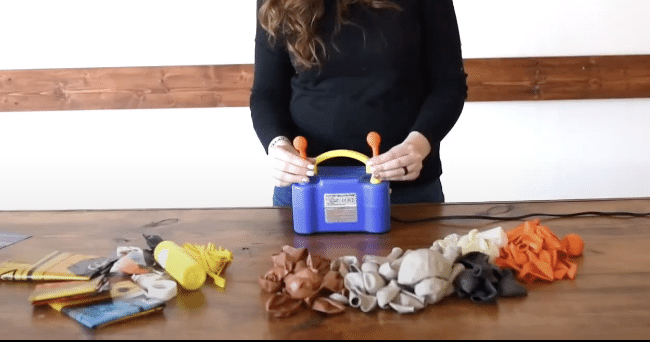
- Take your 160-size balloon and inflate it to create your foundation
- This balloon needs to be strong enough to hold all other balloons
- Find a good spot to secure both ends when you start adding clusters
3: Create Basic Clusters
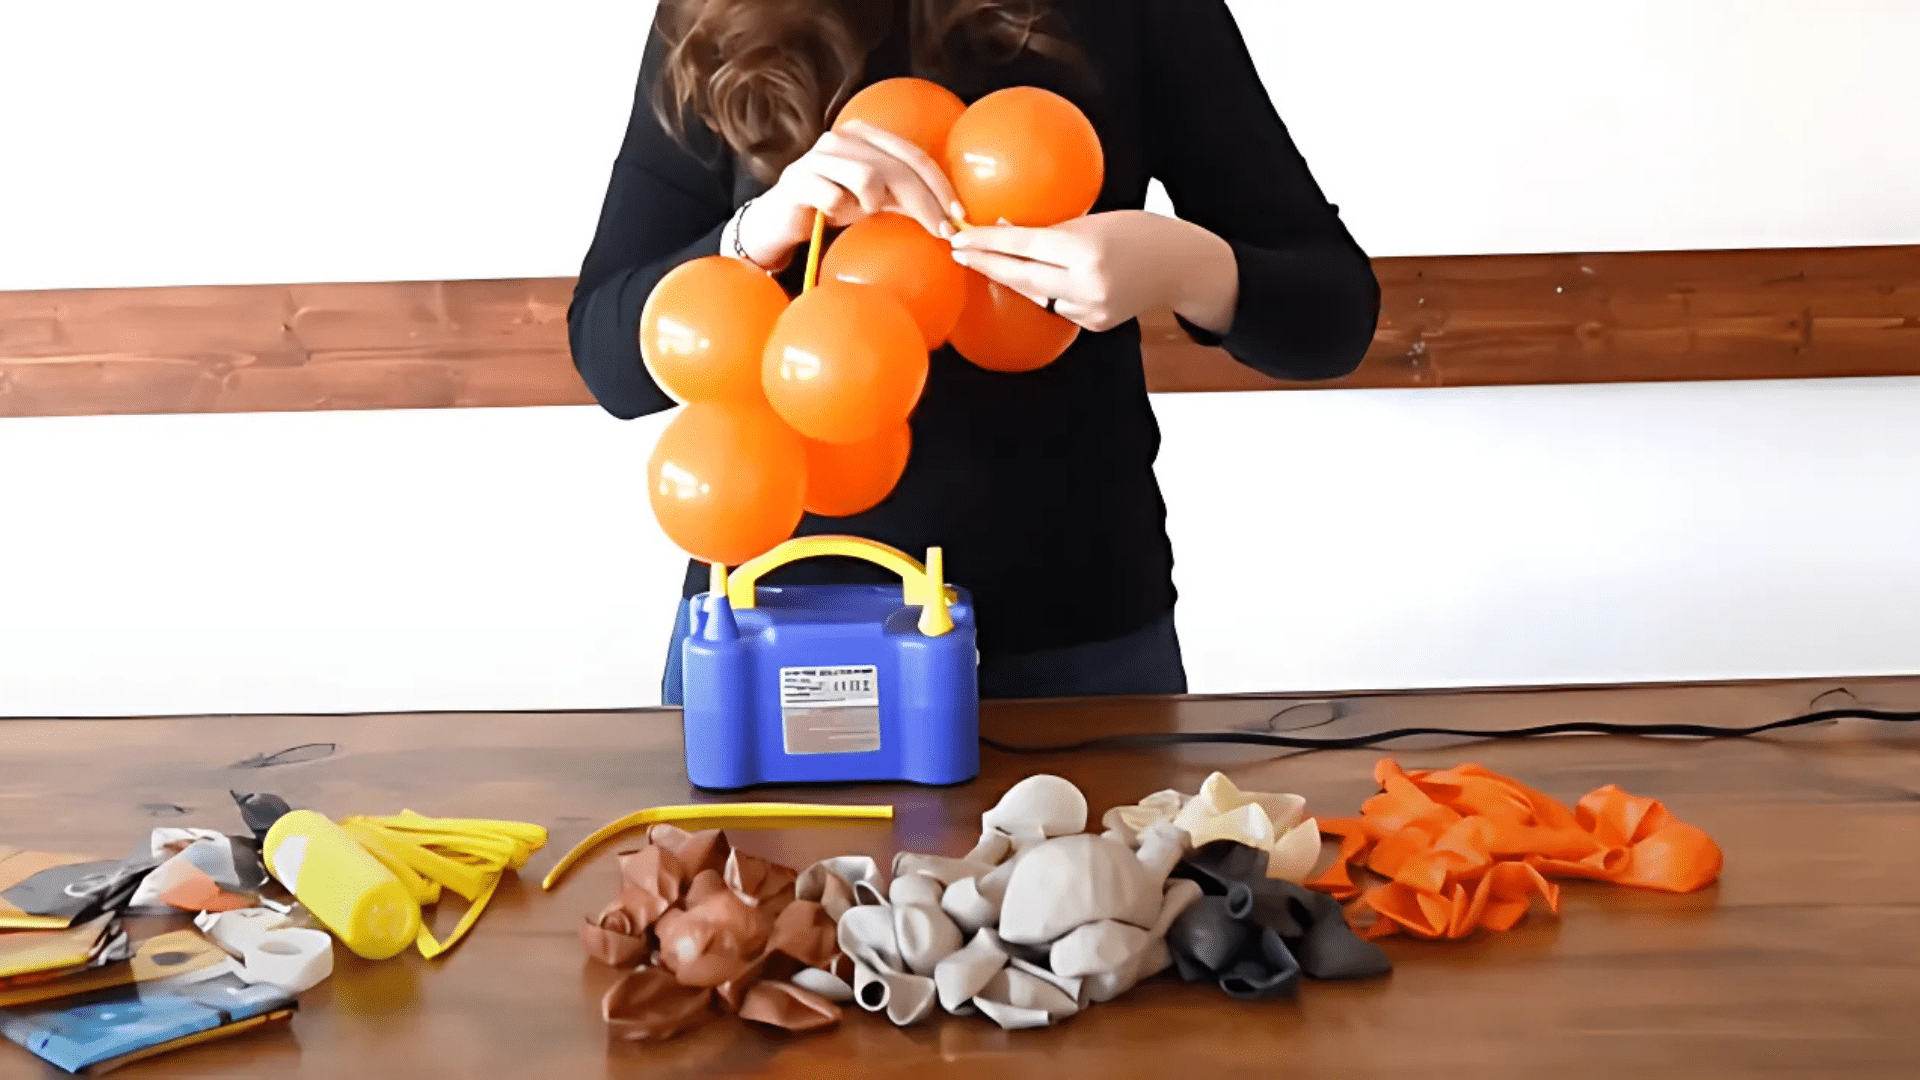
- Begin by inflating several yellow 12-inch balloons
- Take two or three balloons and tie their ends together
- Make several of these small groups to start your pattern
- Use your smaller yellow balloons to connect bigger balloon groups
4: Add Color Layers
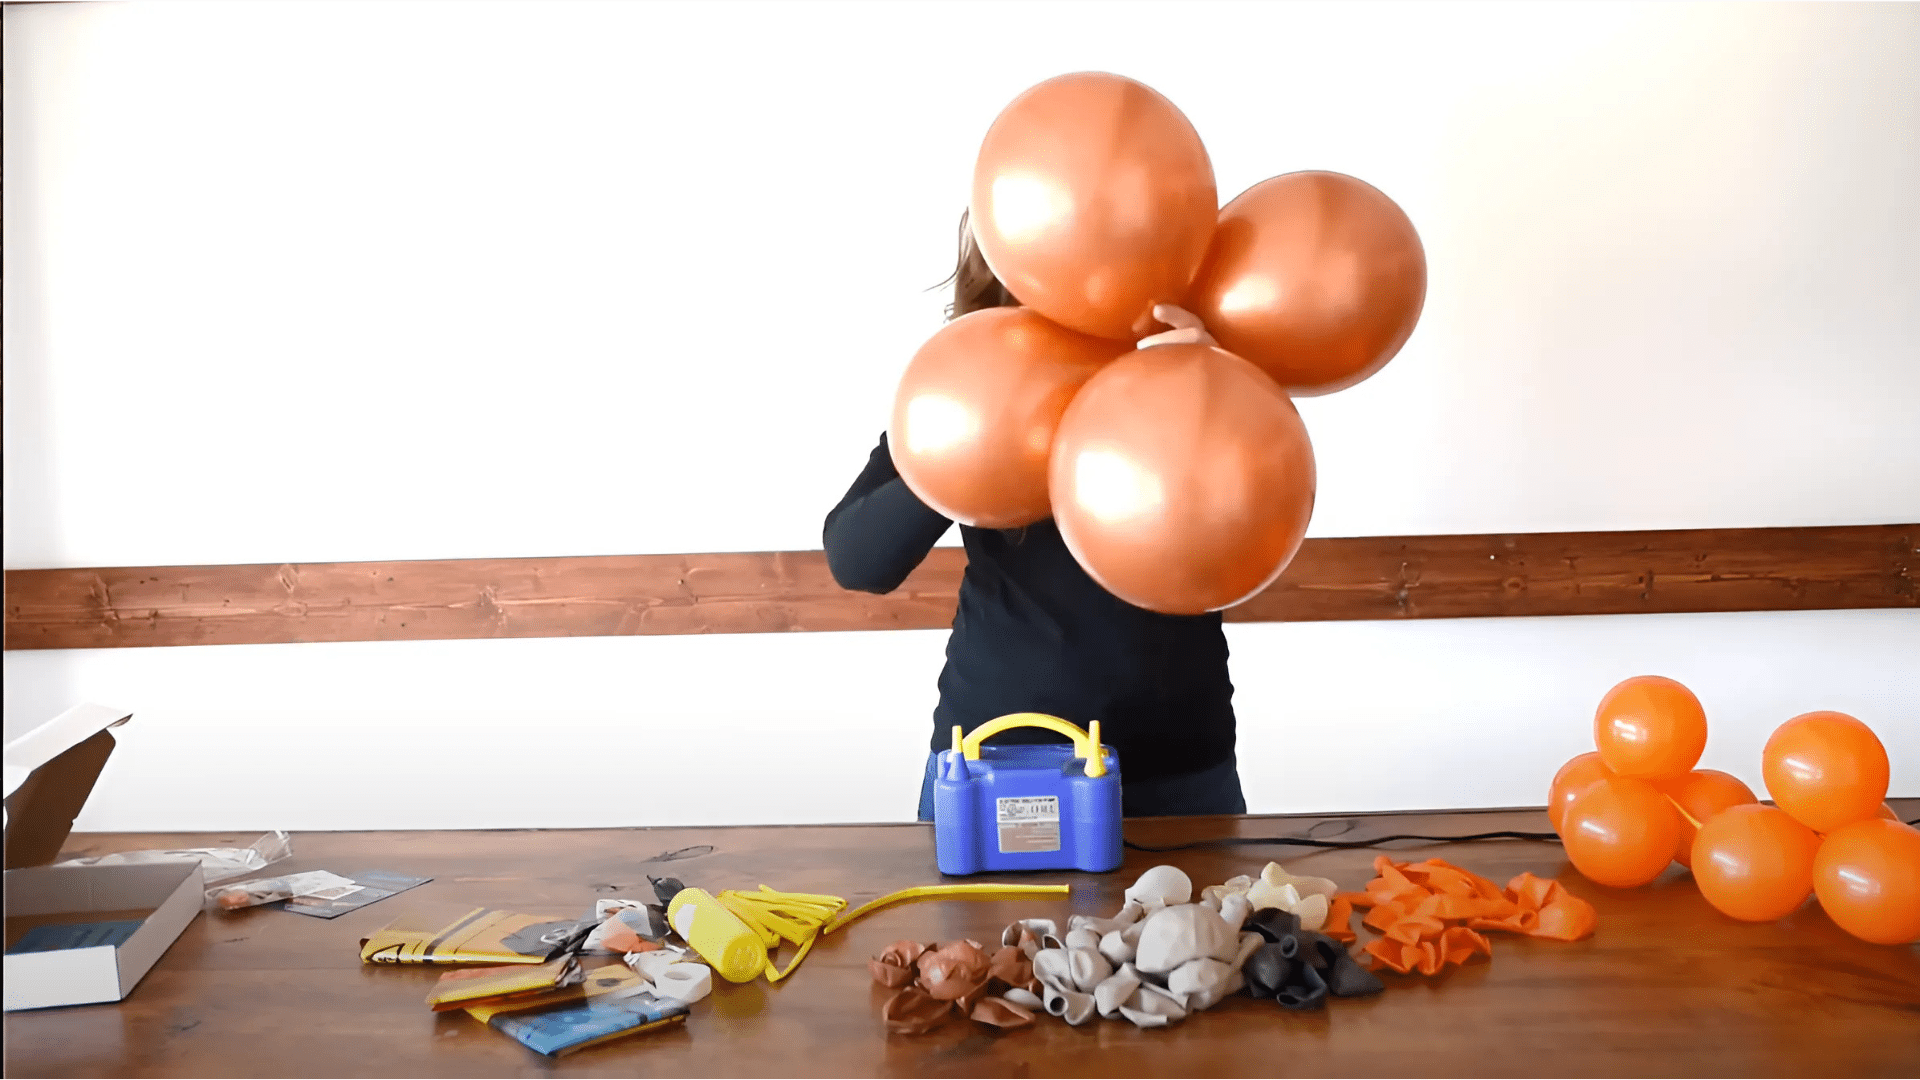
- Place your orange balloons next to the yellow clusters for contrast
- Mix in black balloons to create depth in your design
- Keep most of your clusters mainly yellow to maintain the construction look
- Make sure your colors spread evenly across the whole garland
5: Build Your Pattern
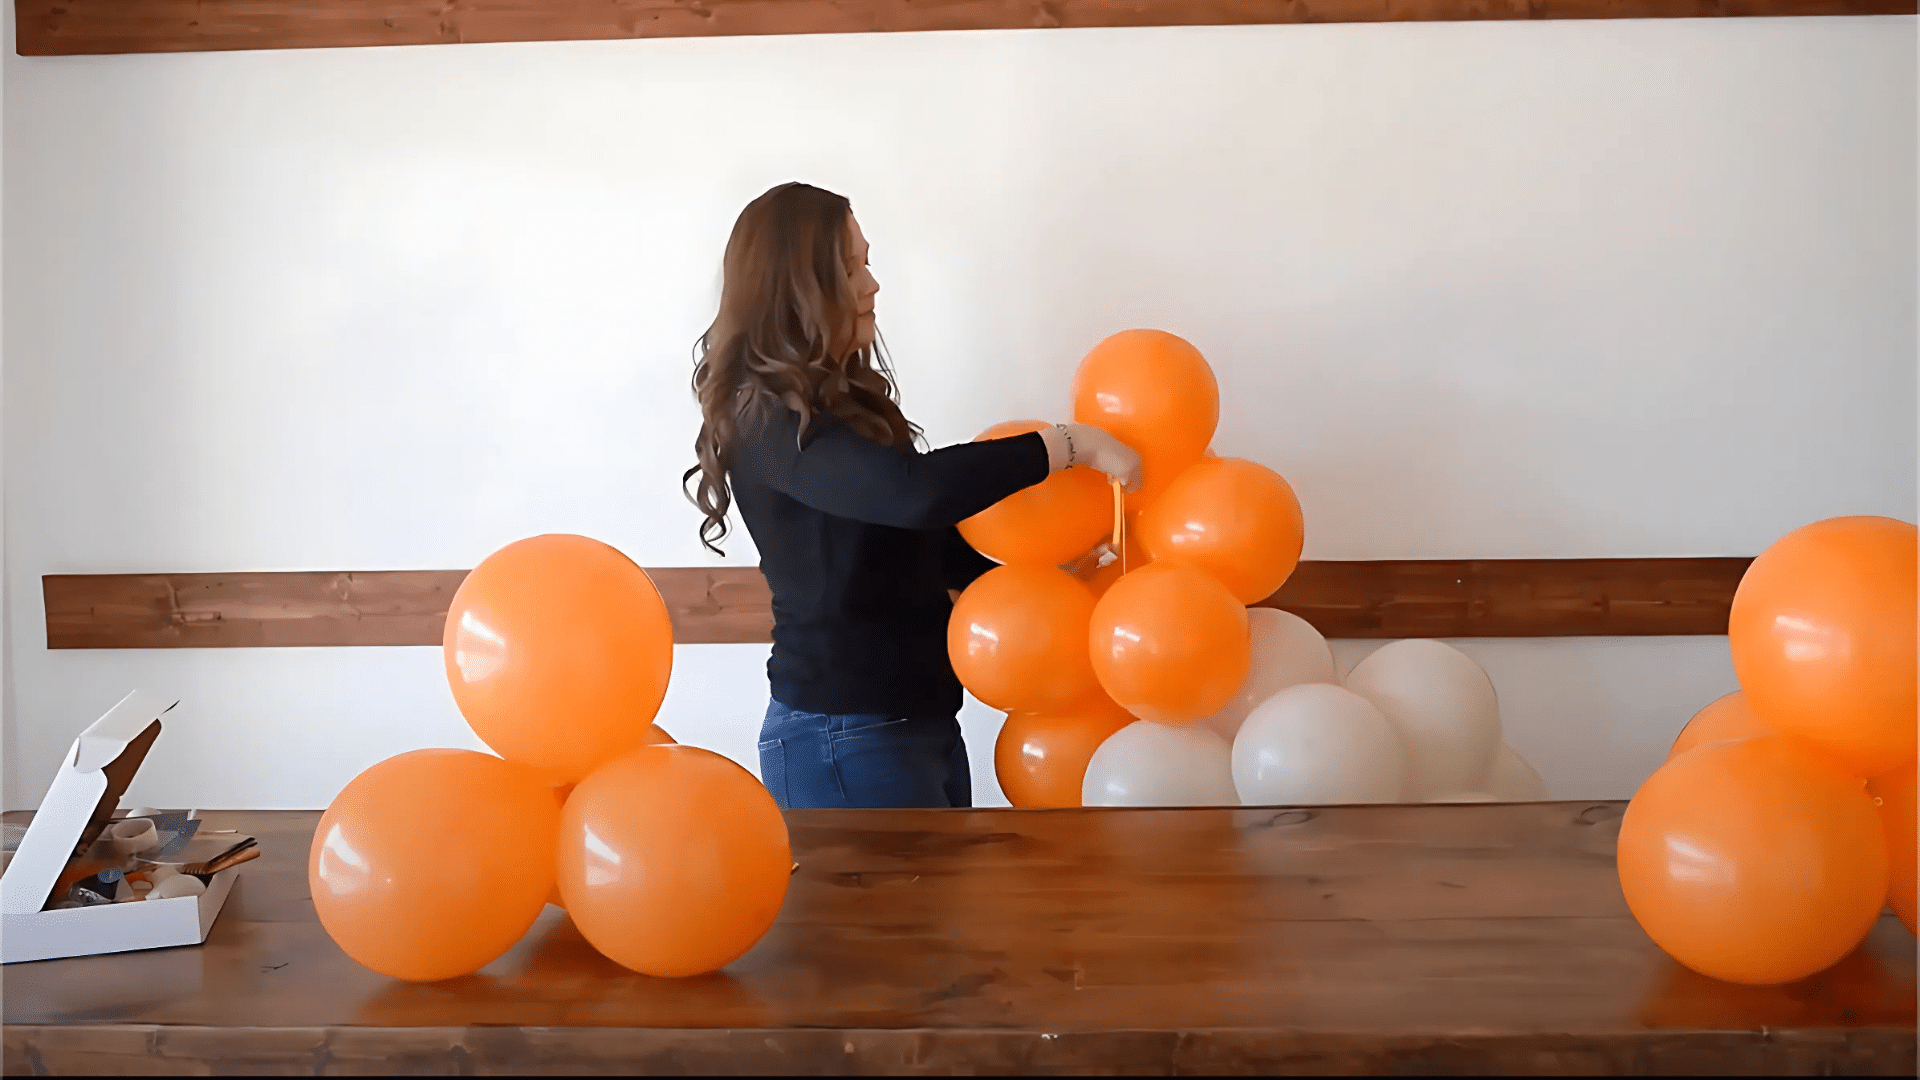
- Find the center point of your base balloon to start building
- Create matching sections on both sides for balance
- Connect each cluster firmly to your base support
- Look for spaces that need small balloons to look complete
6: Final Touches
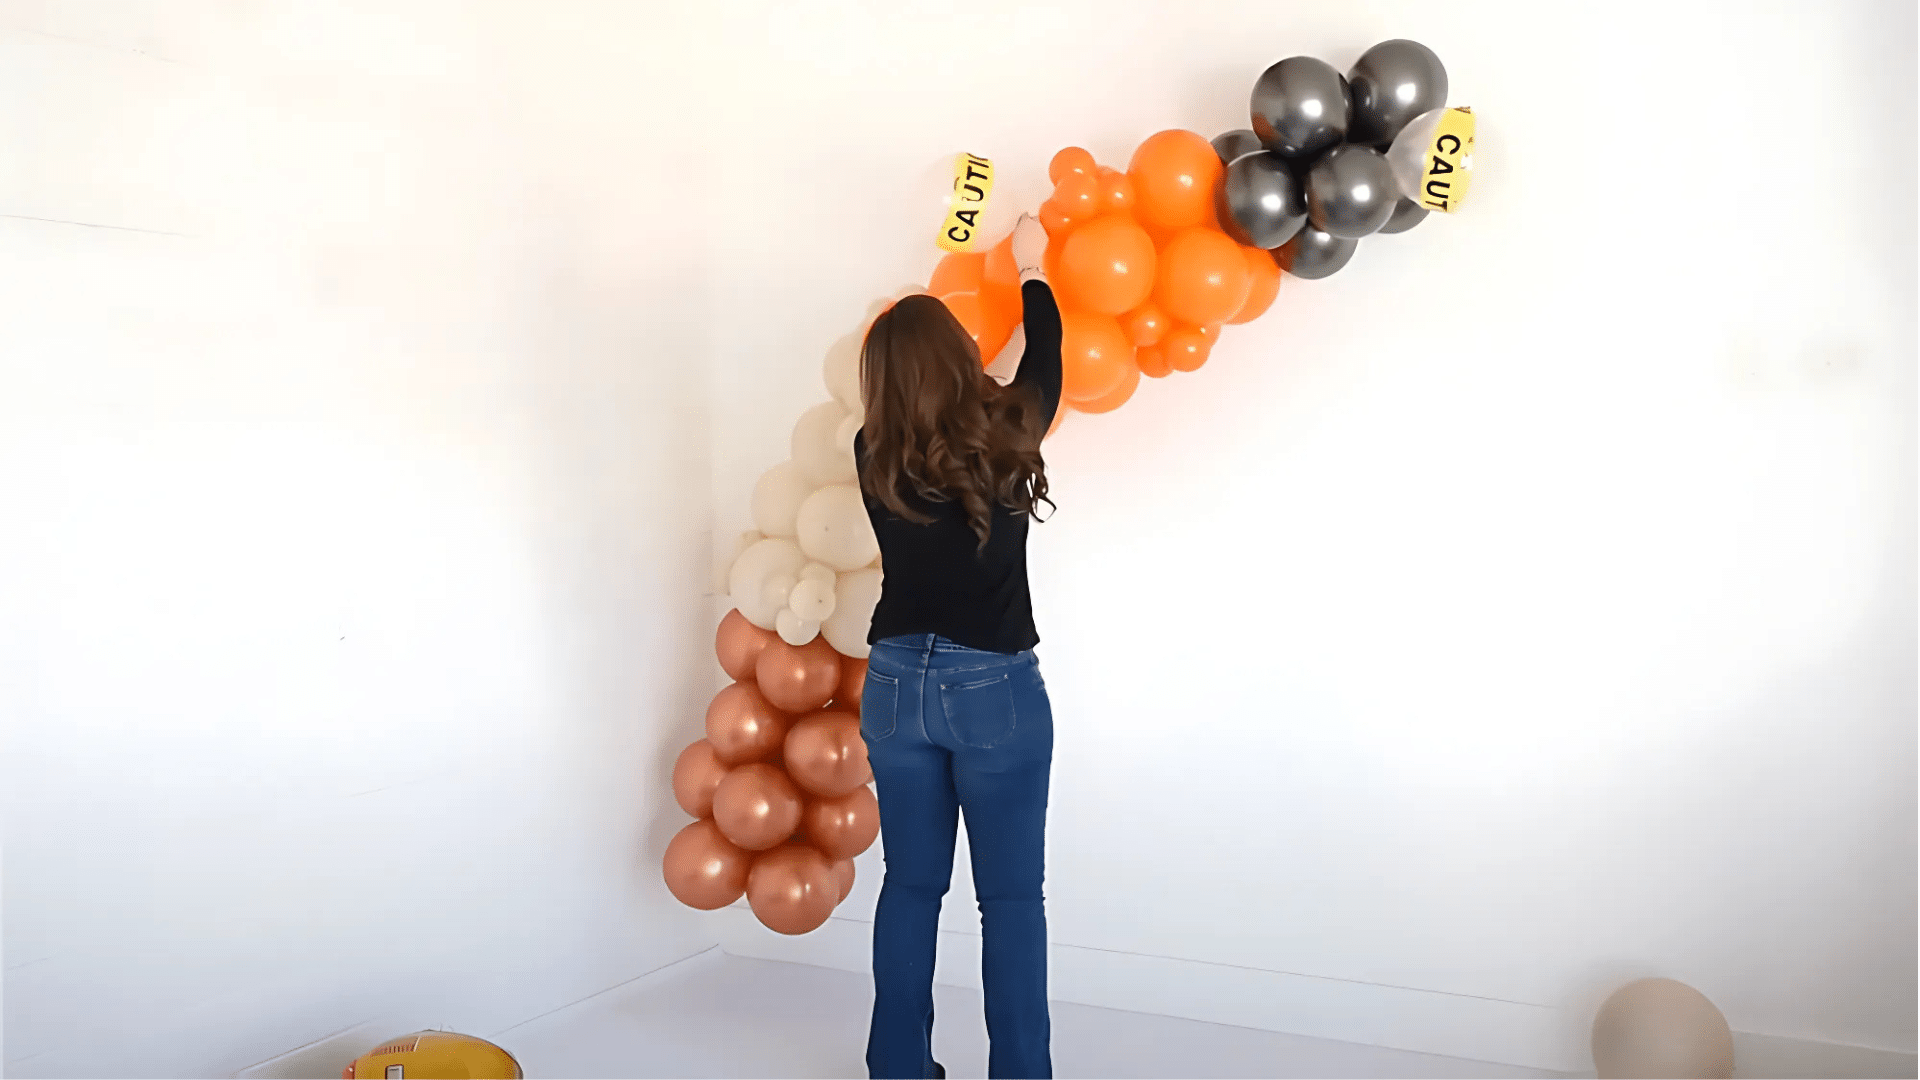
- Take your silver balloons and place glue dots around their bases
- Put four dots on each silver balloon for extra security
- Place these silver accents throughout your garland
- Give all balloons a final check to ensure they’re properly secured
Key Tips to Remember:
- Look at your garland from different angles to ensure even color spread
- Check for any spaces that might need extra balloons
- Make sure each balloon cluster connects firmly to your base
- Take several steps back now and then to check your overall design
For a more detailed look on the method click here.
Other DIY Decoration Ideas
1. Traffic Cone Balloons
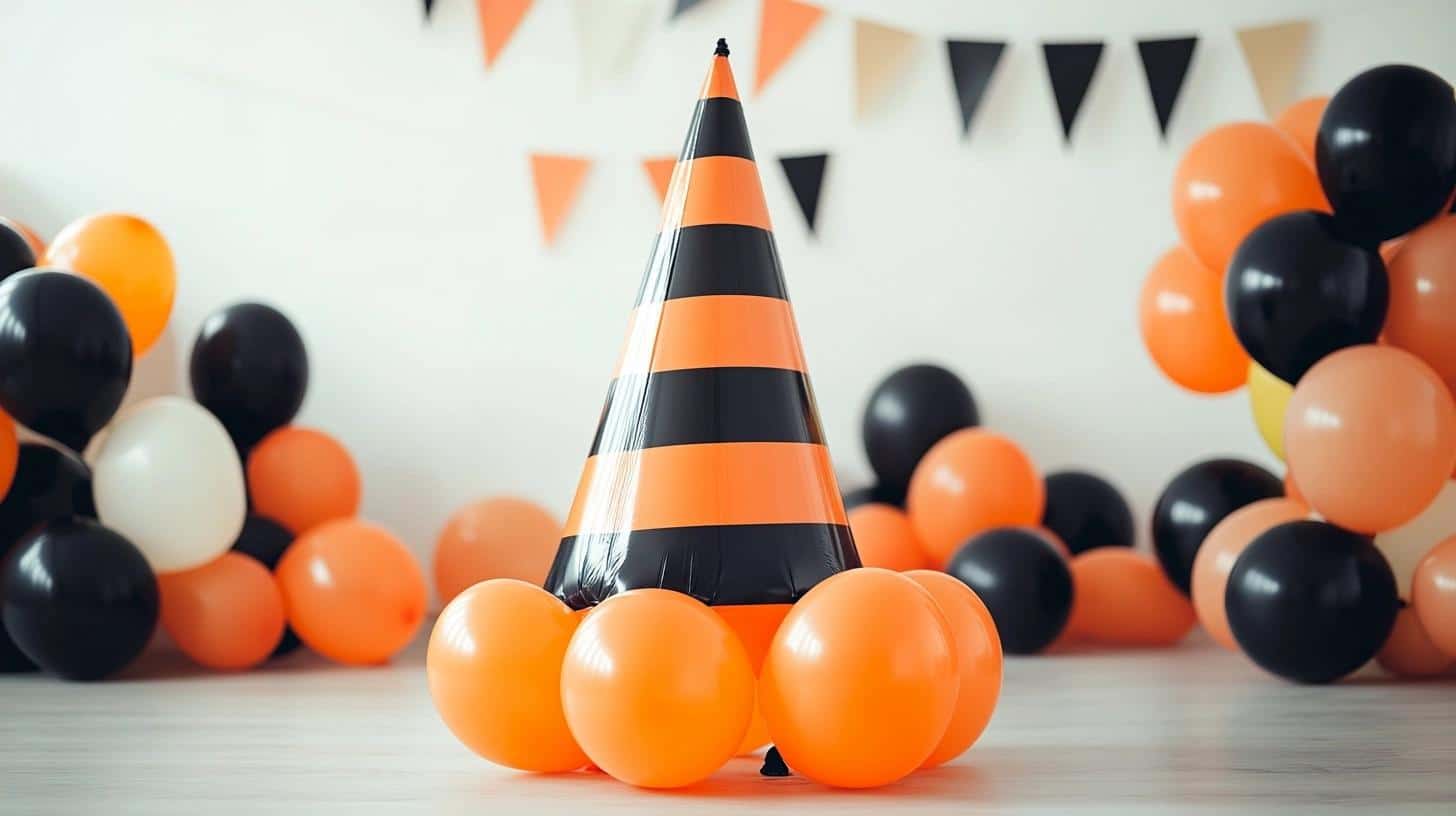
Stack orange balloons in a cone shape, getting smaller as you go up. Put three large balloons at the bottom, two medium ones in the middle, and one small balloon on top. Add a paper cone cap painted orange with a white stripe for the peak.
Setup Tips:
- Use balloon weights at the base
- Add double-sided tape between layers
- Place in corners or entry points
- Make in different sizes
- Keep away from sharp objects
2. Construction Site Cake Design
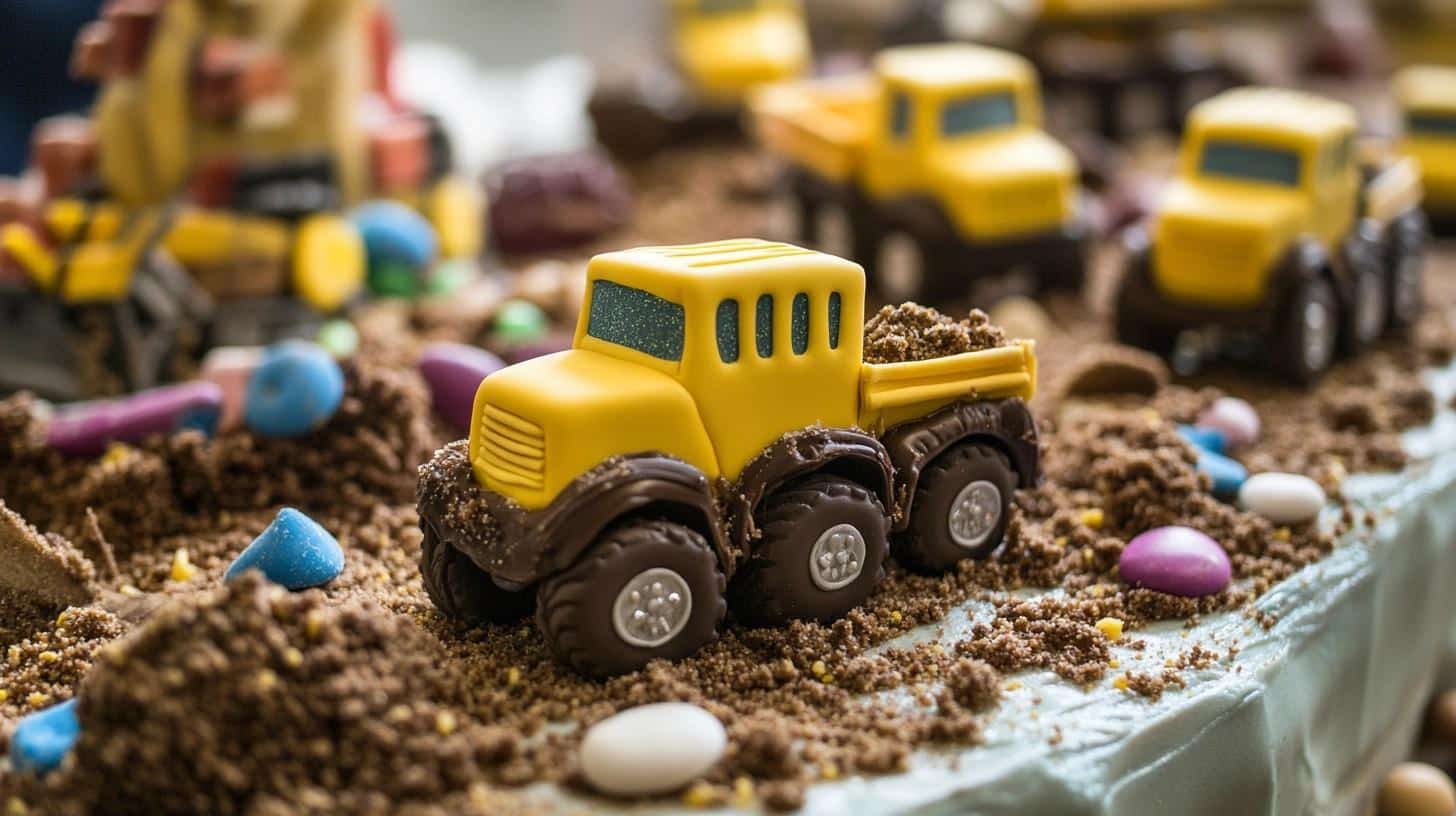
Place a small toy truck on top of the cake surrounded by crushed chocolate cookies as soil. Add small candy pieces as rocks around the edges. Put cookie pieces in the truck bed like it’s carrying a load.
Setup Tips:
- Clean toys before placing on cake
- Keep cookies chunky for texture
- Space trucks evenly on top
- Use fresh cookies for best look
- Have spare decorations ready
3. Truck Candy Stations
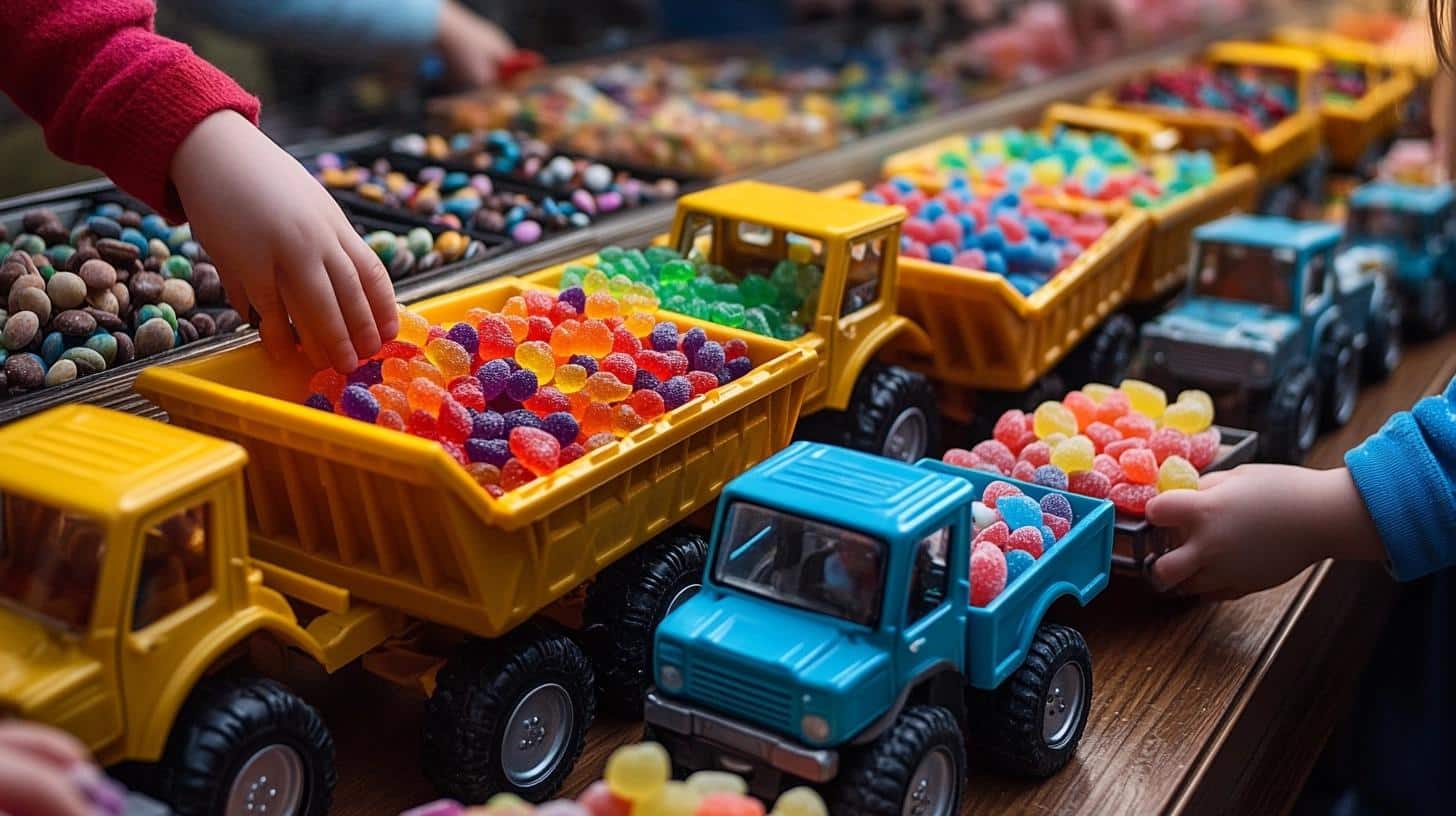
Small yellow toy trucks hold different candies in their beds. Put round candies in one, stick candies in another, and wrapped treats in a third. Line trucks up on a table where kids can easily reach.
Setup Tips:
- Secure trucks to prevent tipping
- Label each truck’s contents
- Place at child height
- Refill as needed
- Keep backup candy ready
4. Hard Hat Name Cards
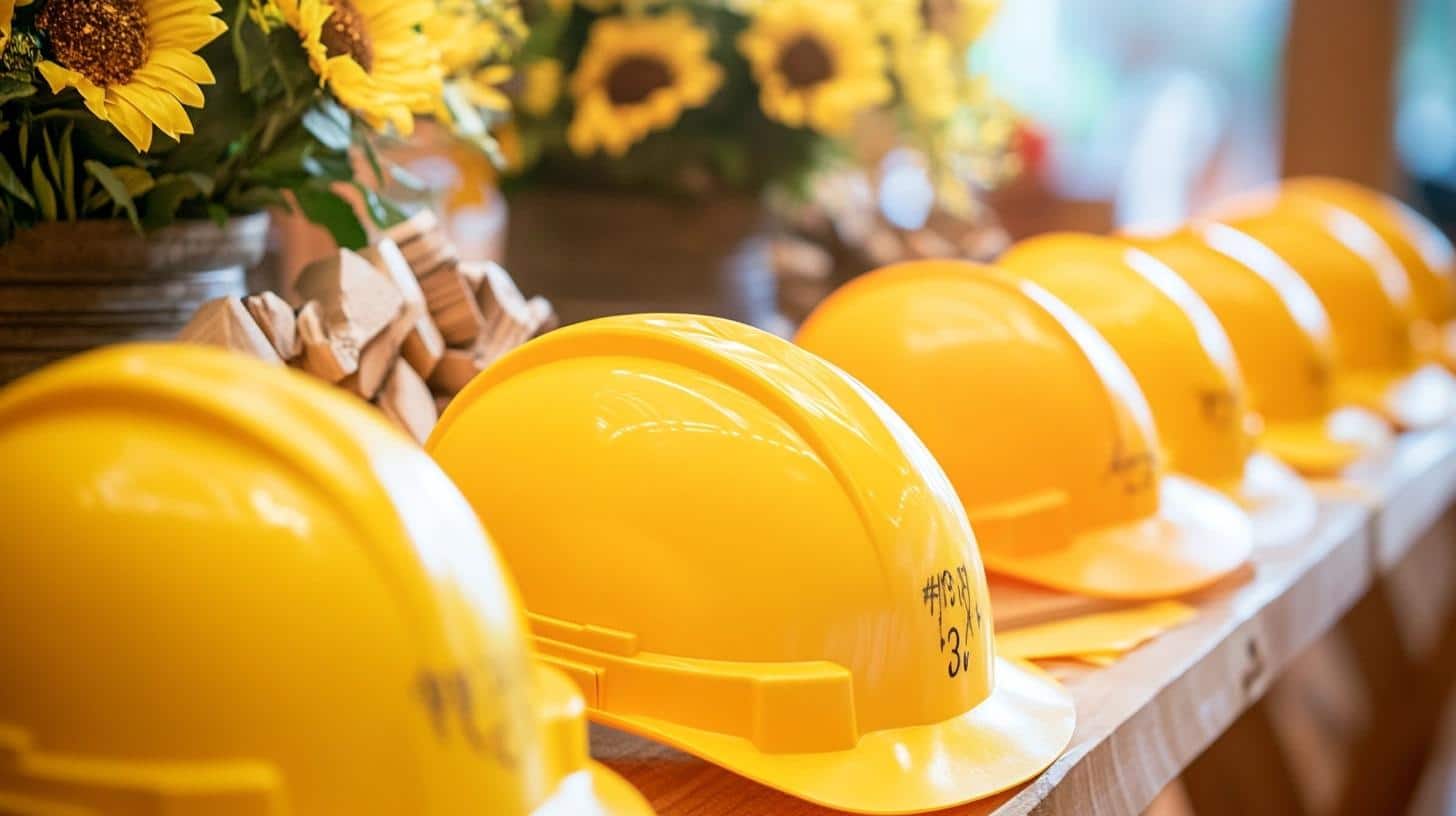
Make paper hard hats by cutting yellow card stock in a dome shape. Write each child’s name in big black letters. Add white strips across the top to look like safety bands. These work great as party favors too.
Setup Tips:
- Make extras for last-minute guests
- Keep markers handy for changes
- Display at each place setting
- Use thick paper for strength
- Store flat until party time
5. Tool Belt Wall Display
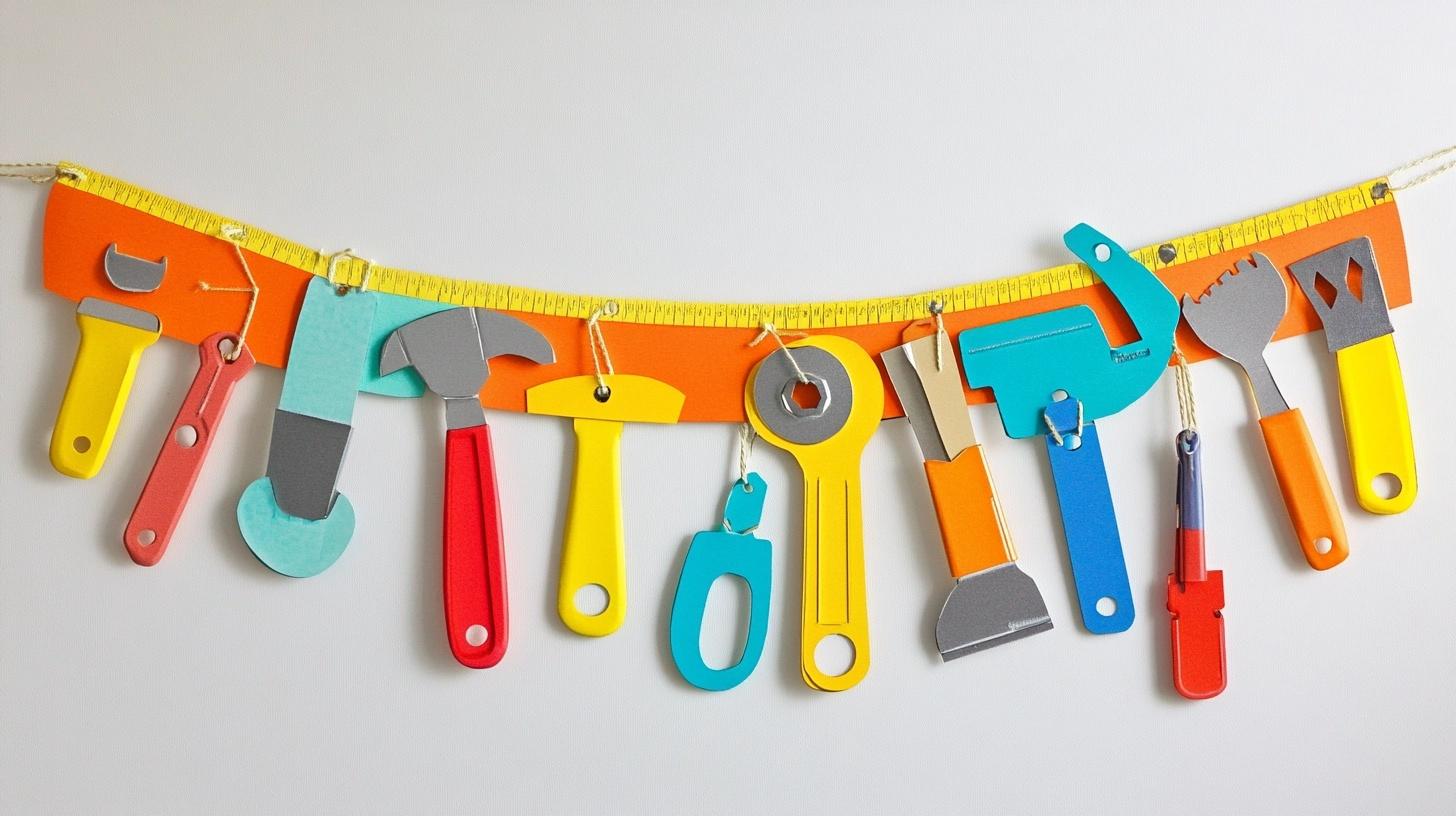
Cut paper tools like hammers, screwdrivers, and spanners. String them together on brown paper to make a tool belt shape. This makes a great wall display above food tables or activity areas.
Setup Tips:
- Space tools evenly apart
- Use strong string or twine
- Secure ends well to wall
- Make backup decorations
- Keep away from food areas
6. Floor Path Markers
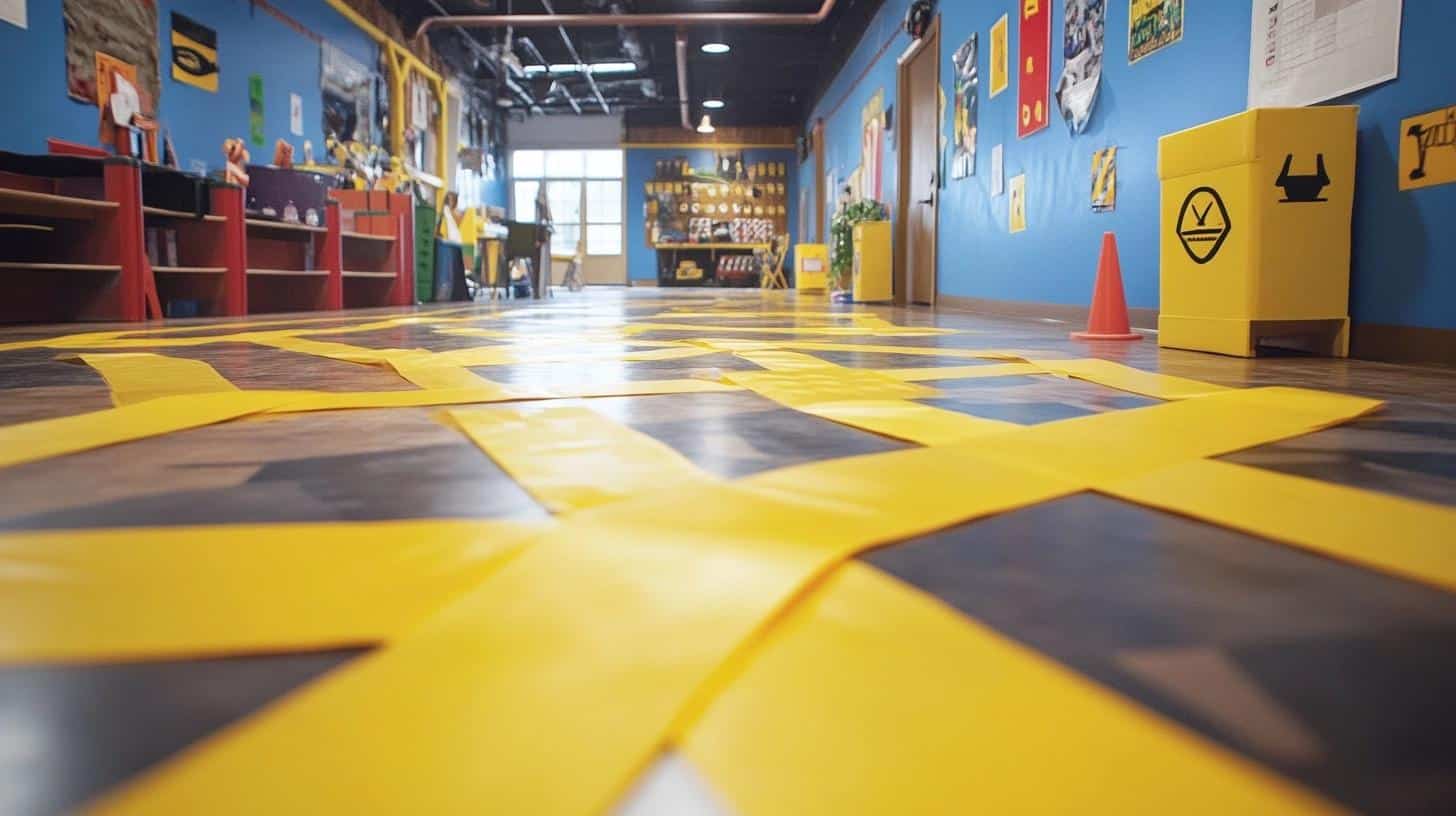
Make floor paths using yellow paper strips. Lead kids from one party area to another, like from snacks to games. Add black dashed lines in the middle to look like real roads.
Setup Tips:
- Secure edges with tape
- Keep paths wide enough
- Mark activity spots clearly
- Replace if paper tears
- Remove trip points
7. Photo Wall Blocks
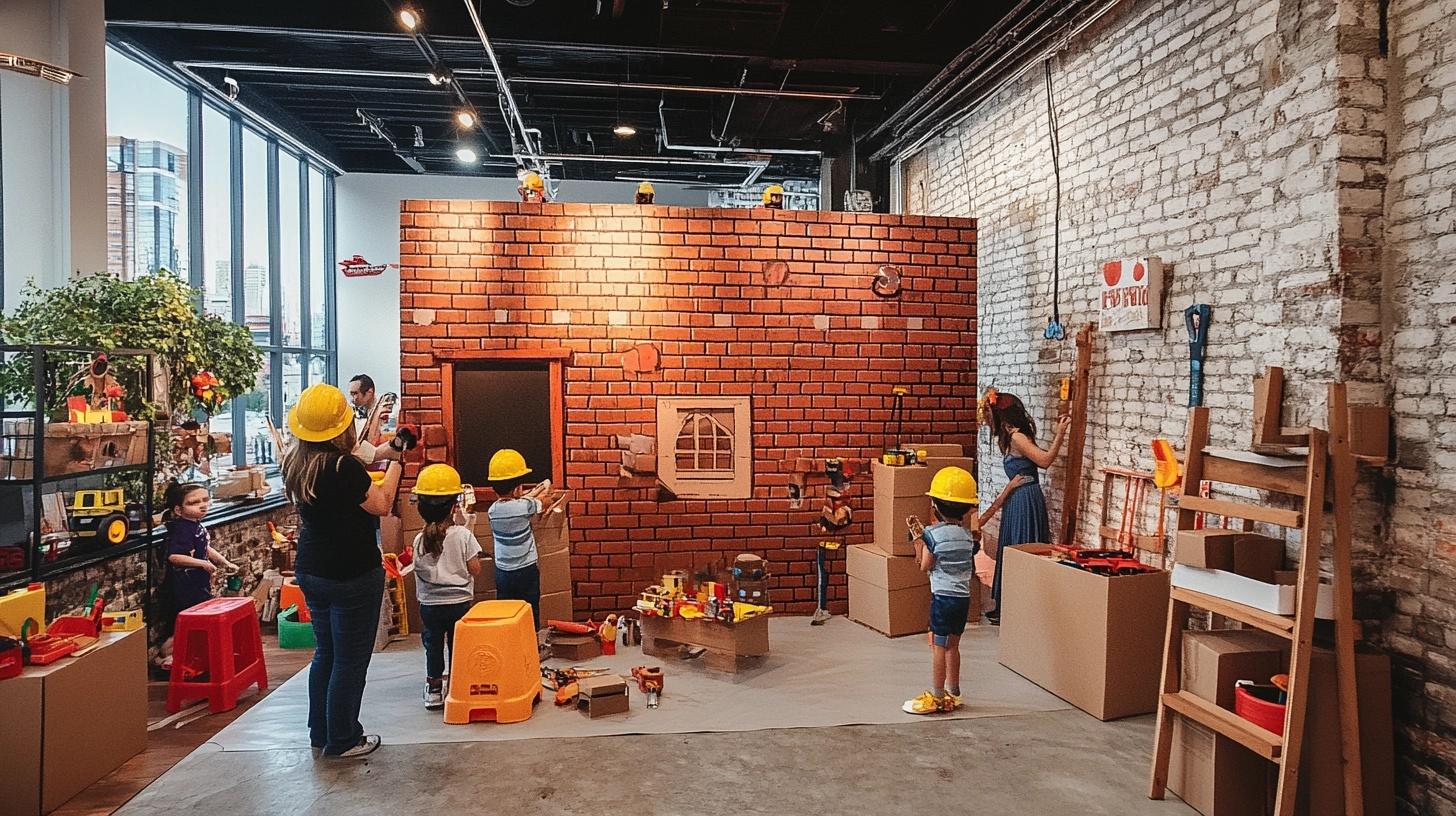
Stack painted boxes to make a wall. Paint them red and add white lines to look like bricks. Make it tall enough for good pictures but stable enough to stay up during the party.
Setup Tips:
- Secure boxes together well
- Test stability before use
- Keep space in front clear
- Have props ready nearby
- Check boxes stay in place
8. Table Blueprint Design
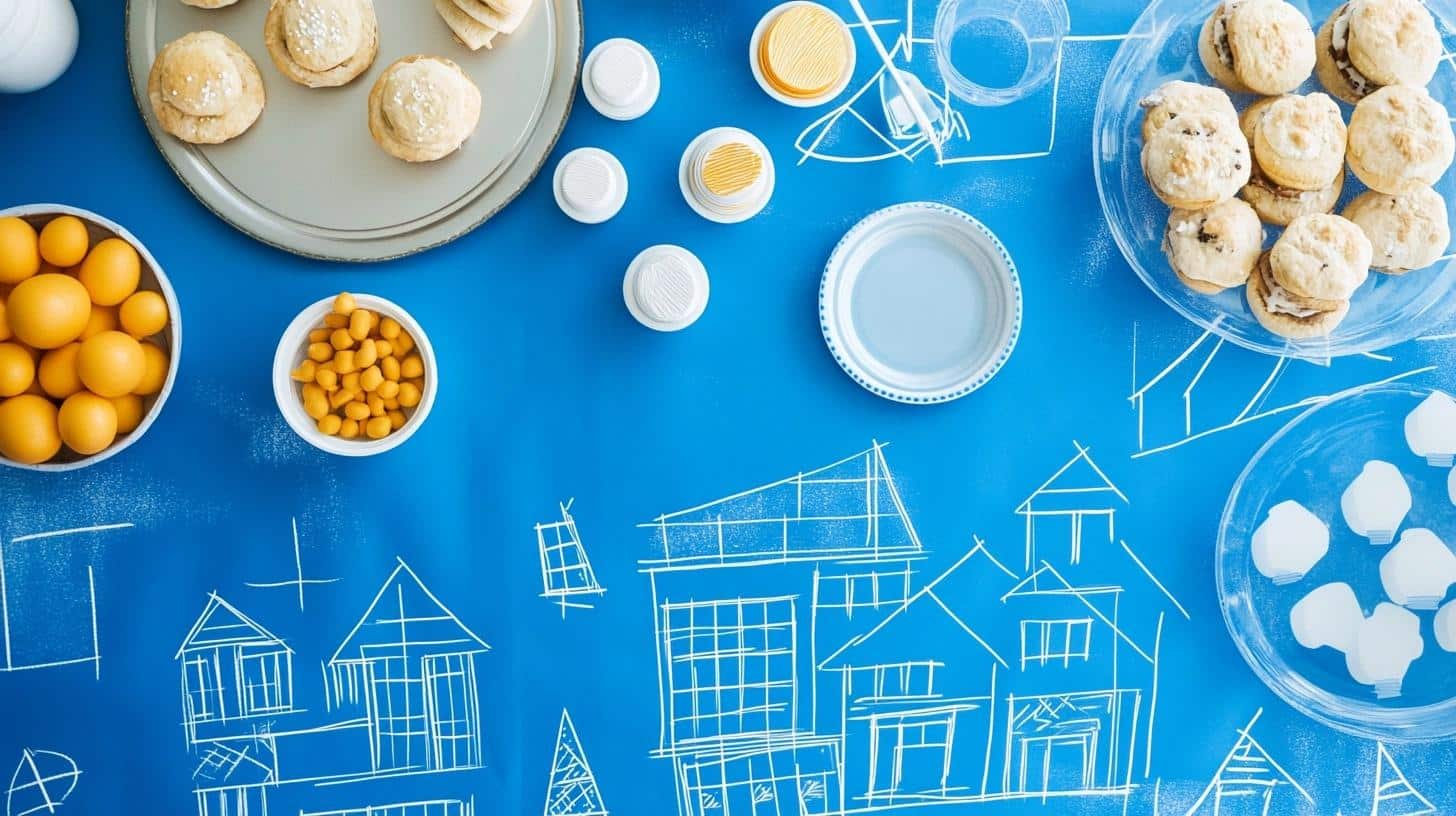
Create table covers using blue paper with white marker drawings. Make simple house plans with straight lines and measurements. Add circles for windows and squares for doors. Cover with clear plastic to protect from spills.
Setup Tips:
- Draw lines with rulers
- Protect paper from moisture
- Secure edges under tables
- Make extra covers
- Keep designs simple
9. Snack Display Stands
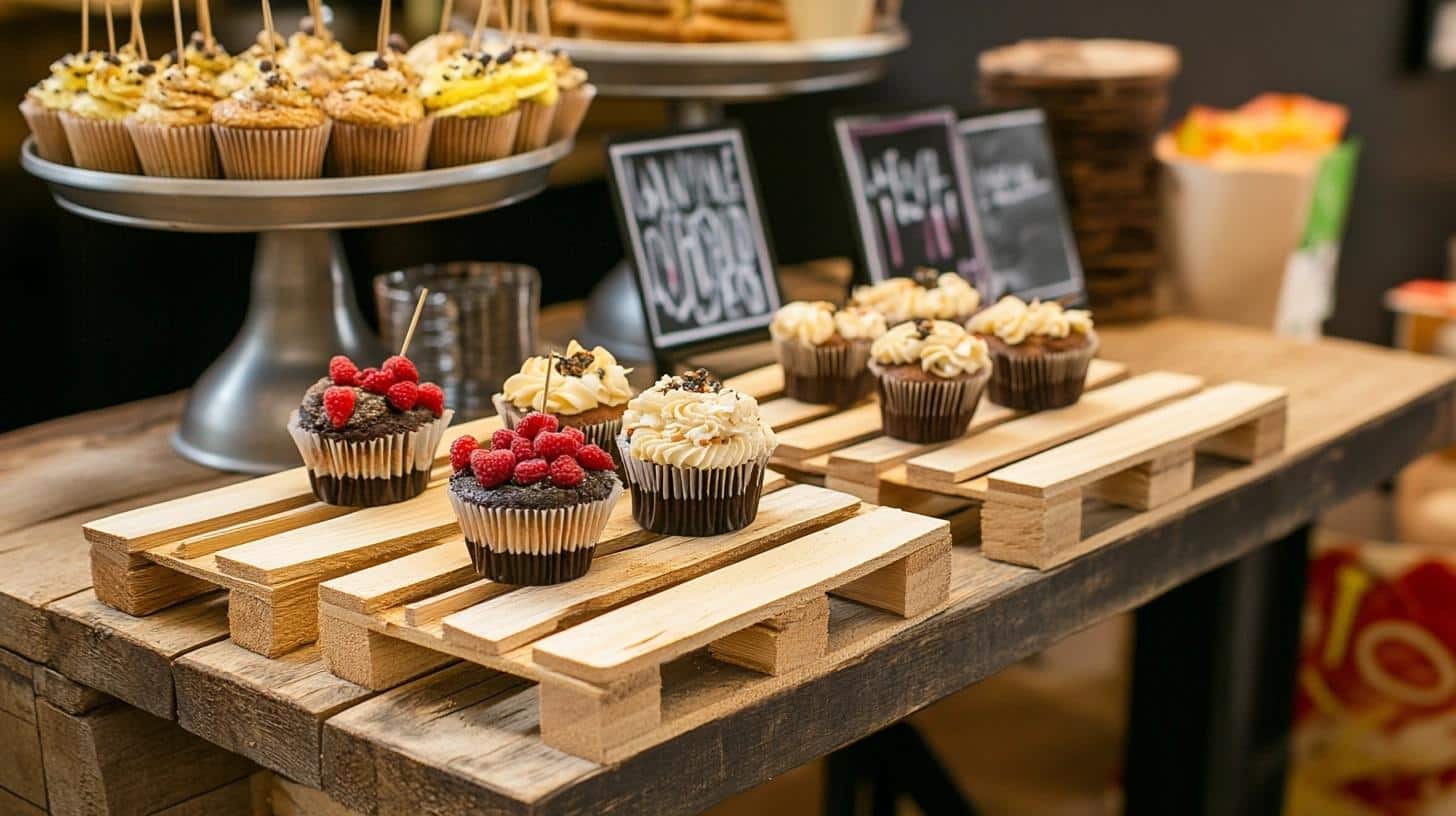
Join popsicle sticks in criss-cross patterns to make mini platforms. Paint them brown to look like wood pallets. Put snack bowls and plates on top to lift them off the table surface.
Setup Tips:
- Test weight limits first
- Keep sizes consistent
- Make sturdy bases
- Have backups ready
- Clean before food use
10. Tool-Shaped Treats
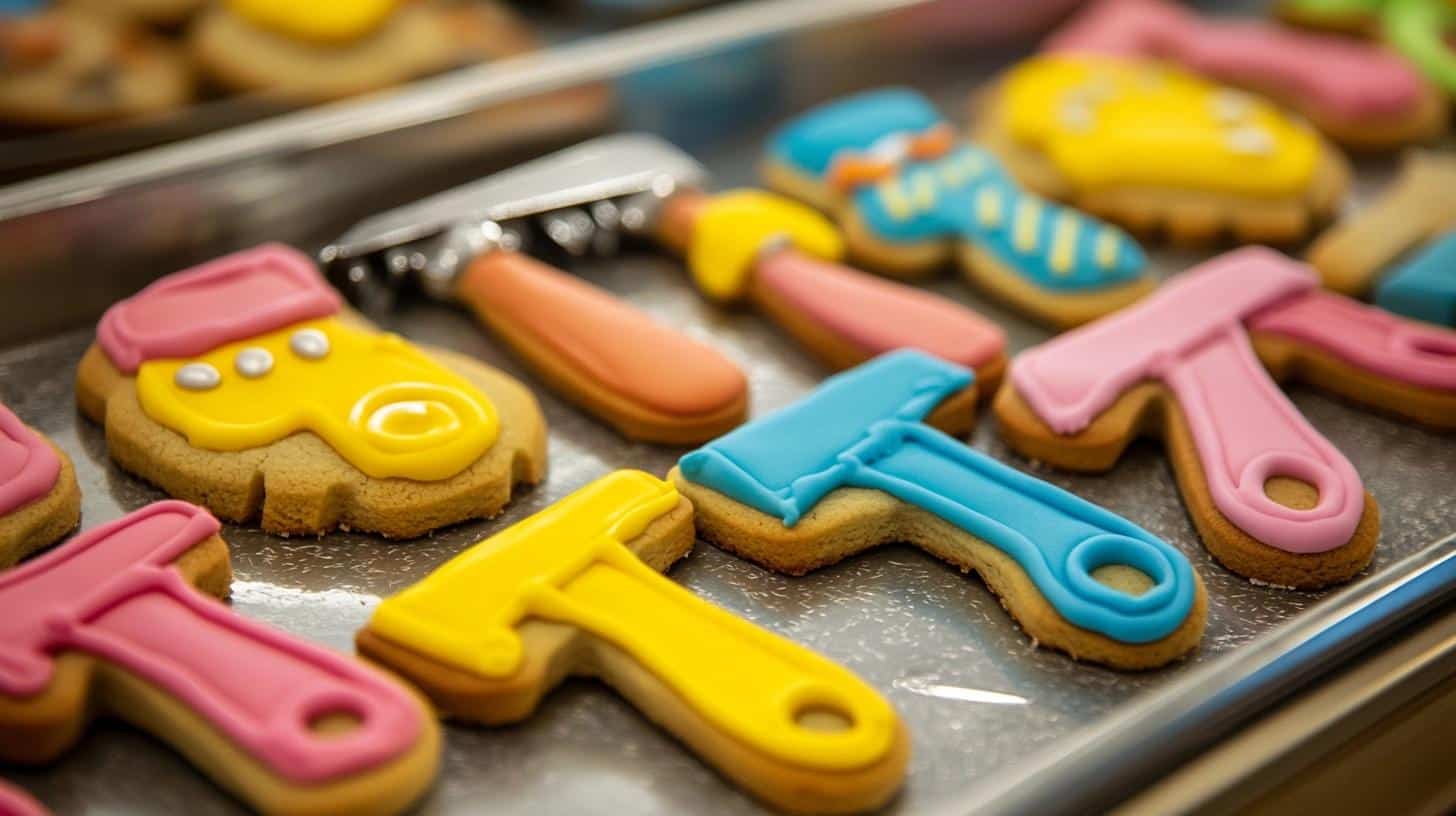
Cut cookie dough into shapes of wrenches, hammers, and screwdrivers. Ice them with gray, yellow, and black frosting. Add small details like grip patterns and metal textures with thin icing lines.
Setup Tips:
- Cool cookies completely
- Keep shapes simple
- Stack carefully
- Store in cool place
- Transport flat
11. Drink Station Design

Make a drink stand with a long spout made from cardboard tubes. Paint it yellow to match party colors. Put drinks in a clear container at one end with the tube acting as a pouring spout.
Setup Tips:
- Check tube seals
- Keep spout clean
- Place on stable table
- Have cups nearby
- Monitor spills
12. Sand Treasure Box
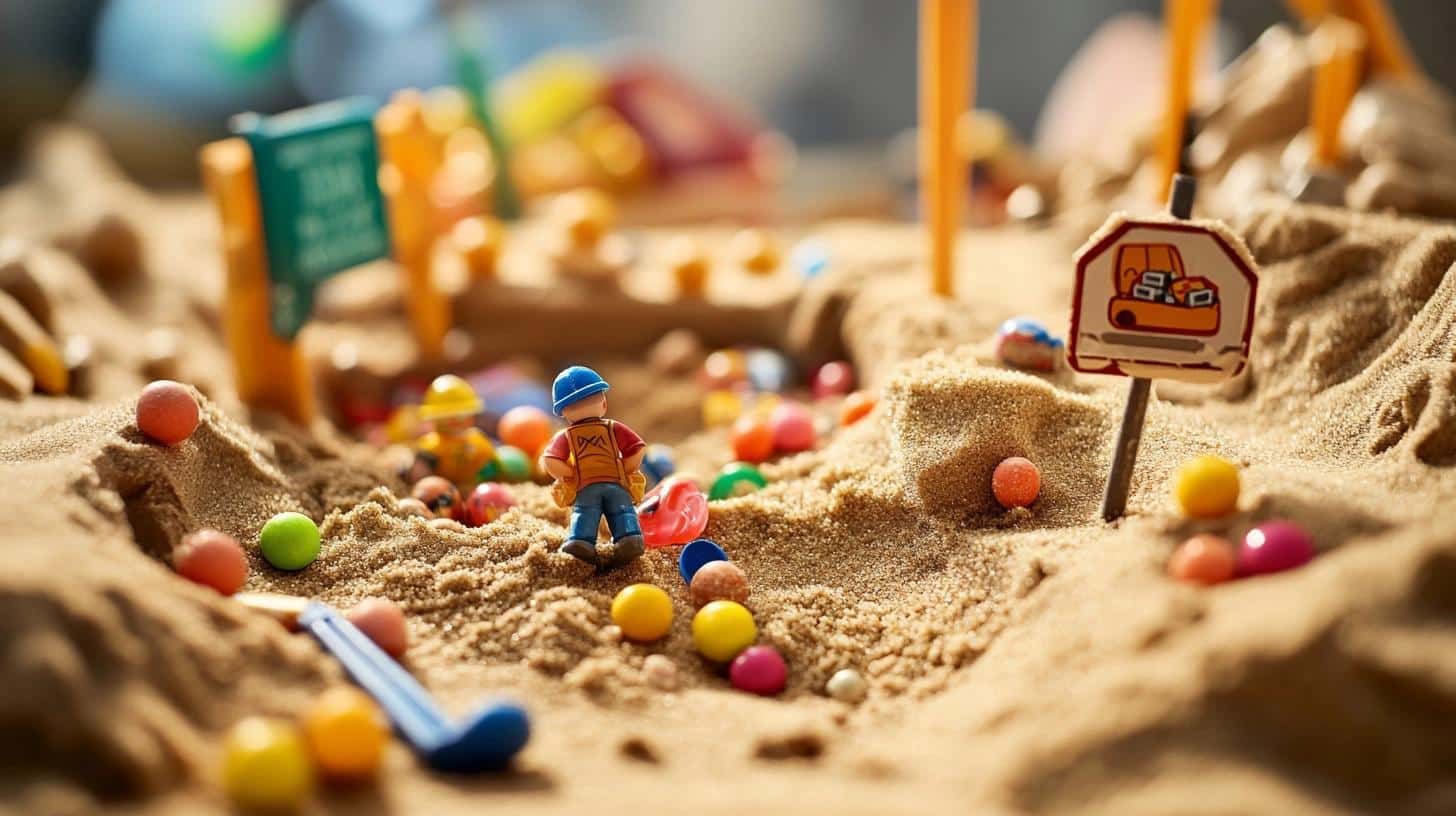
Fill a low, wide box with clean play sand. Hide small toys, wrapped candies, and party gifts under the sand. Give each child a small plastic shovel to find their own surprises. Add labels to show it’s a special digging spot.
Setup Tips:
- Use fresh, clean sand
- Keep sand contained
- Check items stay buried
- Have cleanup tools ready
- Monitor digging areas
13. Road Sign Food Labels
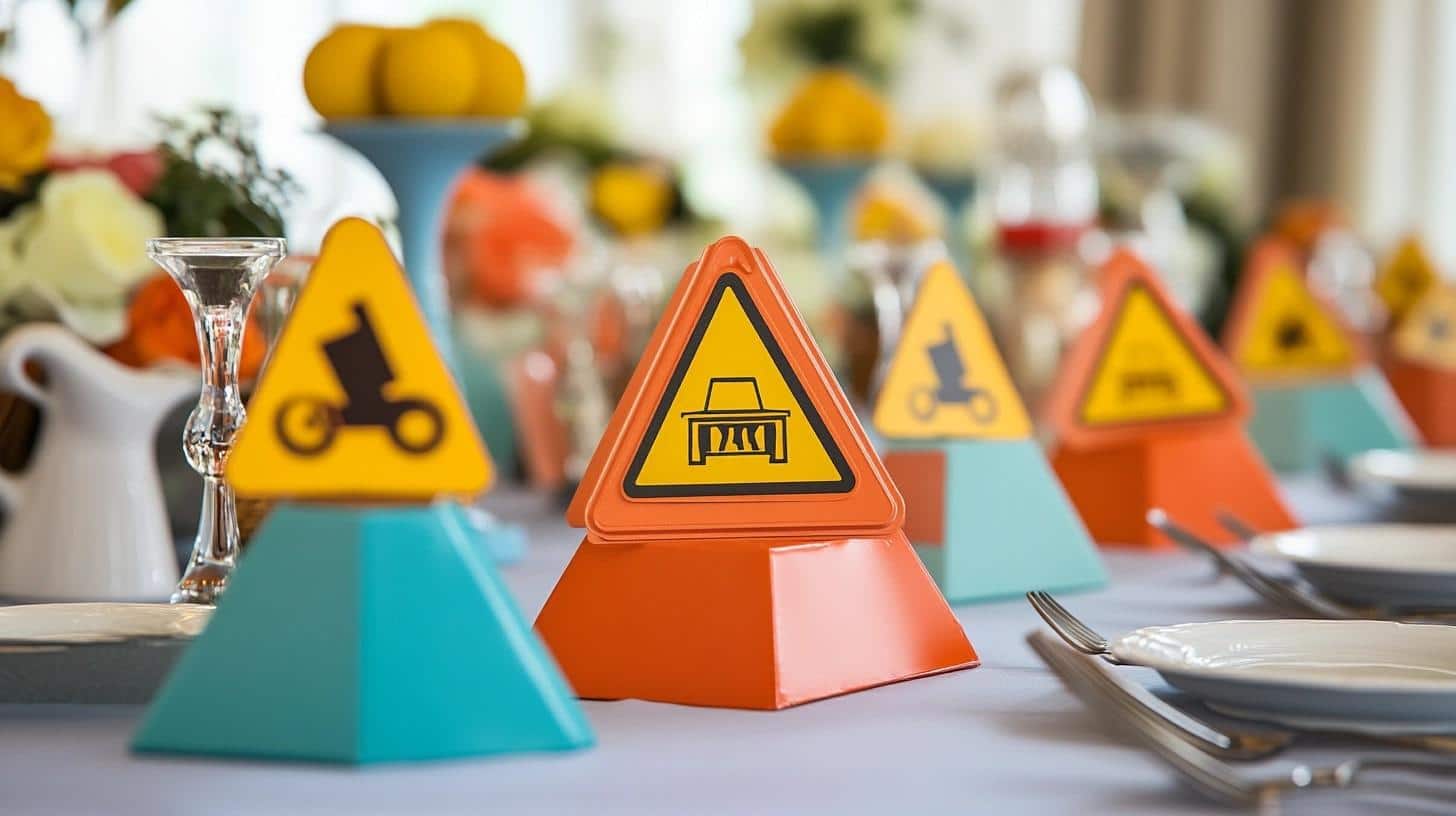
Cut yellow and red card stock into sign shapes. Write food names in black letters. Make stop signs for sweet treats, yield signs for drinks, and arrow signs to point to different food items.
Setup Tips:
- Write clear, big letters
- Make signs double-sided
- Use strong card stock
- Keep spare signs ready
- Update if foods change
Some Overall Party Setup Tips:
- Put up decorations early
- Test all items for safety
- Keep backup supplies handy
- Plan cleanup methods
- Check stability of all items
Budget-Friendly Tips
Make your party look great without spending much money. Here’s how to create fun decorations using items you might already have.
Repurpose Household Items
Turn everyday items into party decor:
- Big cardboard boxes: Paint them yellow for machines
- Paper rolls: Make binoculars
- Old sheets: Paint as backdrops
- Empty cans: Turn into supply holders
- Brown paper bags: Create work vests
Dollar Store Finds
Get these low-cost items:
- Plastic buckets: Hold snacks or treats
- Yellow paper plates
- Black and yellow streamers
- Basic tools: Toy hammers and wrenches
- Orange cups: Mini safety cones
- Yellow tablecloths
- Black duct tape: Make roads
DIY with Simple Materials
Create decorations from basic items:
- Paper plates: Paint as steering wheels
- Old boxes: Make tool boxes
- Paper: Cut out simple signs
- Used wrapping paper rolls: Traffic batons
- Newspaper: Roll into construction beams
Borrow or Swap Decorations
Save money by sharing:
- Ask friends who had similar parties
- Check local parent groups
- Look for toy lending groups
- Share costs with other parents
- Trade party supplies
Party Planning Tips
Plan your construction party step by step to make setup easy and stress-free. Here’s a clear guide to help you get ready on time.
Timeline for DIY Prep
One Month Before:
- Create a detailed list of all supplies you’ll need for decorations
- Purchase basic items like paper, paint, and craft supplies
- Start collecting and storing clean cardboard boxes
- Try out your decoration ideas to see what works best
One Week Before:
- Cut and assemble all paper decorations for walls and tables
- Create clear signs to mark different party areas
- Make cutouts shaped like construction tools and equipment
- Paint larger decoration pieces like cardboard trucks and signs
One Day Before:
- Place and secure all tables in their final spots
- Put up all wall decorations and hanging items
- Print and set out food description cards
- Fill party bags with small toys and treats
Organizing Games and Activities
Simple Games:
- Set up teams to build the tallest block structure in 3 minutes
- Hide plastic tools around the party space for kids to find
- Create cards with tools that kids need to pair up correctly
- Split kids into teams to carry blocks from one spot to another
- Make a space where kids fix broken toy trucks and machines
Fun Activities:
- Set up a table with construction vehicle coloring sheets
- Create a space filled with blocks for free building time
- Let kids paint small wooden pieces to take home
- Make stations where kids sort different types of tools
- Give kids blocks to copy simple building patterns
Themed Food and Snack Ideas
Sweet Treats:
- Fill clear cups with chocolate pudding and crushed cookies to look like dirt
- Decorate plain cupcakes to look like small yellow hard hats
- Bake and ice cookies in the shape of hammers and wrenches
- Shape crispy rice treats to look like building blocks
- Serve yellow candies in small plastic dump trucks
Snacks:
- Cut cheese into small squares to look like building blocks
- Make sandwiches cut into shapes of different tools
- Line up pretzel sticks to look like piles of lumber
- Slice yellow peppers into strips for construction barriers
- Cut carrots into cone shapes for safety markers
Age-Appropriate Decoration and Activity Ideas
Let’s look at how to make your party perfect for different age groups. Each section includes safe and fun ideas that match children’s skills and interests.
| Age Group | Decorations | Activities | Safety Notes |
|---|---|---|---|
| Toddlers (Ages 2-3) |
|
|
|
| Young Kids (Ages 4-6) |
|
|
|
Conclusion
Making a construction-themed party doesn’t need big budgets or special skills.
From balloon cones to candy trucks, and paper hard hats to toy-topped cakes, these ideas help you build a fun party space.
With simple items like balloons, paper, and toys, you can turn any room into a kid-friendly work zone.
Remember to pick decorations that fit your child’s age and keep safety in mind. Start with basic items, then add more details as time and budget allow.
Your little builders will love seeing their party space filled with trucks, tools, and building site touches.
Want to share your party ideas? Leave a comment below about which decoration you plan to try first.
Frequently Asked Questions
What are some easy DIY construction party decorations for beginners?
Make paper hard hats, set up balloon cones using orange balloons, create paper tool cutouts, and use toy trucks as table items. Paint boxes yellow for simple building blocks.
How can I create budget-friendly decorations?
Use items from home like boxes, paper, and toys. Buy basics at dollar stores. Make paper signs instead of buying them. Paint old toys yellow to match the theme.
What food should I serve at a construction-themed party?
Serve square sandwiches as building blocks, cookies shaped like tools, cupcakes with yellow frosting, and chocolate pudding cups with cookie crumbs as “dirt.” Add fruit cups in cone shapes.
How can I keep the kids entertained during the party?
Set up building stations with blocks, organize tool-hunting games, create sand-digging areas, and plan group building contests. Add coloring spots with truck pictures.
Where can I find printable templates for decorations?
Check craft store websites, Pinterest boards, and party planning sites. Many offer free downloads for construction signs, banners, and tool shapes. Local library websites often share free printables.

