Recreating the 90s Living Room: Your Guide to Nostalgic Decor
Remember those cozy living rooms of the 1990s? I sure do! They had a special charm that many of us miss today. I’ve put together this guide to help you bring back that nostalgia to your home.
I’ll show you how to recreate the warm, inviting feel of a 90s living room. Together, we’ll explore the key elements that made these spaces unique – from comfy furniture to playful colors and patterns.
Whether you want to fully transform your living area or just add a few throwback touches, I’ve got you covered. Get ready to step back in time with me and create a space that feels both familiar and fresh.
Let’s jump into the world of 90s decor and turn your living room into a blast from the past!
Understanding the trends and influences that shaped 90s interior design
- The shift from 80s excess: In the early 90s, people moved away from the flashy styles of the 80s. They wanted simpler, more comfortable spaces.
- TV and pop culture impact: Popular TV shows like “Friends” and “Seinfeld” had a big effect on how people decorated. Many wanted their homes to look like the ones they saw on screen.
- Economic factors: The 90s saw both good and tough economic times. This led to a mix of budget-friendly choices and some splurge items in home decor.
- Technology’s growing role: As computers became more common in homes, living room layouts started to change to make space for them.
- Global design influences: Travel became easier, and people brought ideas from around the world into their homes. This led to more diverse decor choices.
Comparing Past and Present
It’s fun to see how some 90s ideas are still around, just in new ways:
- Big wooden TV stands Now: Sleek media walls (but still for our screens!)
- Overstuffed sofas Now: Comfy sectionals (we still love to lounge!)
- Lots of small decorations Now: A few statement pieces (but still personal)
Key Characteristics of 90s Living Room Design
The 1990s living room was all about comfort, function, and a mix of styles. It was a place where family and friends could relax and have fun. Let’s look at what made these rooms so special.
| Characteristic | Key Features |
|---|---|
| Neutral Color Palettes | Muted tones like beige, soft pink, and blue dominated, with dark green used for a bold contrast. |
| Patterned Fabrics | Floral, plaid, and geometric designs were common, bringing visual interest to furniture and decor. |
| Big, Comfy Furniture | Oversized sofas and chairs prioritized comfort, ideal for lounging or family gatherings. |
| Entertainment Centers | Expansive wooden cabinets showcased TV sets, VHS players, and audio equipment, often serving as a room’s focal point. |
| Decorative Items | A mix of fake greenery, decorative figurines, and framed family photos created a cozy, personalized atmosphere. |
These elements came together to create a cozy, lived-in feel that was typical of 90s homes. It was a style that said, “Come in, sit down, and stay a while!”
Resources for Achieving the 90s Look
I’m excited to share some great places and tools to help you get that perfect 90s vibe in your living room. Whether you’re looking to buy authentic pieces, make your own, or just need some inspiration, I’ve got you covered. Let’s dive into where to shop, what tools you’ll need for DIY projects, and where to find more ideas.
Where to Shop
Finding the right pieces is key to nailing that 90s look. Here are some of my favorite spots:
- Online marketplaces: Check out eBay for a wide range of 90s items.
- Thrift stores: These are gold mines for authentic 90s furniture and knick-knacks.
- Vintage shops: Look for stores specializing in 90s-era goods.
- Flea markets: Great for finding unique 90s treasures.
- Estate sales: Often have well-kept 90s furniture and decor.
DIY Project Tools
Want to add a personal touch? Here are some tools I recommend for your 90s-inspired DIY projects:
- Fabric paint: Perfect for updating old cushions or curtains.
- Upholstery kits: For giving your sofa that 90s pattern.
- Wood stain: To refresh entertainment centers or coffee tables.
- Spray paint: Great for quick color updates on small items.
- Craft glue: For adding 90s-style embellishments.
Some things never change – we still want our living rooms to be comfy and to show who we are. But now we do it with less clutter and more tech.
Design Ideas and Tips
Let’s dive into the heart of 90s living room design. I’ll guide you through bringing back the colors, patterns, and comfy vibes that made these spaces so special.
Let’s get started!
Revive the Color Palette
Incorporate Earth Tones and Pastels:
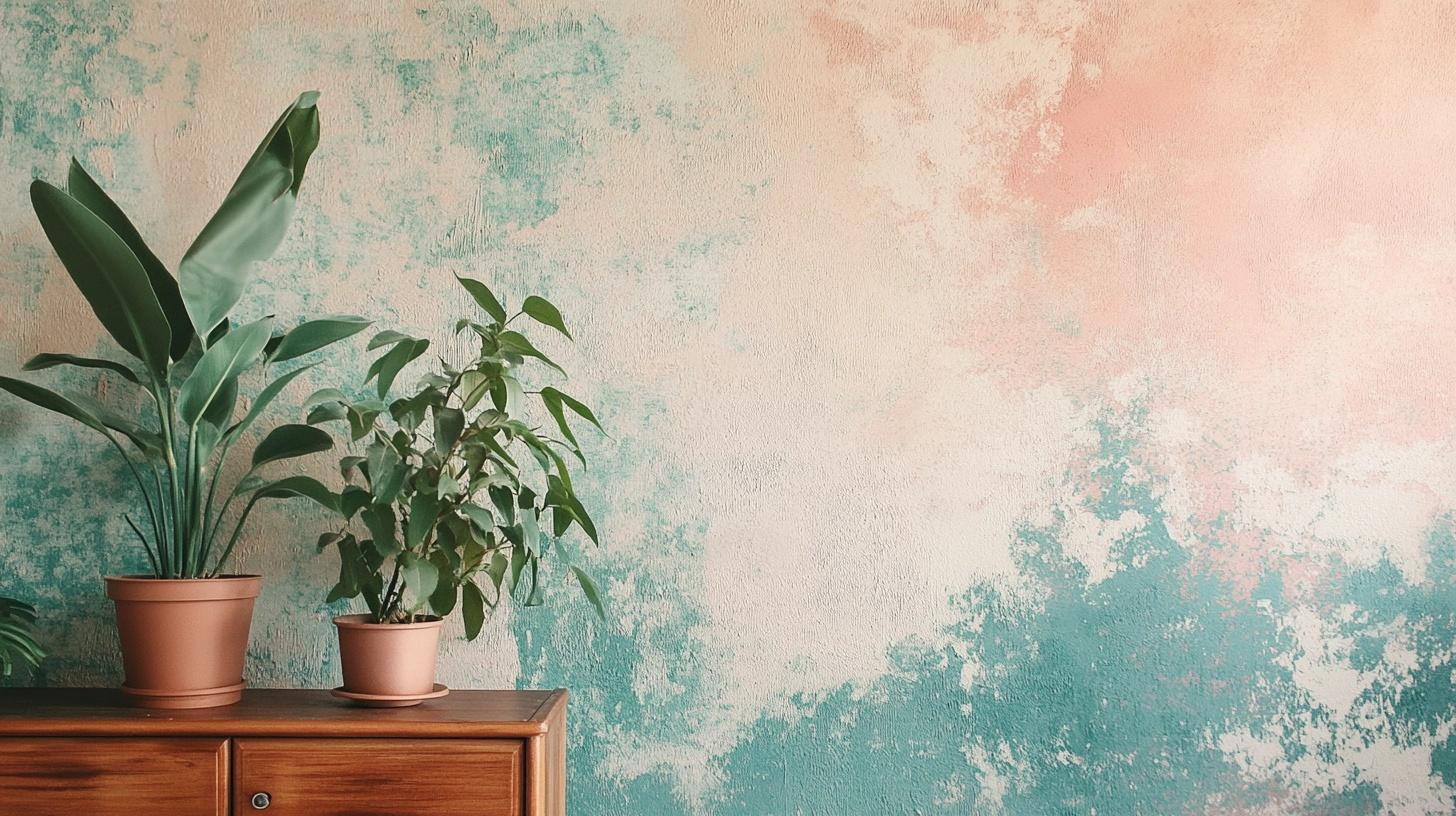
Consider using calming colors like warm beige, soft green, or light blue. These shades can create a welcoming atmosphere. You might paint a wall or add these colors through items you already own, like pillows or curtains.
Accent Walls with Patterns:
For a unique touch, try a textured paint technique on one wall. Or, if you like patterns, look for wallpaper made from recycled materials. These options can add interest without being overwhelming.
Mix and Match Patterns
Mixing Floral and Plaid Textiles:
Combine different patterns in a balanced way. You could pair floral curtains with a plaid throw blanket. The key is to choose items you truly enjoy that also happen to reflect 90s style.
Layering Textures:
Create depth by using different fabric types. A soft velvet pillow next to a woven blanket can make your space feel cozy and interesting. Look for quality, durable fabrics that will last.
Go Big with Overstuffed Furniture
Cozy Seating Options:
Focus on furniture that’s both comfortable and well-made. Look for sofas or chairs with sturdy frames and cushions that can be replaced. This approach combines the comfort of 90s style with long-lasting quality.
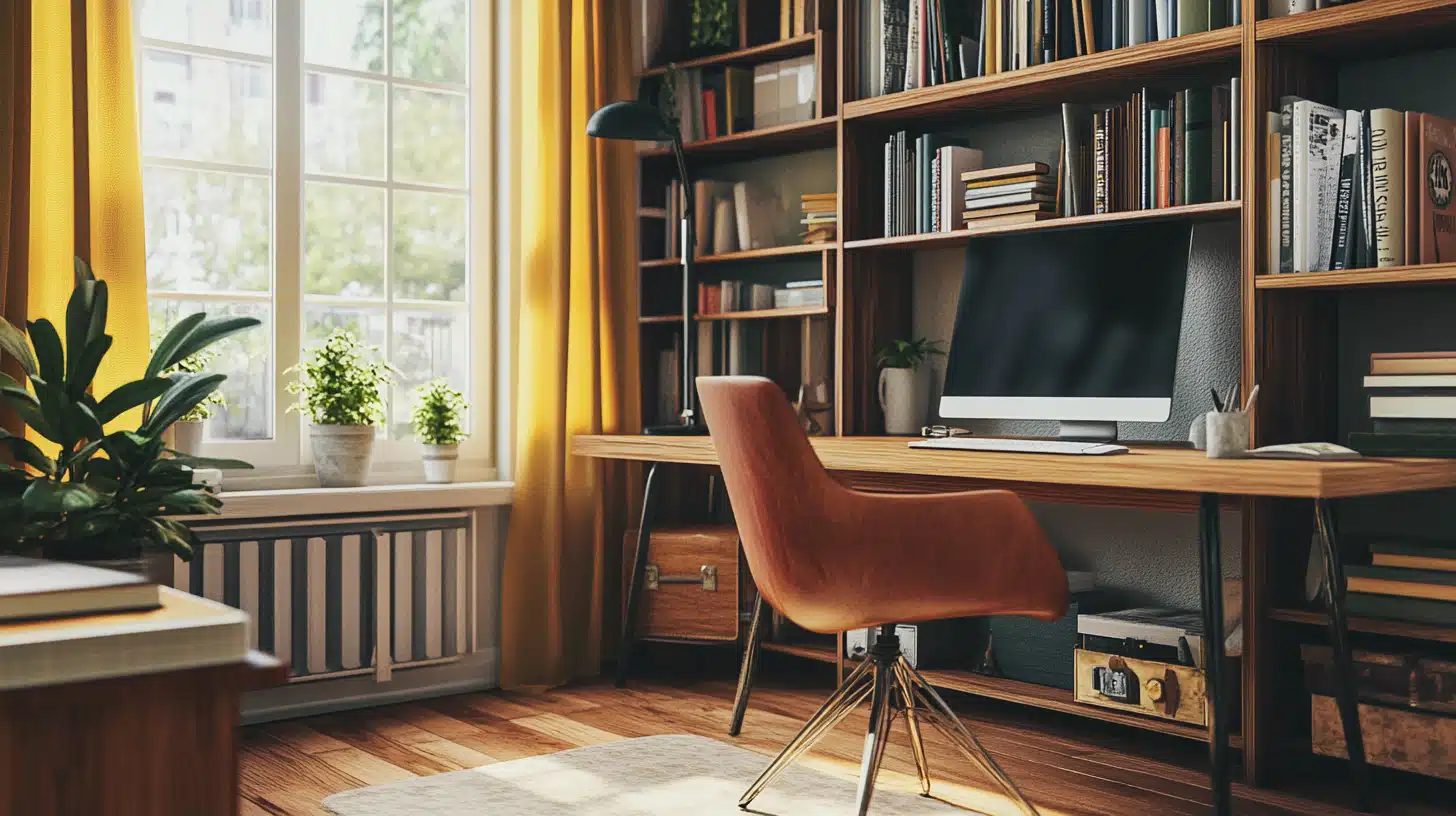
Cozy Nooks:
Set up a nice spot for reading or relaxing. A comfortable chair with good back support, paired with a side table and lamp, can create a cozy nook you’ll use often.
Bring Back the Entertainment Center
Revamp a Vintage Entertainment Unit:
If you have an old TV stand, consider ways to update it for current use. You might adjust shelves or add new hardware. This keeps useful furniture ut of landfills while creating a unique piece.
Alternative Display Ideas:
Use shelving units to show off items that are meaningful to you. This could include books, plants, or mementos from the 90s. Choose versatile pieces that can adapt as your needs change.
Incorporate Nostalgic Decor
Framed Family Photos:
Display pictures that are special to you. Group them in a way that tells your family’s story. This personal touch adds warmth to any room.
Decorate with 90s Memorabilia:
Choose decorative items that have personal significance. This could be art you’ve collected, crafts you’ve made, or objects that remind you of happy times.
Throw Blankets and Pillows:
Add soft blankets and pillows in colors and patterns you like. These can make your space more inviting and are easy to change with the seasons.
Add Warm Lighting
Vintage-Inspired Lamps: Soft lighting is key for that cozy 90s vibe. Look for table lamps with fabric shades in warm colors. Place them around the room to create a gentle, inviting glow.
Floor Lamps with Multiple Bulbs:
Consider floor lamps that can light up a whole area or focus on a specific spot. These versatile options are both practical and stylish.
Embrace Natural Elements
Blending Artificial and Live Plants:
Combine well-made artificial plants with real ones. This mix can add greenery to your space while being practical for areas that might not support live plants.
Wicker and Rattan Accents:
Include items made from natural materials like wood or woven fibers. A wooden bowl or woven basket can add warmth and texture to your room. Look for pieces made responsibly to support ethical practices.
Personalize Your Space with 90s-Inspired DIY Touches
1. Revamp a Vintage Entertainment Center
Turn your old 90s entertainment unit into a stylish, functional piece for your modern home. This guide will walk you through the process step-by-step.
What You’ll Need:
- Sandpaper (220-grit)
- Wood filler
- Primer and paint
- Shellac
- New hardware (knobs, hinges)
- Wood for repairs (if needed)
- Cleaning supplies
- Safety gear (gloves, goggles, mask)
Steps:
1: Assess the Condition
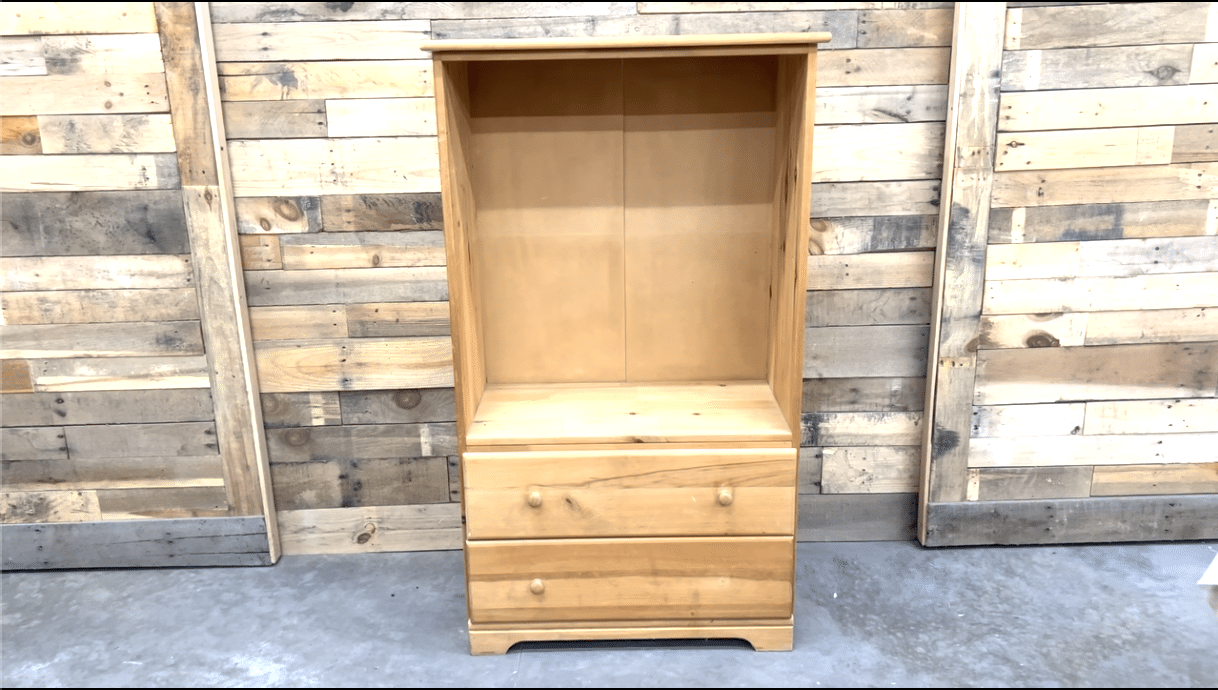
- Identify issues (e.g., missing shelf, damaged backing)
- Remove old backing and hardware
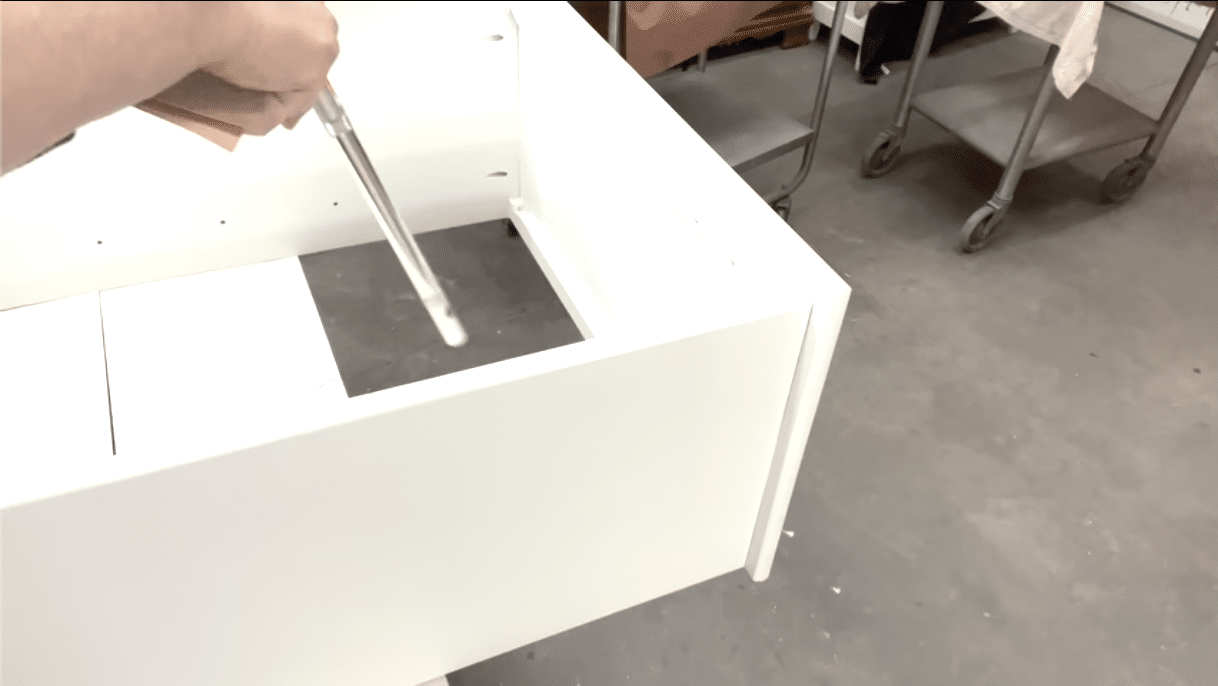
2: Replace Missing Parts
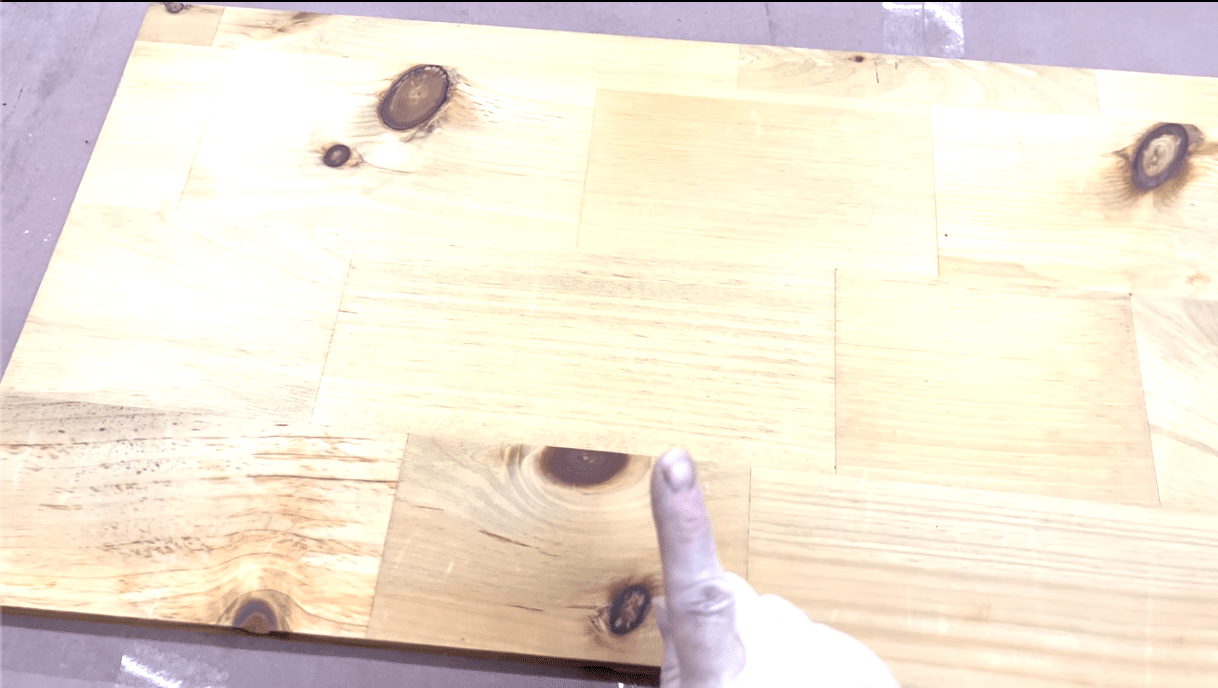
- Cut new shelf from pine wood to fit
- Cut decorative paneling for new backing
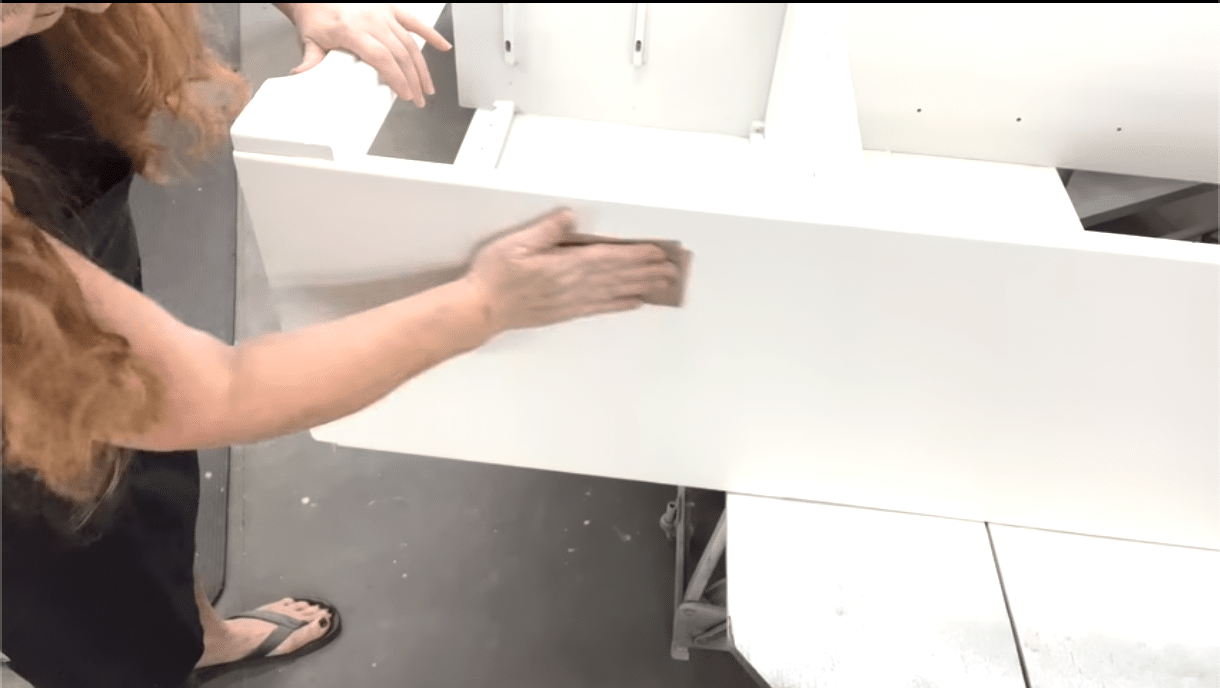
3: Update the Doors
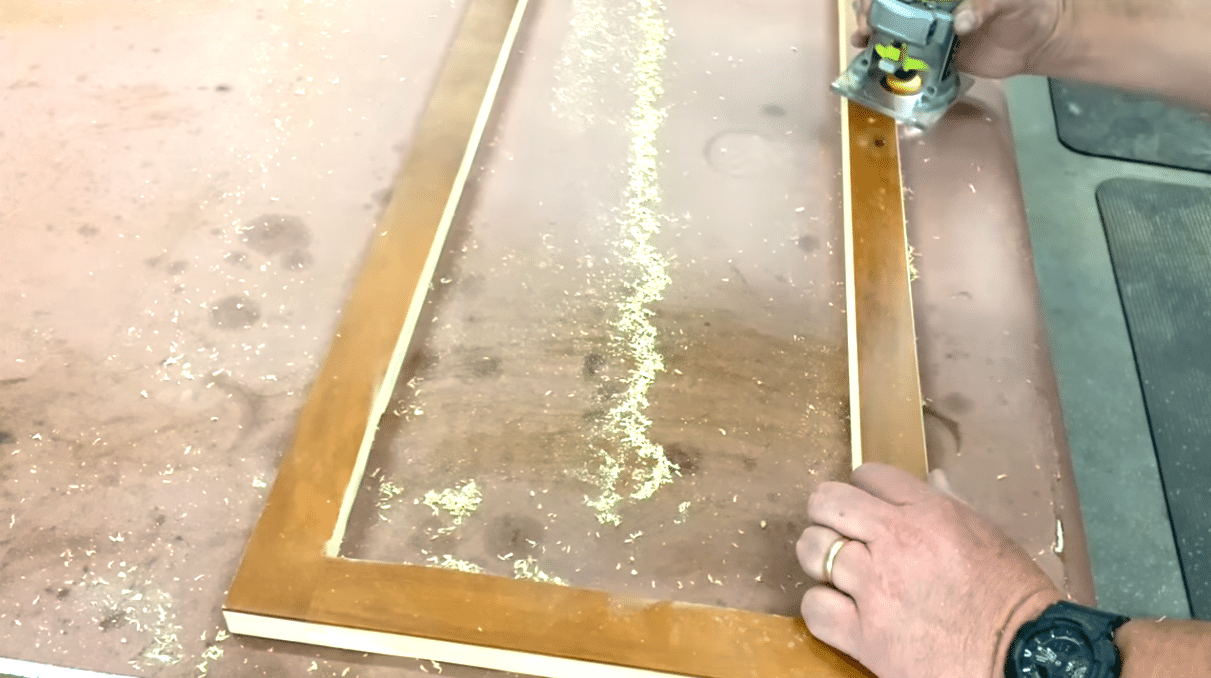
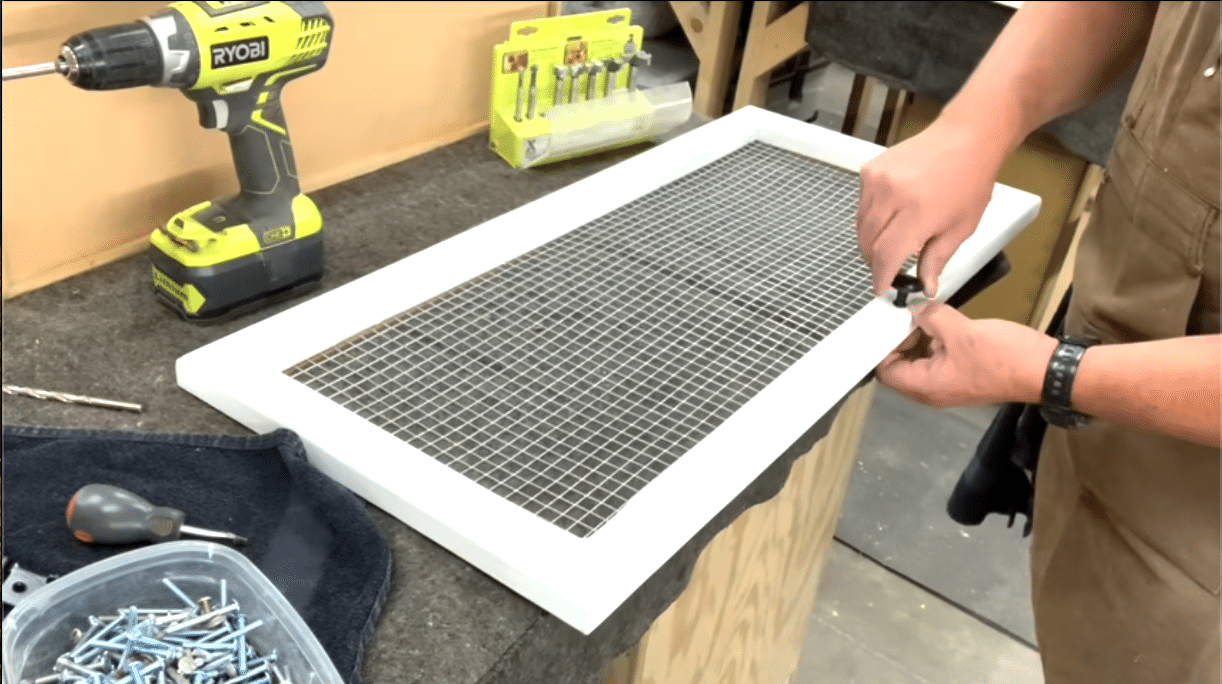
- Trim doors to fit using a table saw
- Cut windows in doors if desired
- Round edges with a router
4: Sand Everything Down
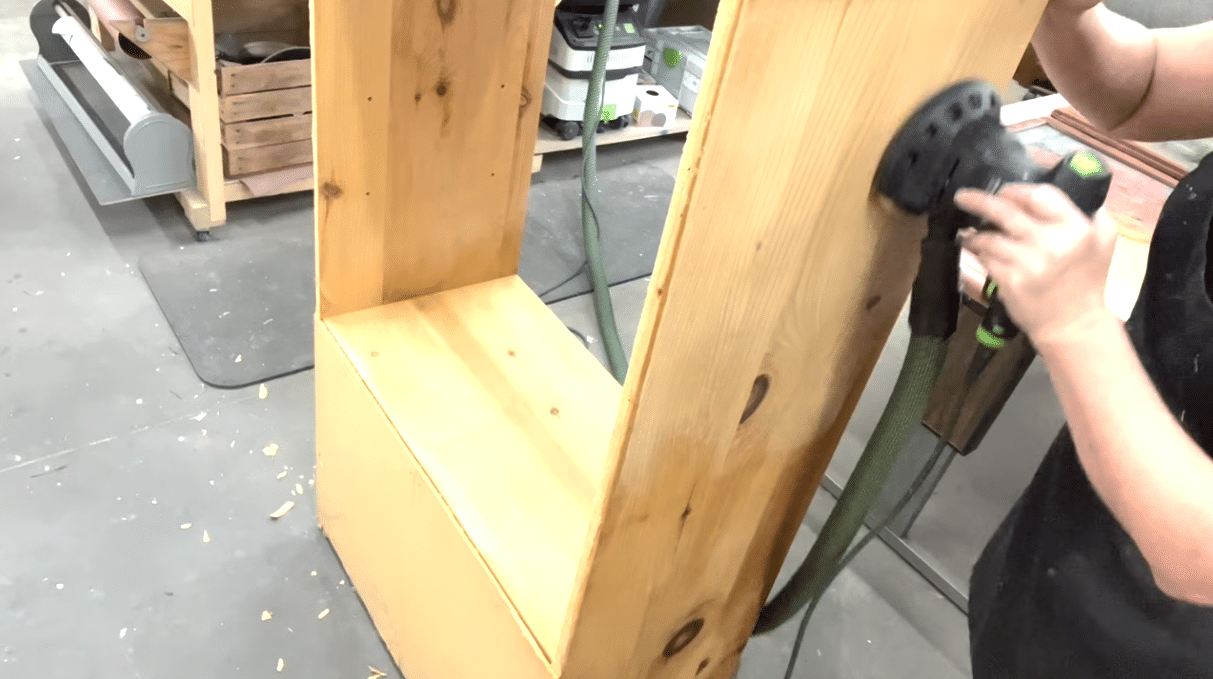
- Scuff sand entire piece with 220-grit sandpaper
- Clean thoroughly with warm water and a degreaser
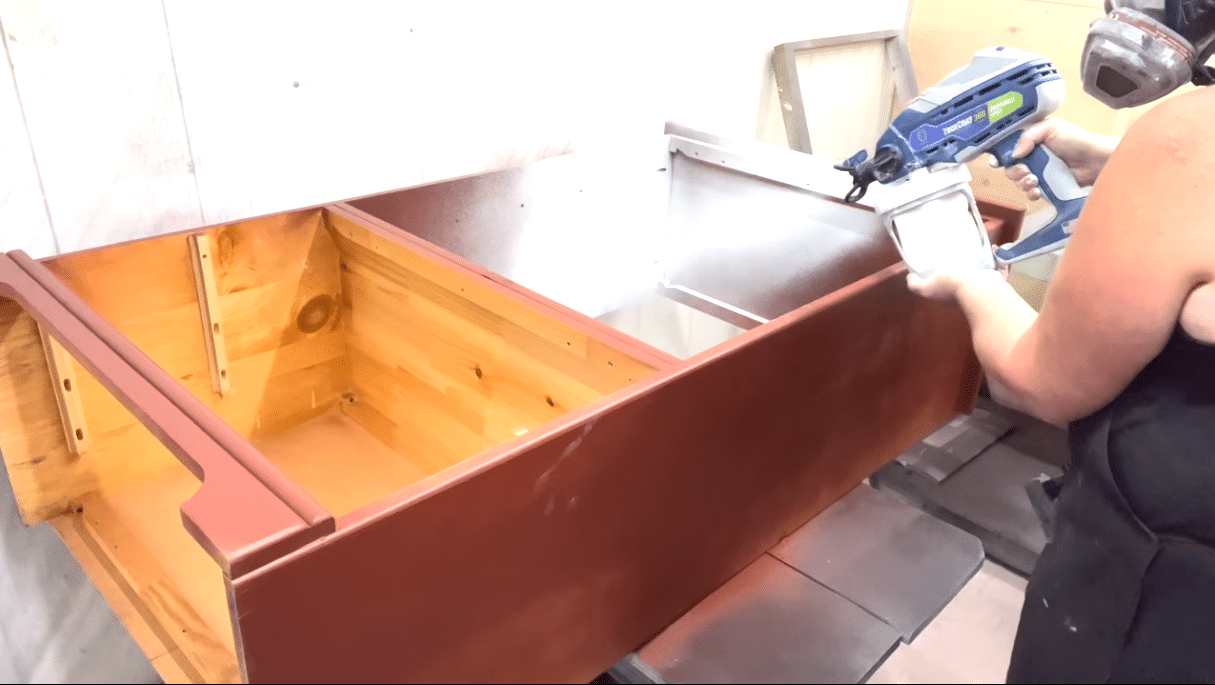
5: Prime and Seal
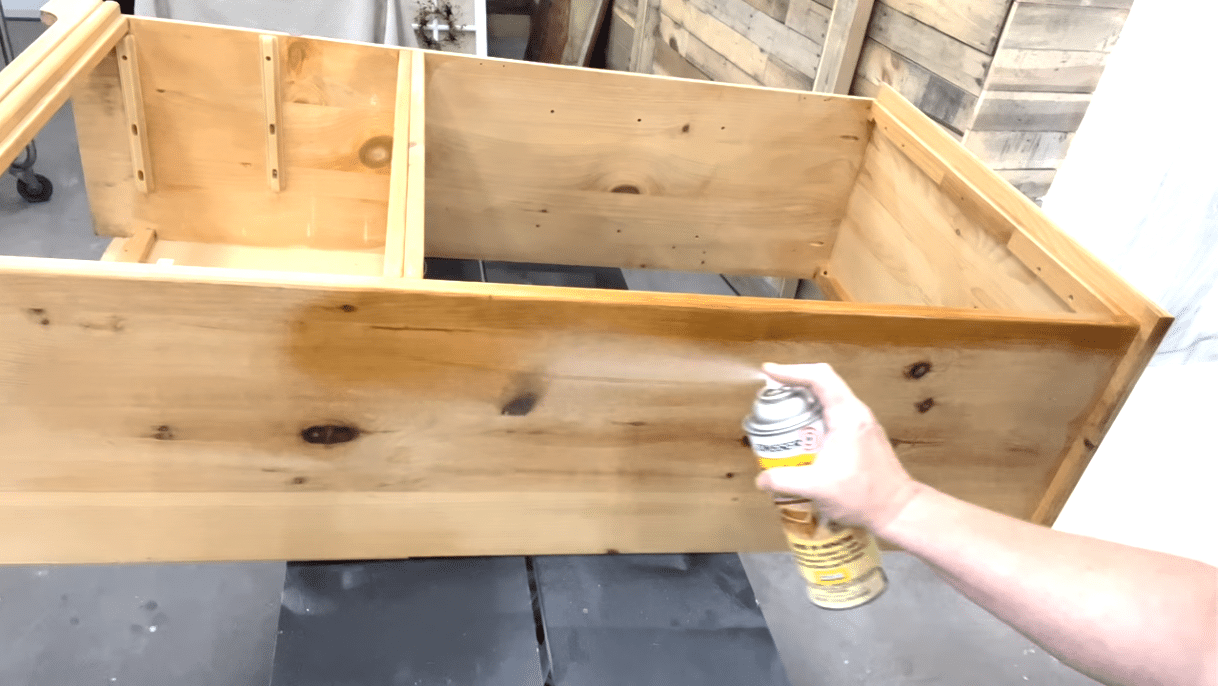
- Apply shellac to raw wood and knots
- If knots still show, use Rust-Oleum red primer
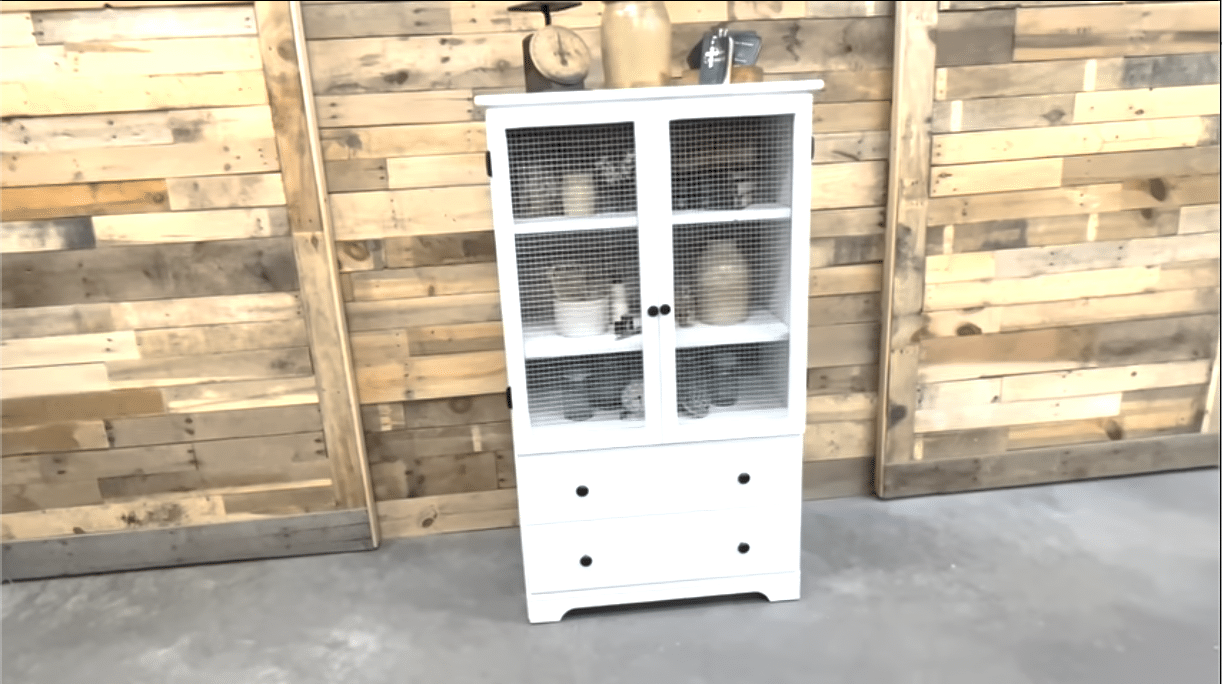
6: Paint
- Apply white paint (use a paint sprayer for smooth finish)
- Allow to dry between coats
7: Touch Up and Sand
- Fill any visible cracks or holes with wood filler
- Sand lightly after paint dries for a smooth finish
8. Seal the Paint
- Apply polycrylic sealant for protection
9: Put on New Hardware
- Replace old knobs and hinges.
- Make sure everything opens and closes smoothly.
10: Finishing Touches
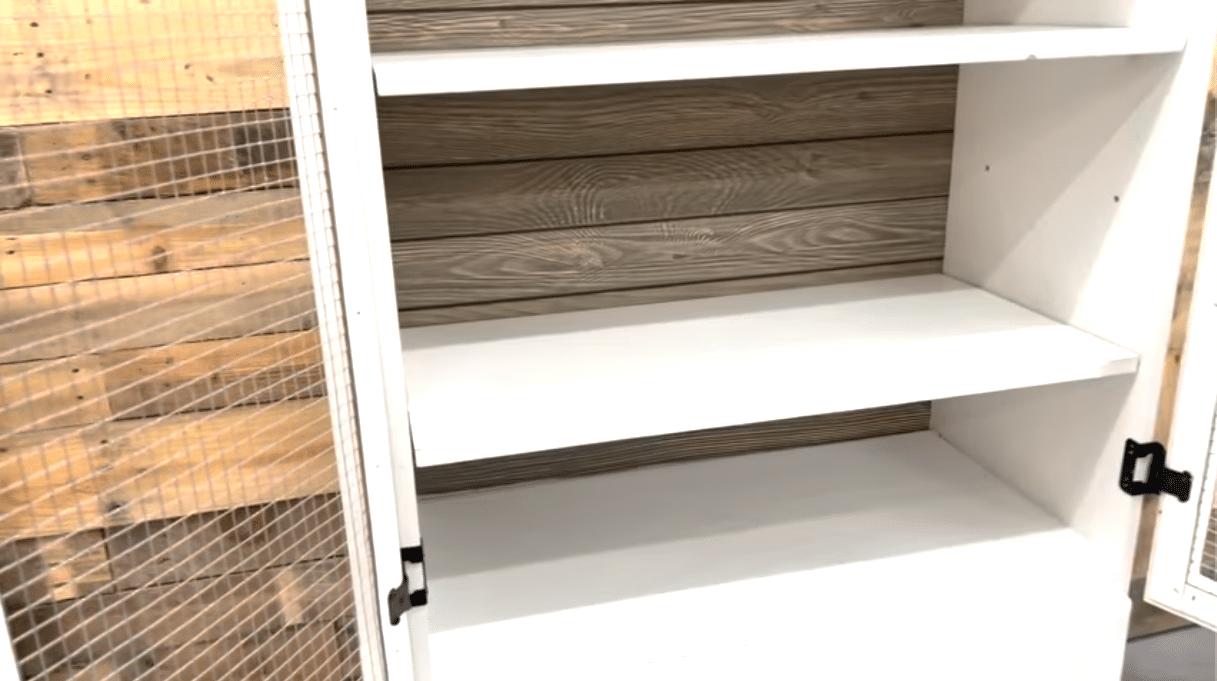
- Add furniture glides to bottom of unit
- Ensure doors open and close smoothly
Tips:
- Work in a well-ventilated area
- Take time to properly prep the surface for best results
- Use a metal ruler to prop doors slightly when attaching hinges
- Consider distressing edges for a vintage look
This project takes some time and effort, but it’s a great way to get a custom piece that fits your style and needs. Remember to work safely and take your time with each step.
To know in depth about this process, click here.
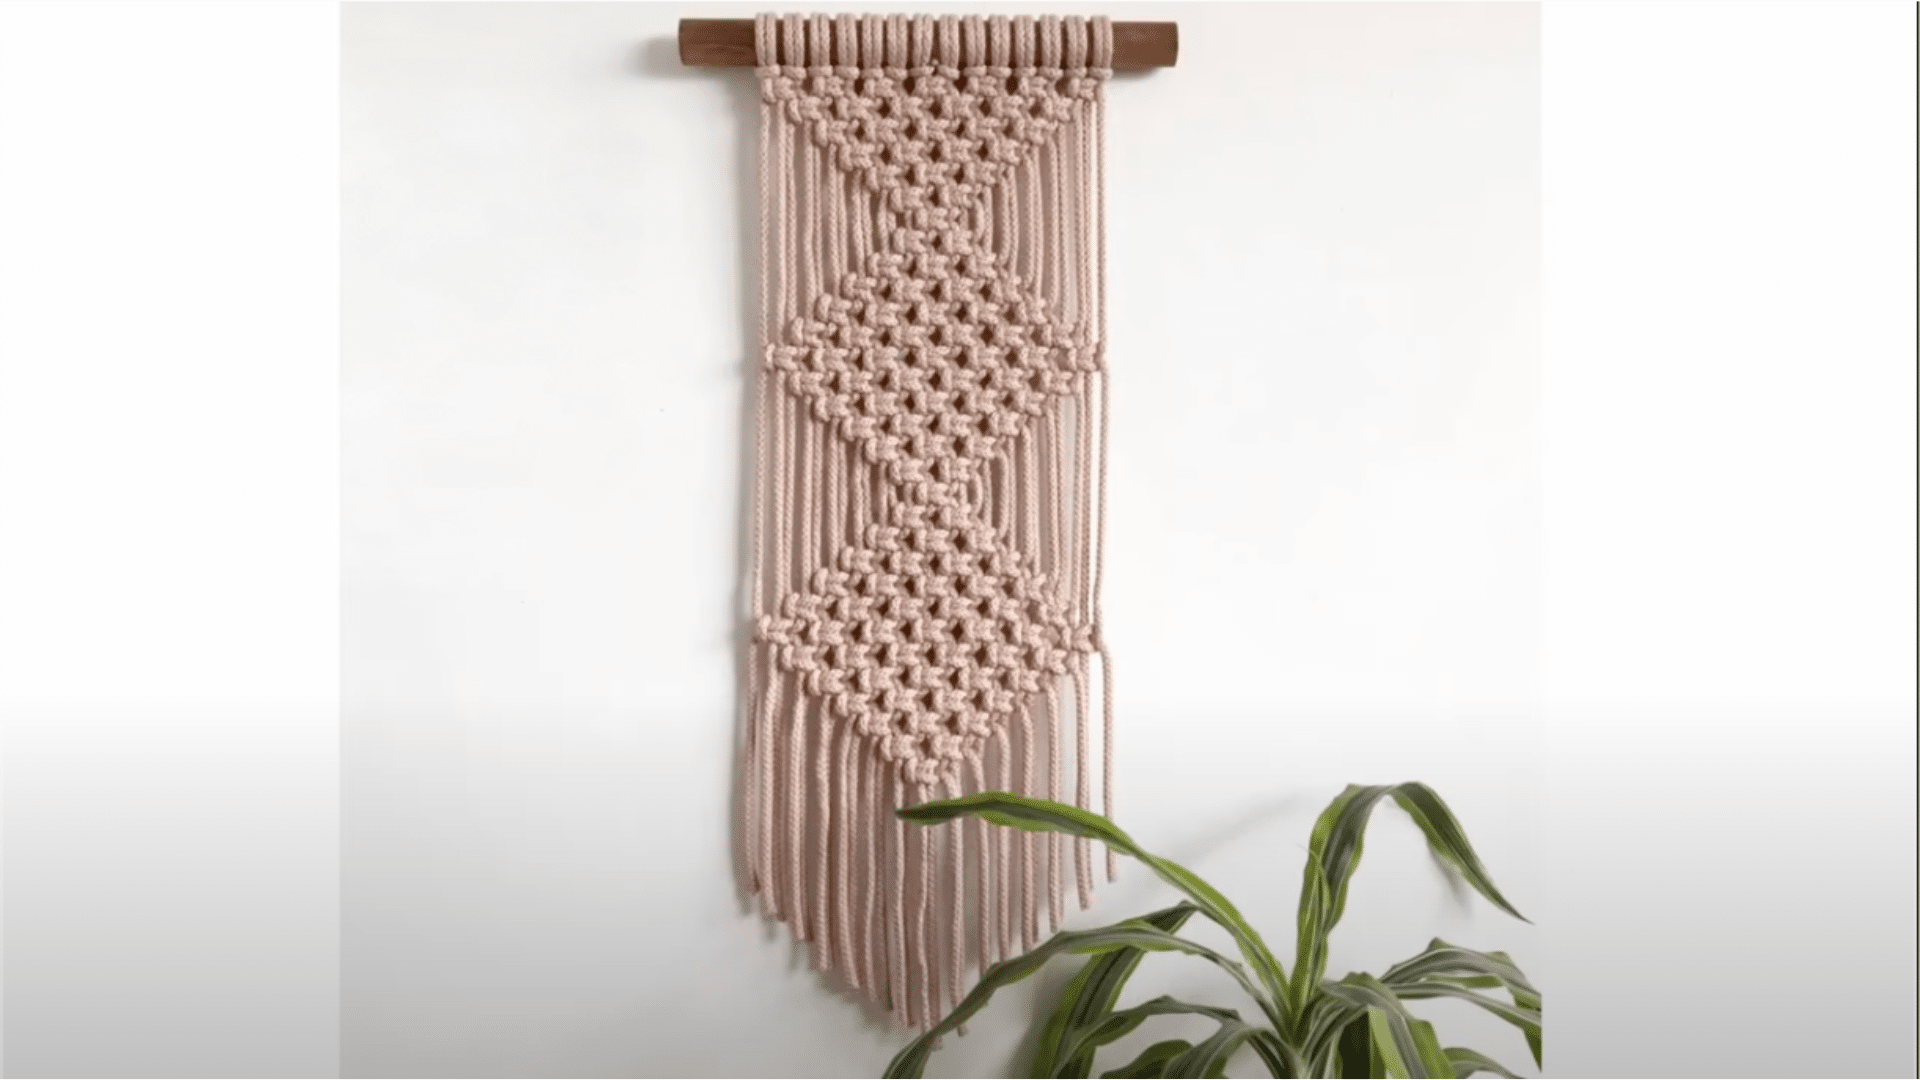
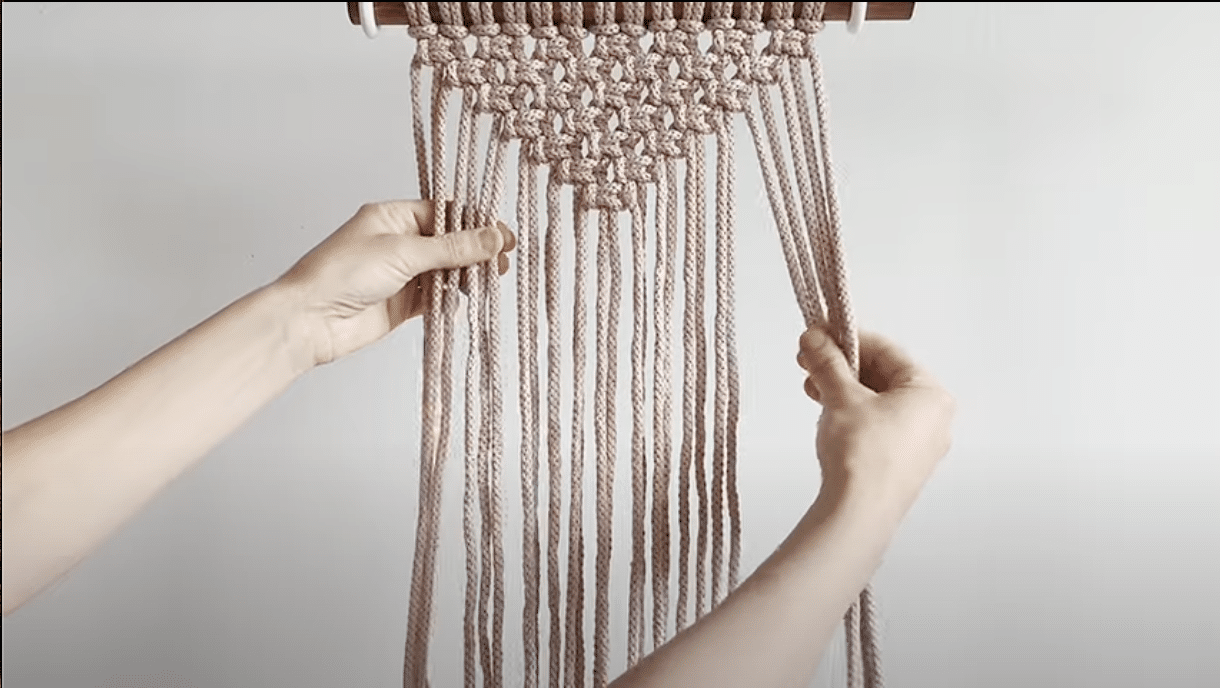
2. DIY Macramé Wall Hanging
Materials Needed:
- Macrame cord (various lengths: 60″, 75″, 90″, 105″, 115″, 130″, 145″)
- Dowel rod
- Scissors
Steps:
1. Prepare the Cords
- Cut cords to different lengths: 60″, 75″, 90″, 105″, 115″, 130″, 145″
- You’ll need two of each length
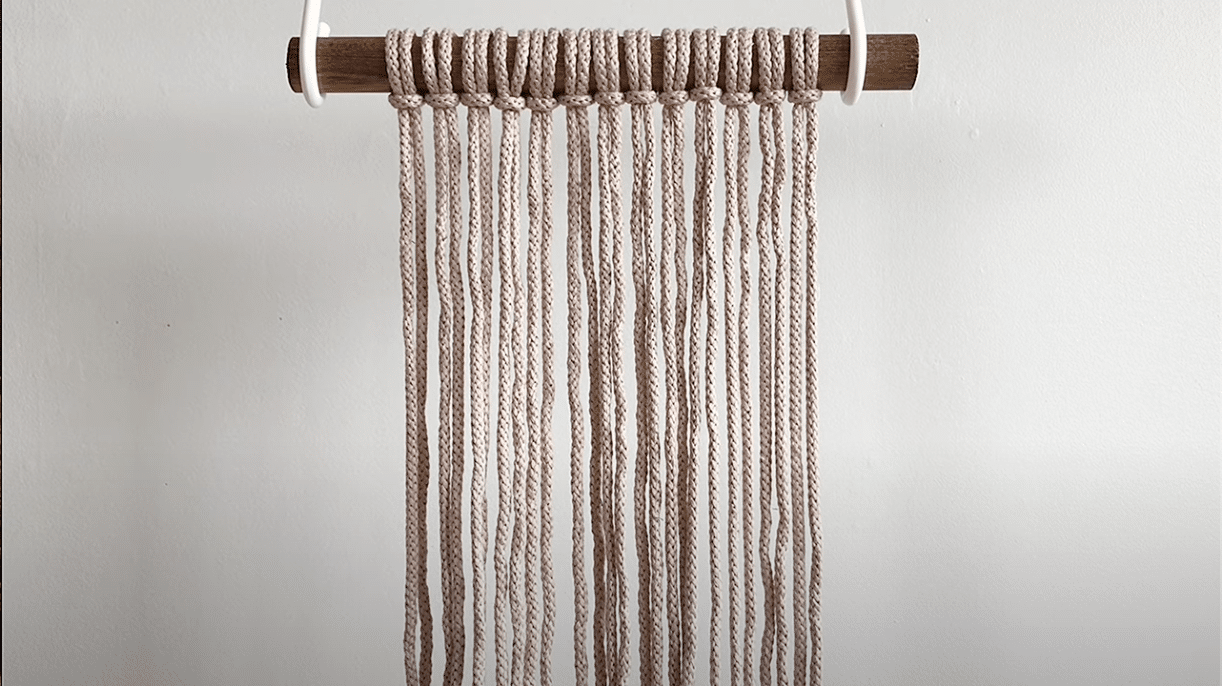
2. Attach Cords to Dowel
- Use the Larks Head Knot to attach cords to the dowel
- Fold each cord in half
- Place the loop over the dowel
- Pull the ends through the loop and tighten
3. Arrange Cords

- Place shortest cords (60″) on the outside
- Gradually increase length towards the center
- Longest cords (145″) should be in the very center
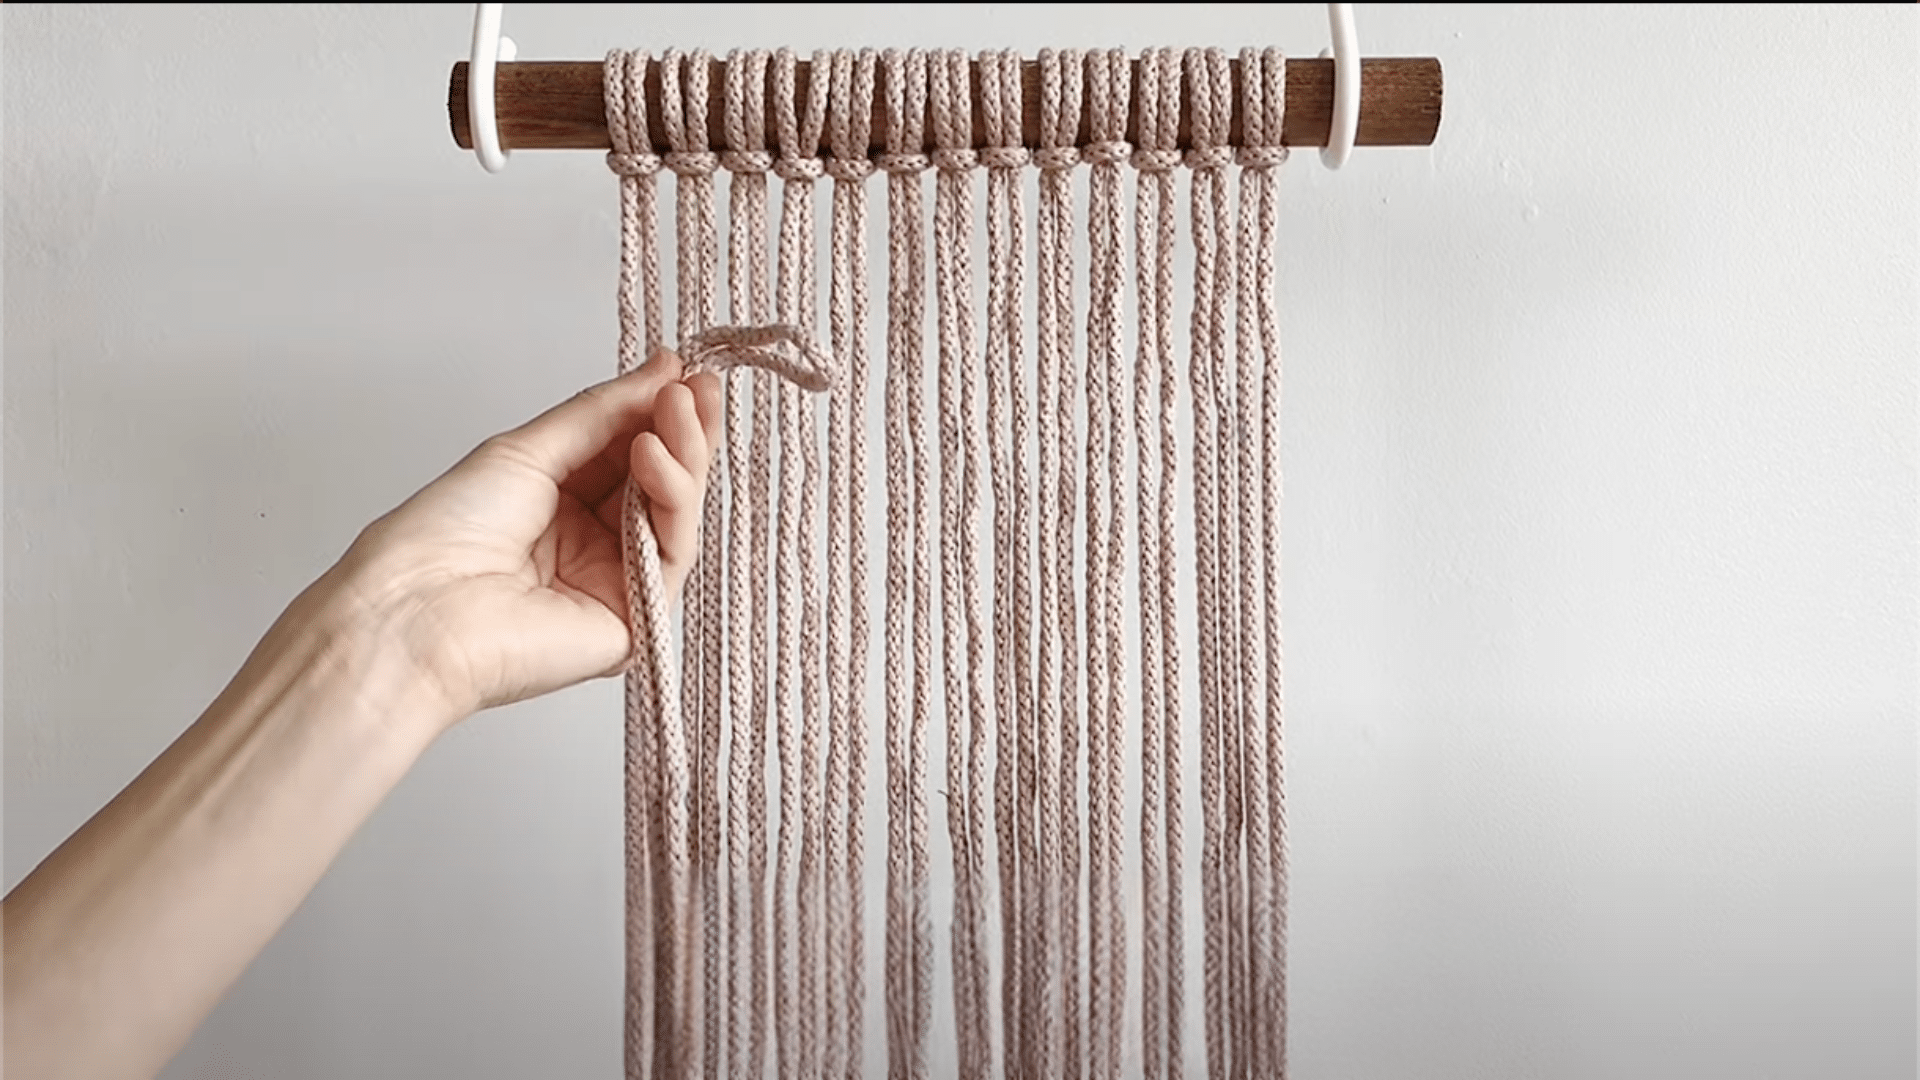
4. Create First Row of Square Knots
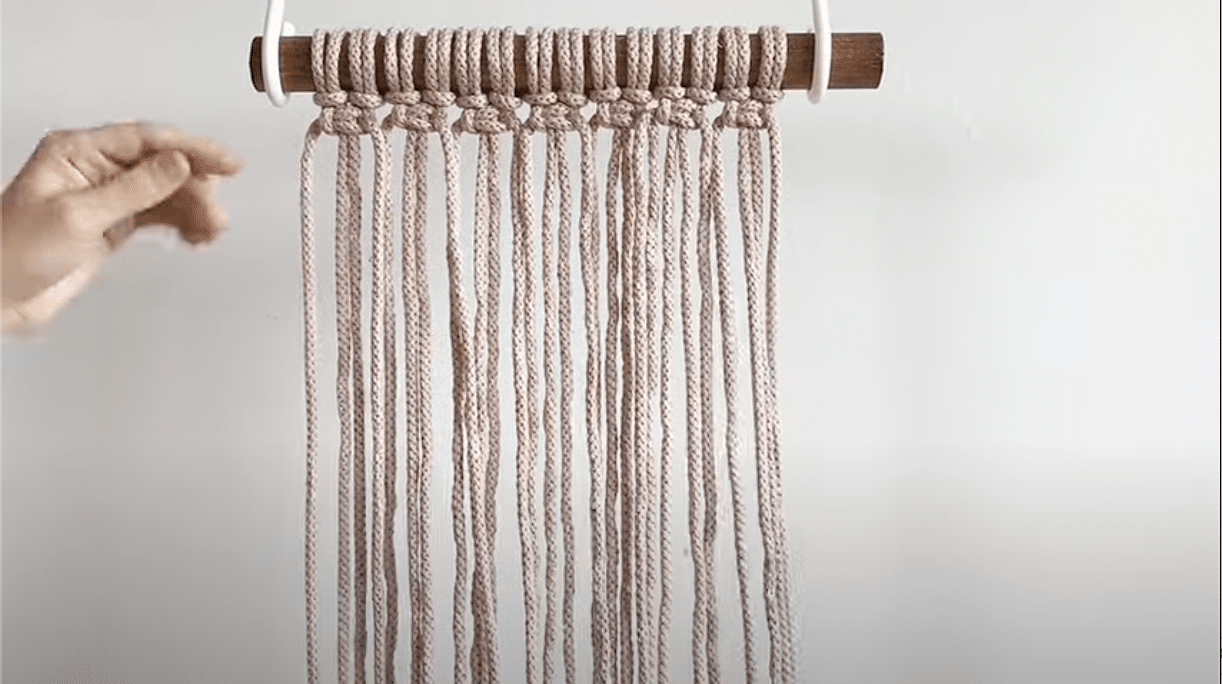
- Take four adjacent cords (two from each Larks Head Knot)
- Outer cords are working cords, inner two are filler cords
- Create square knot: left side over, then right side over
- Repeat across entire row
5. Form Diamond Shape
a. Create V-shape downwards:
- For each row, use two fewer cords on each side
- Continue square knots, moving inward
b. Create V-shape upwards:
- Start from center, add two cords each row
- Continue square knots, moving outward c. Repeat V-shape downwards to complete diamond
6. Create Second Diamond
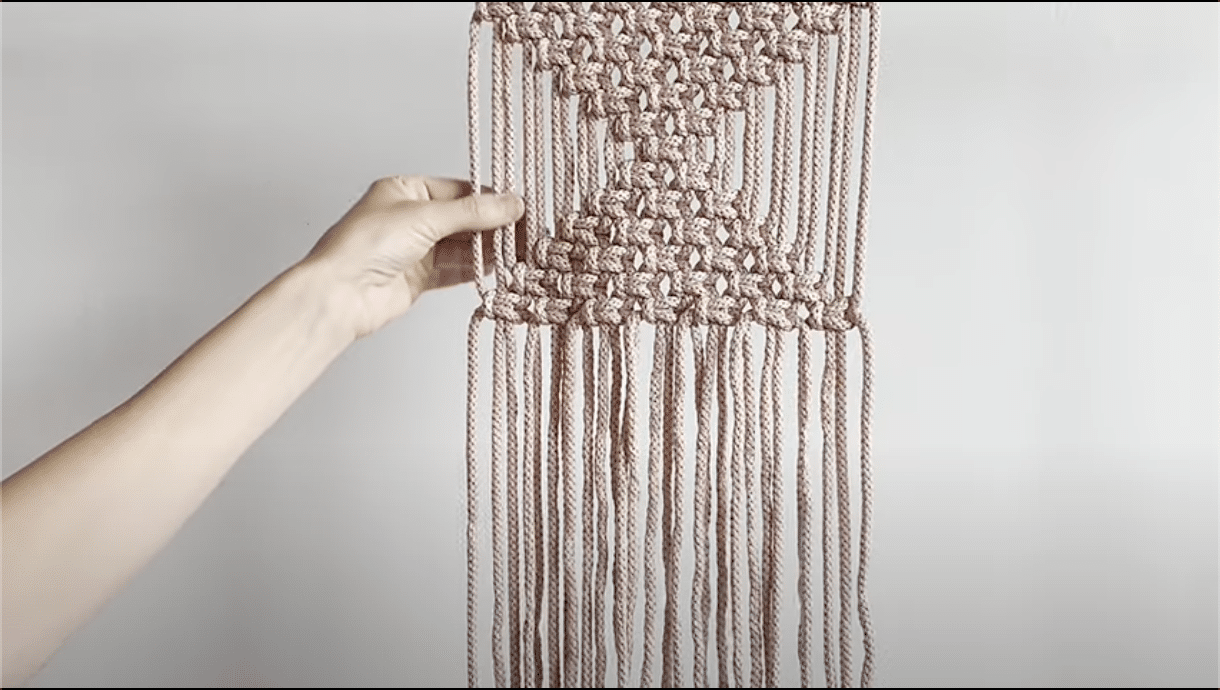
- Repeat steps 5a through 5c below the first diamond
7. Finish Edges
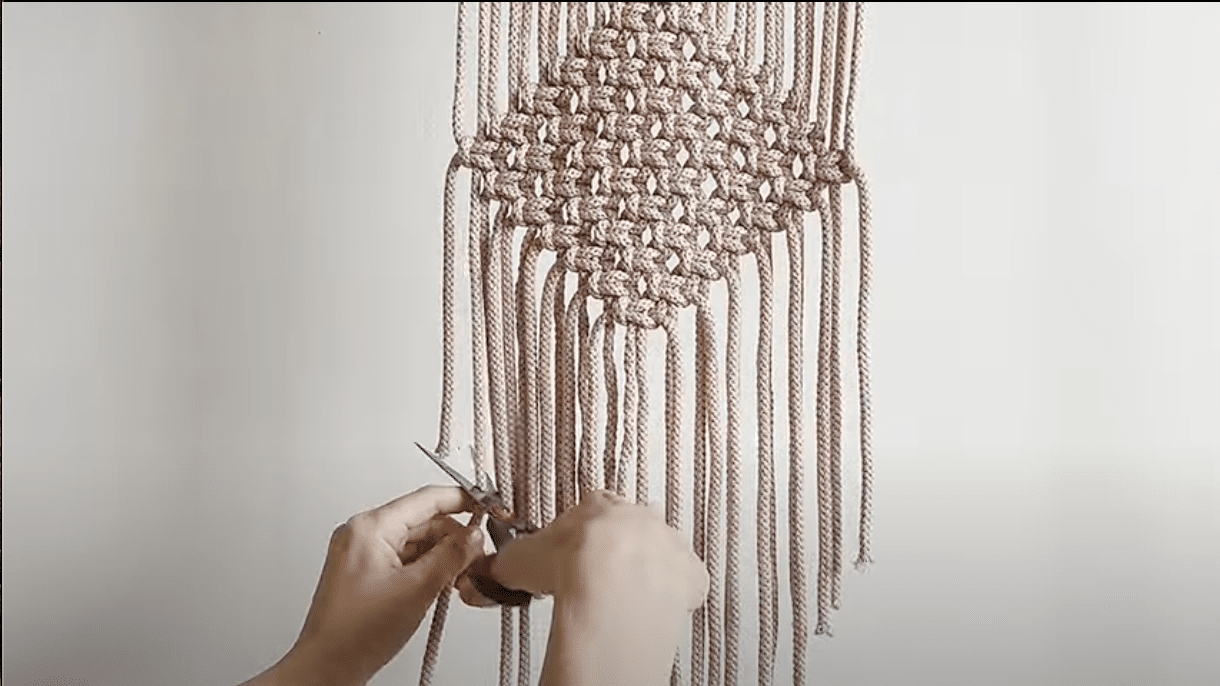
- Ensure all knots are tight
- Adjust tension for straight lines on diamond edges
Tips:
- Keep consistent tension throughout for a neat appearance
- Take your time to align knots properly
- Make sure side ropes have even tension for a balanced look
This project should take about 30 minutes to complete and is suitable for beginners, as it only requires knowledge of two knots: the Larks Head Knot and the Square Knot.
To know in depth about this process, click here.
Some Other DIY Ideas You Can Try
1. DIY Floral Throw Pillows
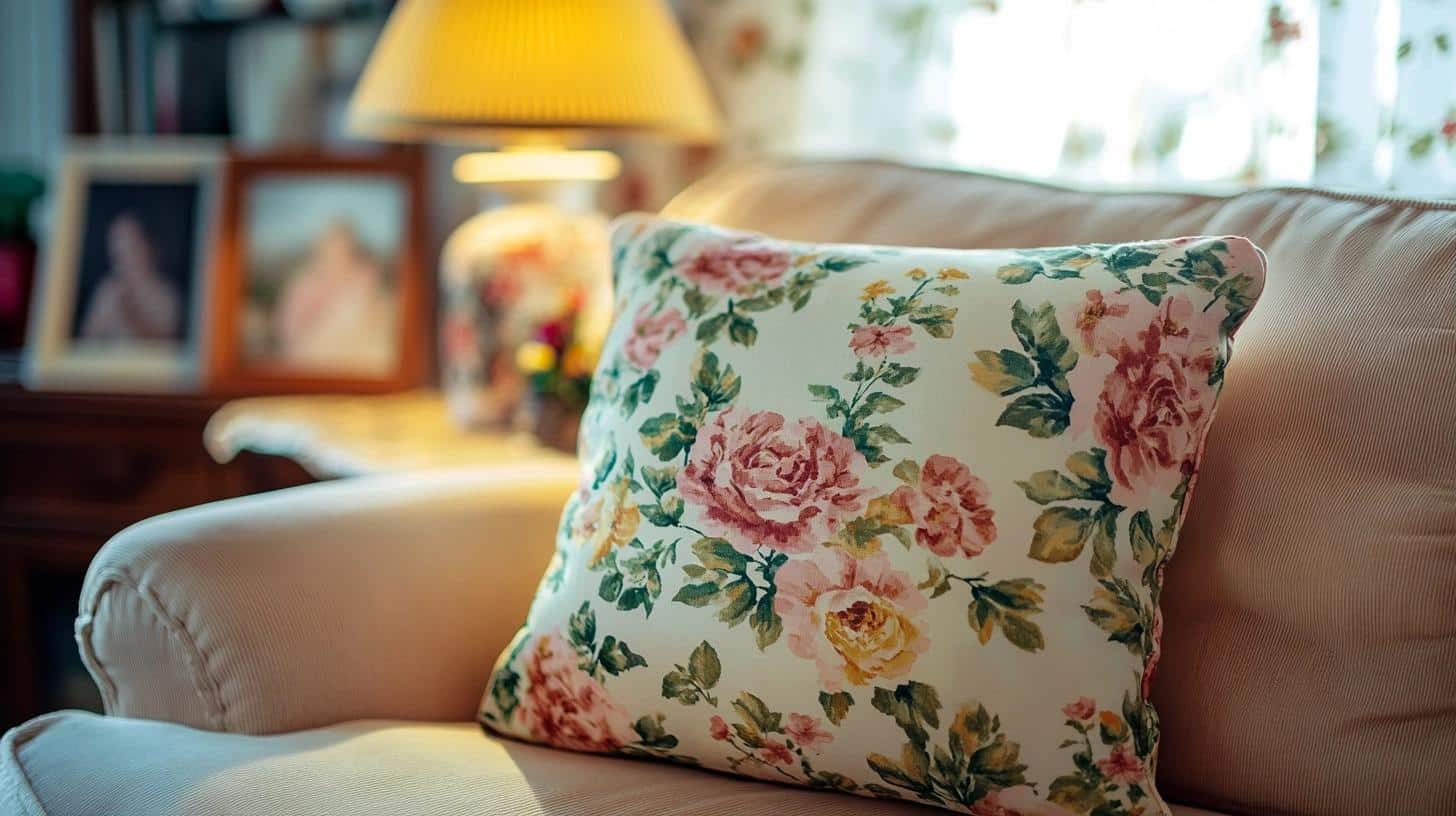
- Project Overview: Use fabric with 90s-inspired floral prints to create custom throw pillows. Choose vibrant or pastel fabrics to reflect popular 90s patterns.
- Steps: Buy floral fabric, cut into squares, sew the edges, and stuff with filling. For a no-sew option, use fabric glue.
- Pro Tip: Mix and match patterns like florals and plaids for an authentic 90s look.
2.Sponge Painting Accent Wall
- Project Overview: Revive the iconic 90s sponge-painted walls to add texture and color to your living room.
- Steps: Choose two complementing colors, apply a base coat, and use a sponge to dab on the second color in a random pattern.
- Pro Tip: Use neutral tones for a more subtle look or go bold with pastels for a vibrant 90s vibe.
3: Vintage Record Display
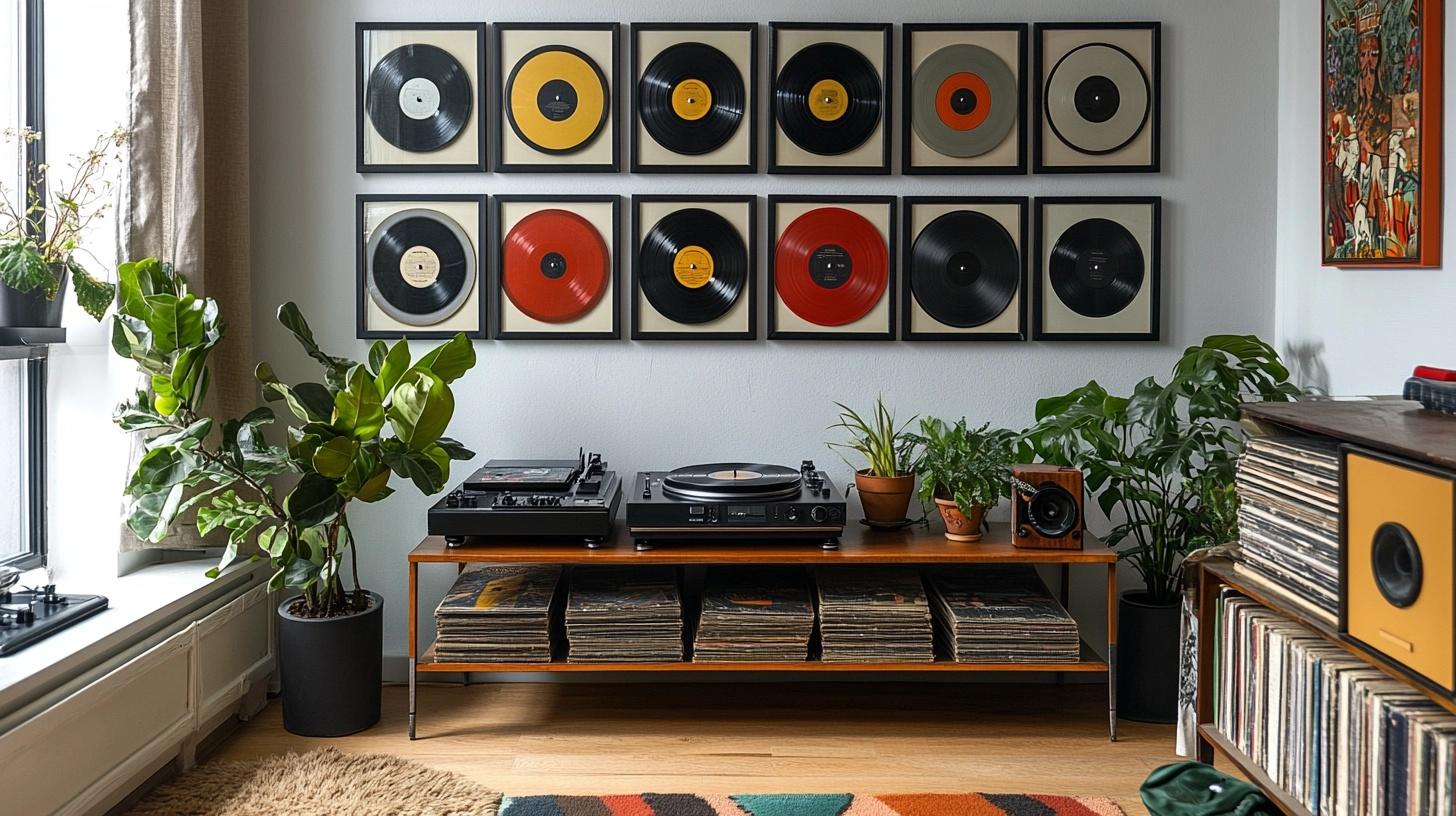
- Project Overview: Display vinyl records as wall art for a 90s-inspired music corner.
- Steps: Use old records, frame them, or mount them directly on the wall in an artistic arrangement. Incorporate a vintage record player as a functional decor piece.
- Pro Tip: Create a gallery wall with a mix of album covers from iconic 90s artists.
4: DIY 90s-Inspired Slipcovers
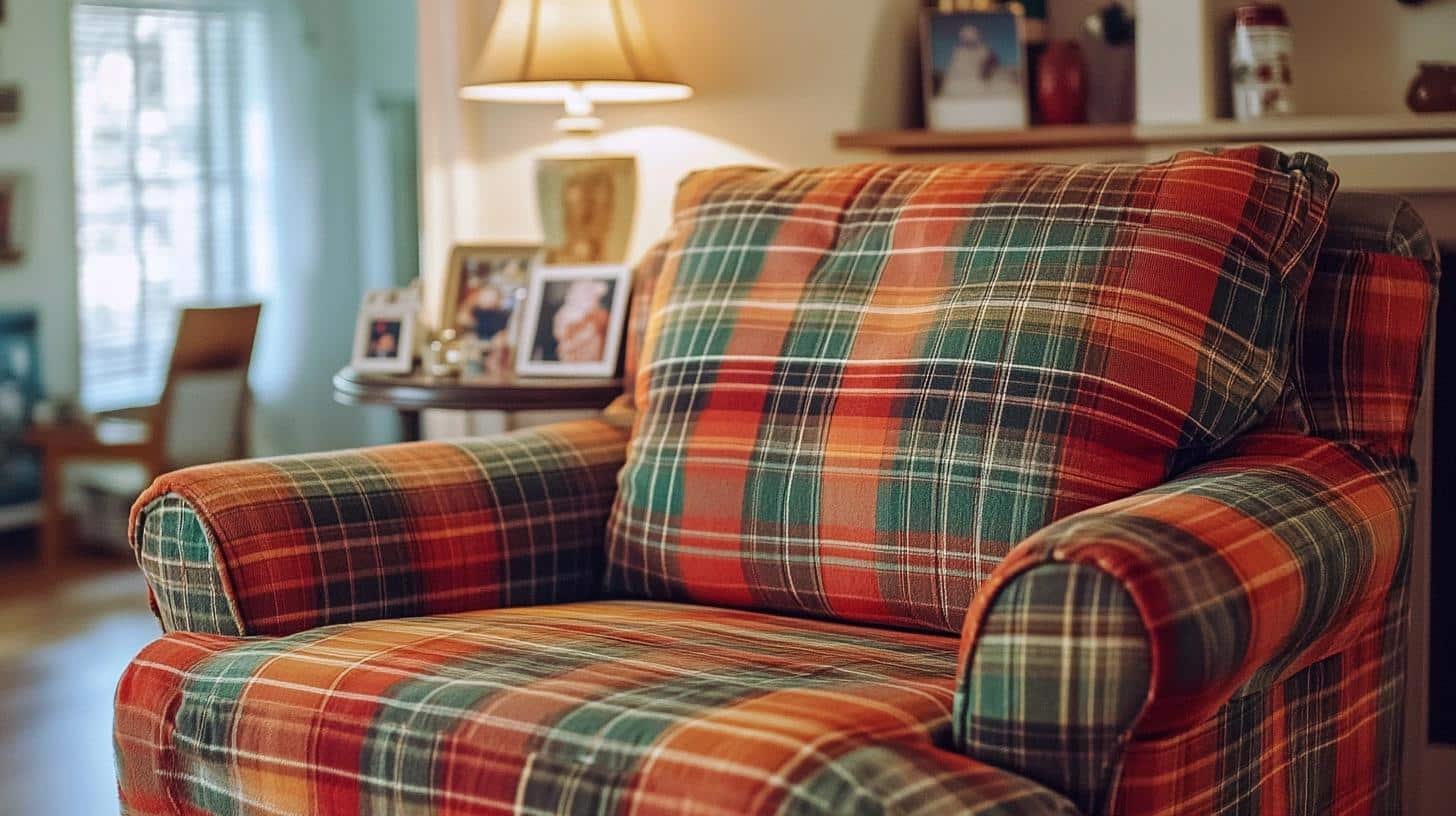
- Project Overview: Make slipcovers for your existing furniture using 90s-style fabrics like plaids or floral prints.
- Steps: Measure your furniture, cut the fabric accordingly, and sew or use fabric glue to create custom slipcovers.
- Pro Tip: Choose washable fabrics for practicality and ease of use.
5: DIY Retro-Inspired Wall Art
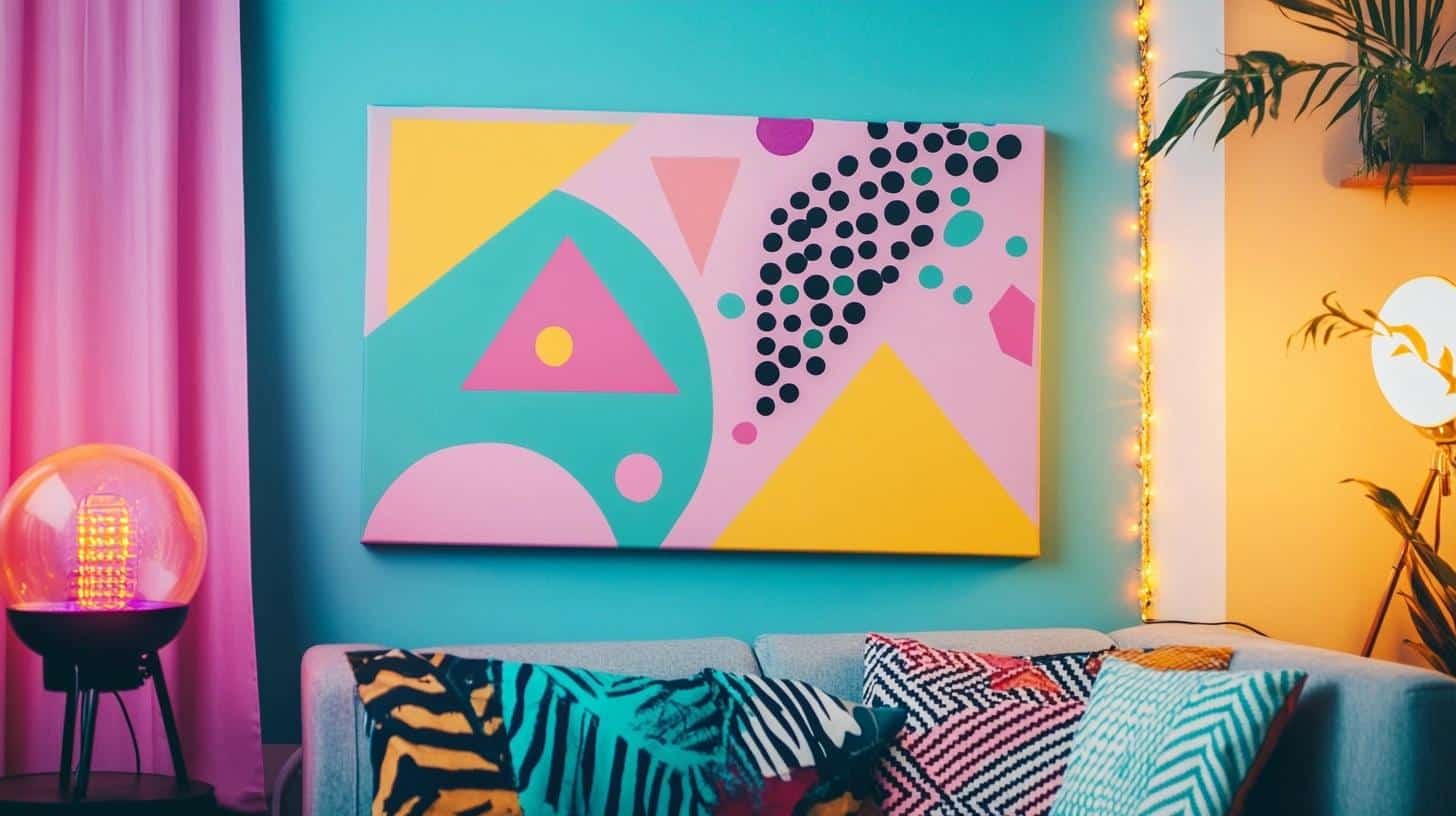
- Project Overview: Create your own wall art using 90s-inspired patterns, geometric shapes, or pop culture references.
- Steps: Use canvases or wooden boards to paint or stencil abstract designs, vibrant colors, or iconic 90s imagery like cassette tapes or VHS covers.
- Pro Tip: For a quick project, print 90s posters or movie covers and frame them for an instant nostalgic touch.
Conclusion
As we wrap up our journey back to the 90s living room, I hope you’re feeling inspired to bring some of that cozy nostalgia into your home.
We’ve explored the key elements that made these spaces special, from big comfy sofas to playful patterns and colors.
Remember, updating your space doesn’t mean losing that 90s charm. You can blend modern touches with retro vibes to create a living room that’s both familiar and fresh.
Whether you’re hunting for authentic pieces or trying your hand at DIY projects, the key is to have fun with it.
Ready to start your 90s-inspired makeover? Why not share your ideas or questions in the comments below?
Or better yet, show me your progress! Let’s keep the 90s spirit alive in our homes, one living room at a time.
Frequently Asked Questions
What was 90s interior design called?
90s interior design was often called “eclectic” or “maximalist.” It mixed different styles and wasn’t afraid of bold colors and patterns.
What did a typical 90s living room look like?
A typical 90s living room had big, comfy sofas, lots of patterns, and a large TV unit. Colors were often beige or hunter green, with floral or plaid fabrics.
How can I style my home like the 1990s?
To style your home like the 1990s, use warm, neutral colors and add floral or plaid patterns. Get a big, comfy sofa and display family photos. Use wood furniture and add some fake plants for that authentic 90s feel.
What furniture was popular in the 90s?
In the 90s, popular furniture included overstuffed sofas and chairs, large entertainment centers, and glass and brass coffee tables. Futons were common, along with floral print armchairs and wicker furniture. These pieces created the cozy, eclectic look typical of 90s homes.