How to Safely Remove a Wasp Nest from Your Home Without Getting Stung
Wasp nests can be a safety hazard around your home. If you’ve found one, it’s important to remove it promptly. But doing so without proper precautions can lead to painful stings. In this guide, we’ll provide you with step-by-step instructions on safe wasp removal from your property.
Assess the Situation
Locate the Nest
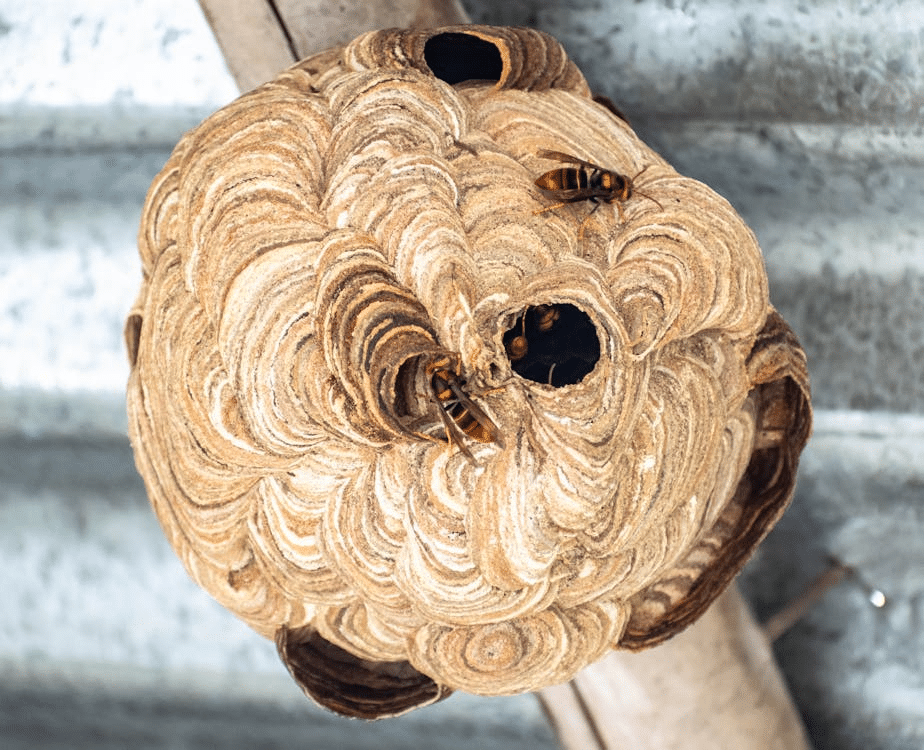
Effective wasp nest removal starts with locating it. Watch wasps as they fly in and out of your home or property. They often follow a direct path to and from their nest. While the specific location may vary, nests are usually found in eaves, attics, walls, or underground burrows.
Evaluate the Risk
Different wasp species exhibit varying levels of aggression. Research the type of wasp you’re dealing with to understand its behavior. Larger nests often indicate a larger population of wasps, increasing the risk of stings. Nests in high-traffic areas or near entrances to your home pose a greater threat.
To better guide you, here’s a table outlining common wasp types, typical nest locations, and general behavior:
Wasp Species |
Typical Nest Location |
Wasp Behavior |
|---|---|---|
|
Paper Wasps |
Under eaves, overhangs, or in sheltered outdoor areas |
Generally less aggressive, but can become defensive if disturbed. |
|
Yellow Jackets |
In walls, attics, or underground burrows |
Can be highly aggressive, especially when their nests are threatened. |
|
Bald-faced Hornets |
In trees, shrubs, or high-up structures |
Aggressive and known for their painful stings. |
|
European Hornets |
In tree hollows, wall voids, attics, abandoned buildings, or bushes |
Aggressive and can deliver painful stings. |
|
Mud Daubers |
On walls, rocks, or other structures |
Generally not aggressive and considered beneficial. |
Gather the Necessary Equipment

To safely remove a wasp nest, you’ll need the following equipment:
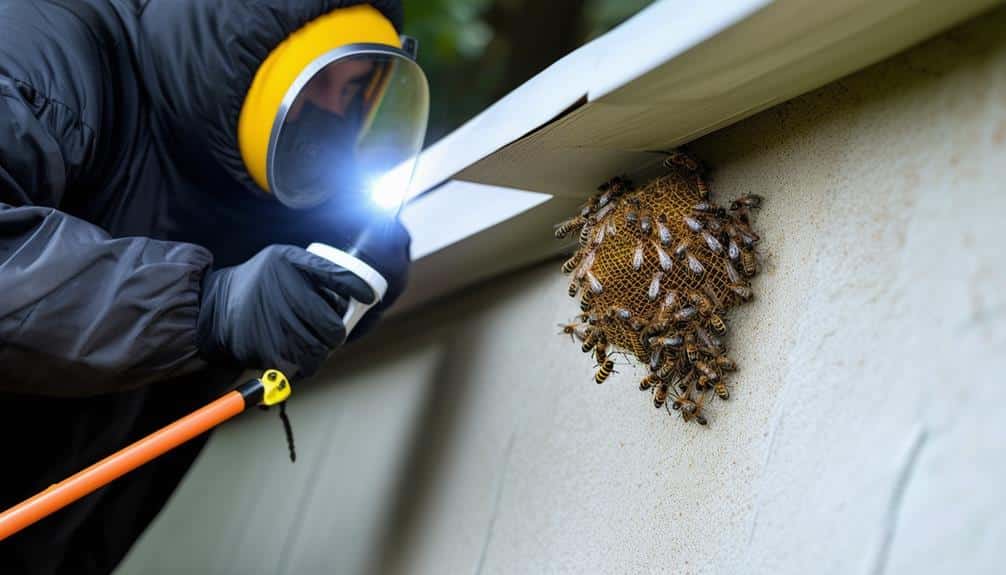
- Protective Gear: Wear long sleeves, pants, gloves, and a hat to minimize skin exposure. Consider wearing a beekeeper’s suit for maximum protection.
- Wasp Spray: Choose a commercial wasp spray specifically designed for nest removal. Look for products that offer long-lasting control.
- Long-Handled Tool: A broom, rake, or pole can be used to reach the nest from a distance.
- Garbage Bag: A large, sturdy bag will be needed to contain the nest after removal.
Important Note: If you’re not sure what tools you need or don’t feel confident about the wasp nest removal process, it’s a good idea to call in a professional. Wasp removal services can take care of the problem safely and quickly without the risk of stings. They have the right equipment and know-how, so you don’t have to worry about handling it yourself.
Choose the Right Time
The best time to remove a wasp nest is when the wasps are least active and most vulnerable. Here are some factors to consider:
- Weather Conditions: Wasps are less active during rainy weather, as their wings get wet and their flight abilities diminish. This can be a good time to remove nests, especially during thunderstorms when wasps are more docile.
- Time of Day: Early morning or late evening are often the best times of day to remove wasp nests, as wasps are less active during these cooler periods.
- Nest Stage: The earlier you find a nest, the easier removal can be, because the nest is smaller and less populated.
Carefully choosing the right time increases your chances of successfully removing the wasp nest without getting stung.
Approach the Nest Cautiously
When approaching a wasp nest, it’s crucial to avoid provoking the wasps to minimize the risk of stings. Here are some tips to follow:
- Maintain a Safe Distance: Approach the nest slowly and from a distance to avoid triggering defensive behavior.
- Avoid Sudden Movements: Rapid movements can alarm the wasps, causing them to become aggressive.
- Avoid Direct Contact: You don’t want to provoke the wasps, so do not touch or disturb the nest.
- Spray the Nest from a Distance: Apply wasp spray directly to the entrance of the nest, following the product instructions. Avoid spraying the wasps directly, as this can provoke them.
Hot Tip: Smoke Out the Nest
A less common but effective and safe method of wasp removal is to smoke them out. Start a small fire under the nest to create smoke. Ensure the fire is contained and under control. Once the smoke starts rising, retreat to a safe distance to avoid being stung. The smoke will irritate the wasps and force them to leave the nest. Give the wasps some time to vacate the area completely. After the nest is abandoned, carefully remove it using a long-handled tool.
Caution: Do this only when the nest is outside your home, as there’s a risk of burning your ceiling/walls, etc. Always have your fire extinguisher ready.
Dispose of the Nest
Put the nest in a sealed bag and place it in a secure outdoor trash can away from your home. Once the nest is removed, clean the area where it was located with soapy water to eliminate any lingering wasp scent that might attract other wasps.
When To Seek Professional Help
The methods we outlined are effective for many wasp nest removals. However, there are instances when it’s best to seek professional help:
- Large or Aggressive Nests: If you’re dealing with a large or highly aggressive nest, especially one situated in a difficult-to-reach area, it’s safer to leave the removal to professionals.
- Allergic Reactions: If you or a family member has a serious allergy to wasp stings, it’s crucial to avoid any risk of exposure. Professionals can safely remove the nest and provide advice on preventing future infestations.
- Difficulty Removing the Nest: If you’ve tried to remove the nest yourself but are unable to do so safely or effectively, it’s time to call in the experts.
- Preventative Measures: Professional wasp control services can also help with preventative measures to deter wasps from building new nests on your property. They can inspect your home for potential entry points and recommend appropriate treatments to prevent future infestations.
Conclusion
Removing a wasp nest can be scary, but with our tips above, it can be done safely and effectively. Just go back to this blog for guidance. And remember, if you’re unsure or uncomfortable with the task, just contact the experts. Protect yourself, your family, and your home from the potential dangers of these stinging insects.


