Step-by-Step Guide to Painting Kitchen Cabinets for a Fresh New Look
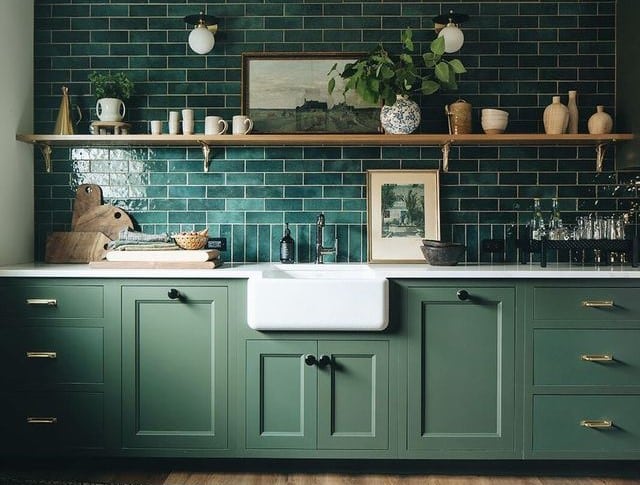
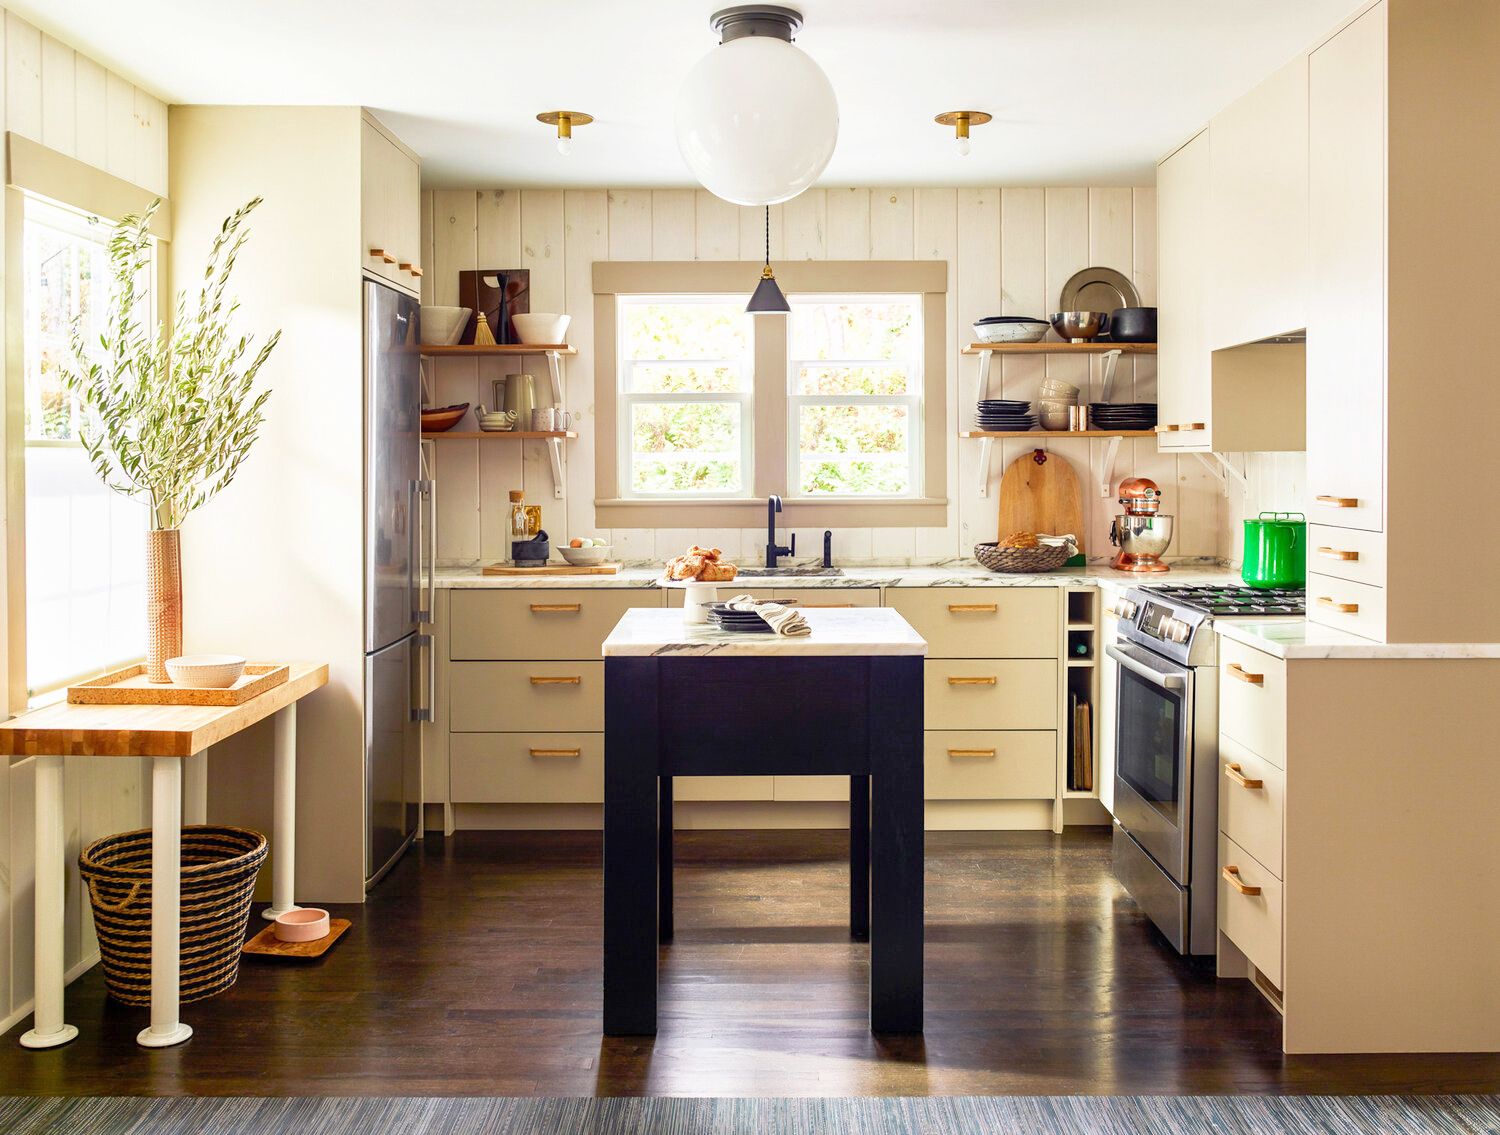
If you’re looking for a cost-effective and transformative way to update your kitchen, painting your cabinets can make a world of difference. With a fresh coat of paint, you can completely change the look and feel of your kitchen, giving it a fresh new look.
However, painting kitchen cabinets can be a labor-intensive process that requires careful preparation and attention to detail. In this detailed post, we will provide a step-by-step guide to kitchen cabinets painting, enabling you to achieve professional results and a stunning kitchen transformation.
Gather the N`ecessary Materials
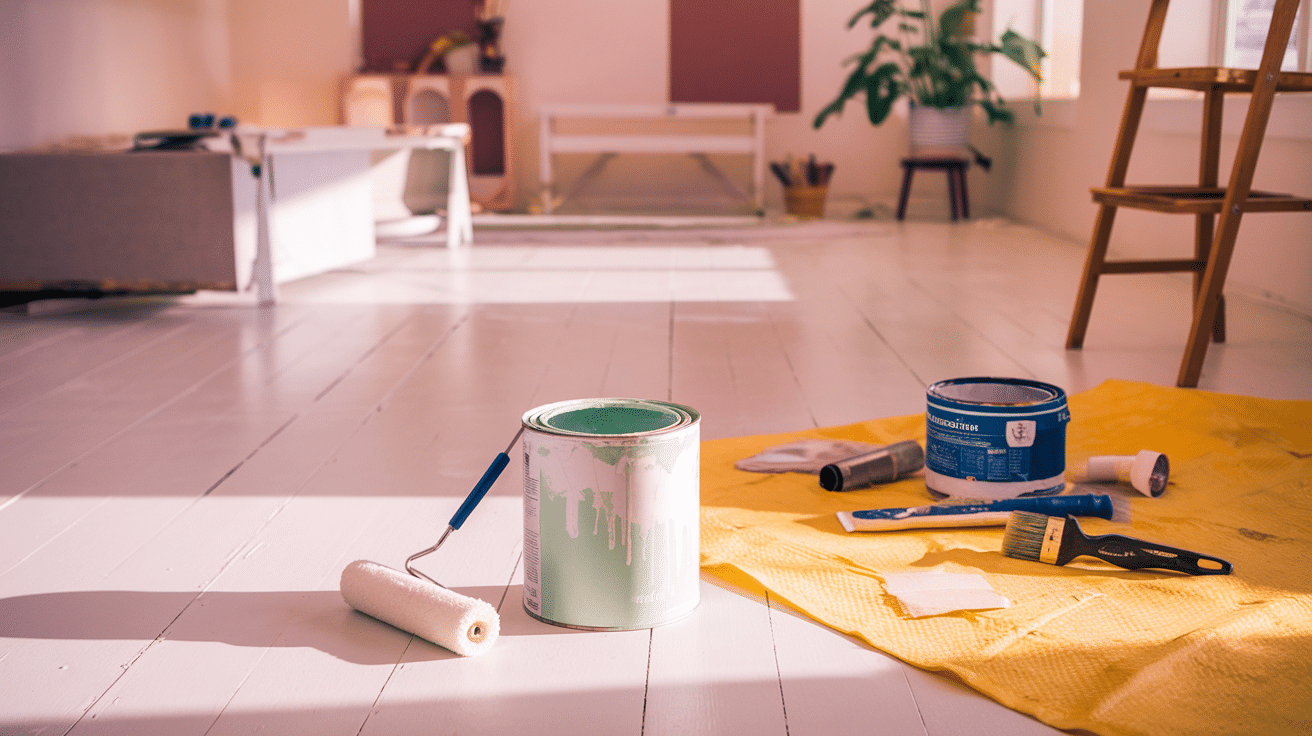
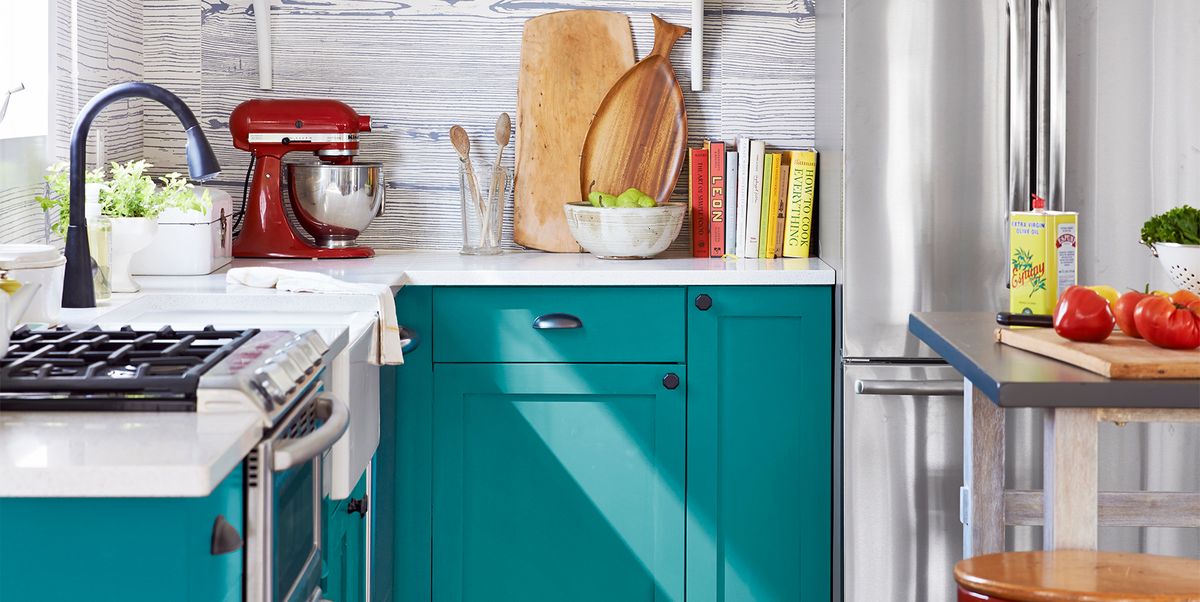 Before you begin painting your kitchen cabinets, gather all the necessary materials and tools. This includes paint, primer, sandpaper, degreaser, painter’s tape, drop cloths, brushes or rollers, a paint tray, and a screwdriver. Quality materials are essential for a professional and long-lasting finish.
Preparing the Cabinets
Proper preparation is crucial for a successful cabinet painting project. Start by removing all cabinet hardware, including door handles and hinges. Next, clean the cabinets thoroughly with a degreaser to remove any dirt, grime, or grease. Once cleaned, lightly sand the cabinet surfaces to ensure optimal paint adhesion. Make sure to wear a mask and goggles during this step to protect yourself from dust.
Repairing and Priming
Inspect the cabinet surfaces for any imperfections, such as dents, scratches, or holes. Use wood filler or putty to repair these areas, and then sand them smooth once dry.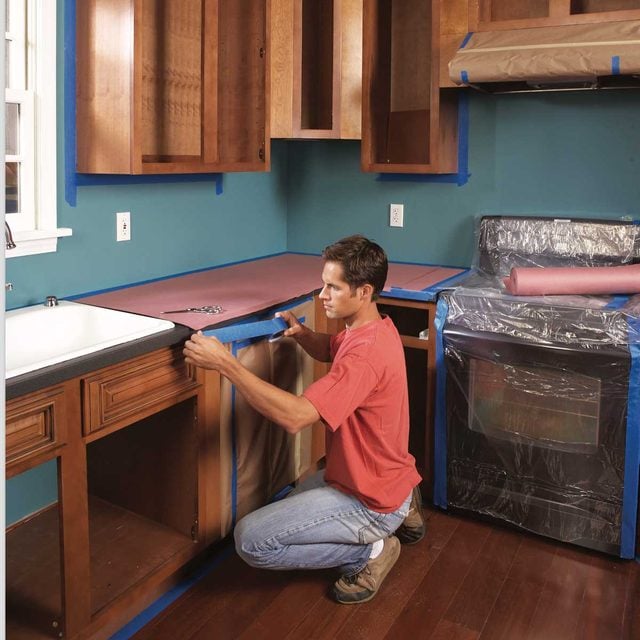
Applying a quality primer is essential to ensure the paint adheres properly to the cabinet surfaces. Apply primer evenly with a brush or roller, following the manufacturer’s instructions. Let the primer dry thoroughly before moving on to the next step.
Painting Techniques
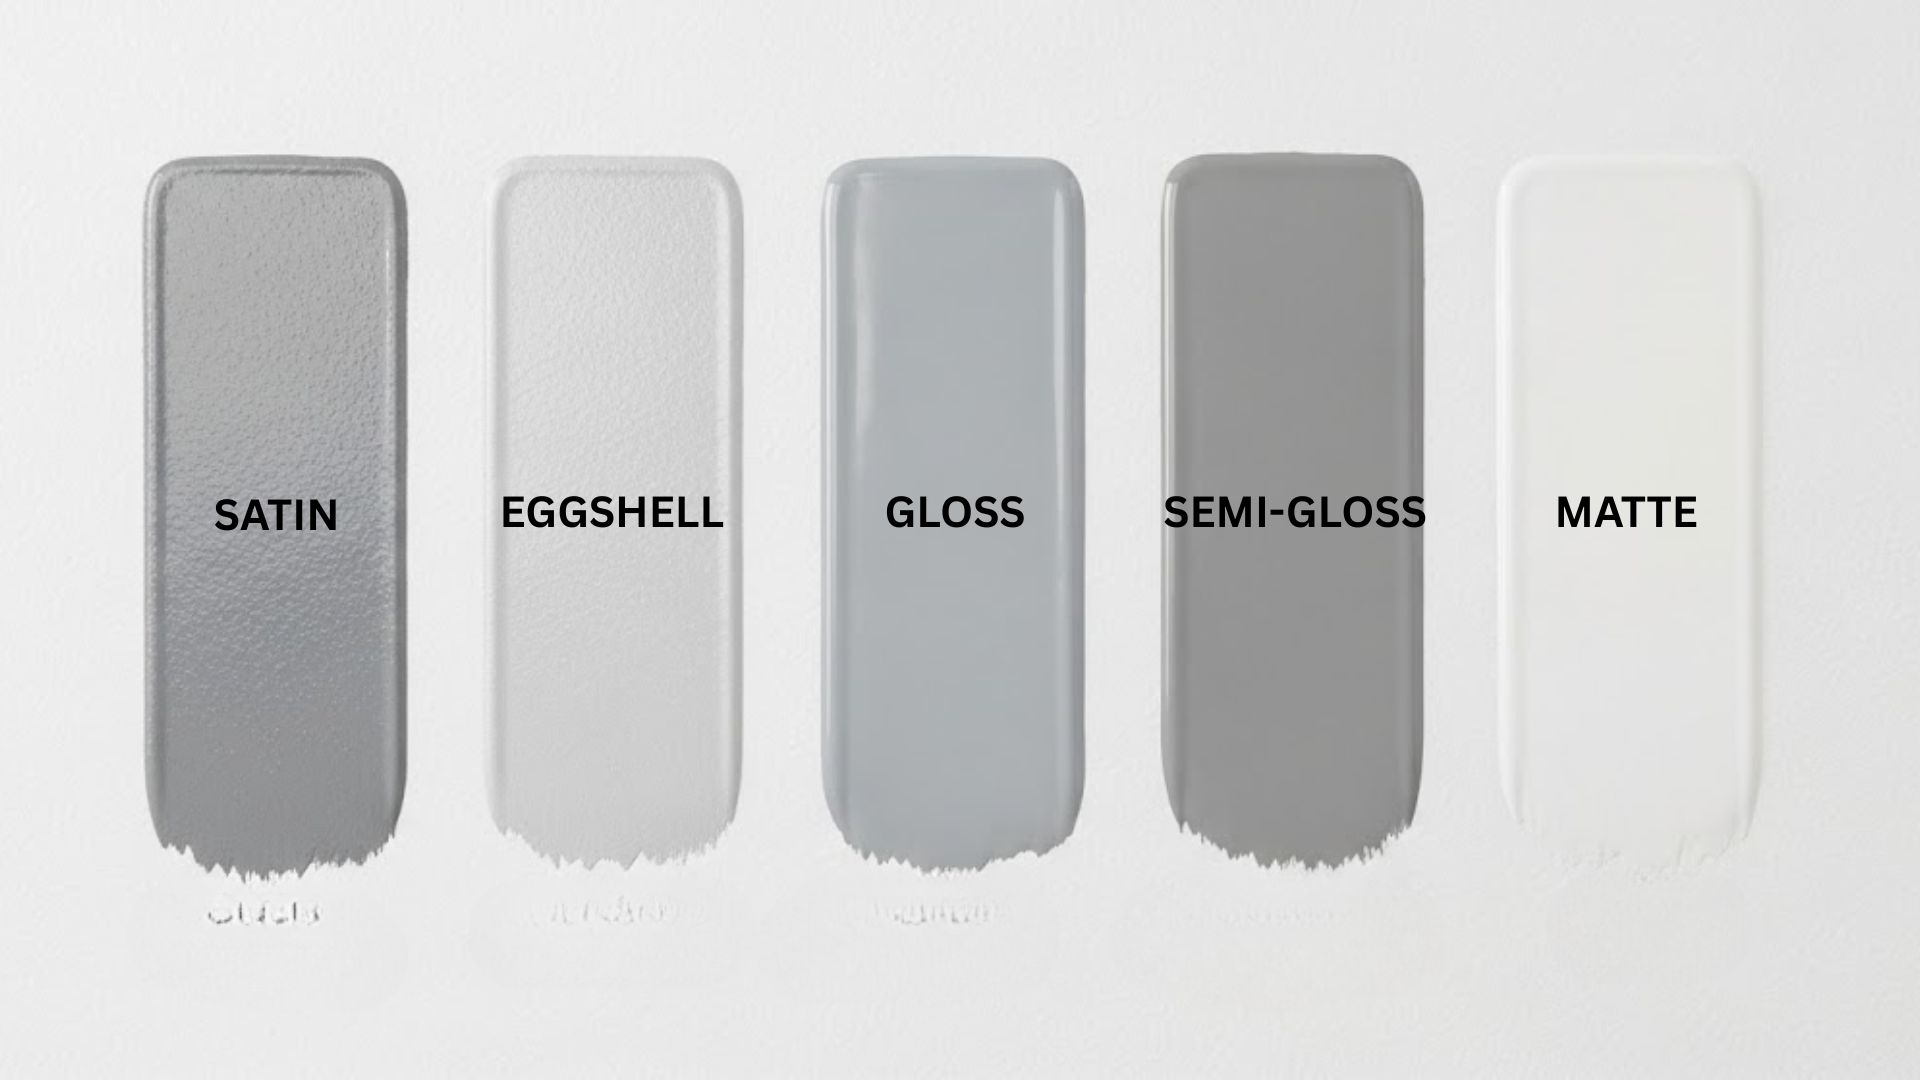
When it’s time to paint the cabinets, choose a high-quality paint specifically designed for cabinets or furniture. Use a brush or roller to apply the paint, starting with the recessed or detailed areas first. For a smooth finish, apply thin and even coats, allowing each coat to dry before applying the next. Consider using a paint sprayer for a professional-looking finish, but remember to practice proper technique to avoid overspray and achieve an even coat.
Adding Details and Accents
Consider adding details and accents to further enhance the look of your painted cabinets. This can include techniques like distressing or antiquing to give your cabinets a vintage or rustic look. You can also experiment with different finishes, such as glazes or decorative stains, to add depth and character to your cabinets.
Reassembling the Cabinets
Maintenance and Care
To keep your newly painted kitchen cabinets looking their best, proper maintenance and care are essential. Avoid harsh chemicals and abrasive cleaners that can damage the paint finish. Instead, use a mild soap and water solution to clean the cabinets regularly. Be mindful of any water or moisture that may come in contact with the cabinets, as excessive exposure can lead to paint damage or swelling.
Conclusion
Painting kitchen cabinets can breathe new life into your kitchen and give it a fresh new look. By following this step-by-step guide, you can achieve professional-looking results and transform your kitchen space. Proper preparation, quality materials, and attention to detail are key to a successful cabinet painting project.
Whether you choose to tackle this project yourself or enlist the help of a professional painting contractor, the end result will be a kitchen that feels updated, stylish, and inviting. Enjoy your freshly painted cabinets and the renewed beauty they bring to your home.

