90s Houses: Its Key Features and Essential Upgrades
I bought my house from the 1990s, and let me tell you about its unique style!
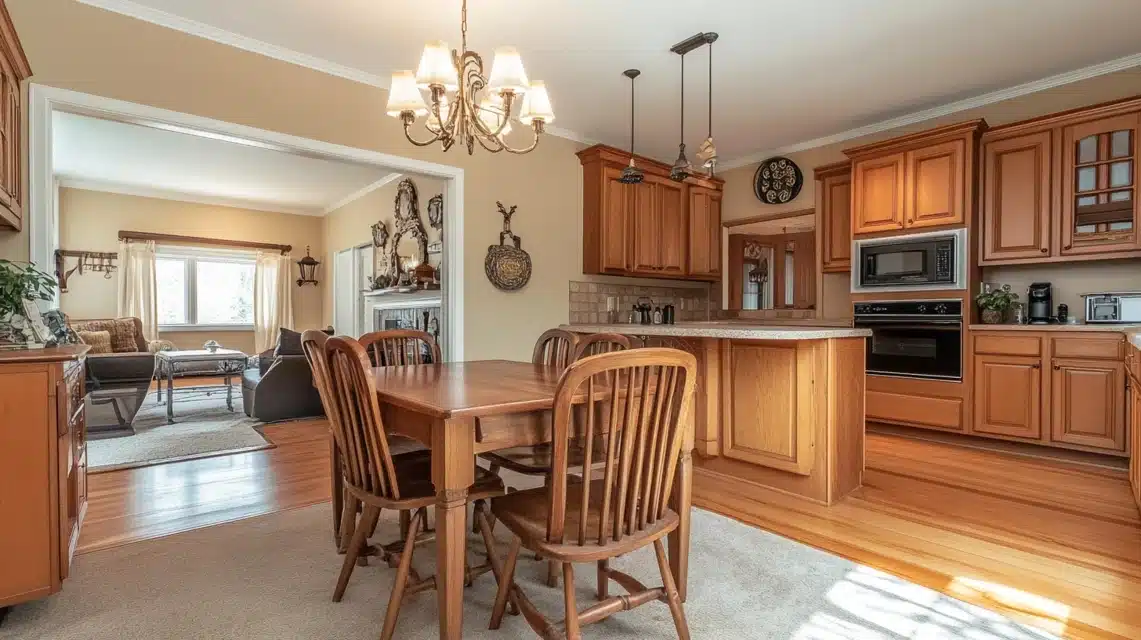
The home had those tell-tale signs – beige walls everywhere, honey-oak cabinets, and yes, those distinctive wall cut-outs that seemed so important back then.
If you have a 90s home like mine, you know exactly what I’m talking about. The good news? You can update these features without spending too much money.
I’ve learned through my own home updates that small changes can make your space look fresh and new while keeping its basic character.
Let me share what worked for me – from simple paint jobs to hardware updates that won’t break the bank.
Make an Impact on Your 90s Home
Paint
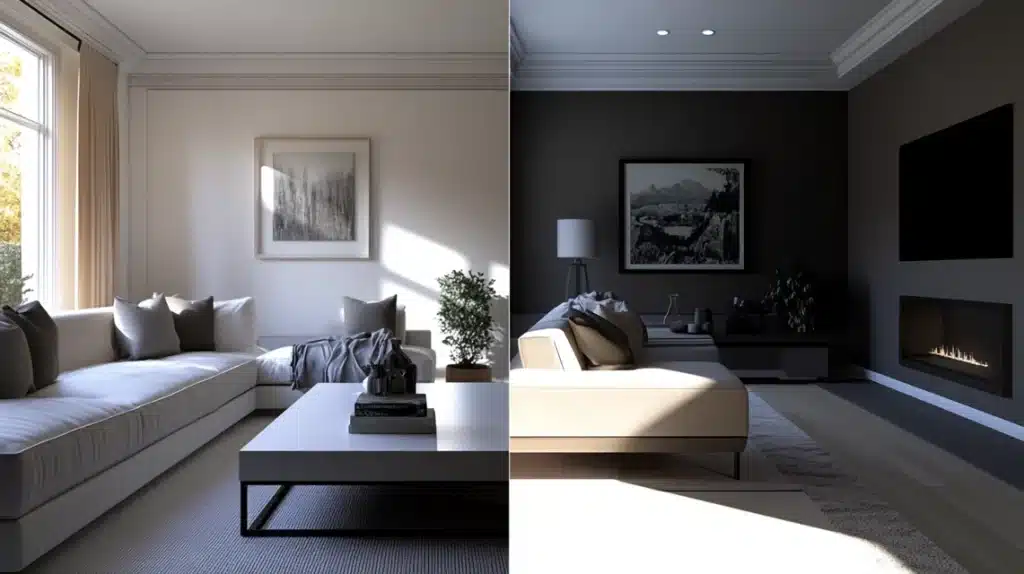
When I first walked into my 90s home, the walls were covered in dark browns and reds – a color scheme that made every room feel smaller and dated.
I learned that paint is the simplest way to change how a room feels.
In my experience, switching to white walls brightened up every space and made such a big difference.
The best part? It’s one of the most budget-friendly updates you can make.
I opted for clean whites in most rooms, but neutral tones like soft grays also work well.
What I love about lighter colors is how they make rooms feel more open and welcoming.
When I painted my kitchen, the transformation was immediate – even my old cabinets looked better against the fresh walls.
Here’s a tip from my renovation: don’t skip the prep work. Good primer and quality paint might cost a bit more, but the results are worth it.
Light Fixtures
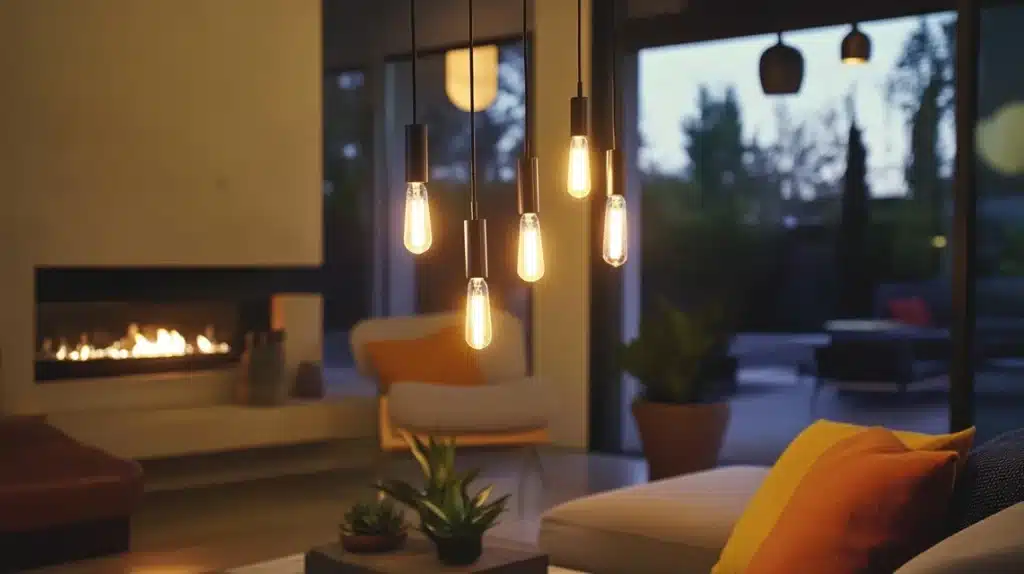
In my 90s home, one of the first things I noticed was the outdated light fixtures.
Remember those fluorescent bulb boxes on the ceiling?
My kitchen had them, and they had to go! I started by replacing the main hanging lights in each room.
Modern light fixtures instantly update any space, and I found that simple designs work best.
I chose sleek ceiling lights for the bedrooms and hanging lamps for the dining area.
Some rooms had those built-in fluorescent panels, which took more work to remove, but the difference was huge.
For the kitchen, I put new lights under the cabinets, too.
LED bulbs were a smart choice – they use less power and last longer.
The new lighting changed how every room looked and felt, making the whole house brighter and more inviting.
Work on Corners, Edges, and Exposed Space
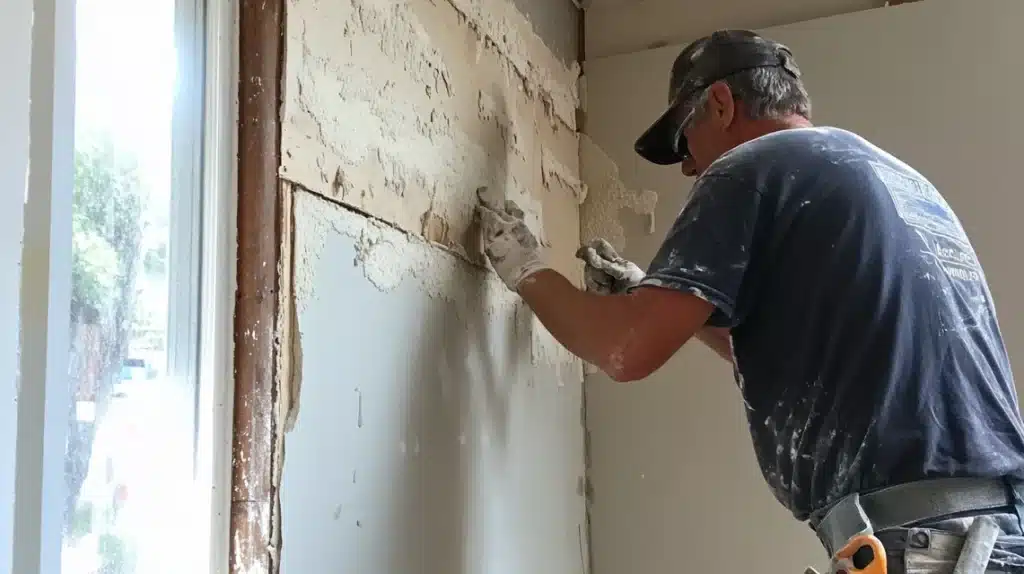
My home had typical 90s features, little cut-outs in the walls, and high ledges that collected dust.
Looking back at the photos, I can’t believe how much these details dated the house!
The biggest change came when I decided to cover up these spots.
My contractor helped frame over the wall niches and added new drywall, making the walls straight and clean.
In my entrance hall, we removed a big ledge that ran along the top of the wall.
Yes, it took more work than just painting, but the results made it worth every penny. The walls now look smooth and current.
We also fixed the angled corners in my kitchen – like that corner pantry that stuck out at odd angles.
Making these lines straight gave me more usable space and made the room look so much better.
Getting rid of these old design details helped my home feel more current.
Renew Door Handles and Hardware
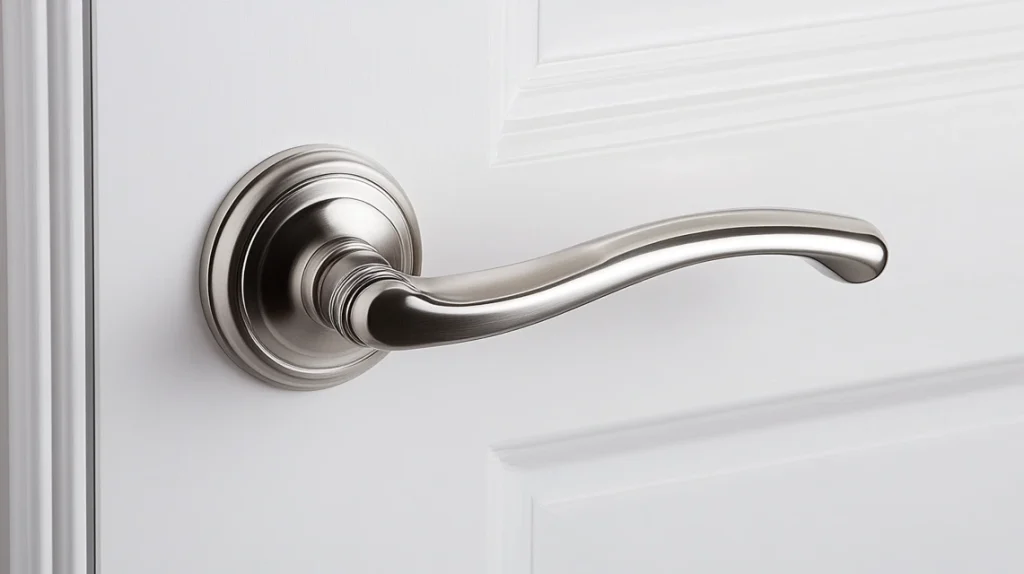
The old brass handles on every door had to go! I switched them all out for new ones, and what a difference it made.
I picked brushed nickel for all my doors – it looks clean and goes with everything.
The good thing about changing door hardware is you can do it yourself with just a screwdriver.
I started with the main bathroom and kitchen cabinet handles, then did all the interior doors.
A tip I learned: count all your doors and handles before buying.
Look for multi-packs of handles – they’re usually cheaper than buying one at a time.
I also cleaned and painted the doors while I was at it.
Fresh white paint and new handles made my old doors look brand new.
Even my closet doors got an update, and now they all match perfectly.
Update Plumbing Hardware
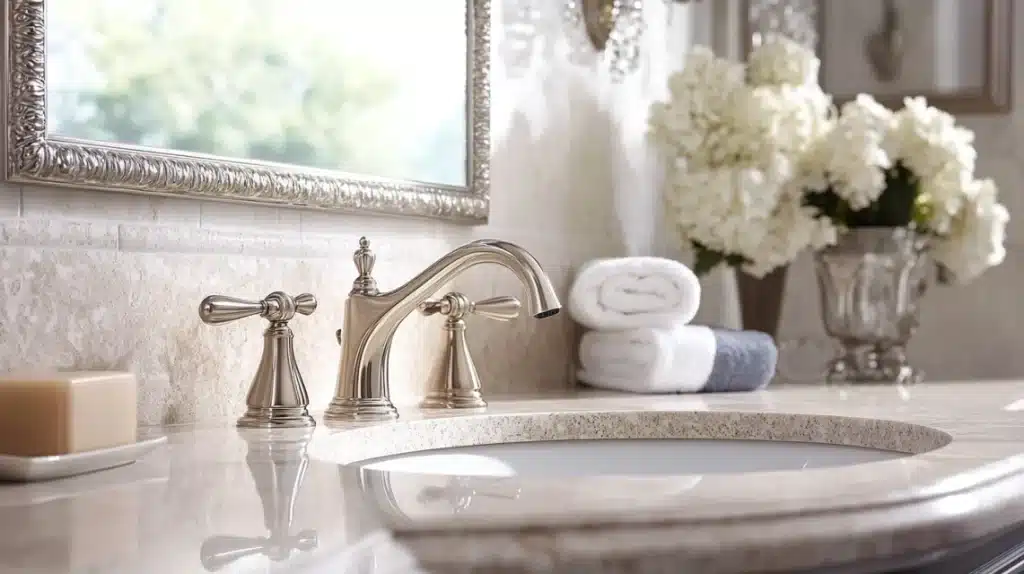
When I looked at my old bathroom faucets and shower heads, I knew they needed to go.
The good news is that changing these things isn’t as hard as you might think.
I picked new faucets in brushed nickel to match my door handles.
I got a matching set for the main bathroom – sink faucet, shower head, and tub spout.
They all worked with the existing pipes, which saved me money on plumbing costs.
The kitchen faucet was next on my list. I chose one with a pull-down sprayer – so much better than my old fixed faucet!
These small updates made my bathrooms and kitchen feel new again.
Here’s what I learned: stick with the same brand when updating tub and shower fixtures.
This way, everything fits together without any plumbing headaches.
Some Underrated Features of 90s Home
Wooden Cabinets
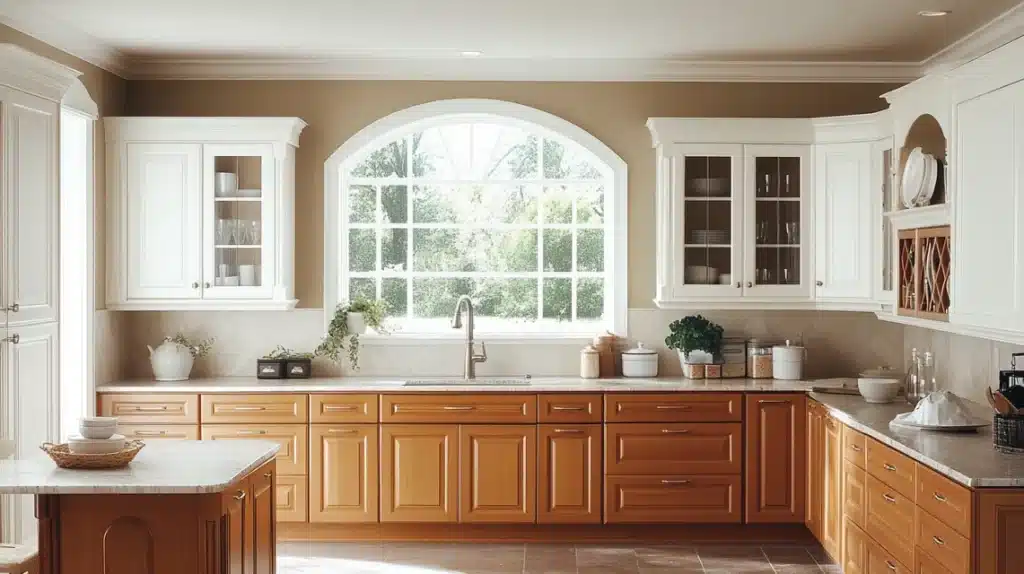
When I first looked at my kitchen, those honey-oak cabinets stood out right away.
You’ll find these in most 90s homes – they were the standard back then.
At first, I needed to replace them all, but I learned that good-quality wood cabinets can look great with the right updates.
I decided to work with what I had since the cabinets were solid oak.
After cleaning them well, I painted them in a soft white that matched my walls. If you like natural wood, you can sand and stain them in a different shade.
Some of my friends have removed their upper cabinets for open shelves, which works great, too.
The key is to pick what fits your style and budget.
My tip: start with one section as a test. I tried my new paint on a small cabinet first to make sure I liked it.
Television Corner
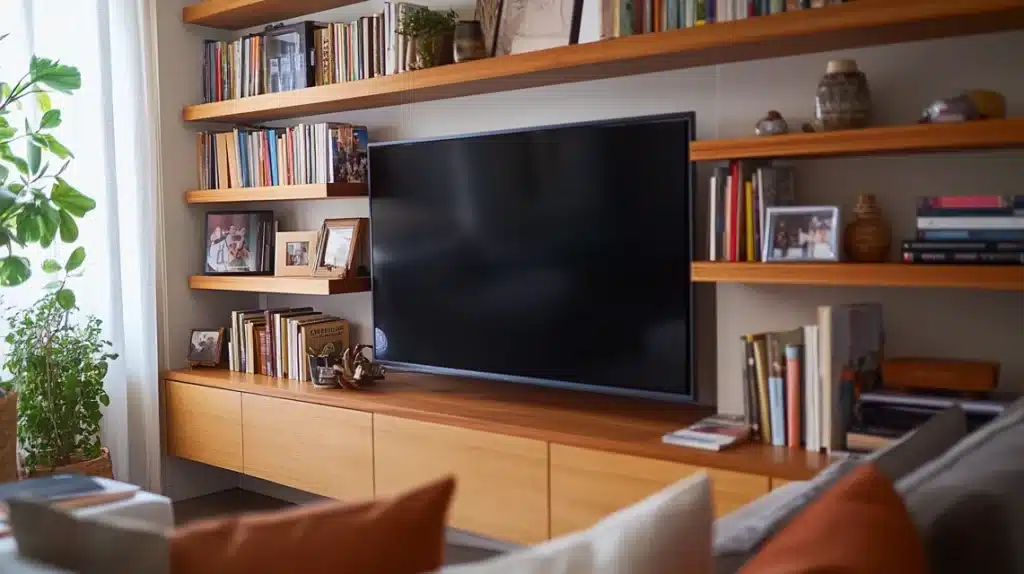
My house had that classic 90s TV nook – you know, that big hole in the wall meant for those old box TVs.
With flat screens now, these spaces can look awkward and outdated.
I turned mine into something useful! After measuring the space, I added wooden shelves to create a nice display area. It’s perfect for books and family photos.
If you’re thinking about what to do with your TV nook, consider your options.
Some people cover it completely with drywall for a clean wall.
Others use it for storage or make it a reading nook.
I’ve seen friends mount their new flat-screen TVs on a regular wall and use simple media stands underneath.
The key is to think about how you use your room now.
My shelves work great because they give me space to show off things I love while making that old TV spot look like it was always meant to be there.
Faux Wall Textures
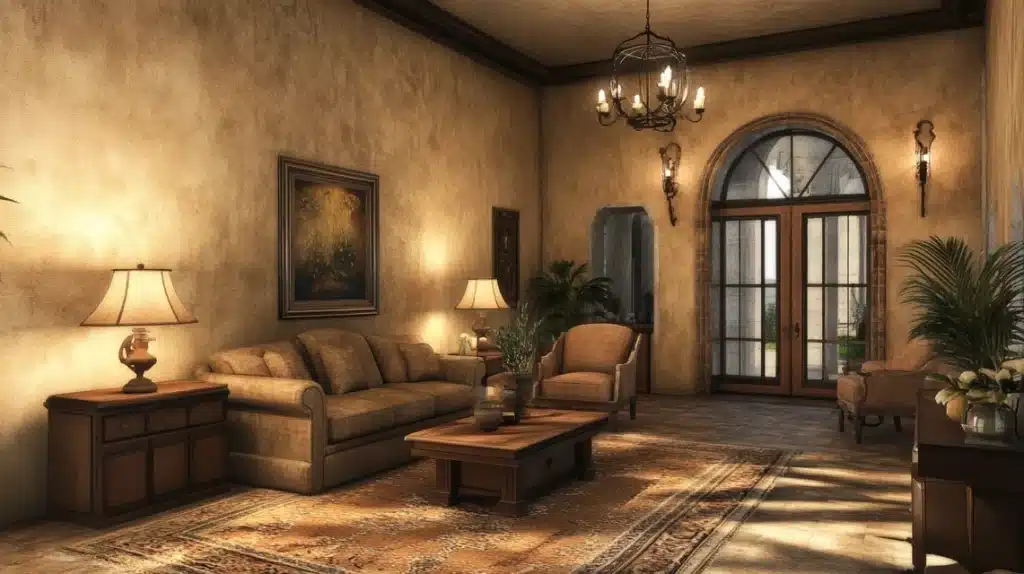
In my 90s home, I found walls with that special sponge-paint texture that was so popular back then.
Every room had these textured walls that made the house feel stuck in time.
Taking care of this was simpler than I thought.
First, I tried to sand down some areas, but then I found that using a good primer and several coats of paint worked better.
For my living room walls, I went with smooth paint in a light color.
Some walls needed extra work to get rid of the texture, but the clean look was worth it.
In my dining room, I picked a simple wallpaper with a small pattern – nothing like those busy borders from the 90s!
The key is keeping it basic. I learned that modern homes look best with clean walls that don’t draw attention to themselves.
Now, my walls look smooth and fresh, and they make a much better backdrop for my furniture and art.
Brass Hardware
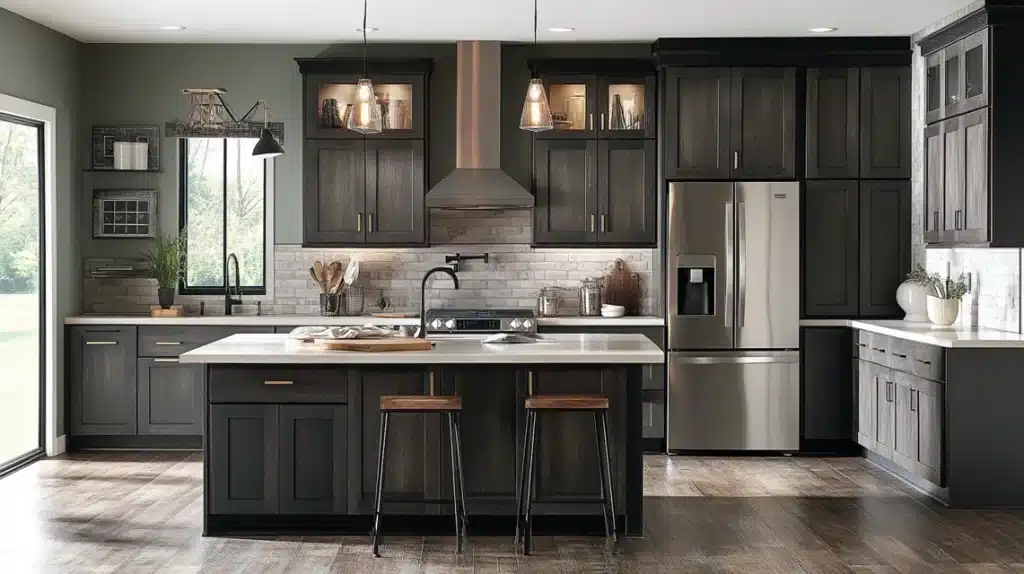
My home came with brass everywhere – door handles, light switches, cabinet pulls, you name it.
While looking at homes with my real estate agent, I noticed that brass really shows a house’s age.
Nobody wants that dated look anymore.
I started by switching out all the cabinet hardware in my kitchen – I went with brushed nickel, and it made such a difference.
Each room has new hardware to match. In the bathrooms, I changed towel bars and toilet paper holders.
For the bedroom closets, new door pulls made them look much better.
Here’s what worked for me: pick one finish and use it throughout the house.
I chose brushed nickel because it goes with everything and doesn’t show fingerprints as much.
You can find good deals on hardware if you buy sets instead of single pieces.
Conclusion
Looking back at my 90s home makeover, I’m happy with every change I made.
Simple updates like fresh paint, new hardware, and clean walls made the biggest impact.
If you plan to update your 90s home, remember you don’t need to change everything at once.
Start with paint – it’s the easiest way to see a big difference. Then, move on to hardware and fixtures as your budget allows.
What matters is making your space feel like home while keeping up with today’s style. My house still has its 90s charm, but now it looks fresh and current.
Frequently Asked Questions
Is it okay to buy a house built in 1990?
Yes, buying a 1990s house is fine. These homes often have good bones and solid construction, making them candidates for simple updates and improvements.
What is the 90s style called?
The 1990s home style was known as the “Tuscan” design, marked by beige colors, oak cabinets, and decorative wall features like niches and textured surfaces.

