7 Tips for Installing DIY Kitchen Cabinets
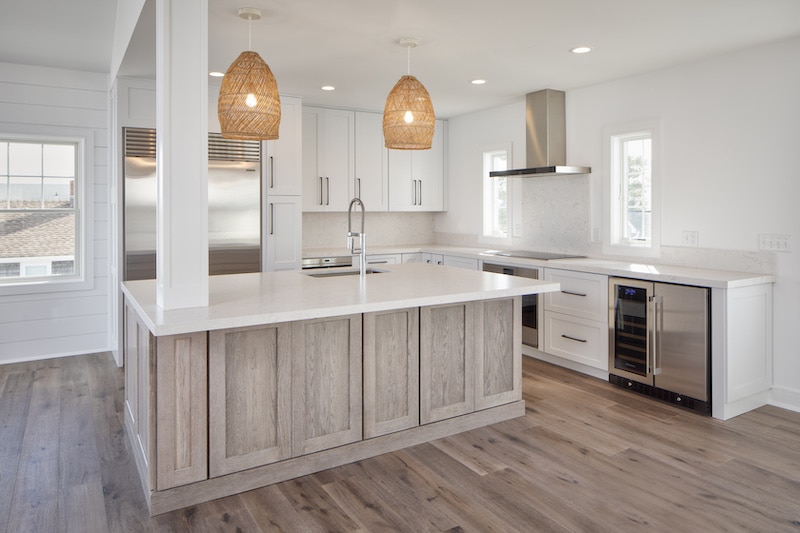
DIY kitchen cabinets are always a hit among home decorators. They offer a personalized touch, allowing you to pick designs that reflect your style in a cost-effective way. When you skip professional installation, you save money and feel pride in completing a project with your own hands.
Correctly installing cabinets is also vital. It’s not just about aesthetics — it’s about safety, too. Properly installed cabinets ensure they remain securely fixed, avoiding potential accidents. Secure installation also ensures longevity.
While DIY is fun, ensuring a proper setup is essential for a safe and lasting kitchen. Here are a few expert tips to make your project successful and well-suited to your space.
Measure Twice, Cut Once
Accurate measurements are the backbone of a successful DIY kitchen cabinet project. When measurements are spot-on, cabinets fit perfectly, maximizing space and ensuring a professional look. Meanwhile, incorrect measurements can lead to gaps, overlaps or wasted materials.
Several tools help with precision, including the following:
- Tape measure: The essential yet most crucial tool. Ensure it’s long enough for broader measurements.
- Carpenter’s square: helps in achieving perfect right angles.
- Level: To check if surfaces are flat and cabinets are straight.
- Laser distance measurer: Offers digital precision, especially for larger spaces.
- Pencil and notepad: Always handy for jotting down measurements as you go.
Using the right tools makes the installation process smoother and gives confidence in your measurements.
Choose Quality Materials
Choosing a suitable material is crucial for kitchen cabinets. Durable woods — like oak, maple or cherry — stand the test of time and daily wear. They resist scratches or dents, making them ideal for a bustling kitchen.
On the other hand, medium-density fiberboard (MDF) is an affordable alternative. It offers a smooth finish with no visible grain, perfect for veneered or painted cabinetry. Both materials can be great choices, depending on your budget and design preferences.
Moreover, hinges are consequential in kitchen cabinets. They determine how doors swing open and shut. Consider their type and material when selecting hinges. Steel hinges are the most common, but don’t offer resistance to rust or corrosion. Stainless steel on the other hand features at least 10.5% chromium, increasing its resistance and making for easier restoration. Properly chosen hinges enhance the functionality of your cabinets and ensure they operate seamlessly for years.
Level and Plumb
Having straight cabinets is essential for functionality and aesthetics. If cabinets are crooked, doors might not close properly and the overall appearance will look sloppy. Here’s how you can guarantee they’re level:
- Start with a level base: Before installing, ensure the platform is even. It provides a solid foundation for the cabinets.
- Use a spirit level: This tool is invaluable for DIY enthusiasts. Place it on the cabinet surface to check its horizontal straightness. If the bubble is in the center, you’re on the right track.
- Adjust as you go: Most cabinets come with adjustable legs or supports. If you notice any unevenness, tweak these until the spirit level indicates it’s straight.
When you ensure you perfectly align your cabinets, you’ll have a kitchen that looks professional and operates smoothly.
Pre-Assemble Before Installation
Laying out and building your cabinets on the ground is a smart move. It offers a clear view of all parts, making it easier to follow assembly instructions. This method allows you to comfortably work without straining your back and neck,
Before mounting the cabinets, thoroughly inspect each one. Look for any defects in the wood, misaligned holes or missing parts. Addressing these issues at this stage can save you from problems later.
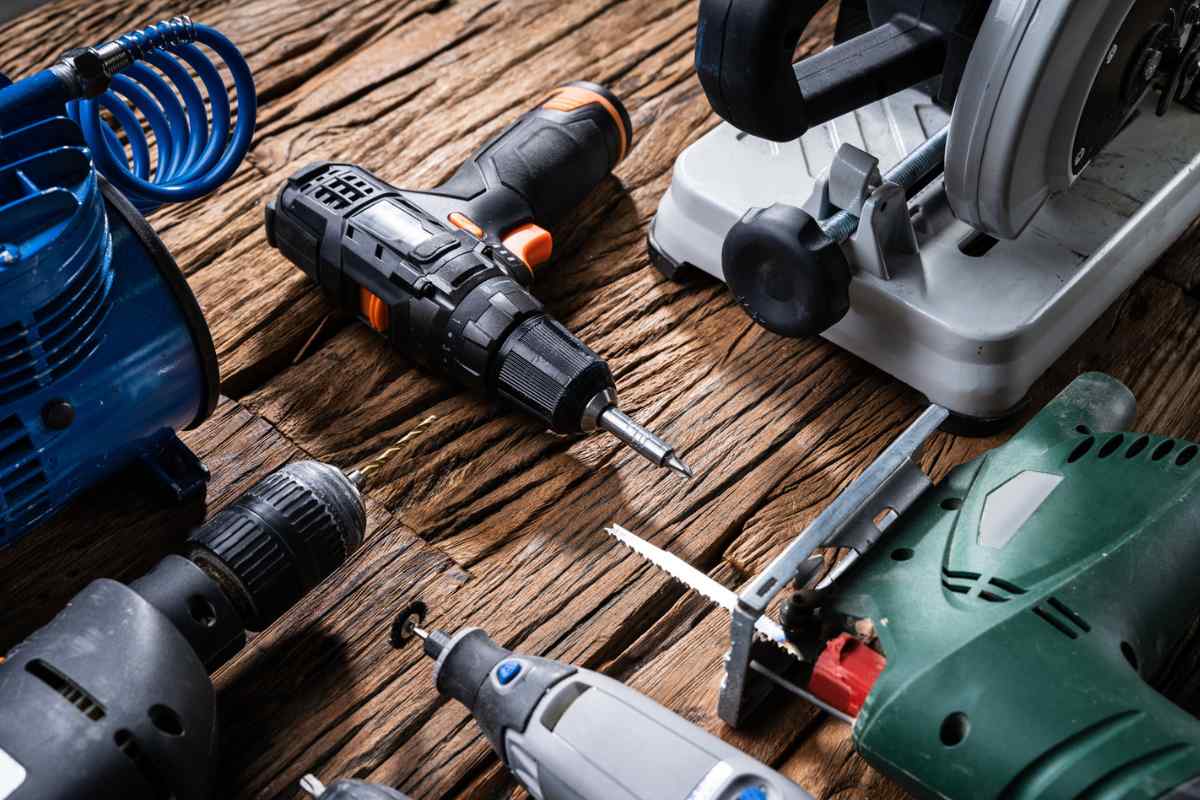
At this point, owning a well-equipped toolbox will boost your DIY project progress. It ensures you have all the necessary tools, from hammers to screwdrivers. A comprehensive kit reduces the risk of mistakes and makes the entire experience more enjoyable.
Securely Anchor Cabinets
Safety should always be a top priority, especially in DIY projects. While it’s exciting to see your vision come to life, it’s crucial to ensure no harm comes to you or your loved ones. Mishaps like falling cabinets can lead to severe injuries.
Wall anchors help you keep your project safe from accidents. They secure cabinets to the wall, bearing their weight and contents. Depending on your wall type — drywall, plaster or masonry — you’ll need specific anchors. For heavy cabinets, consider using toggle bolts or heady-duty wall anchors. Ensure you install the anchors correctly and periodically check for any signs of loosening.
Adjust Doors and Drawers
For kitchen cabinets to be truly functional, they need to open and close effortlessly. Smooth operation prevents wear and tear, reduces noise and enhances the user experience. No one wants to wrestle with a stubborn cabinet door on a busy morning!
If doors or drawers aren’t functioning smoothly, the solution often lies in the hinges and sliders. For doors that don’t close or sit properly, adjusting the hinge screws can realign them. As for drawers, sliders with ball bearings offer smooth movement. If they become sticky or resistant, ensure they’re free of debris and properly lubricated.
Use Filler Pieces for Gaps
A seamless look in kitchen cabinets isn’t just about aesthetics — it speaks of quality and attention to detail. Cabinets that fit snugly and seamlessly enhance the beauty of your kitchen and create a cohesive and harmonious environment. This uniform appearance elevates the overall design, making your kitchen feel more polished and professional.
Fillers are the secret sauce to achieving this flawless look. They fill gaps between cabinets or between a shelf and a wall. When you diligently cut and place fillers, you ensure every nook and cranny of your kitchen looks intentional and expertly designed.
Gearing Towards DIY Success
You’ve learned essential installation tips, from the importance of precise measurements to the aesthetics of a seamless look. Remember, the secret to a successful DIY kitchen cabinet installation lies in careful planning, having the right tools and paying attention to details.
With the knowledge you’ve gained, you’re well-equipped to tackle this project. Roll up those sleeves and dive into creating a kitchen space that’s functional and beautifully yours.
Jack Shaw is a freelance writer who has spent the last five years writing about how to improve your home and health. He serves as senior writer for Modded, and since then has contributed to Better Triathlete, Log Cabin Hub and Hella Life among many other publications. When not writing, he can often be found working on his own home or simply playing with his dog.


