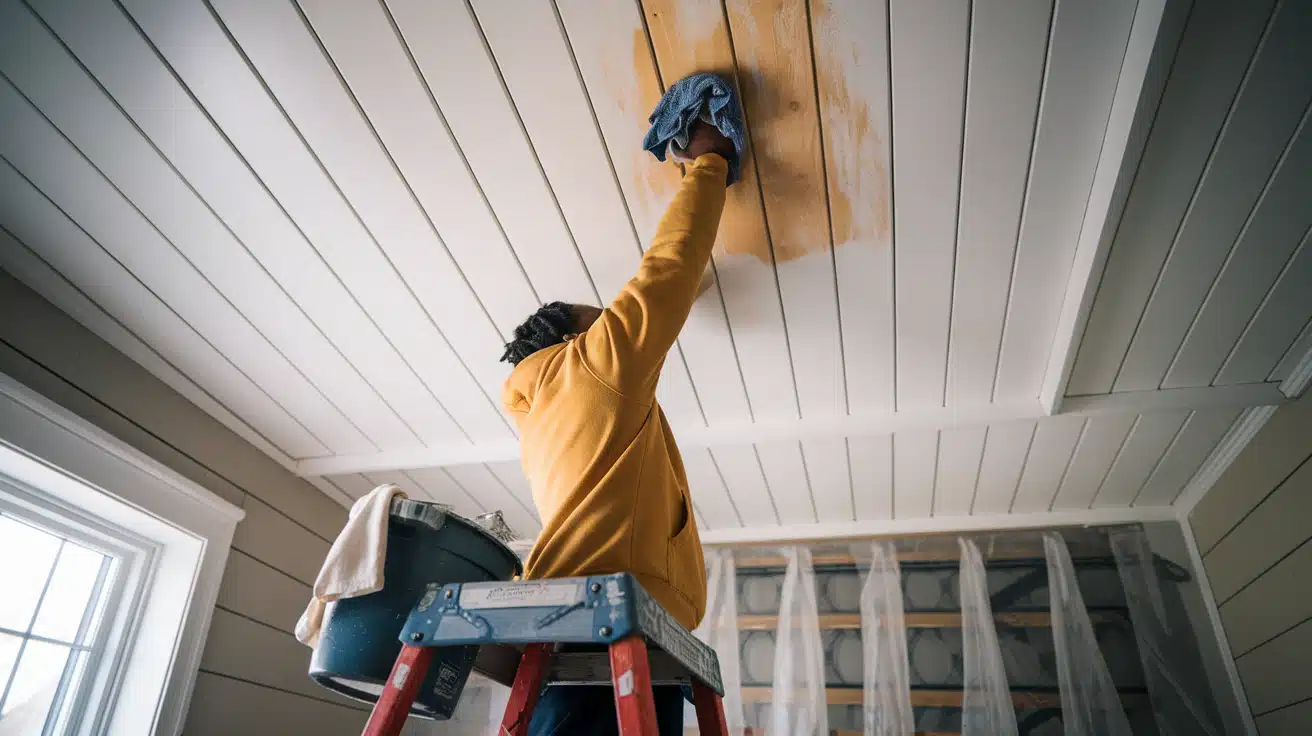
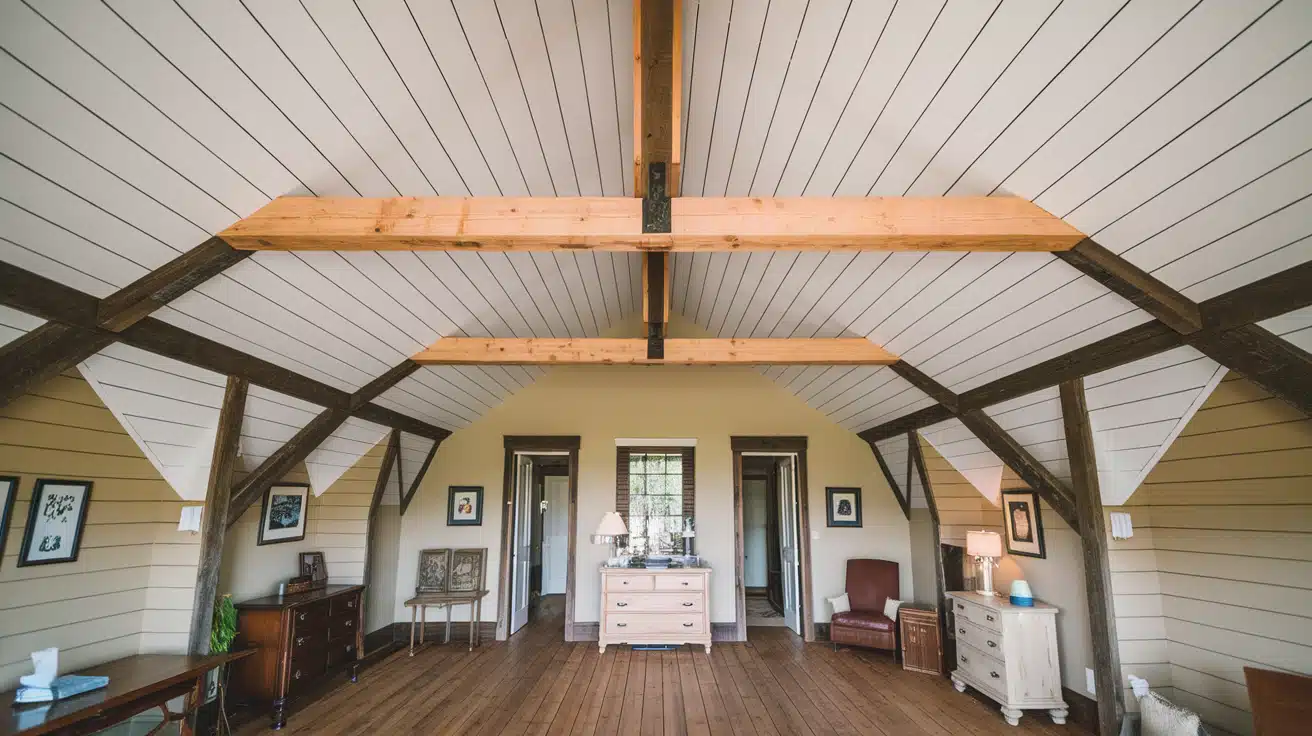
Why a Shiplap Ceiling is the Ultimate Home Refresh
Looking up at your ceiling, you might see dated textures or patterns that don’t match your style. Many homeowners want to update their ceilings but feel stuck with what they have. A shiplap ceiling offers a perfect solution to this common problem.
We’ll show you how to turn your old ceiling into a striking feature that adds value to your home. Whether you’re a first-time DIYer or an experienced renovator, this guide breaks down every step of installing shiplap ceilings.
In this post, you’ll learn about material selection, cost planning, installation techniques, and long-term maintenance to create a ceiling you’ll love for years.
What You Need to Know Before Getting Started
Before you begin your project, let me share key facts about shiplap ceilings and what to consider.
Understanding Shiplap
Shiplap consists of wooden boards designed to fit together perfectly. Each board has a small lip that overlaps with the next board. This creates clean lines across your ceiling. These boards add texture and visual interest to any room.
When used on ceilings, shiplap creates a cozy feel in your space. Unlike standard ceiling textures, shiplap adds depth without looking busy. The straight lines make rooms appear larger, and the wood brings natural warmth to your space.
Pre-Installation Considerations
Look at your room carefully before starting. Measure the full length and width to determine how many boards you’ll need. Check your ceiling height—you’ll want enough space to work comfortably. Look for spots needing special attention, like corners or light fixtures.
For wood choice, pine shiplap works well in most homes. It takes paint nicely and stays stable in normal conditions. Make sure your boards are dry and straight. Pick boards that match your room’s moisture level – bathrooms need more moisture-resistant options.
Paint your boards with good ceiling paint. White works best for most rooms, but you can match your wall color, too. Use paint that fights moisture and won’t yellow over time.
Take time to plan these details now. Good choices at the start lead to better results when you finish. Your ceiling will look good and stay that way for years.
Step-by-Step Guide to Installing Your Shiplap Ceiling
Materials and Tools Required
| Category | Item | Estimated Cost per Unit | Notes |
|---|---|---|---|
| MATERIALS | |||
| Shiplap Boards | $2.50 to $7 per board | One board covers ~14 sq ft | |
| Construction Adhesive | $8-10 per tube | One tube per 50 sq ft | |
| Paint & Primer | $30-40 per gallon | 1-gallon covers ~400 sq ft | |
| Spackling Compound | $6-8 per container | For nail holes | |
| Nails | $20 per box | 1000 count box | |
| Chalk Line Powder | $5 per bottle | Multiple uses | |
| TOOLS | |||
| Nail Gun + Compressor | $200-300 | One-time investment | |
| Stud Finder | $15-30 | Basic model | |
| Chalk Line | $5-10 | Reusable | |
| Measuring Tape | $8-15 | 25 ft length | |
| Pencil | $1 | Several recommended | |
| Jigsaw | $50-100 | For cutting holes | |
| Miter Saw | $150-200 | For straight cuts | |
| Paint Roller Kit | $15-20 | With tray | |
| Sanding Block | $5-8 | Medium grit | |
| Safety Glasses | $5-10 | Essential protection | |
| Step Ladder | $50-80 | 6-8 ft height |
Step 1: Preparation
First, make your work area safe. Take down all ceiling lights and cover their wires safely. Move out furniture or cover it well.
Put down floor covers to catch any falling bits. Keep your tools close by on a steady table. A good setup now means easier work later.
Step 2: Locating Ceiling Joists
Take your stud finder and a piece of cardboard. Put the cardboard on the ceiling – it helps the stud finder work better on bumpy surfaces.
Slide it along until you find the first joist. Put a mark there. Most joists sit 16 inches apart. Use this to help find the rest.
Step 3: Marking the Ceiling
Get your chalk line ready. Put marks every 16 inches where you found joists. Pull the chalk line tight between marks.
Snap it to make straight lines. Blue chalk shows up well but doesn’t make a big mess. These lines guide where you’ll put your nails.
Step 4: Purchasing and Preparing Shiplap
Buy your shiplap boards. Each costs about $8, so plan your budget. Paint them before they go up – it’s much easier than painting the ceiling later. Use a foam roller for smooth coating. Let them dry fully on sawhorses.
Step 5: Installing the First Row
Put your first board against the wall. Hold it steady and nail it into the marked joists. Start at one end and work to the other. Keep checking that it stays straight. This first board sets the tone for all others.
Step 6: Continuing the Installation
Put small X marks of glue on each board’s back. This helps them stick better to rough ceilings. Start the next row with a shorter board – maybe 4 feet instead of 8. This stops seams from lining up. Keep placing boards snugly together.
Step 7: Making Adjustments for Light Fixtures
When you reach a light spot, mark its size on your board. Measure from all sides to get it right. Draw your circle with something round from your kitchen. Cut with your jigsaw. Sand the edges until smooth.
Step 8: Completing the Installation
Keep going row by row. You might need to cut the last row’s width to fit. Please remove the board’s tongue at corners so it fits right. Check that all boards stay level as you work.
Step 9: Reinstalling Light Fixtures
Turn off power first. Cut light wires to fit. Match colors – black to black, white to white, green to ground. Attach fixtures firmly. Test each one after power returns.
Step 10: Finishing Touches
Fill nail holes with a spackle that changes color when dry. Please put it in with your finger. Once dry, sand with fine paper. Touch-up paint on these spots to match.
Step 11: Review and Clean Up
Look at your work from different spots. Fix any areas that need it. Make sure the boards feel solid. Clean up your tools and materials. Your new ceiling will look clean and fresh.
This guide helps you make a big change in your home. Take time with each step. Good work shows in the result.
DOWNLOAD THE FULL GUIDE FROM THIS PDF
CLICK HERE
Video Tutorial
Watch a full YouTube video on how install a shiplap ceiling by Sasser House.
Maintenance and Care of Shiplap Ceiling

Keeping your shiplap ceiling clean and well-maintained helps it stay beautiful for years. Here’s what you need to know about caring for your ceiling.
Routine Cleaning
Use a soft microfiber duster on a long pole to clean your shiplap ceiling monthly. This stops dust from building up in the grooves. For deeper cleaning, mix warm water with mild dish soap. Use a soft, damp cloth to wipe the boards. Dry each spot right after with a clean cloth to prevent water marks.
Never use harsh cleaning products or rough scrubbers. These can scratch the paint or damage the wood. A light touch works best to keep your ceiling looking fresh.
Dealing with Humidity and Moisture
In kitchens and bathrooms, moisture can affect your shiplap ceiling. Run fans during showers and while cooking. Keep your room’s air moving with good airflow. Check often for any signs of water stains or wood changes.
Put a good coat of water-resistant primer on your boards before painting. This extra step helps stop moisture from getting into the wood. Find and fix the water source immediately if you notice any dark spots.
Repairs and Touch-Ups
Check your ceiling every few months for problems. Look for gaps between boards or loose nails. Push loose boards back in place and add a new nail if needed. Fill any small cracks with wood filler that matches your paint color.
Keep some of your ceiling paint for touch-ups. Sand any rough spots lightly before painting. Use a small brush to fix marks or scratches. Match your painting style to the rest of the ceiling so fixes blend in well.
The Pros and Cons of Shiplap Ceilings
Here’s a clear comparison of shiplap ceiling benefits and challenges:
| Advantages | Challenges & Considerations |
|---|---|
| Covers old ceiling textures without removal | The initial cost of materials can be high ($8 per board) |
| Creates clean, straight lines | Needs careful planning for light fixtures and vents |
| It makes rooms feel larger and more open | Installation requires basic DIY skills |
| It can be painted to match any style | Must find and mark ceiling joists correctly |
| Adds value to your home | Wood may expand or contract with temperature changes |
| Easy to clean with simple dusting | Requires regular maintenance in high-moisture rooms |
| Works well with both modern and classic styles | It is more time-consuming than simple ceiling paint |
| Hides minor ceiling flaws | May lower ceiling height slightly |
| Long-lasting when installed properly | Some styles might look dated over time |
| Can install one room at a time to spread costs | It needs proper tools and equipment |
This table helps you weigh your options before starting the project. Consider your budget, skills, and how much time you can spend. Also, consider your room’s purpose and moisture levels. These factors help you decide if a shiplap ceiling fits your needs.
Conclusion
Adding a shiplap to your ceiling brings lasting value to your home. The clean lines and smooth finish create a timeless look that fits any room’s style. While the project needs careful planning and attention to detail, the results make every step worthwhile.
Remember that proper preparation sets the foundation for success. From finding ceiling joists to choosing the right paint, each step builds toward your final goal. Take time with measurements and cuts. Pay attention to moisture control in wet areas.
Your new ceiling will need basic care to stay fresh. Regular dusting and quick fixes for any small issues help maintain its beauty.
With good installation and proper care, your shiplap ceiling becomes more than just an update – it becomes a lasting part of your home’s


