What is SPC Flooring: All You Need to Know
Ever found yourself wondering, “What is SPC flooring?” and why it’s suddenly everywhere? I did too, and once I looked into it, the appeal made perfect sense.
If you need flooring that can handle daily spills, heavy foot traffic, and moisture without blowing your budget, SPC is worth a serious look. It’s tough, waterproof, and easy to install, making it ideal for kitchens, bathrooms, or any other busy room in your home.
In this guide, I’ll walk you through what SPC flooring is, how it compares to other options, what tools you’ll need, how to install it, the cost, and how to care for it. If you want good-looking floors that last, you’re in the right place.
What is SPC Flooring?
SPC stands for Stone Plastic Composite, a type of vinyl flooring designed to withstand the demands of busy spaces in homes and businesses. This flooring has a hard center made from stone powder and plastic that makes it much stronger than regular vinyl floors you might be used to.
SPC flooring has four layers that work together like a team to protect your floors from daily wear and tear. The top layer protects it from scratches, while the design layer provides a beautiful wood or stone look without the high cost.
Unlike soft vinyl floors that bend and dent easily over time, SPC remains firm and flat, even in high-traffic areas. It’s completely waterproof, easy to clean, and won’t shift when temperatures change from season to season.
What Makes SPC Flooring Great
SPC flooring has become popular with homeowners because it performs well in almost any room of your house. The waterproof design means you can use it safely in bathrooms, kitchens, and laundry rooms without worrying about water damage or warping over time.
This tough flooring handles heavy foot traffic, pets running around, spills, and kids playing without showing much wear and tear. You get beautiful design options that look like real wood, tile, or stone but cost much less and need way less maintenance than natural materials.
SPC stays flat and firm even when temperatures change from hot summer days to cold winter nights. It’s also safe for families with pets and children since it resists stains, odors, and cleans up easily with simple mopping.
SPC vs. Other Flooring Types

Each flooring type has its own strengths. This quick chart helps you compare SPC to WPC, LVP, and laminate easily.
1. WPC (Wood Plastic Composite)
WPC flooring feels softer underfoot than SPC because it has a foam core layer that adds cushioning. This makes it more comfortable for standing and walking, especially in kitchens or playrooms.
WPC costs slightly more than SPC but offers better sound absorption. It’s completely waterproof like SPC, making it great for bathrooms and basements where moisture might be an issue.
2. LVP (Luxury Vinyl Plank)
LVP represents the traditional luxury vinyl option that’s been around longer than SPC or WPC flooring types. It’s usually the most budget-friendly choice, but it isn’t always completely waterproof like the newer options.
LVP works well in dry areas of your home and comes in both peel-and-stick and click-lock installation methods. The comfort level falls between firm and soft.
3. Laminate
Laminate flooring costs less than most other options, but it can’t handle water or moisture at all. It’s made from compressed wood fibers with a photo layer on top that mimics the appearance of wood or tile.
Laminate feels soft underfoot and installs easily with click-lock systems. This option works best in bedrooms and living rooms where water spills aren’t common concerns for homeowners.
How to Choose the Right SPC Flooring
Picking the right SPC flooring is about more than looks. You should also think about quality, safety, and brand trust.
Thickness, Wear Layer, Design
Thicker floors feel stronger and last longer. A thicker wear layer helps stop damage and scratches. Pick a design that fits your space, wood-look, tile-look, or stone patterns.
Darker tones hide dirt better, while lighter ones open up small rooms. Choose based on where you’ll install it and how much traffic it gets.
VOC Certifications and Safety
Look for low-VOC or zero-VOC labels on the box. VOCs are chemicals that can affect indoor air. Good SPC flooring is tested for safety and health.
Certifications like FloorScore or GREENGUARD mean it’s safer to use indoors, especially around kids and pets. Always check labels before buying or installing.
Material You’ll Need to Install SPC Flooring
Here’s a quick checklist of everything you’ll need before starting your SPC floating floor installation. Having the right tools makes the process smoother and faster.
- SPC floating flooring planks
- Moisture vapor barrier (if needed)
- Utility knife
- Vinyl plank cutter (optional but useful)
- Double-sided mallet
- Tapping block
- Flooring pull bar
- Knee pads
- Quarter-inch spacers
- Measuring tape
- Carpenter’s square
- Level
- Chalk line reel
- Pencil or marker
Make sure all tools are within reach so you can work without interruptions. A little prep up front saves time later.
How to Install SPC Flooring: Step-By-Step Guide
Installing SPC flooring involves five main phases that take you from preparation to a professional-looking finished floor. Following these steps carefully ensures your new flooring looks great and performs well for years to come.
Step 1: Prepare Your Subfloor and Materials

Before you begin, clean and level your subfloor. Remove dust, bumps, or anything that might affect the flooring.
Use a moisture barrier if installing over concrete. Measure your room and order 5–10 percent more SPC flooring for cuts and waste. Let the flooring sit in the room for 48 hours to adjust to the temperature.
Pro Tips
- Subfloors must be flat within 3/16 inch over 10 feet.
- Use a moisture barrier rated for 100 percent RH to avoid damage.
- Match all box batch numbers before opening and sorting the planks.
Step 2: Plan Your Layout and Chalk Line

Not all walls are perfectly straight, so always start with a chalk line as your guide. Measure and mark at least 3 inches from the wall to create space for an edge row. This helps keep your pattern even across the room and allows for a cleaner finish.
Pro Tips
- Use a chalk line to follow a straight path during installation.
- Set up your edge row before laying full rows.
- Keep your layout centered for better visual balance.
Step 3: Install the First Rows Carefully

Start from the longest wall, placing the first plank on the chalk line. Use the clip-lock system to connect each plank.
Tap gently with a mallet and tapping block to secure. Make sure each row lines up straight before moving to the next. Always check the spacing between planks as you go.
Pro Tips
- Use spacers between the flooring and the walls for expansion gaps.
- Check alignment after every few rows to stay on track.
- Don’t hammer clips too hard; gentle tapping is enough.
Step 4: Cut and Fit the Edge Row

Trace the wall shape onto the edge row using a grooveless plank. Then cut each piece to match your traced outline.
These planks fit between the wall and the first rows you laid earlier. Use a pull bar to lock them into place tightly.
Pro Tips
- Modify a plank for easy wall tracing.
- Use a utility knife or plank cutter for clean edges.
- Recheck chalk line alignment before locking in final edge planks.
Step 5: Finish the Floor and Clean Up

Once the main flooring is installed, remove spacers and trim any visible barriers. Install baseboards to cover gaps along the wall.
Clean the surface with a soft broom or vacuum. Make sure all planks are flat and secure. Your SPC floating floor is now ready to use.
Pro Tips
- Avoid lifting planks to remove them. Slide them out to protect the clips.
- Never skip cleaning before and after installation.
- Add felt pads under furniture to avoid future damage.
Watch How Its Done: How to Install SPC Flooring Video Tutorial
How Much Does SPC Flooring Cost?
Before you start your project, it helps to know what SPC flooring might cost. Here’s a clear table showing common price ranges.
| Category | Estimated Cost Range (USD) |
|---|---|
| SPC Flooring (per sq ft) | $2.00–$5.00 |
| Installation (Pro) | $1.50–$4.00 per sq ft |
| Underlayment | $0–$0.80 per sq ft |
| Tools | $30–$100 |
| Delivery | $0–$200+ |
| Floor Prep | $0–$2.00 per sq ft |
Use this guide to plan and avoid unexpected costs. Even small items, like tools and delivery, can add up quickly.
NOTE: These are estimated costs and may vary depending on your location, materials chosen, and specific project needs.
Maintenance & Longevity Tips
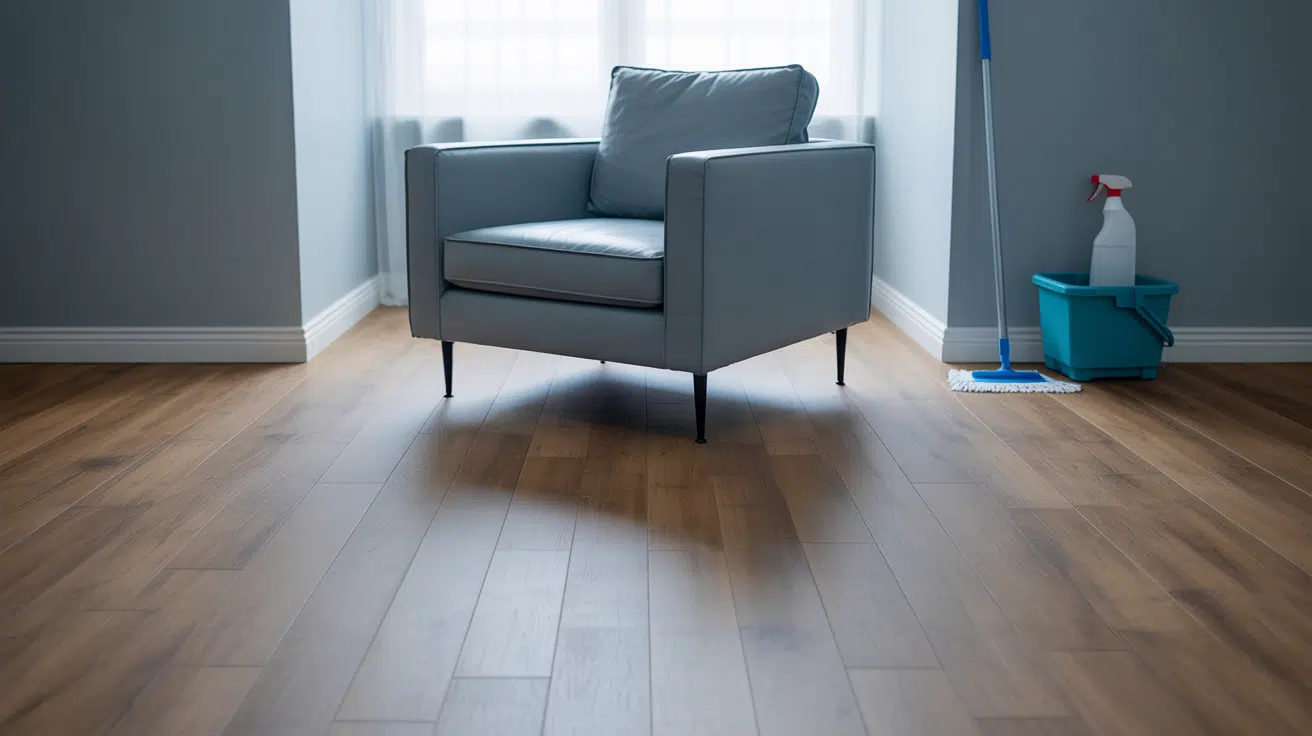
SPC flooring stays strong with simple care that takes just a few minutes each day. These easy tips help your floors last longer and keep your warranty protection in place.
- Sweep or vacuum daily to remove dirt and grit that can scratch the surface over time
- Mop with water or a gentle cleaner, but avoid steam mops and harsh chemicals that cause damage
- Clean up spills right away to prevent stains or water from getting under the flooring
- Use doormats at entrances to trap dirt and moisture before it reaches your floors
- Follow care instructions properly to keep your warranty valid and your floors looking like new
With proper care, SPC flooring can easily last 15 to 25 years in most homes. Taking these simple steps protects your investment and keeps your floors beautiful for decades to come.
Wrapping It Up
Now you know what SPC flooring is and why I think it’s become such a popular choice for smart homeowners everywhere. This tough, waterproof flooring gives you the beautiful look you want without the headaches of expensive maintenance or water damage worries.
If you’re updating kitchens, bathrooms, or busy family rooms, I’ve shown you how SPC flooring handles it all while looking amazing for decades. The best part is that you can install it yourself and start enjoying your new floors right away.
Ready to modify your home with flooring that makes your life easier instead of more complicated? Drop a comment below and tell me which room you’d tackle first!