Tips for Setting up a Home Studio Booth
Designing and decorating a home studio booth can be tricky. It’s not as easy as choosing any empty room in the house. Use these six tips when setting up this space from scratch.
Understand Recording Studio Rooms
A good home studio booth setup mimics a professional recording studio as much as possible. However, you can’t achieve this goal without differentiating the latter’s subspaces from one another.
Full-fledged pro studios have control, live, isolation, machine and storage rooms, a vocal booth and a lounge area. Each serves a distinct purpose and has unique needs.
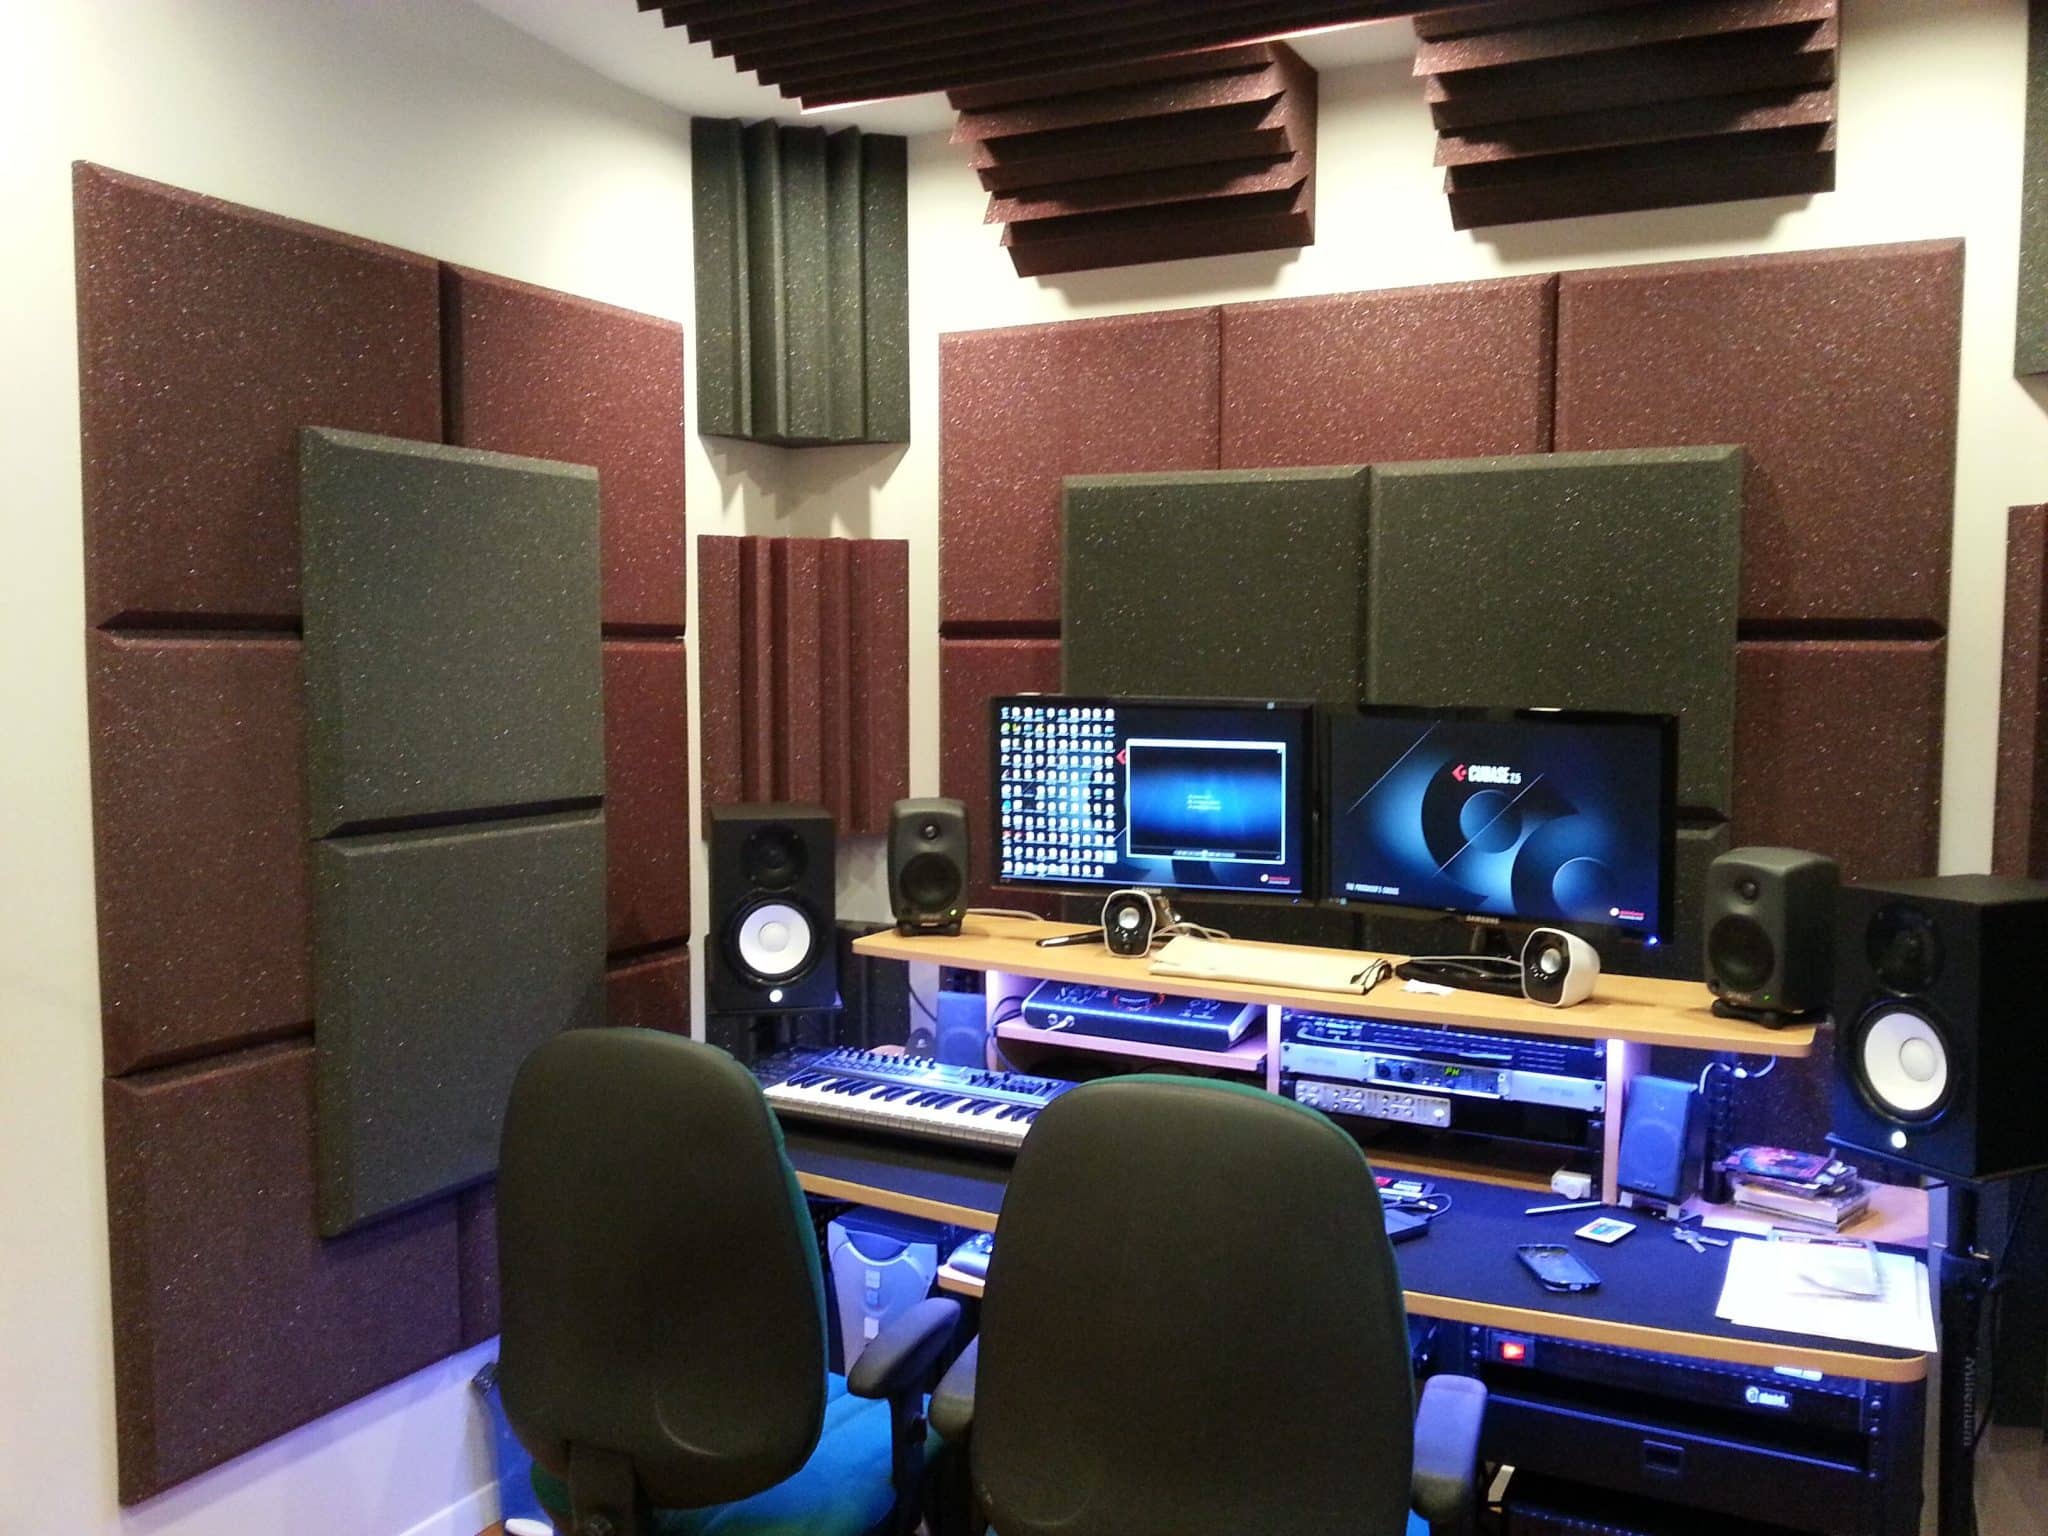
Home studio booths can apply to vocal booths and isolation rooms. You enter a vocal booth to record vocals and voice-overs because it can reduce unwanted reverbs and echoes by being acoustically treated. On the other hand, you use the isolation room to individually play and record loud musical instruments at high volumes so they don’t bleed into different microphones. Both spaces must be soundproof.
For home studio booth projects, you may have to combine multiple subspaces into one area since most houses lack the real estate to separate them. It’s an unenviable task, but recognizing the differences between these areas is a step in the right direction.
Determine the Nature of the Production
In home studio design, form follows function. Musicians aren’t the only ones recording content from scratch. The internet and digital technologies have rendered audio and video production accessible to billions of people. Plus, the pandemic has proved working from home is feasible, practical and therapeutic.
More voice actors ply their trade in their pajamas these days. Podcasters can tape episodes in the garage. Radio personalities can domestically help produce nonlive shows due to air abroad. Webinar speakers and instructional video creators prerecord asynchronous clips without leaving the house. Various breeds of YouTubers — entrepreneurs, thought leaders, product reviewers, reactors, ASMRtists and unboxing video creators — film in their home base.
Diverse productions mean there’s no one-size-fits-all home studio design. While the forces affecting sound quality come into play universally, some recording booth use cases render some spaces less relevant and more dispensable.
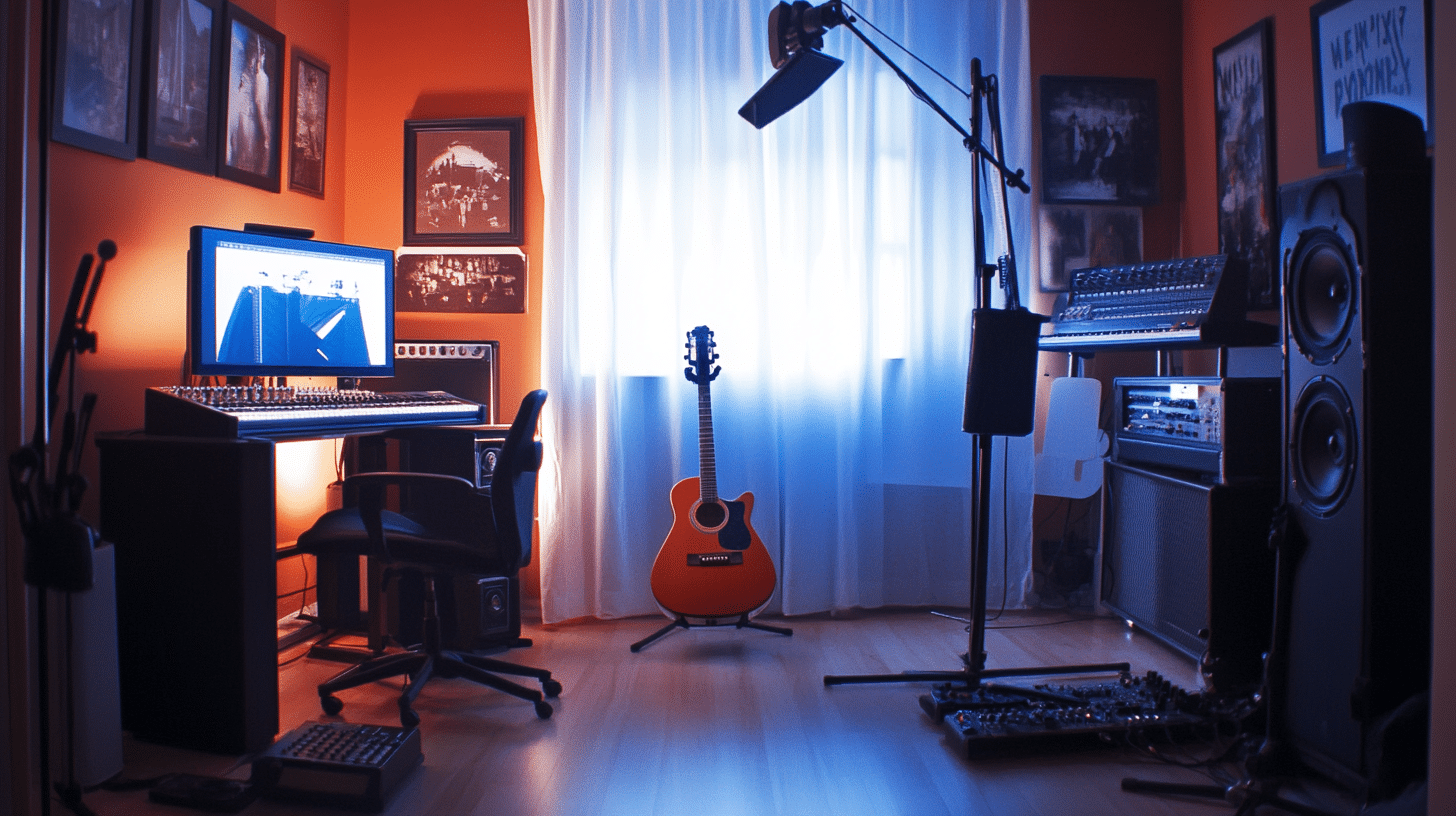
Take instrumentalists offering lessons and filming original guitar solos using acoustic-electric six-strings for their social media pages, for example. They need a booth conducive to audio and video recording and a main studio with enough storage to accommodate effects pedals, amplifiers and many other additional tools their purely acoustic counterparts can live without.
Pick a Studio-Esque Room
Spaces with high ceilings and irregular shapes with no windows generally have better acoustics. A recording booth is a room within a room, so the overall studio requires more real estate to place the controls, silo noisy equipment, store studio gear and keep everything organized.
Finding a room in a residence with ample square footage and good acoustics, let alone a vacant one, can be challenging. Spare bedrooms, basements and walk-in closets are popular options for home studio conversion projects mainly because they’re vacant or underutilized.
Unfortunately, space availability trumps room acoustics in these projects. Nevertheless, shortlist the best candidates on the table and choose the one with the closest dimensions that fit the bill.
Prioritize Sound Absorption
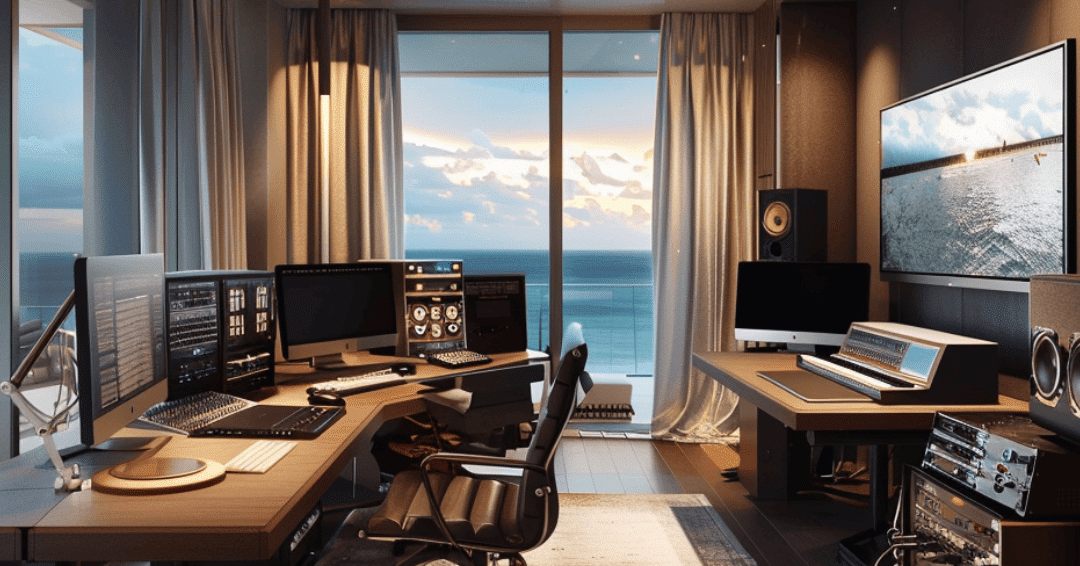
Sound absorption uses acoustic treatments to neutralize three unpleasant aspects of sound:
- Reflection: Reflection is a phenomenon where sound waves bounce off surfaces instead of being absorbed. A high amount of reflection in the room negatively affects audio clarity and richness and confuses listeners about where the sound comes from.
- Reverberation: This is the echoey effect caused when sound waves bouncing around the room’s reflective surfaces congregate. Echoes make audio recordings unpleasant to the ear.
- Resonance: Resonance is the intensity of the vibration of objects and materials in the room. Sound waves amplify how they vibrate at their natural frequencies, causing the audio to seem boomy and distorted.
Sound absorption technologies exist to mitigate reflection, reverberation and resonance within a home recording booth. Acousticians use softer materials to deaden sound when they hit harder surfaces. The most common treatments include acoustic and diffuser panels, bass traps and ceiling clouds.
Observe Best Soundproofing Practices
Soundproofing is about managing noise. You want the loud sounds coming from the studio to remain inside to avoid bothering neighbors. Simultaneously, you want to diminish external noises from ruining audio recordings.
Soundproofing starts with isolating noises within the room. To do that, you must limit sounds from external sources and increase the studio’s R-values. Ensuring the space is as airtight as possible, installing more insulation and adding more drywall can form an acoustic enclosure system.
Afterward, let your sound absorption strategy handle the remaining noises. Although acoustic nuisances may not hinder vocalists and voice actors from hearing other tracks when performing with proper equipment, unwanted sounds may manifest in recordings.
Remember — over-soundproofing is possible. Absorbing too much sound can eliminate the good along with the bad, resulting in audio lacking acoustical oomph.
Figure Out an Apt Layout
Let the nature of the production determine the studio’s essential subspaces and fit them in the room. Decoupling recording booths from the other zones should be high on your agenda.
Aside from stellar acoustics, favor comfort, style, organization and lighting. Discomfort, characterlessness, disorder and poor illumination can strain talent and affect recording performance.
Design a Workable Home Studio Booth Setup
Recording booth conversions require more resourcefulness than other remodeling projects because of how vital architecture is in design. Thankfully, you can feel confident working with what you’ve got when you keep these tips in mind.

