
31 Tile Patterns for Shower Walls: Design Ideas
When renovating your bathroom, shower tile patterns are among the most important design choices you’ll make. These patterns can completely change how your space feels and functions.
In this guide, we’ll cover different tile patterns for shower walls, from classic options like subway and herringbone to newer trends like fish scale and geometric designs.
We’ll also cover the practical side: which materials work best, installation tips, and how to keep your tiles looking fresh for years.
If you’re planning a complete remodel or just updating your shower, these ideas will help you create a bathroom that’s both stylish and practical for your everyday needs.
Why Tile Patterns Matter
Shower tile patterns do more than look good. They can make your bathroom feel bigger, highlight certain areas, and add personality to your space. The way you arrange tiles affects both how your shower works and how it appears.
When choosing a pattern, think about what the tiles are made of. Some materials work better with certain layouts than others.
Also, consider your shower’s size; large showers might benefit from big tiles or bold patterns, while smaller spaces often work well with simpler designs that don’t overwhelm.
Your taste matters, too. The pattern should match the overall look you want, whether that’s clean and simple or detailed and eye-catching.
The right tile arrangement can turn an ordinary shower into the main feature of your bathroom.
Types of Tile Patterns for Shower Walls
Selecting the right tile pattern can completely change the look and feel of your shower. The pattern you choose works with your tile’s color and texture to create the final look.
Here are some popular patterns that can help you make your ideal shower space.
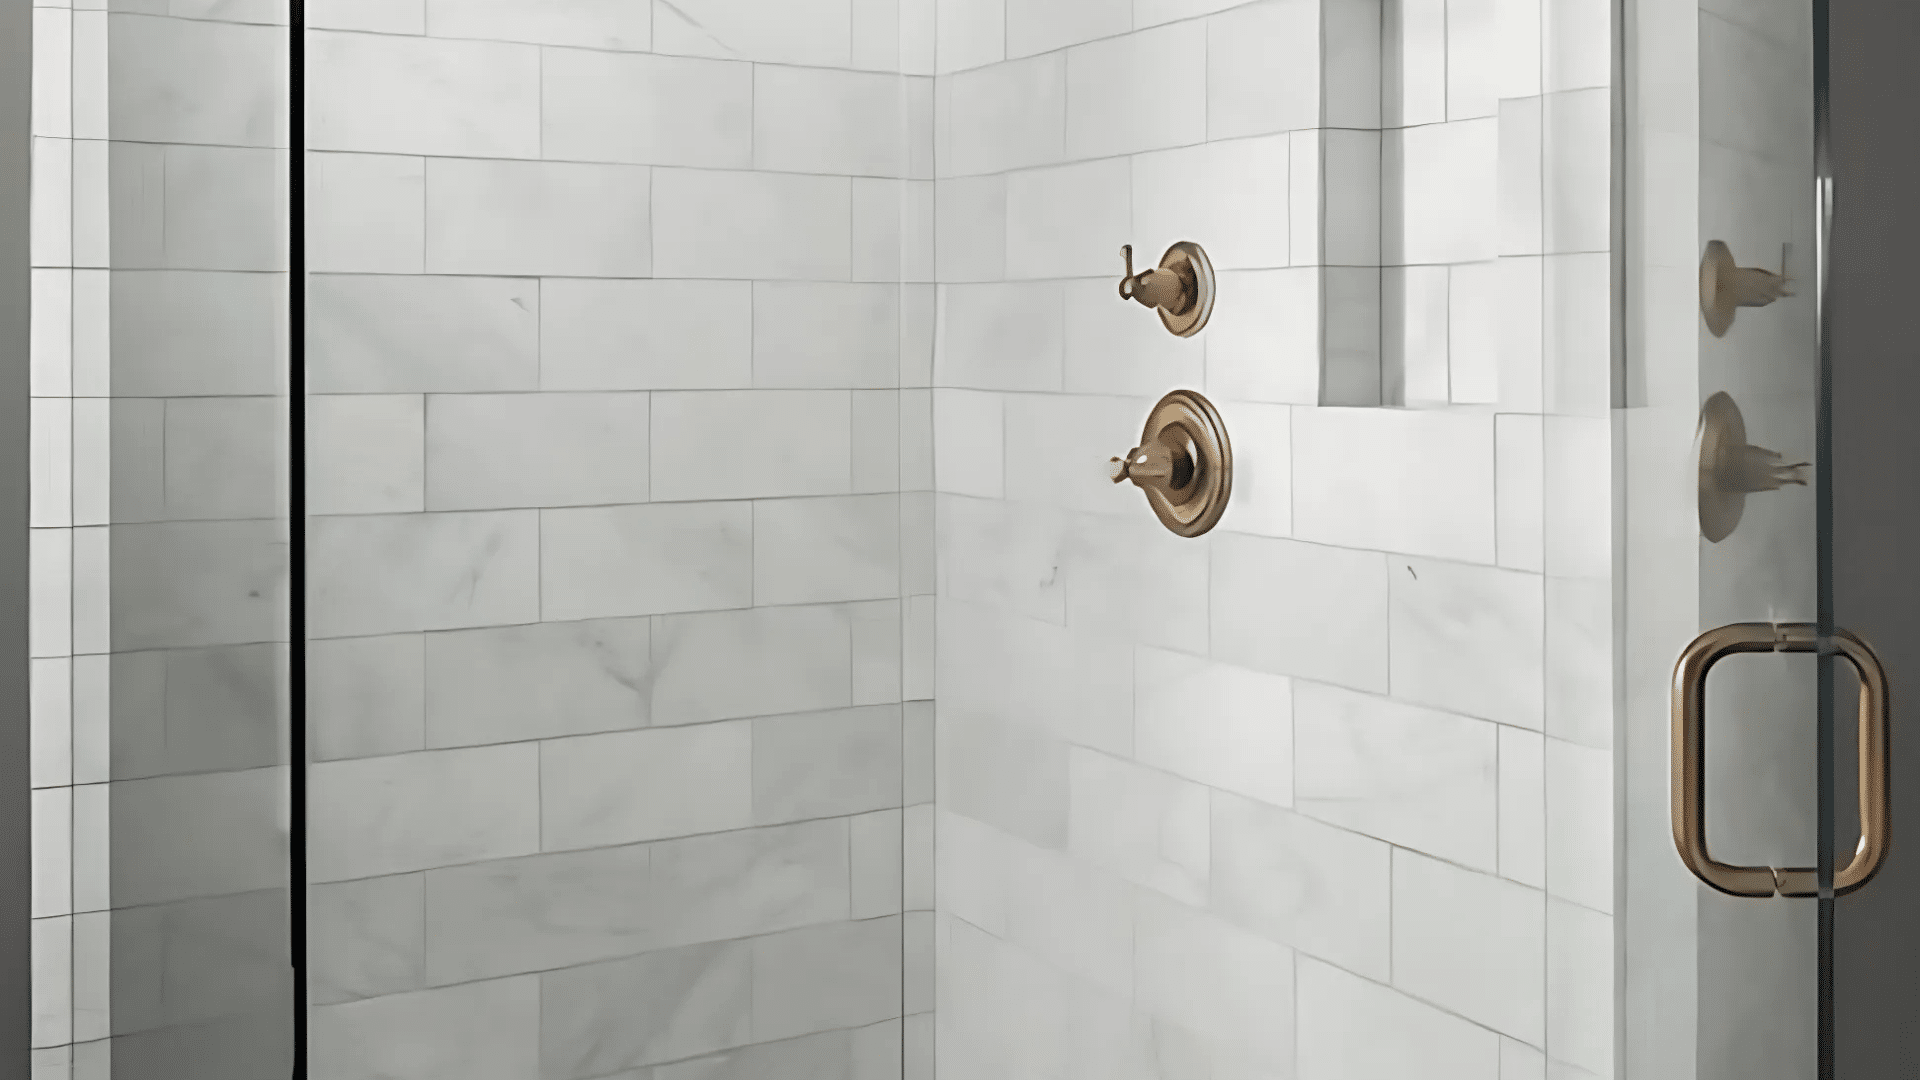
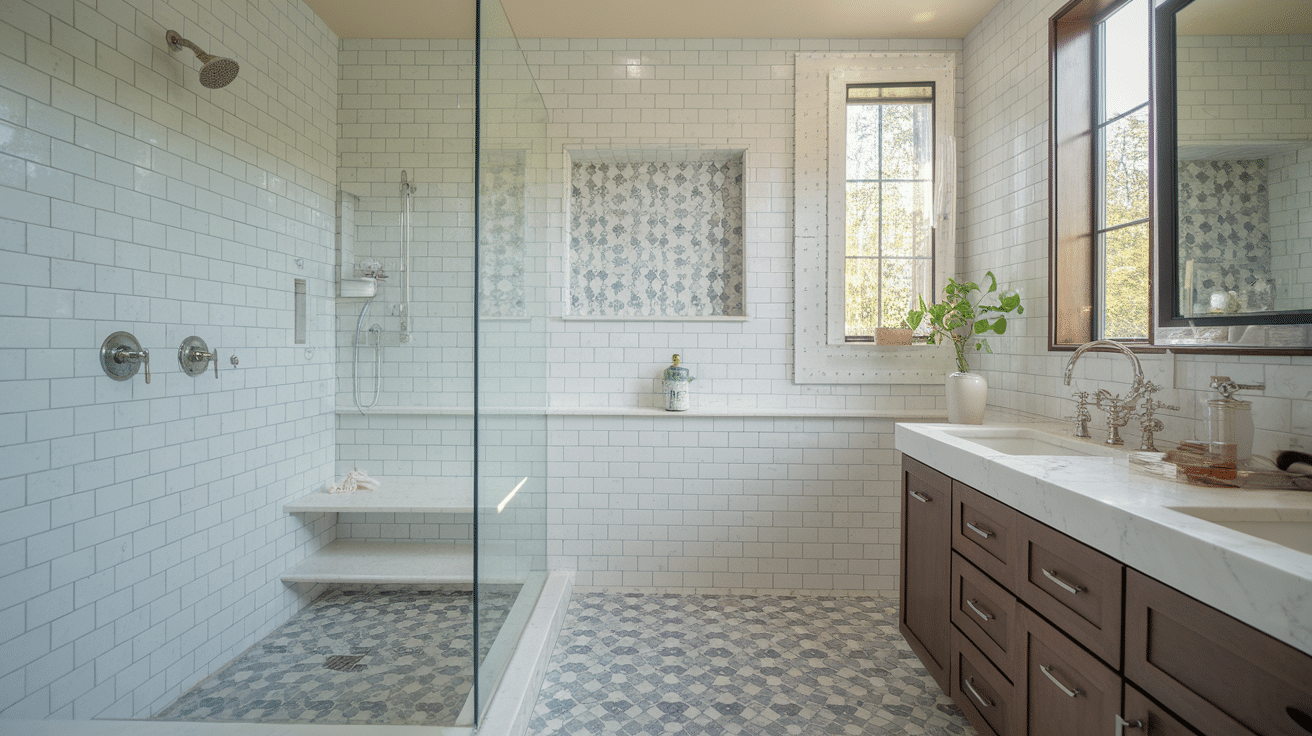
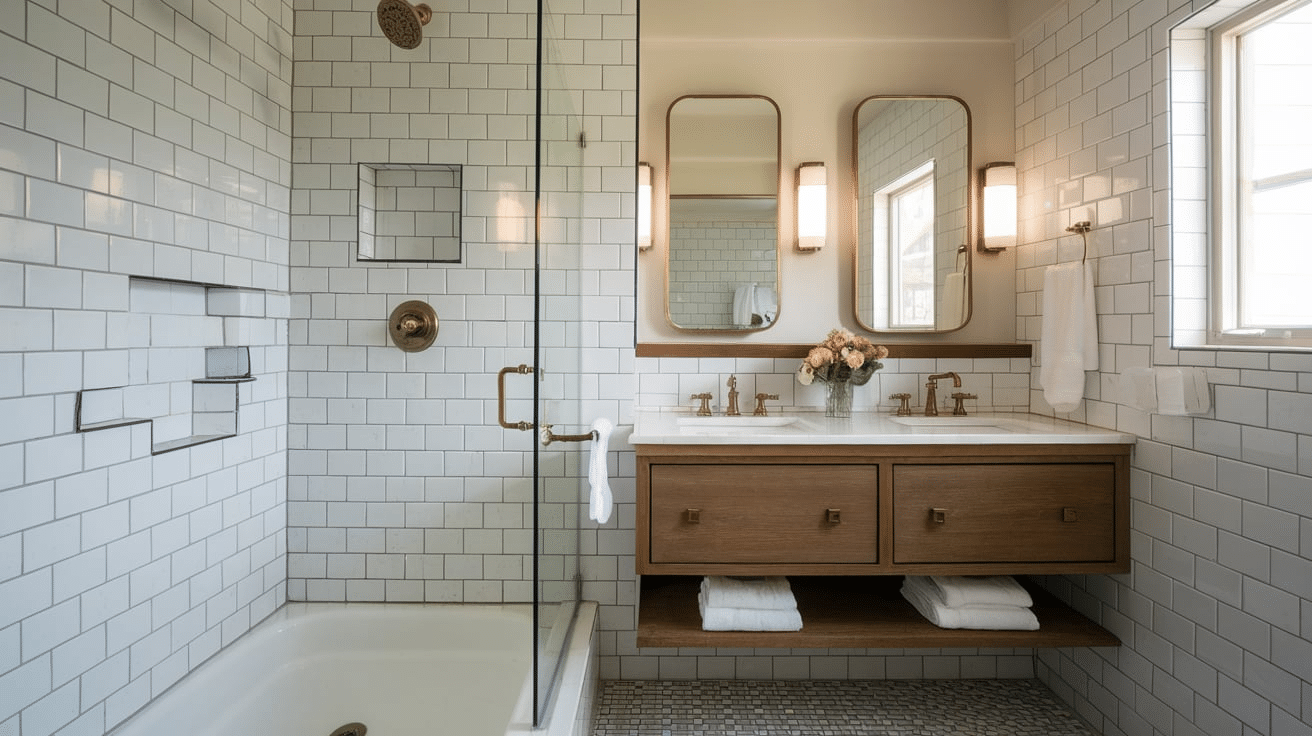
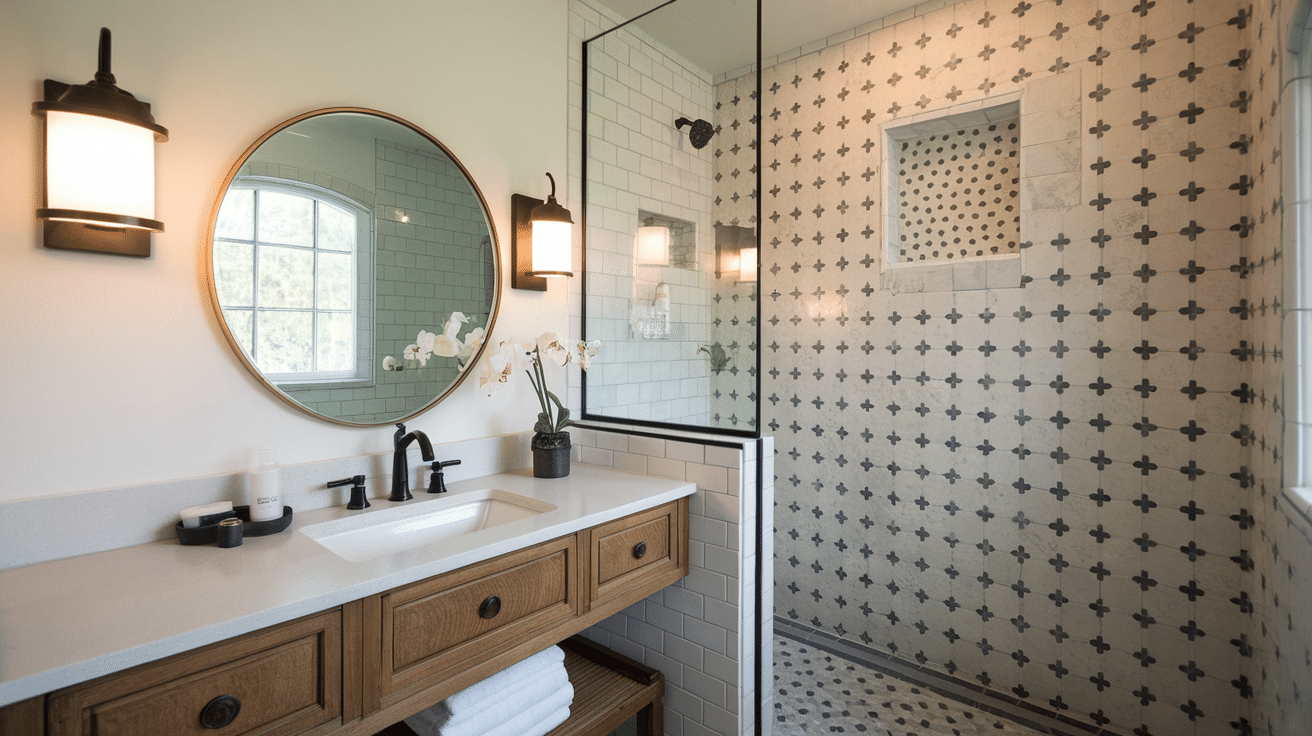
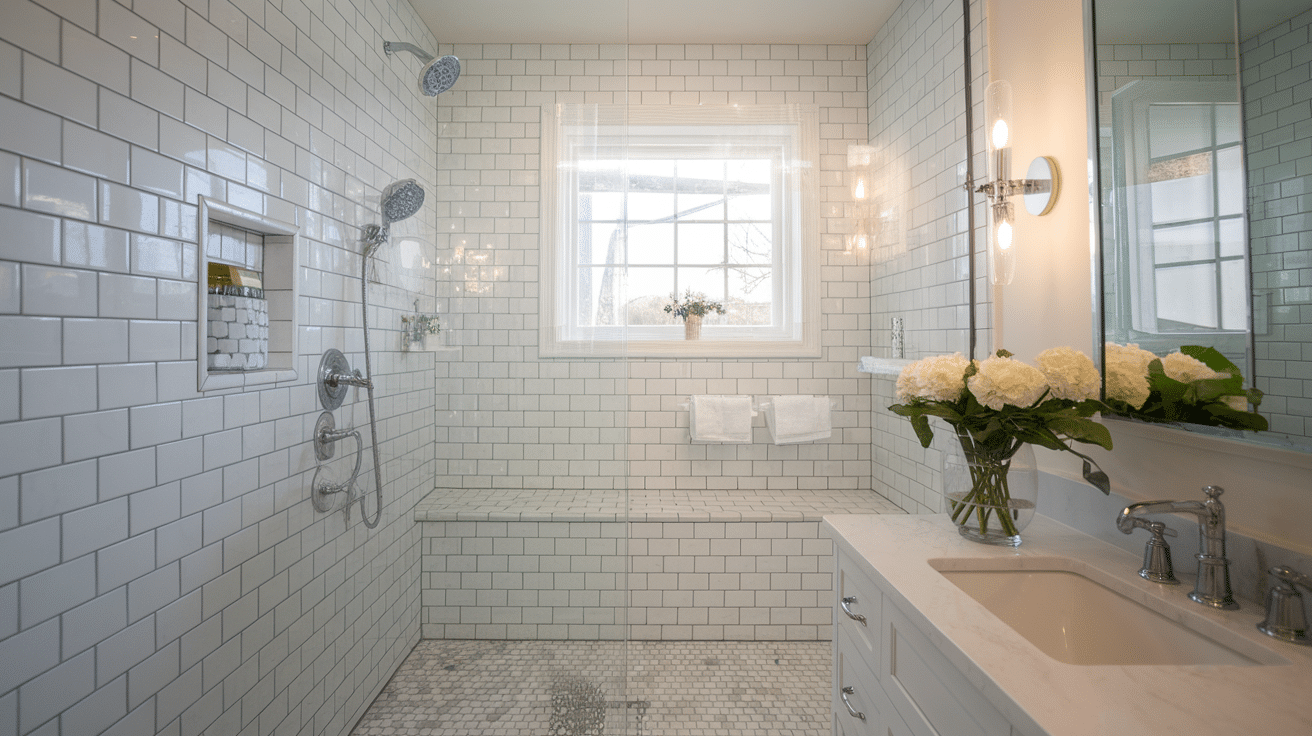
1. Subway Tile Pattern
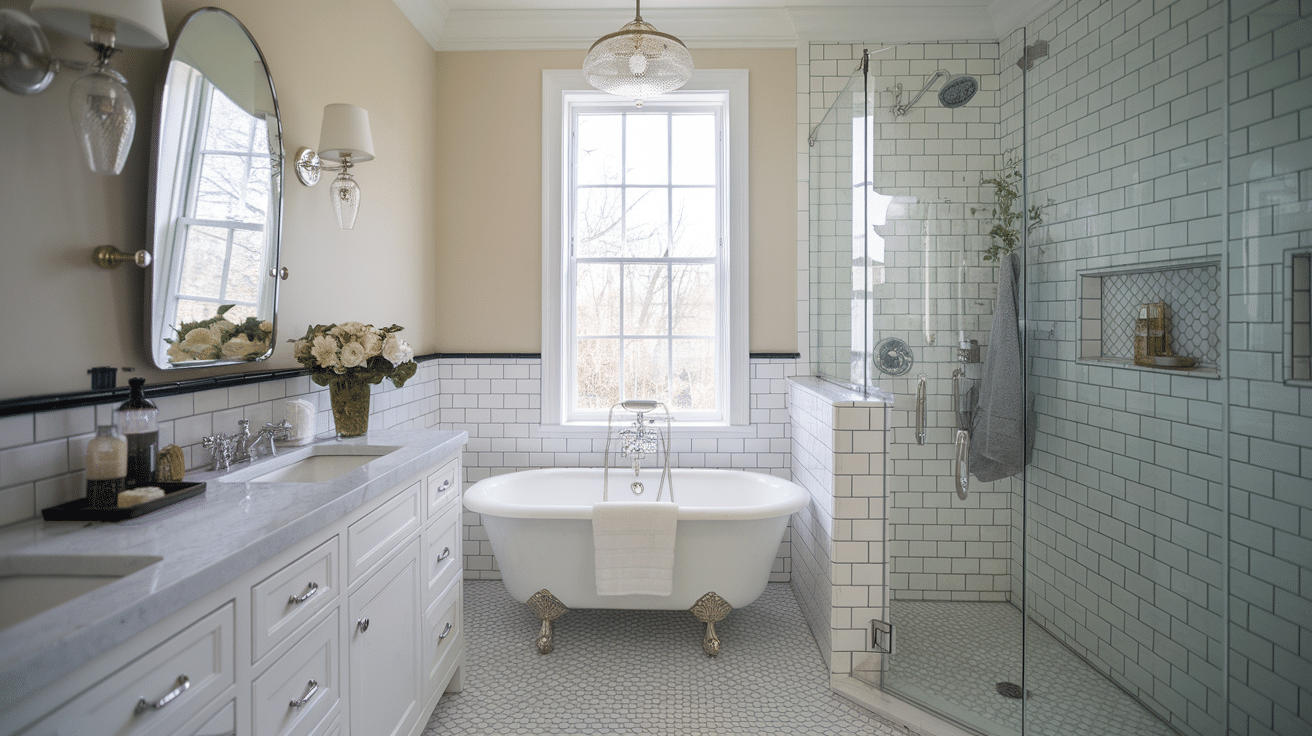
This pattern uses rectangular tiles laid horizontally with joints that line up in the middle of the tiles above and below. It’s popular because it works in many bathroom styles, from old-style to current designs.
Subway patterns make walls look wider and can be arranged in different ways to give slightly different effects while keeping their basic, clean look.
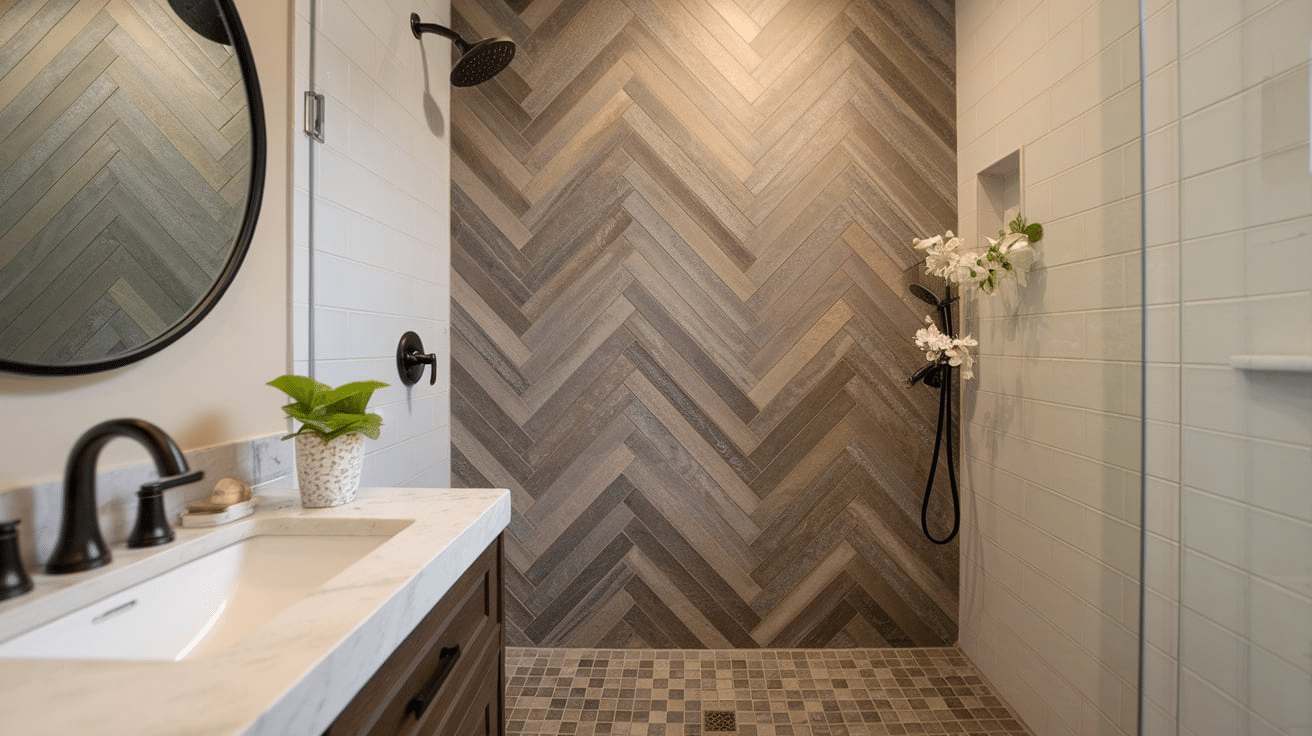
2. Herringbone Pattern

This pattern places rectangular tiles at 45-degree angles to create a zigzag effect that draws the eye. It adds movement and flow to shower walls without being too busy.
The pattern works well with many tile sizes and can make a small shower seem larger by creating an illusion of more space. It’s often used as a focal point in modern bathrooms.
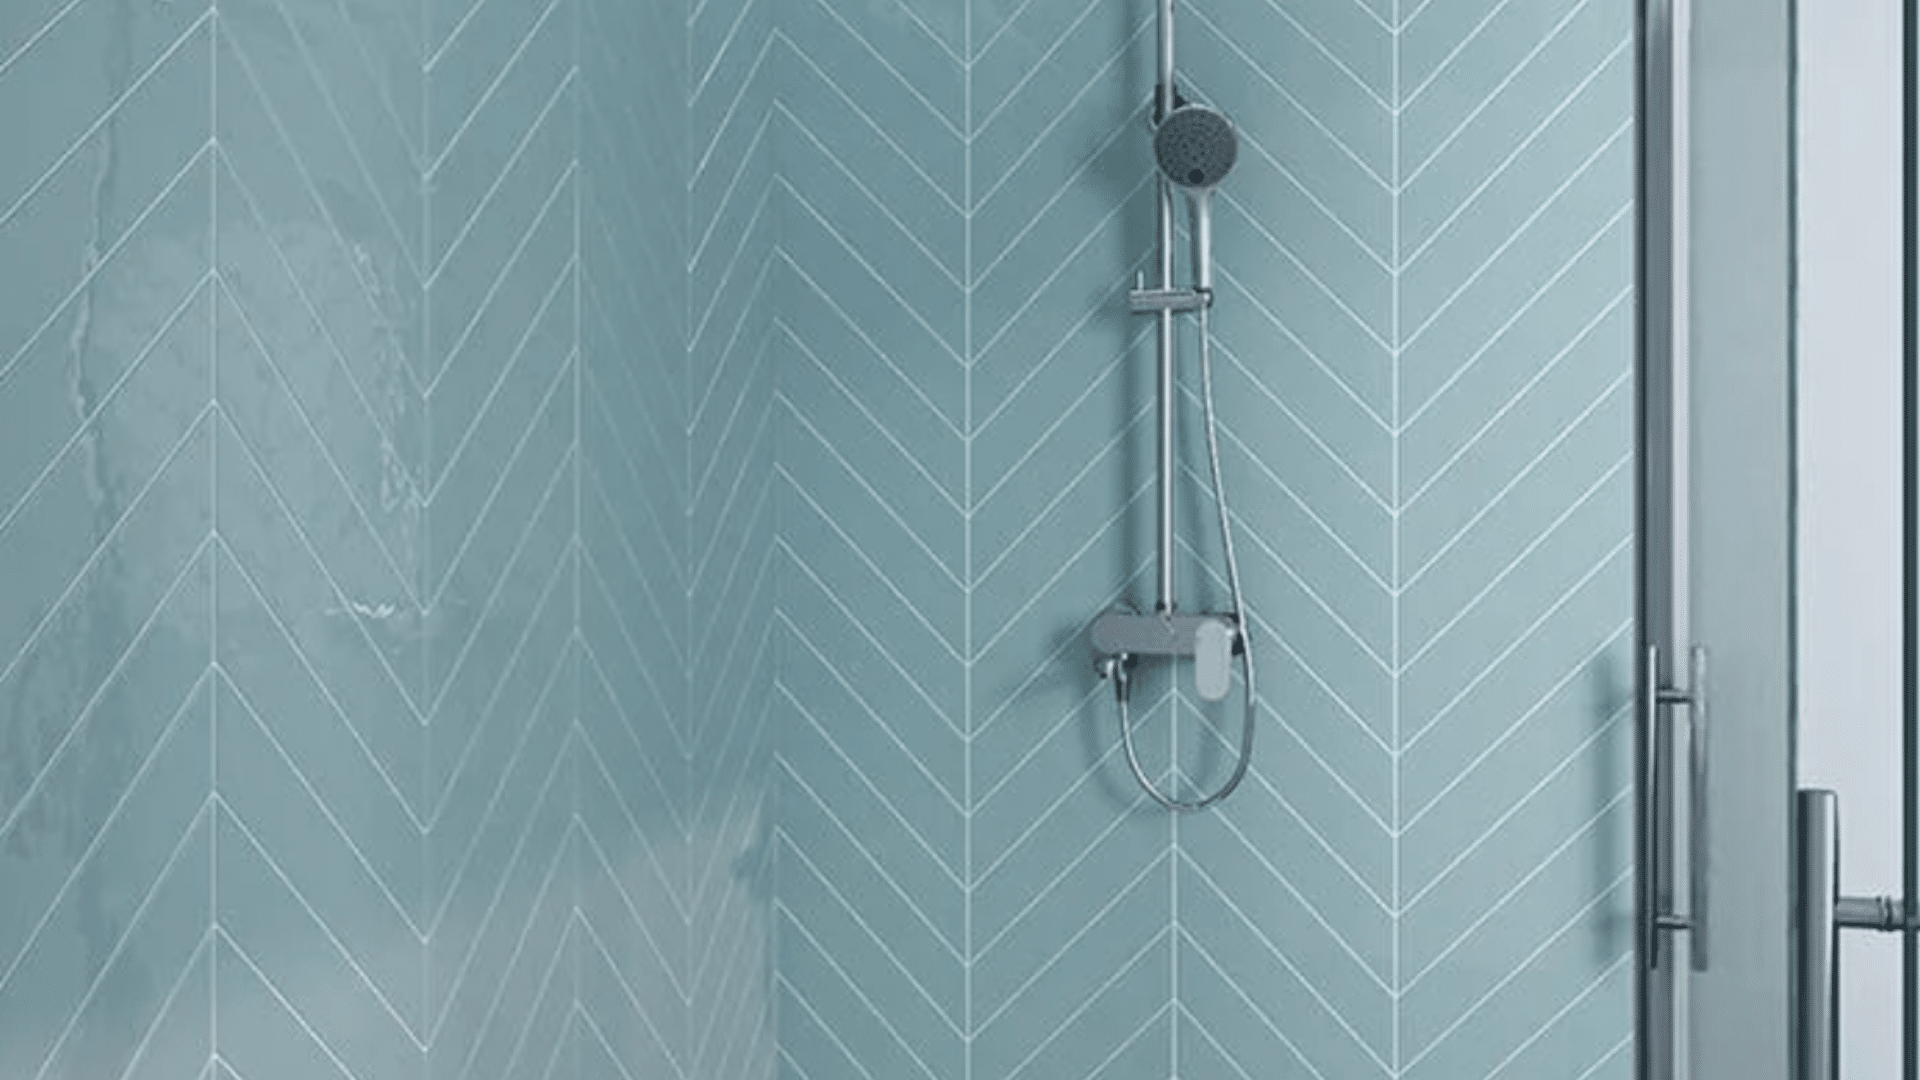
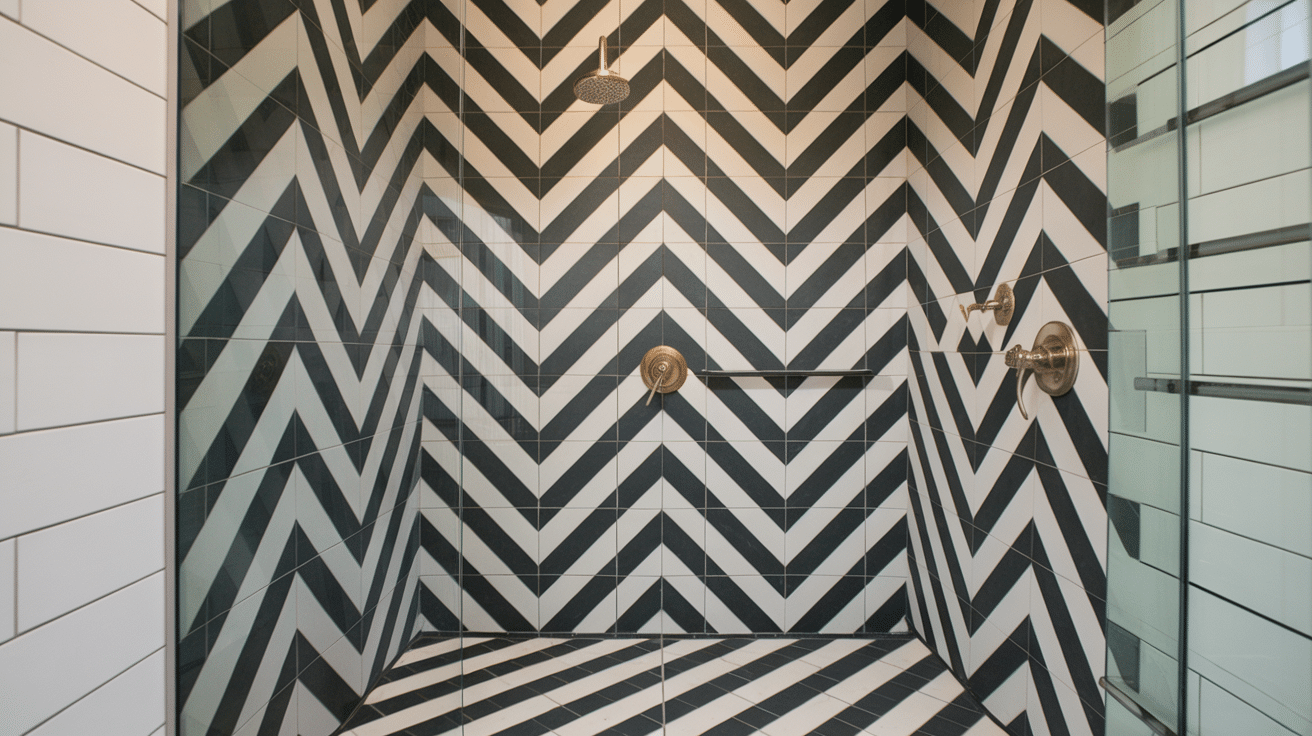
3. Chevron Pattern
![]()
Similar to herringbone but with a sharper, more defined V-shape, chevron creates strong lines that catch attention. The tiles are cut at an angle so that the ends form perfect points when placed together.
This pattern brings a bold, geometric element to shower walls and works especially well with contrasting grout to highlight the distinctive shape.
4. Basketweave Pattern
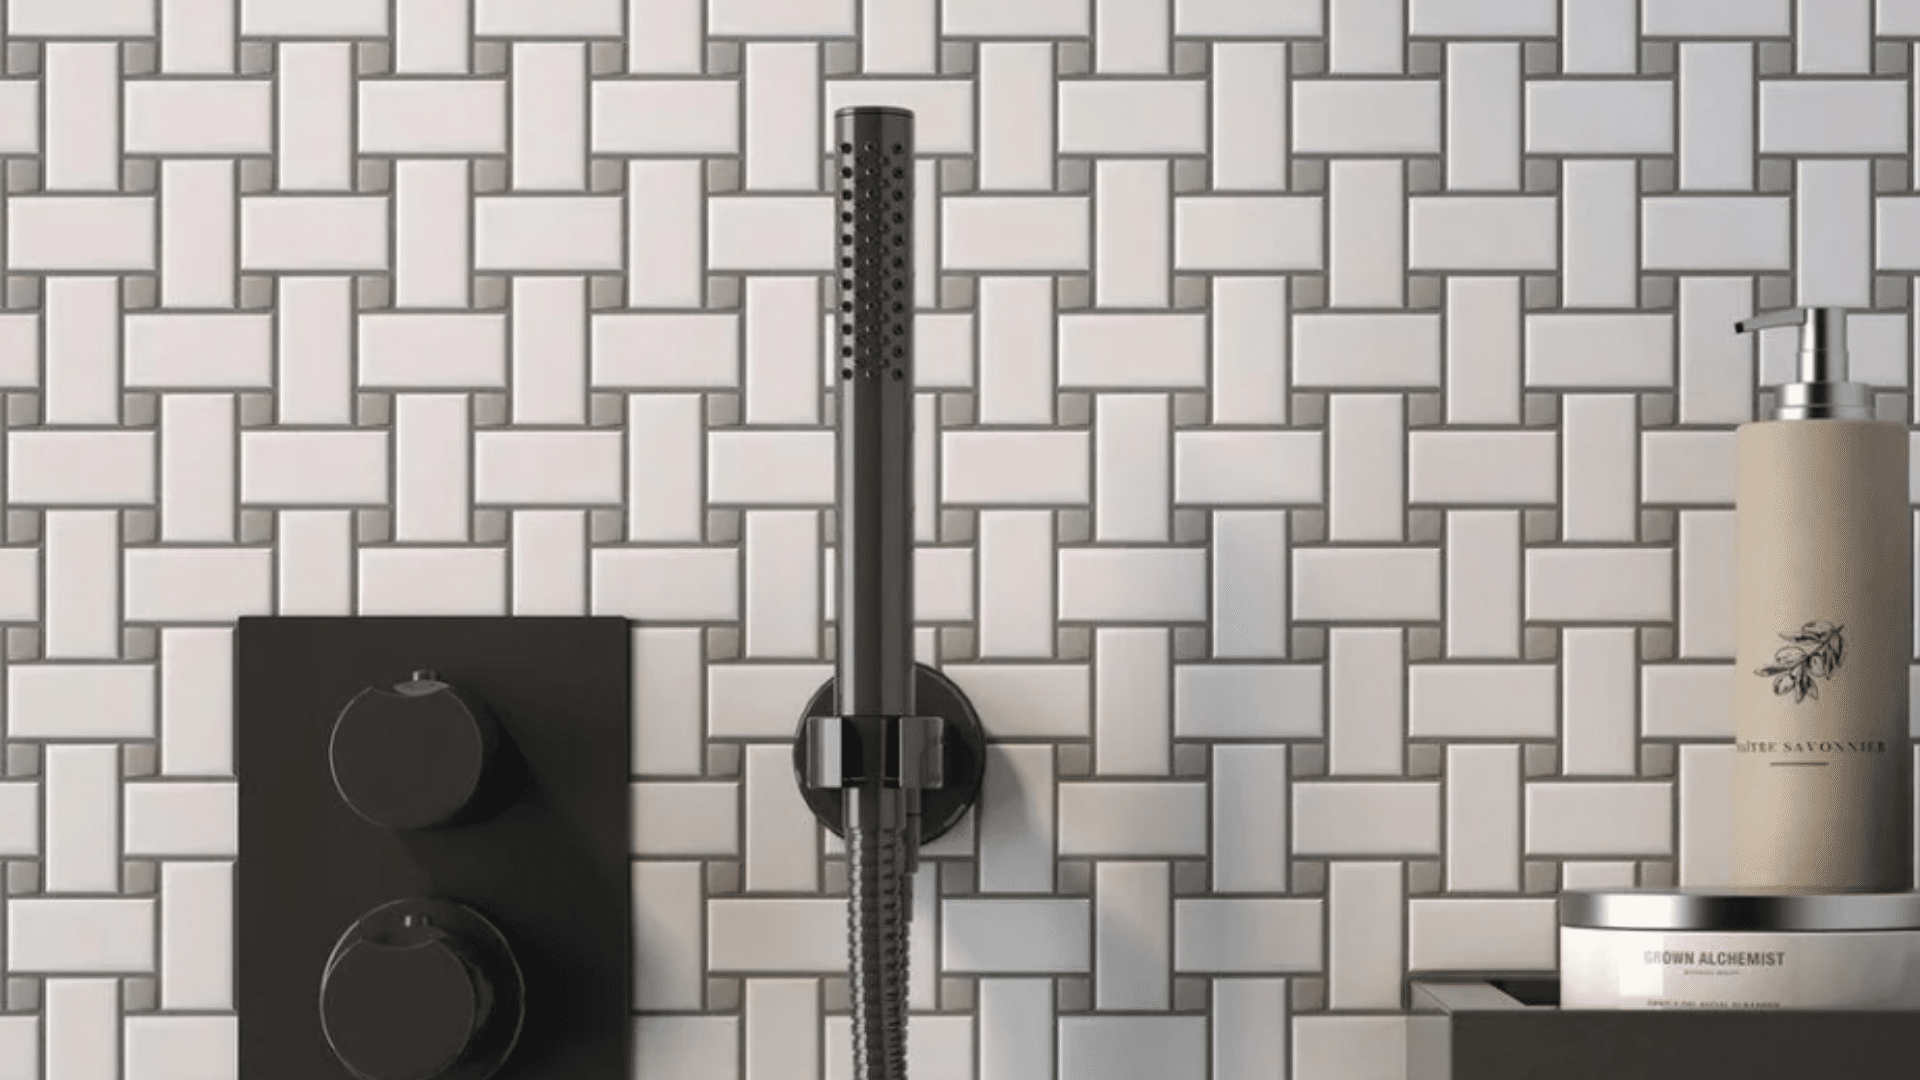
This pattern mimics the look of woven baskets by alternating pairs of tiles in vertical and horizontal arrangements. Its sense of movement brings texture and depth to shower walls.
Basketweave works well in classic bathrooms but can also add interest to more current styles, especially when using simple white or neutral-colored tiles.
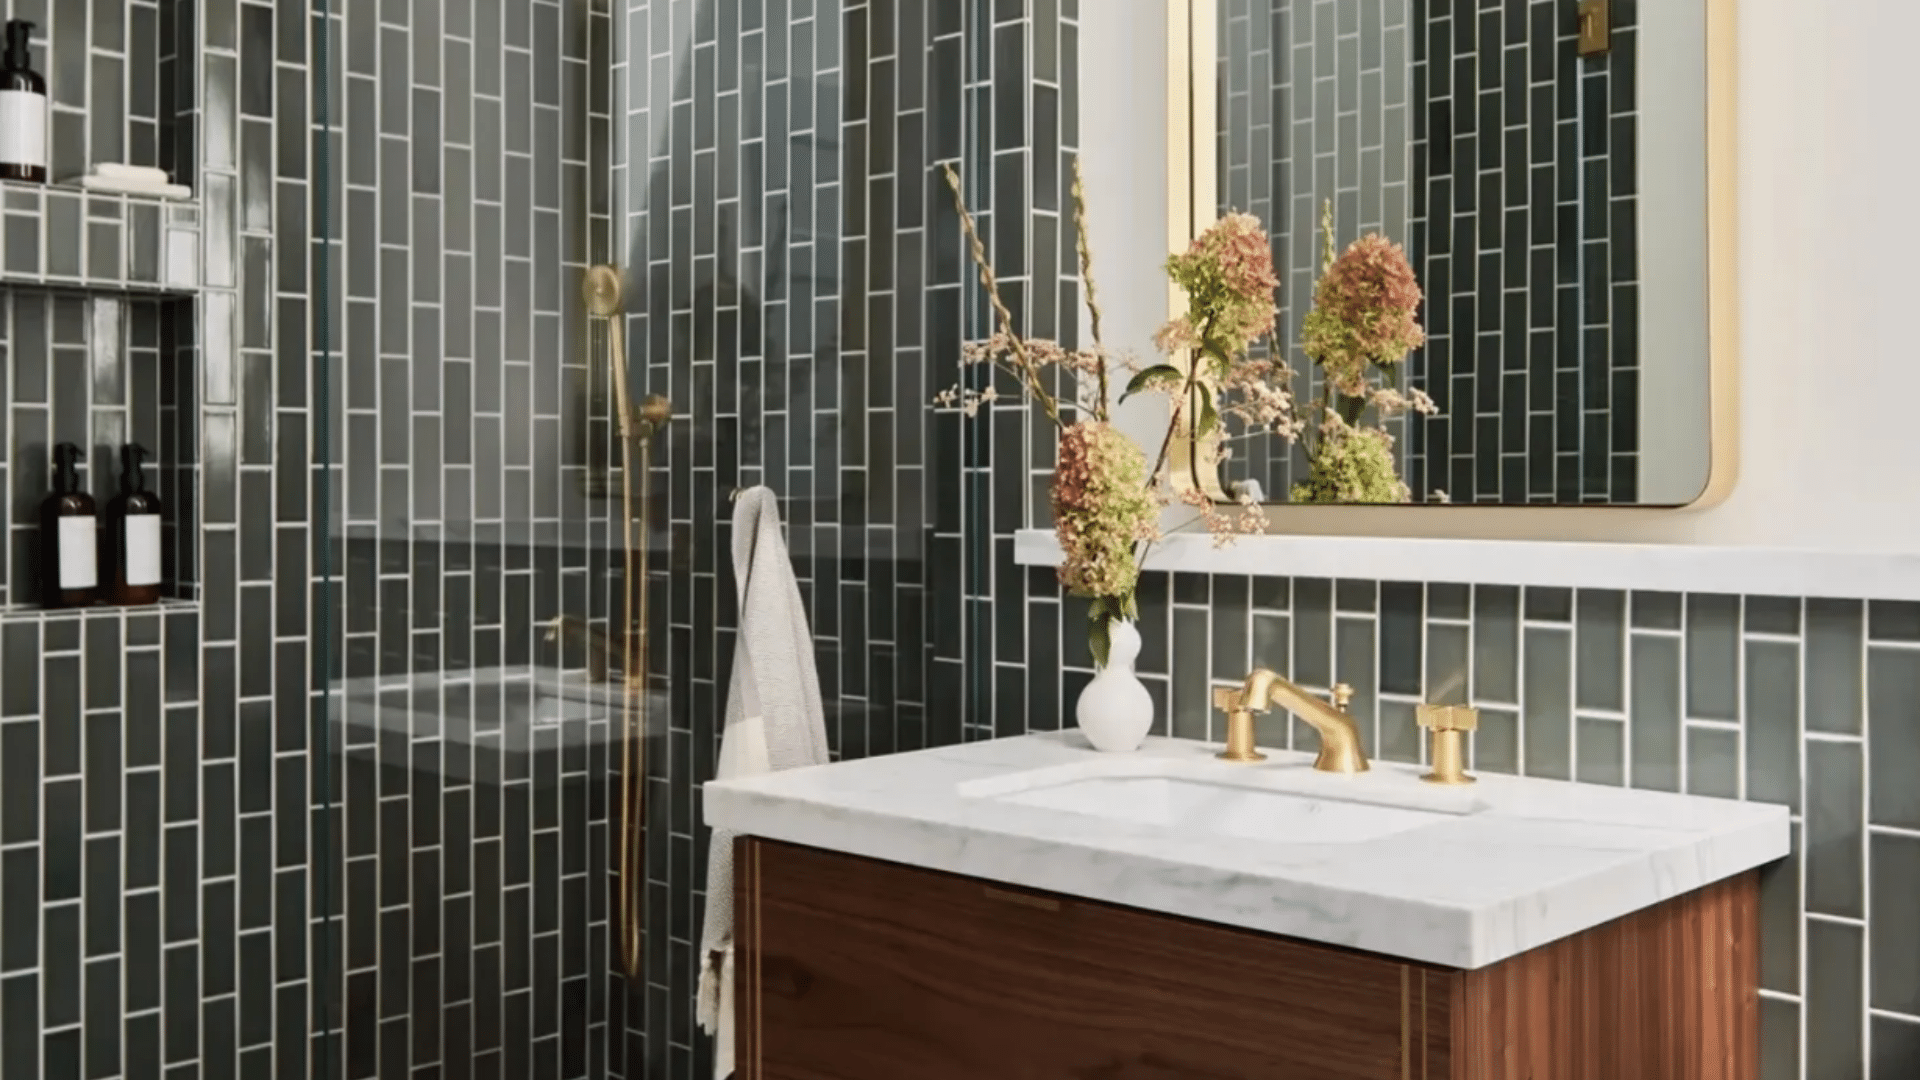
5. Vertical Stack
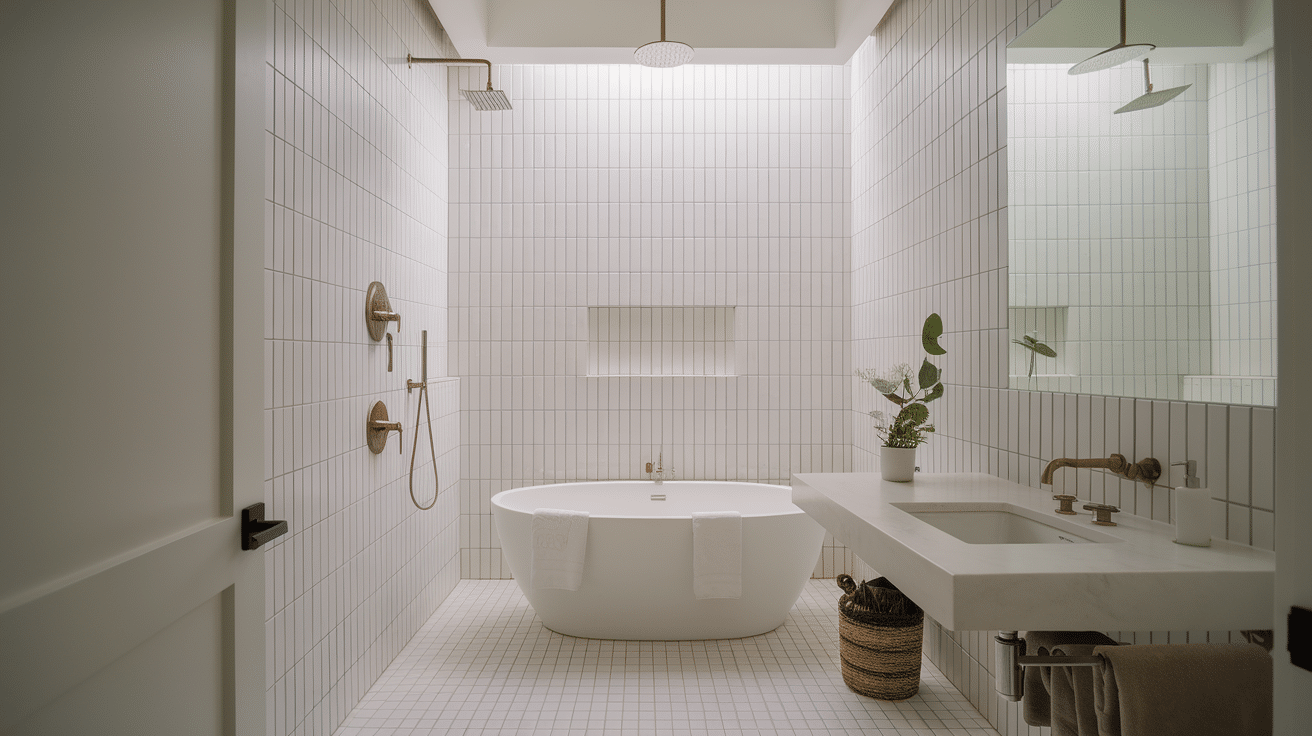
This straightforward pattern places rectangular tiles in straight columns from floor to ceiling. It creates clean, unbroken lines that make ceilings appear higher and the shower more open.
The simplicity of vertical stacking makes it ideal for showing off tiles with interesting textures or subtle color variations without the pattern competing for attention.
6. Diagonal Layout
Standard square or rectangular tiles installed at a 45-degree angle to the floor create this eye-catching pattern. The diagonal placement makes small spaces feel larger and adds energy to the design.
This layout works well in showers of any size and can make ordinary tiles look more planned and thoughtful.
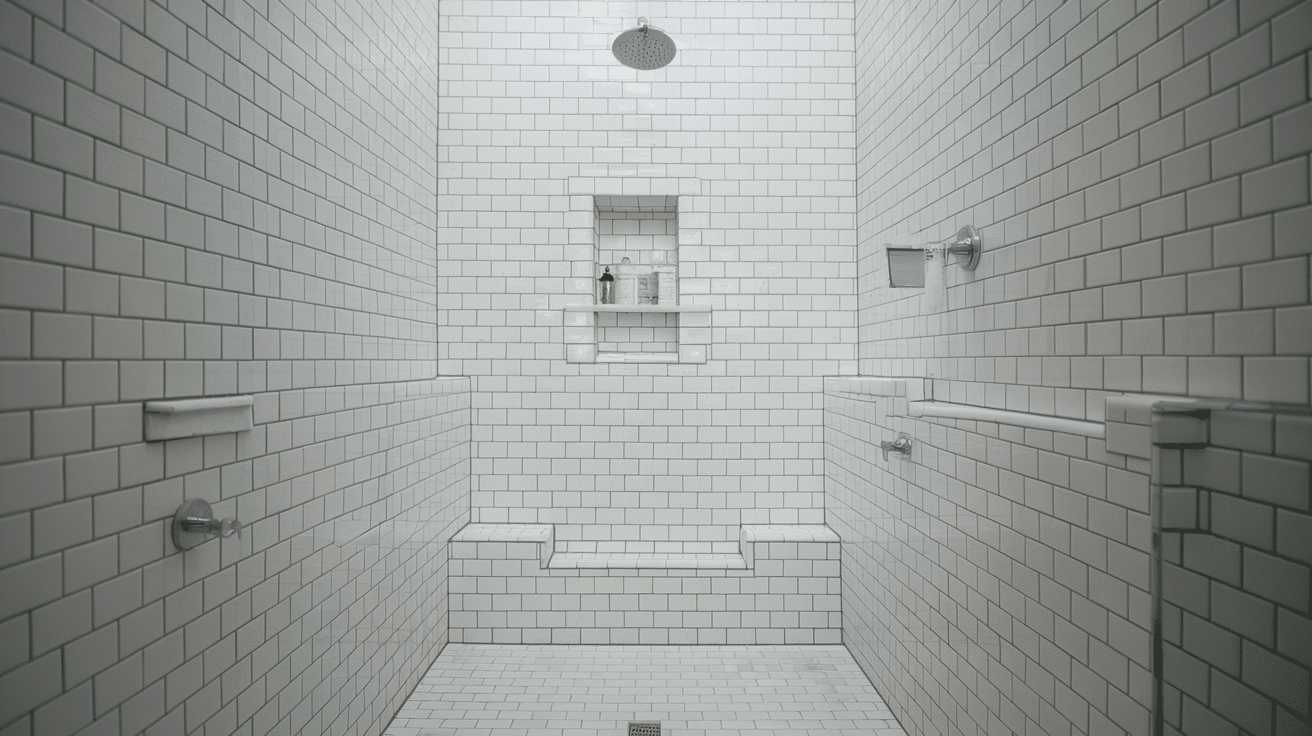
7. Grid or Square Layout
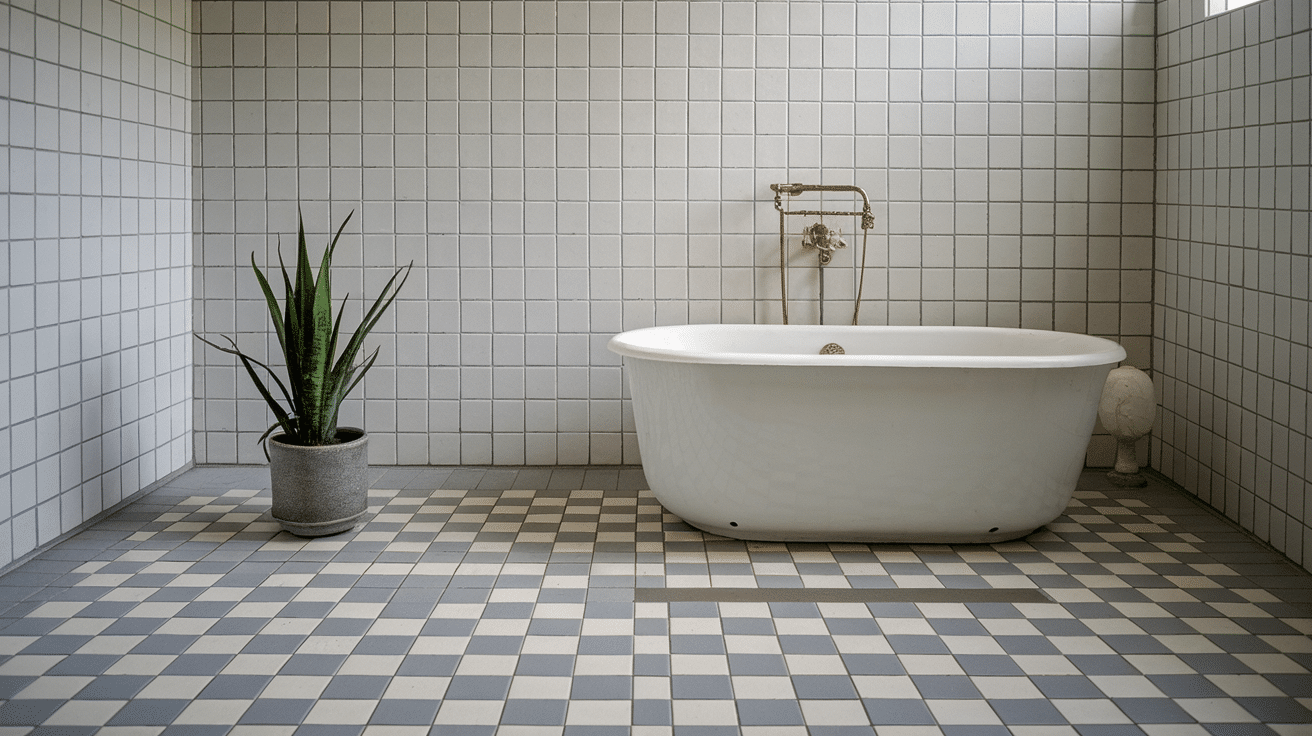
One of the most straightforward patterns, the grid layout places square tiles in even rows and columns with aligned joints. This creates a clean, ordered look that’s easy on the eyes.
The simplicity makes it perfect for tiles with strong colors or patterns, as the arrangement won’t compete with the tiles themselves.
8. Brick Layout
Similar to subway but can be used with square tiles, this pattern staggers tiles like bricks in a wall. Each row is offset by half a tile, creating a balanced, stable look.
The brick pattern has stood the test of time and works well in nearly any bathroom style, making it a safe choice for homeowners who want a timeless look.
9. Offset Pattern
This pattern shifts each row of tiles by a fraction (often 1/3 or 1/4) rather than the usual half-tile offset. This subtle change creates a more random, less structured appearance while maintaining order.
It’s good for hiding slight size differences in handmade tiles and adds a gentle sense of movement to shower walls.
10. Mixed Pattern
This approach combines different tile sizes, shapes, or colors in the same installation to create a one-of-a-kind design. It might mix large-format tiles with mosaics or combine different patterns in separate areas.
This technique allows for personal expression and can highlight certain shower areas while creating a rich, layered look.
11. Mosaic Tiles
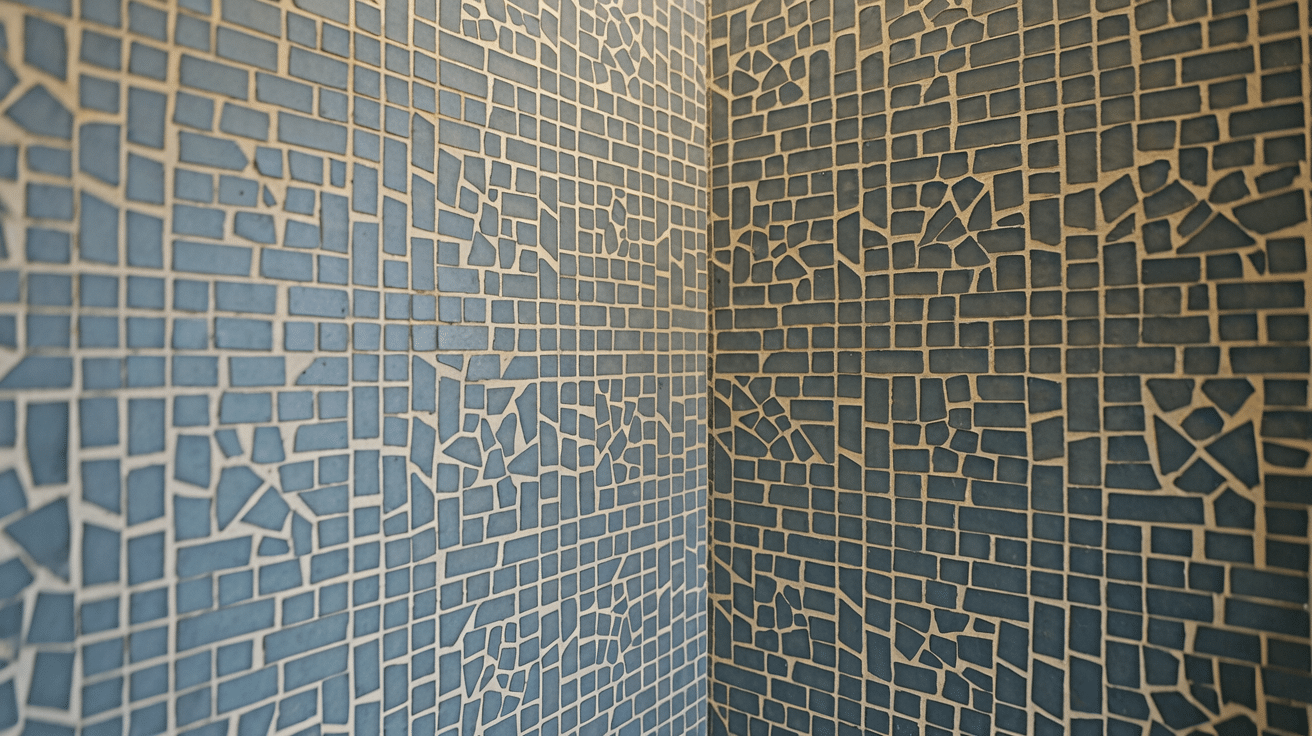
These tiny tiles (usually 2 inches or smaller) come pre-arranged on mesh backing and can form detailed patterns. Mosaics can create pictures, gradients, or texture on shower walls.
They work well in wet areas due to their many grout lines, which provide good grip. Mosaic sections can serve as accents within larger tile installations or cover entire shower walls.
12. Large Format Tiles
These oversized tiles (often 12×24 inches or larger) create a smooth, current look with fewer grout lines. They make small showers appear bigger and are easier to clean due to less grout.
The installation requires careful planning and a very flat substrate, but the result is a clean, continuous surface that showcases the beauty of the tile material.
13. Hexagonal Tile Pattern
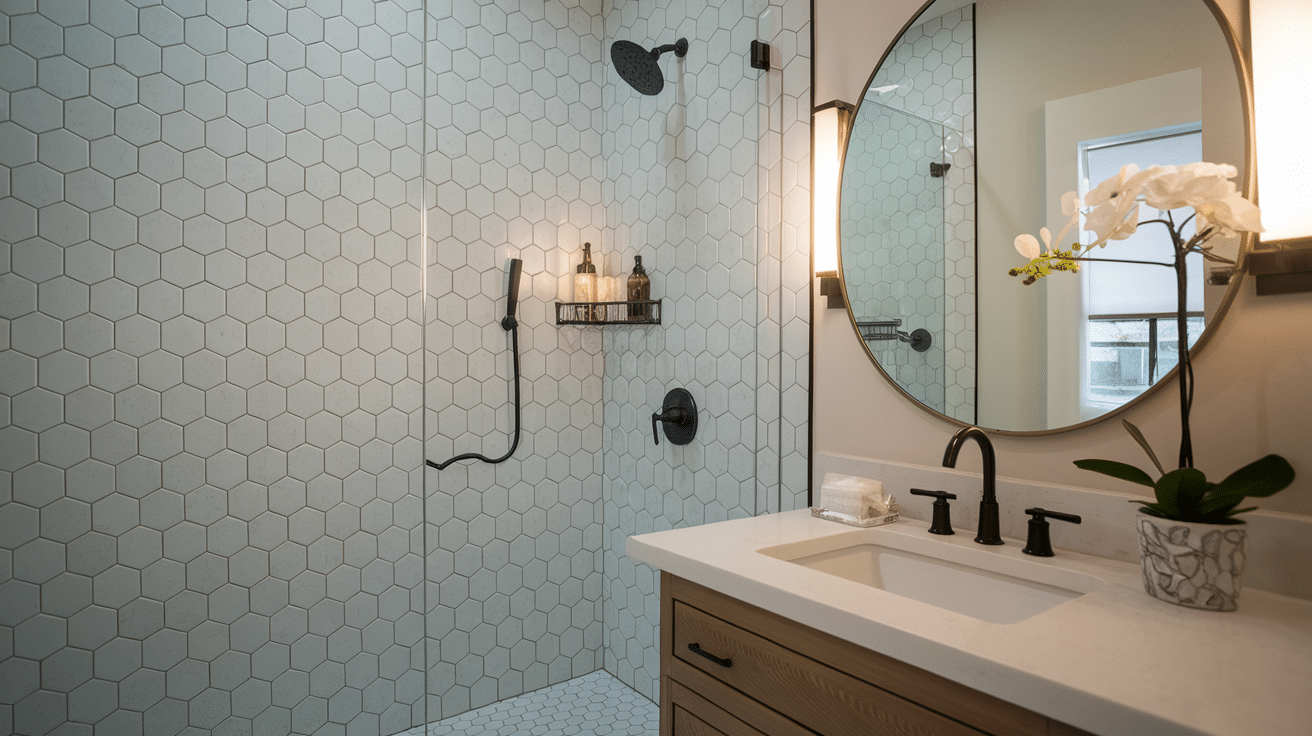
These six-sided tiles create a honeycomb pattern that’s both classic and fresh. Hexagons add visual interest without being overwhelming and work in both old-style and new bathrooms.
The pattern naturally draws attention and works well with both solid colors and patterned tiles, making it a good choice for feature walls in the shower.
14. Penny Tiles
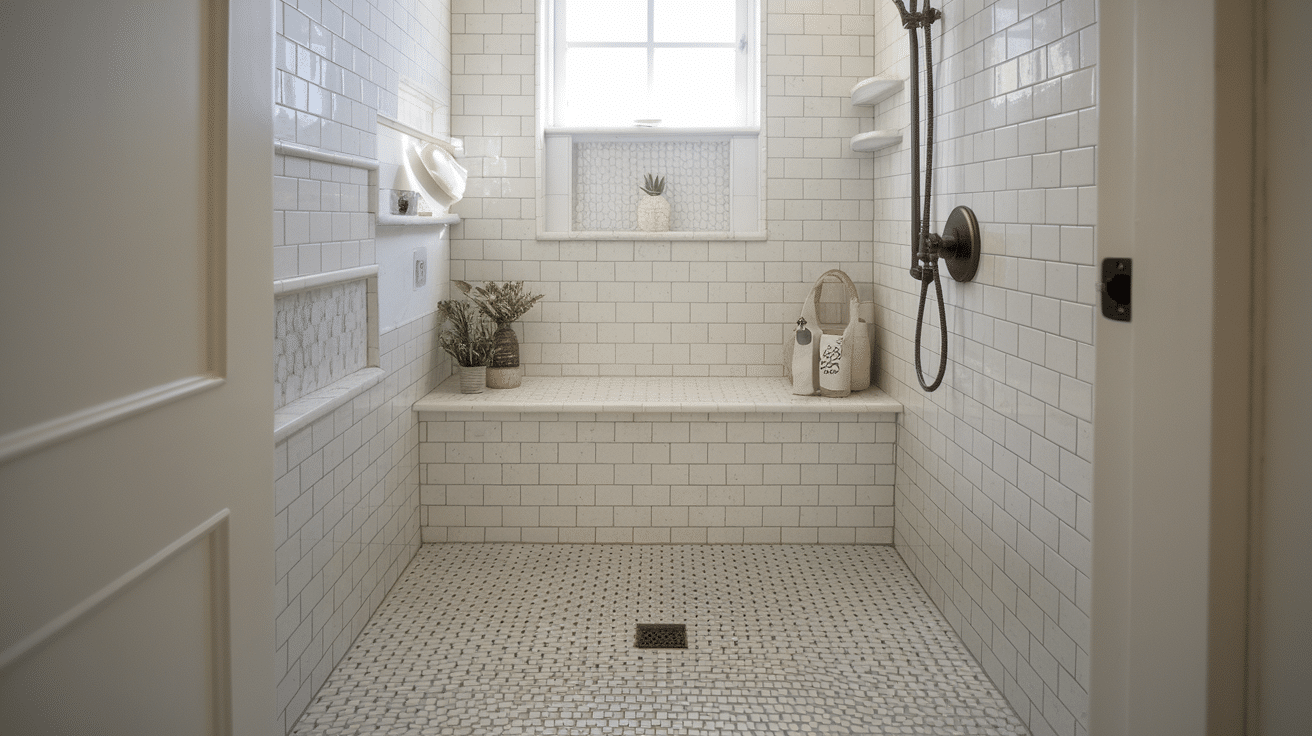
These small, round tiles create a dotted pattern that brings a sense of history to shower spaces. Penny tiles, named for their coin-like shape, have been used since the early 1900s.
They provide good floor grip when wet and create a busy but pleasing pattern that works well in small showers or as accent areas. The many grout lines help with water drainage and prevent slipping.
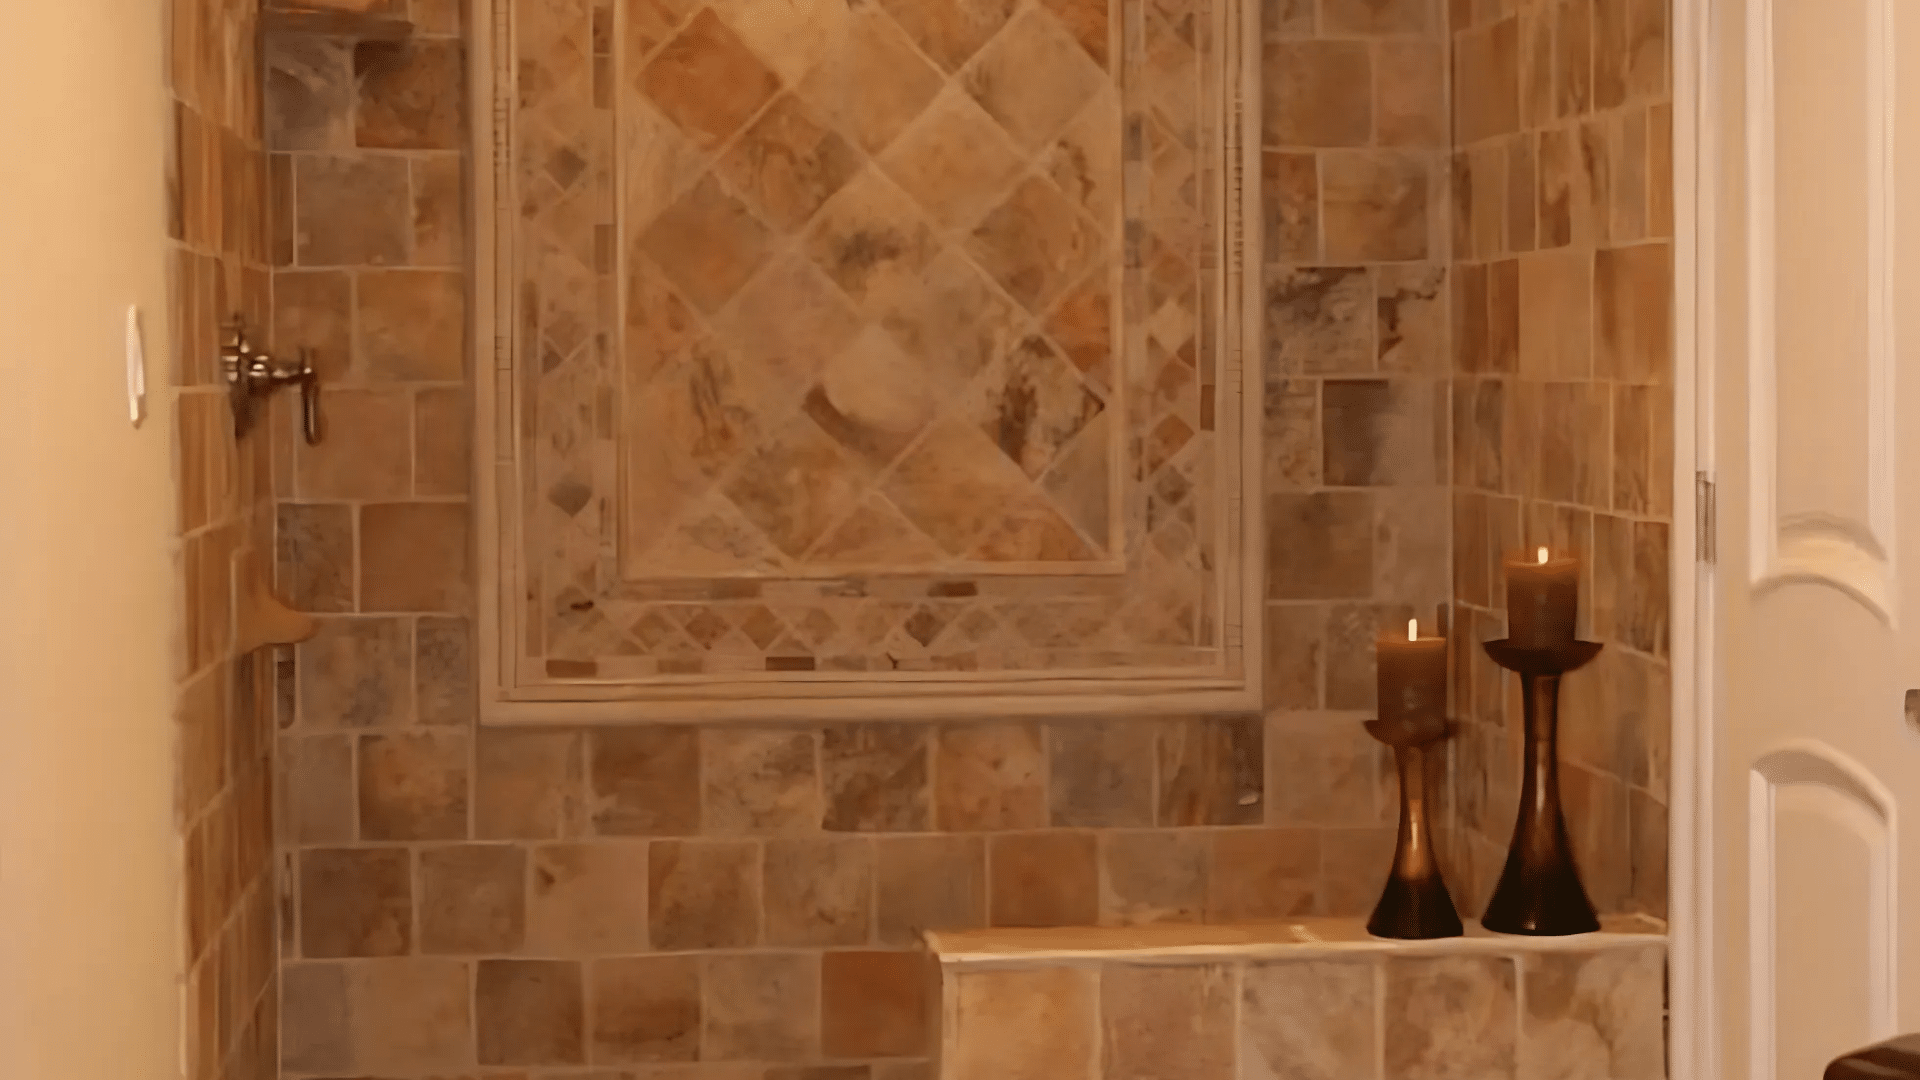
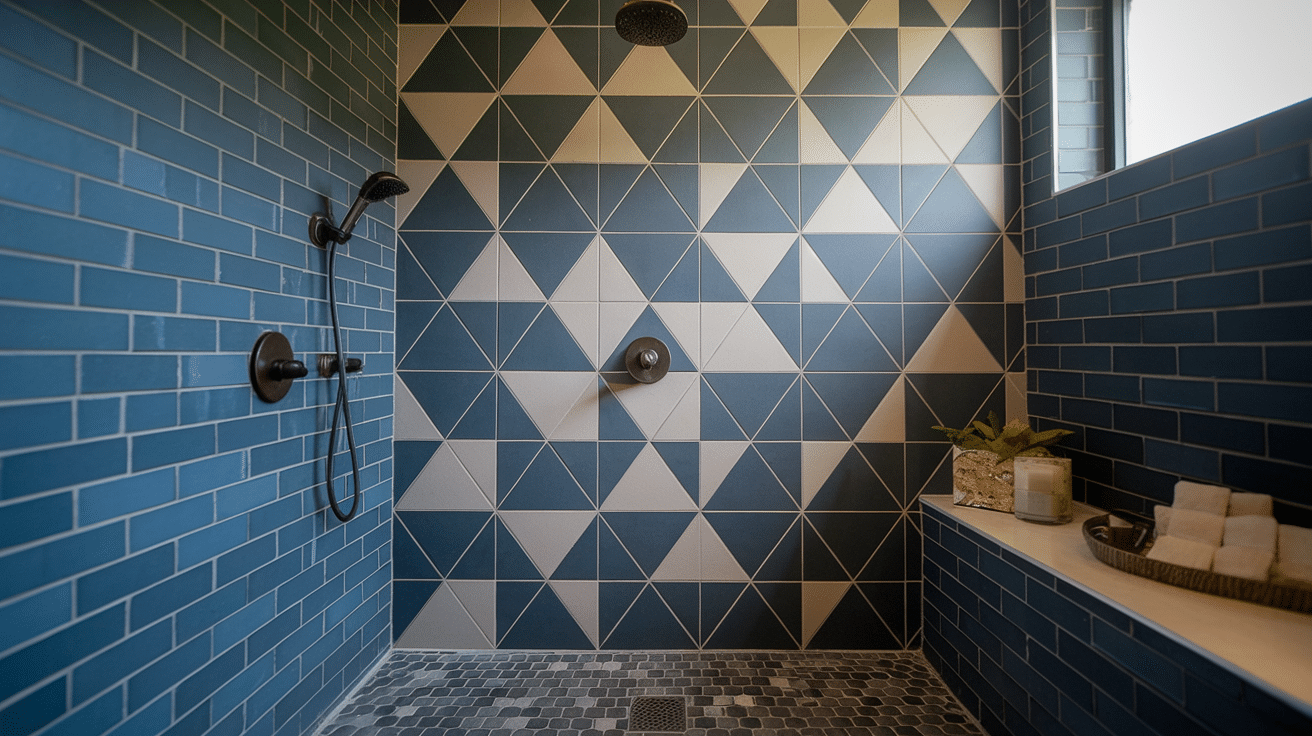
15. Diamond Pattern
This layout uses square tiles turned 45 degrees to create a diamond shape. The pattern adds movement and makes spaces look wider without being too bold.
Diamond patterns work well with solid-colored tiles and can make a standard tile selection look more planned and thoughtful. They’re often used in older-style bathrooms but also fit in modern settings.
16. Arabesque Pattern
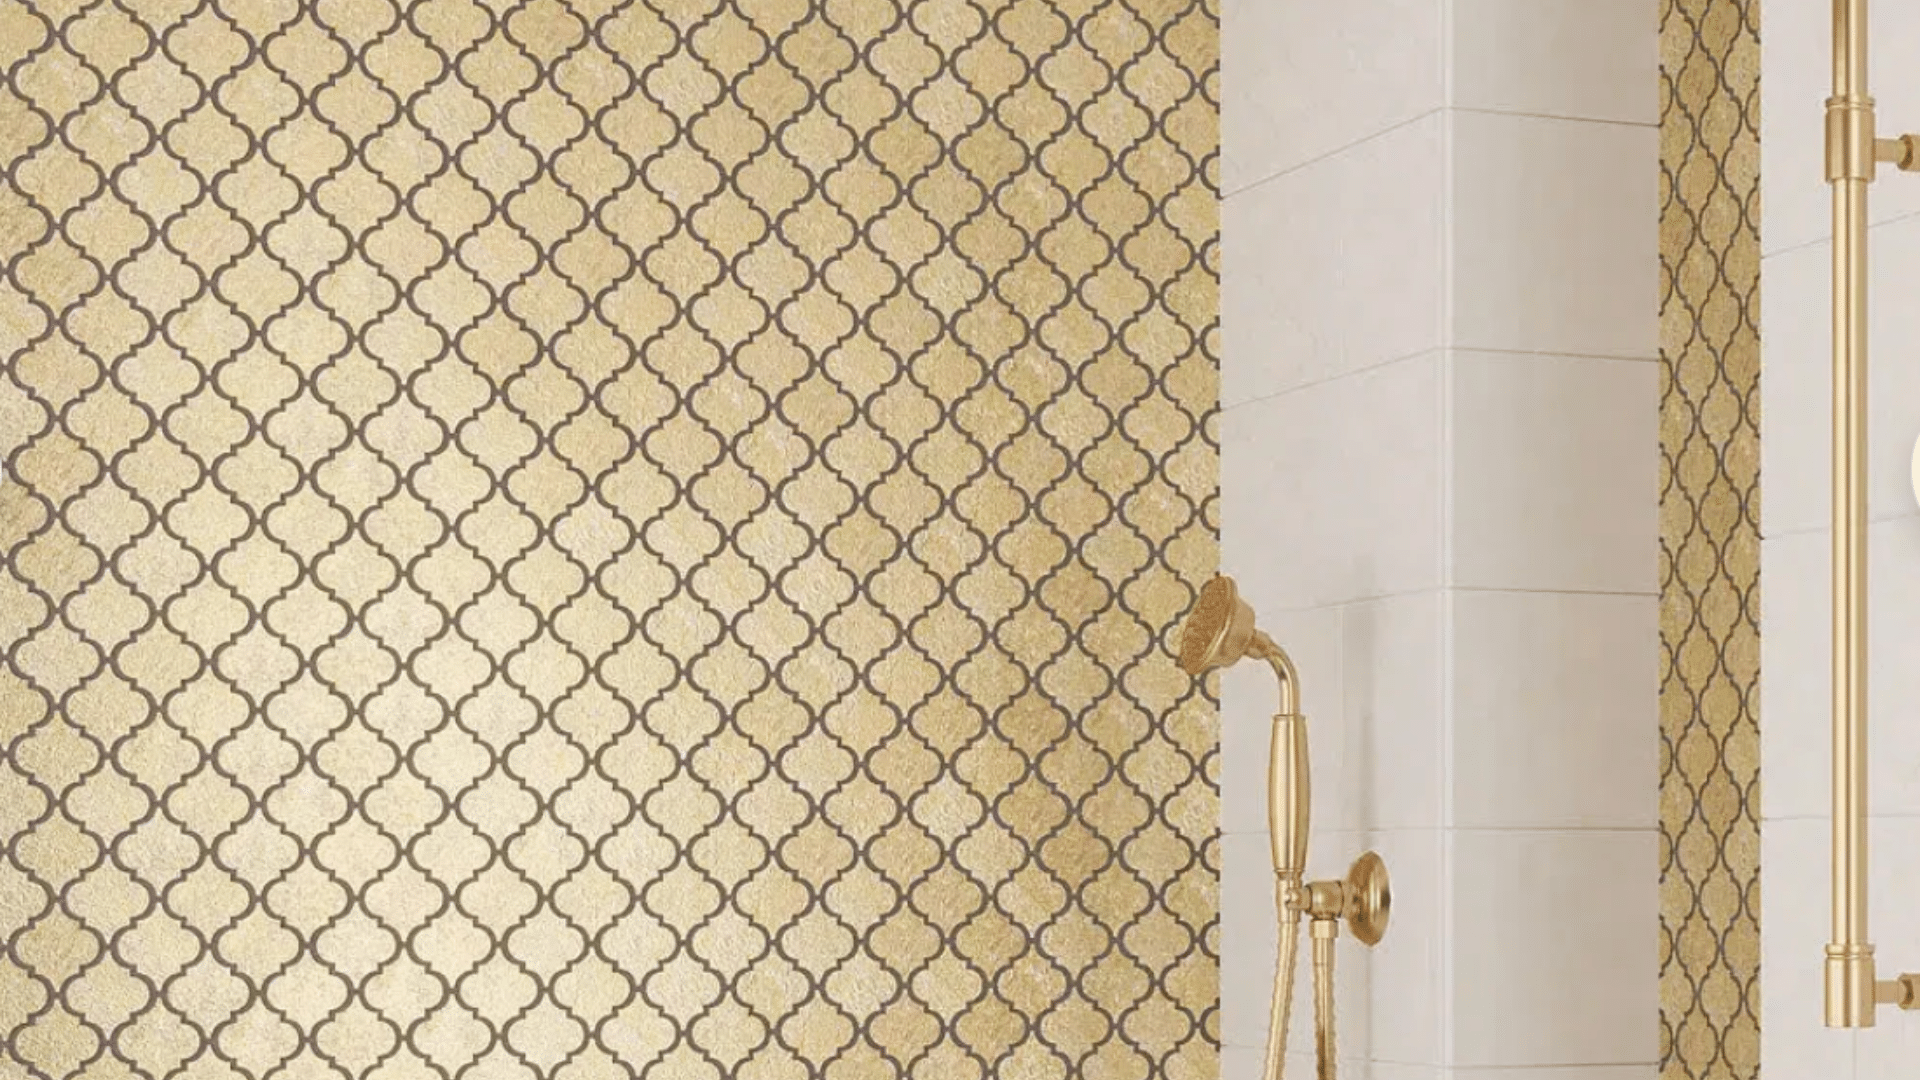
These tiles have a curved, flowing shape inspired by Middle Eastern designs. Their unique outline creates a gentle, connected pattern that stands out without being too much.
Arabesque tiles work beautifully as a feature wall or accent strip in showers. They pair well with simpler tiles that let their special shape be the main focus.
17. Fish Scale Tiles
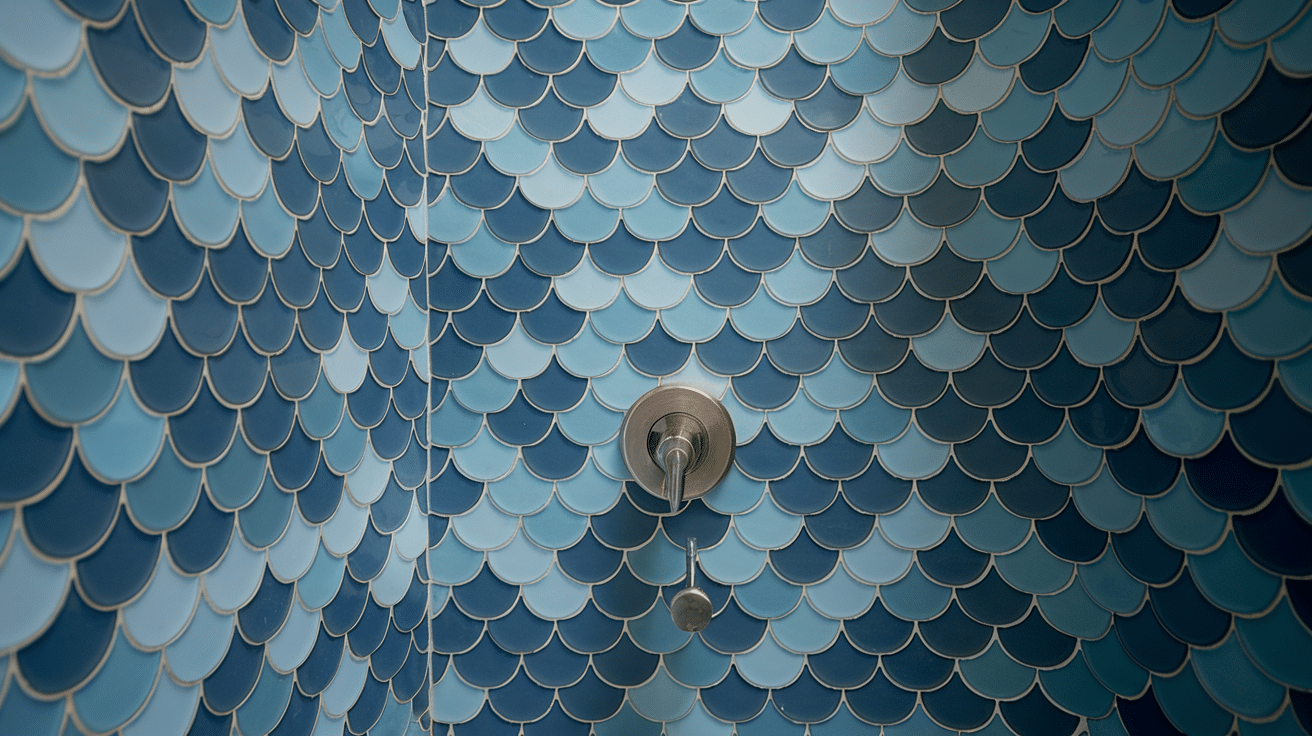
Shaped like overlapping fish scales or fans, these tiles create a wavy, flowing pattern perfect for shower areas. The shape naturally suggests water and movement, making it fitting for bathrooms.
Fish scale tiles can be arranged in many color patterns and look striking whether used for an entire shower or just as accent pieces.
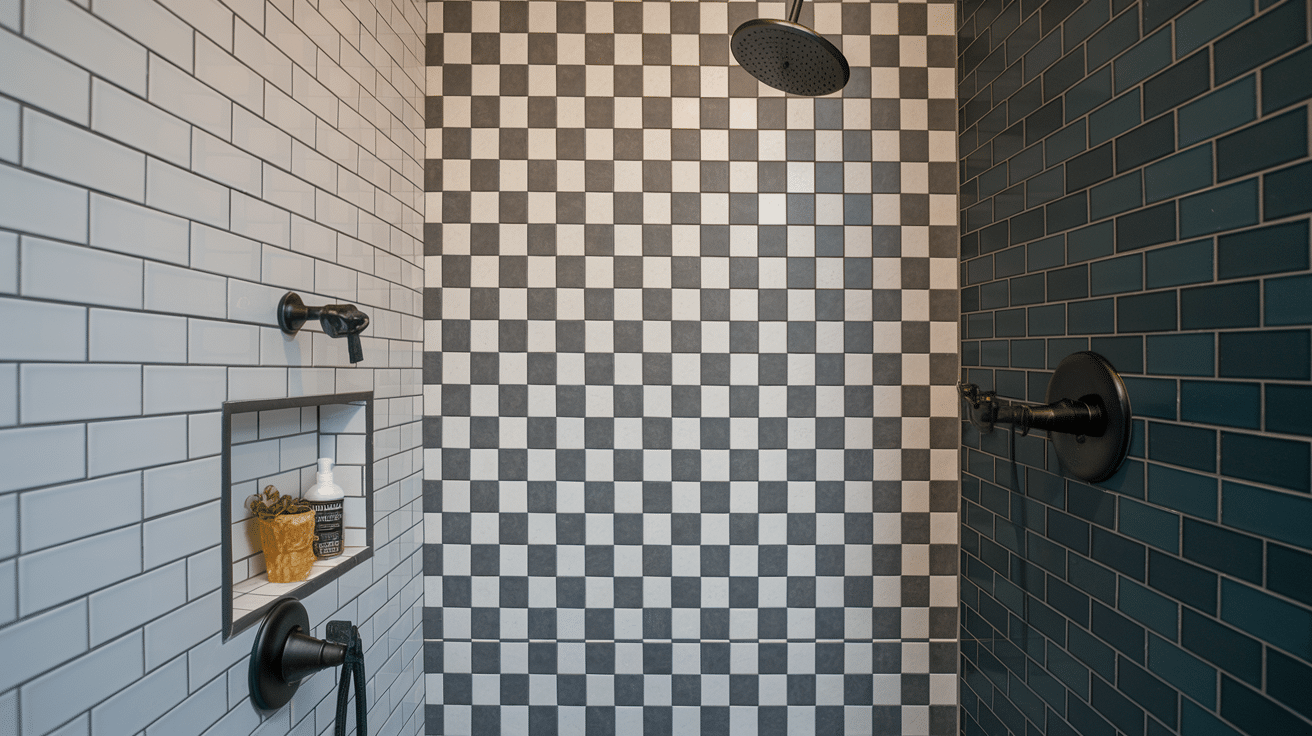
18. Retro Grid Pattern
This pattern uses small square tiles (usually 1-2 inches) arranged in a straight grid with contrasting grout. It recalls bathrooms from the mid-1900s while still looking fresh today.
These small tiles, with their many grout lines, provide good traction in wet areas, making them useful for shower floors and walls.
19. Zigzag Tiles
Creating sharp angles and strong directional lines, zigzag patterns add energy and movement to shower walls. Unlike chevron or herringbone, zigzag uses tiles with angled edges that fit together to form continuous, jagged lines.
This bold pattern works best as an accent wall or band rather than covering the entire shower to avoid overwhelming the space.
20. Wave Pattern
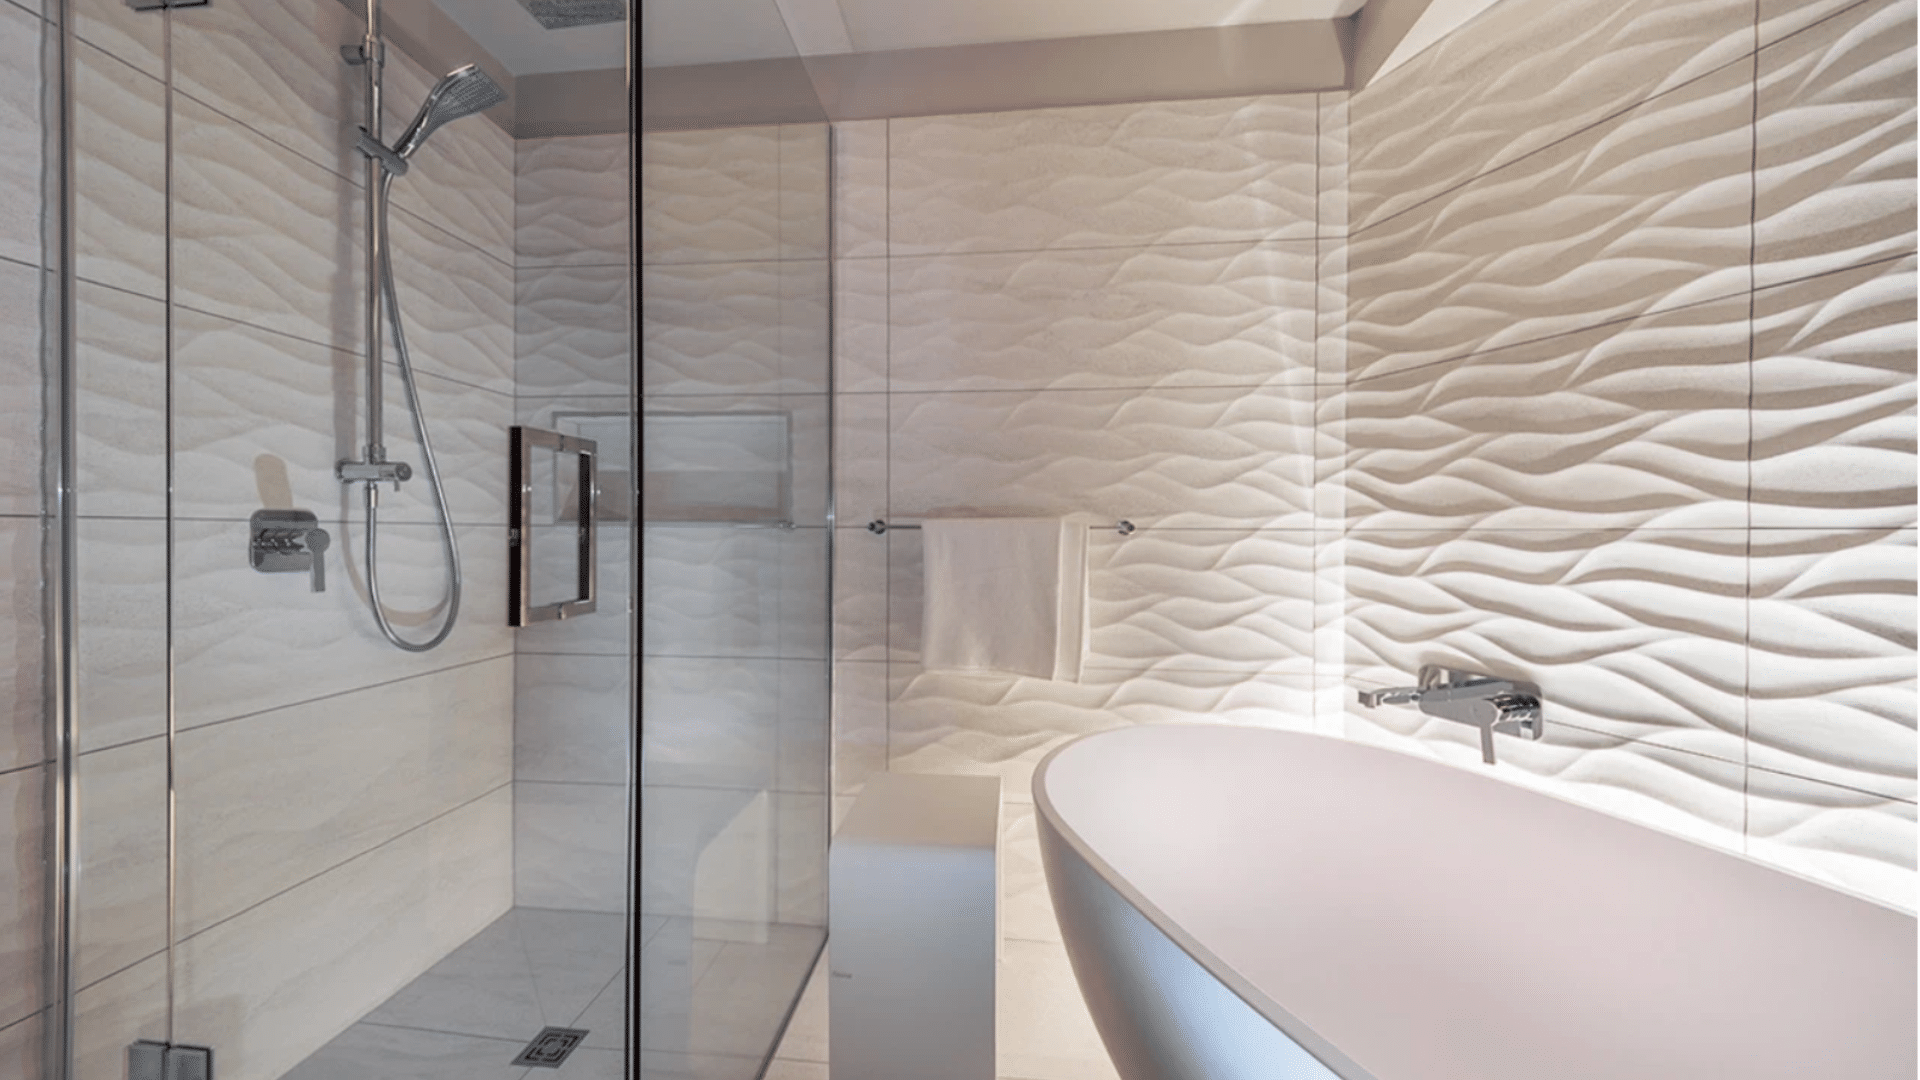
Special curved or undulating tiles create a flowing, water-like effect on shower walls. The gentle curves bring a sense of calm and relaxation to the bathroom.
Wave patterns connect well to the water theme of showers and can be subtle or bold, depending on the tile colors chosen and whether they cover all walls or serve as an accent.
21. Mixed Materials Pattern
This approach combines different tile materials like glass with stone or porcelain with metal in the same installation. The contrast in textures creates depth and visual interest.
Mixed materials can highlight certain areas of the shower or create bands of texture that break up large tile expanses, adding richness to the design.
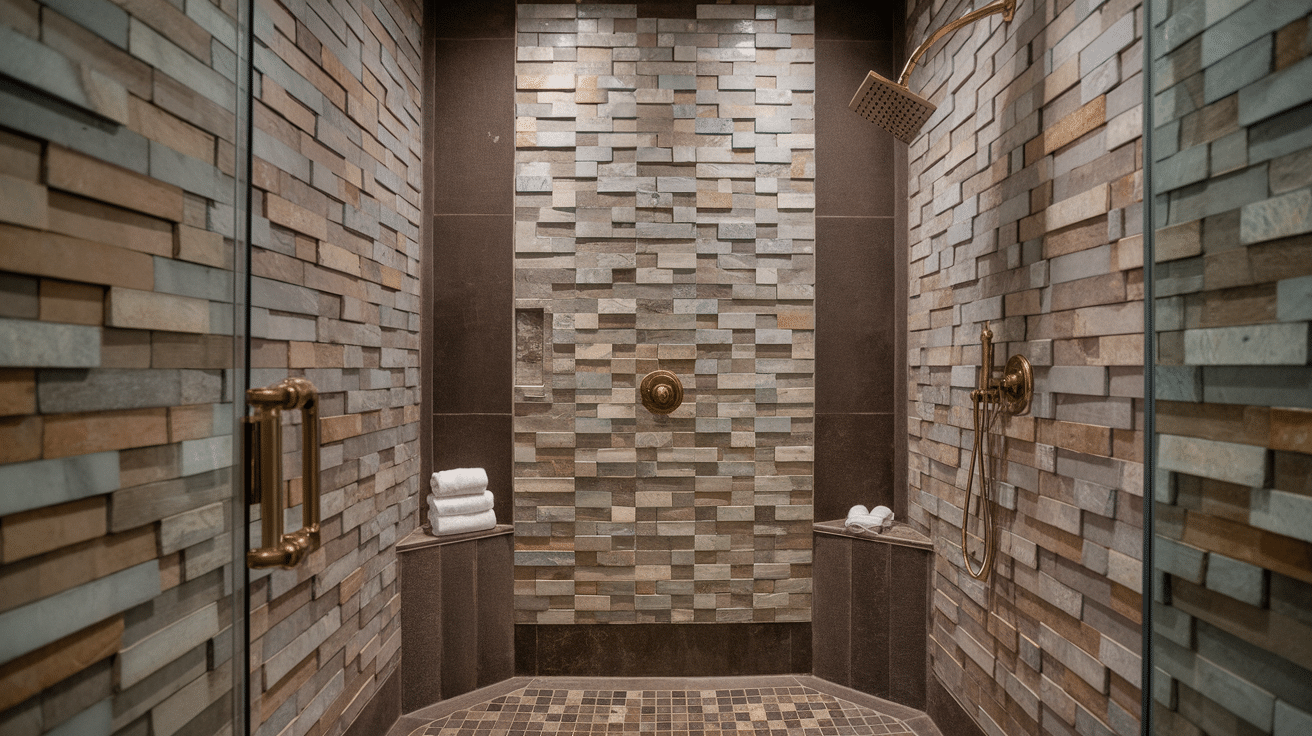
22. Tumbled Stone Tile Pattern
These naturally worn-looking stone tiles with soft edges and slight surface differences create a warm, lived-in feel.
Usually installed in a brick or random pattern, tumbled stone brings an earthy, organic quality to showers. The varied surface provides good traction when wet and hides water spots better than smooth tiles.
23. Custom Patterns
These are one-of-a-kind designs created specifically for your shower space. They might include special cuts, inlaid designs, or tiles arranged to form pictures or motifs.
Custom patterns allow for personal expression and can incorporate meaningful symbols or colors. Though more complex to install, they result in a truly unique shower experience.
24. Stacked Tile Pattern
This layout aligns tiles in straight columns and rows with perfectly aligned joints. The result is a clean, ordered look that creates a sense of calm.
Stacked patterns work well with tiles that have interesting textures or subtle patterns, as the simple arrangement lets the tile qualities shine without extra visual noise.
25. Triangular Tiles
These three-sided tiles create a pattern of points and angles that add energy to shower walls. Triangular tiles can be arranged in countless ways to create different effects, from orderly rows to starburst patterns.
They bring a modern, geometric feel to bathrooms and work well as accent pieces among more standard tiles.
26. Vertical Stripes
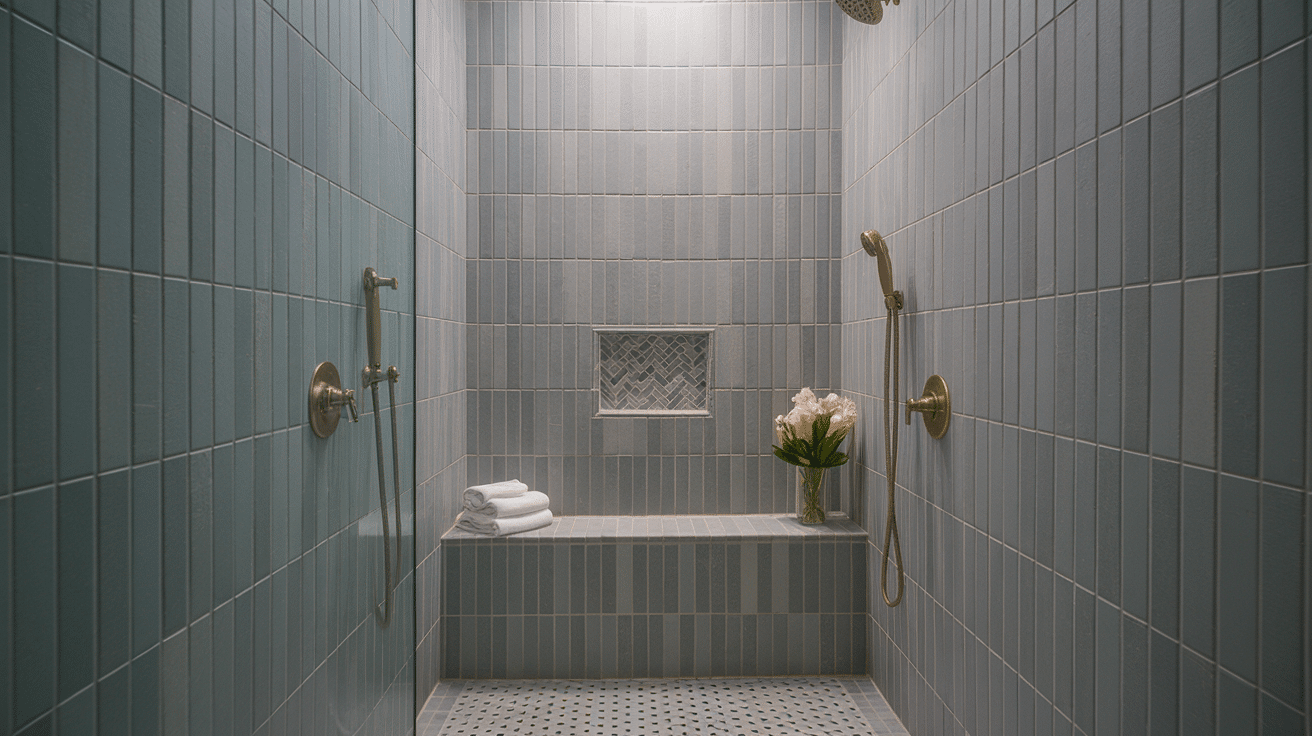
Using long, narrow tiles placed in straight vertical lines creates a pattern that makes ceilings appear higher. This arrangement brings a sense of order and can make small shower spaces feel taller and more open.
Vertical stripes work particularly well with tiles that have subtle color variations or texture to add depth to the clean lines.
27. Large Subway Tiles
These are bigger versions of classic subway tiles, often 4×12 inches or larger instead of the traditional 3×6 inches.
The larger size means fewer grout lines, creating a cleaner, more current look. Large subway tiles maintain the familiar brick-like pattern but scale it up for a fresh take that works well in bigger shower spaces.
28. Marble Effect Tiles
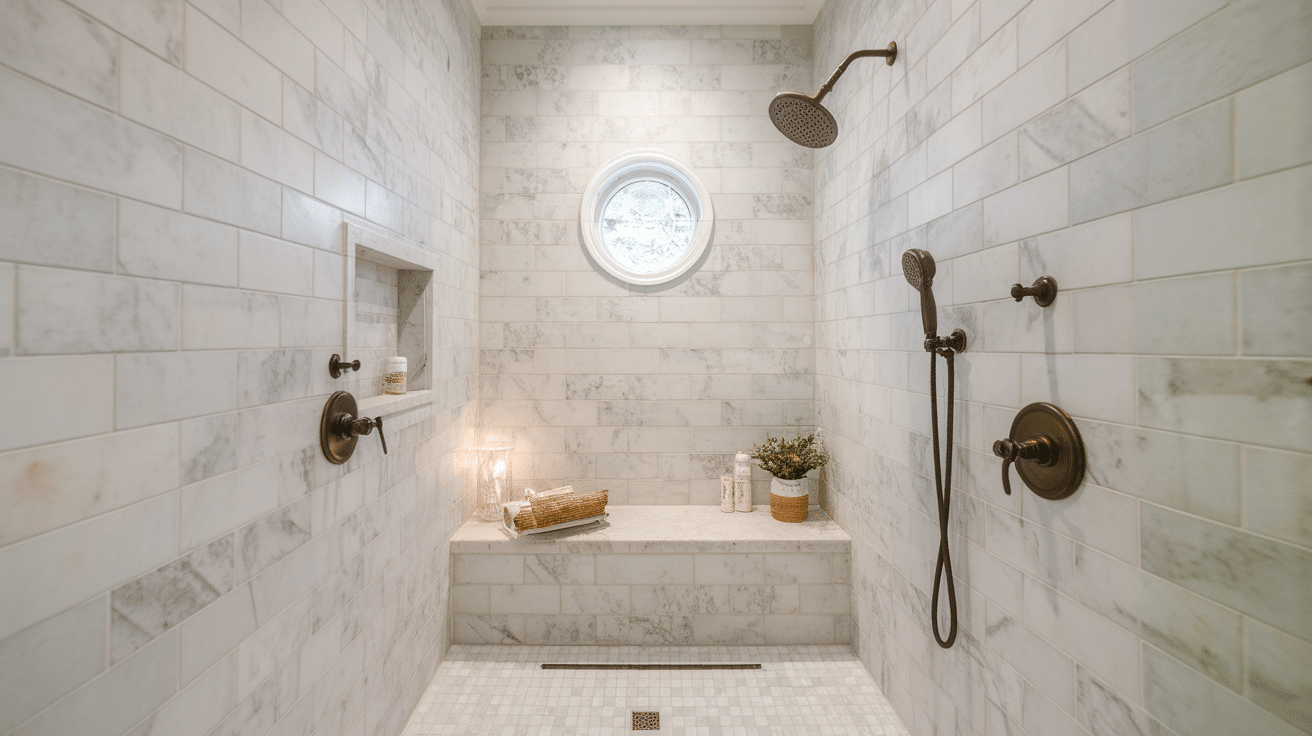
These porcelain or ceramic tiles mimic the look of natural marble with their swirling patterns and color variations. When arranged correctly, they can create a flowing, connected look across shower walls.
They provide the high-end appearance of real marble with better durability and less maintenance, making them ideal for wet areas.
29. Wood-Look Tile Patterns
These ceramic or porcelain tiles that look like wood planks bring warmth to shower spaces. Just like real wood, they can be arranged in patterns like herringbone or straight planks.
Wood-look tiles offer the cozy feel of timber without the maintenance problems of actual wood in wet areas, making them both practical and good-looking.
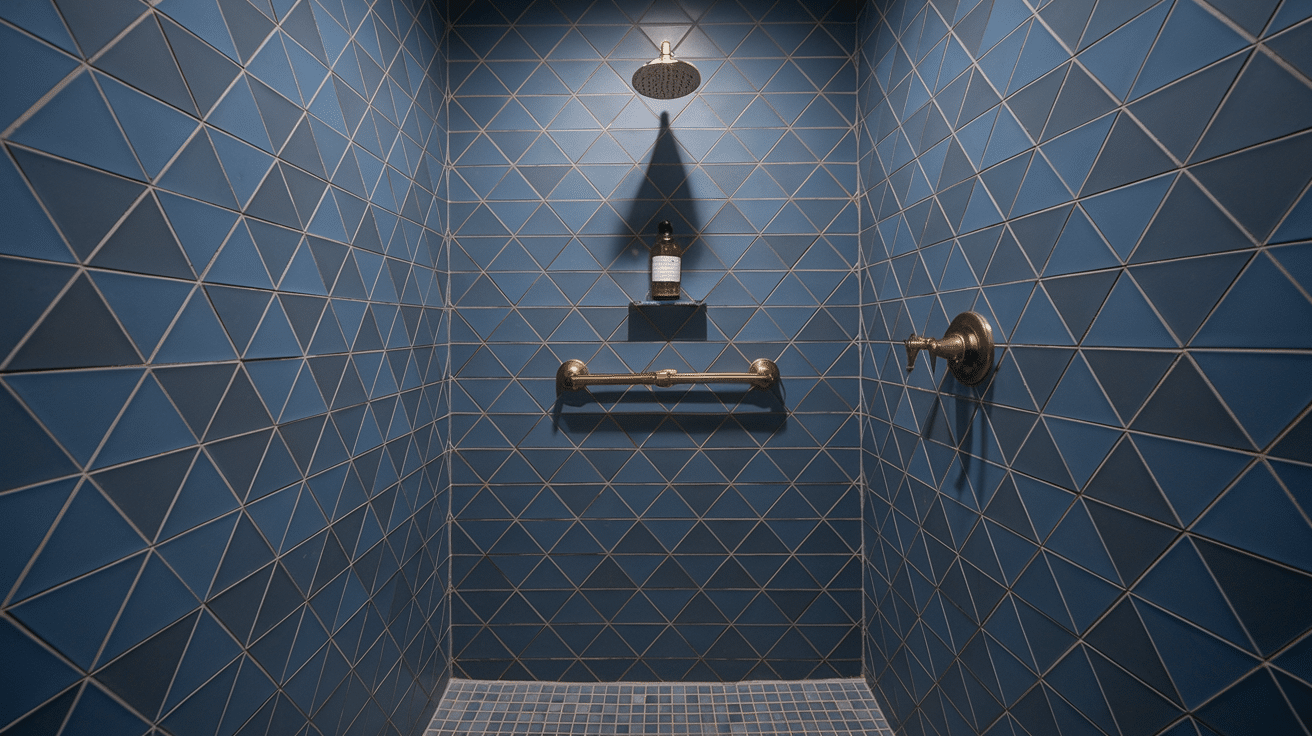
30. Geometric Tiles
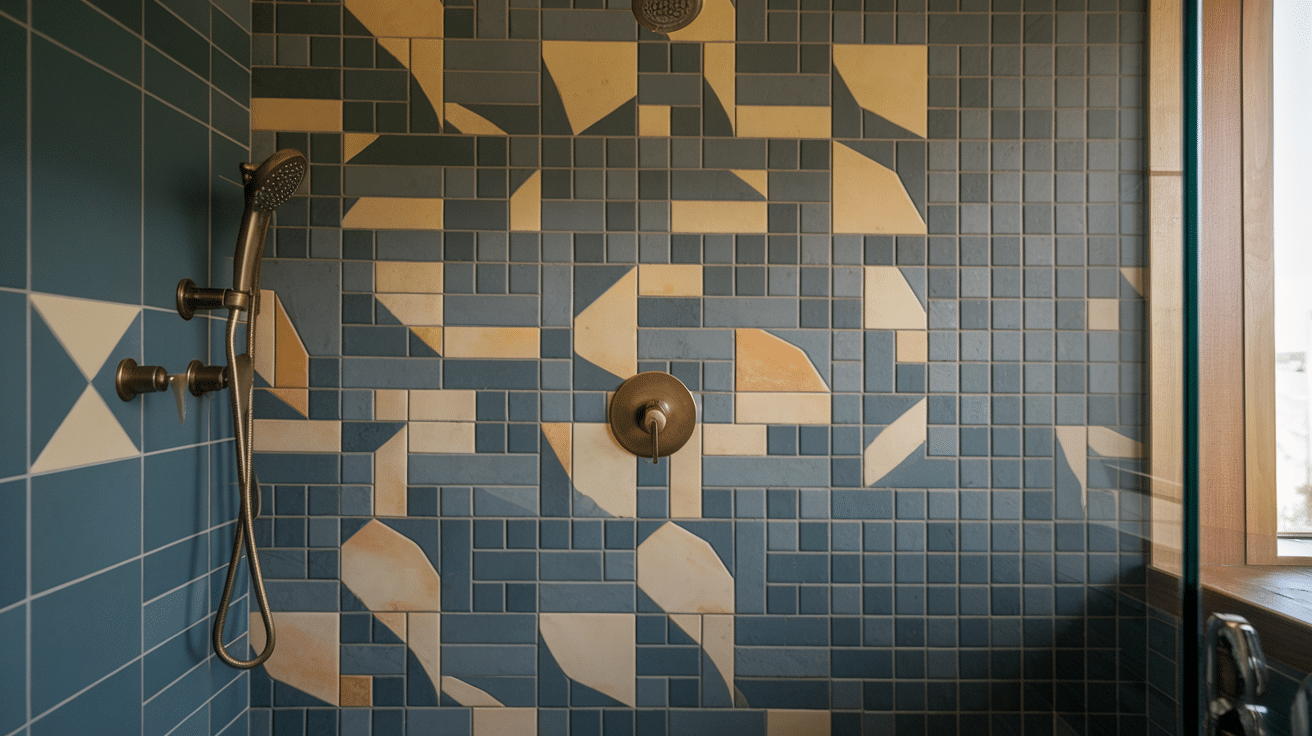
These tiles come in various shapes, like octagons, stars, or more complex forms that create eye-catching patterns when placed together. Geometric tiles bring a current, artistic quality to shower walls without being too flashy.
The unusual shapes naturally draw attention and can work as a main feature or accent area. When used in simple color schemes, the shapes themselves become the star of the design.
31. Mixed Sizes
This approach uses tiles of different dimensions within the same installation to create a varied, interesting surface.
Mixed sizes can help break up large shower walls or draw attention to certain areas. This method works best when the tiles share similar colors or materials to maintain a sense of unity.
Choosing the Right Material for Your Tile Pattern
The material of your shower tiles affects not just how they look but also how they perform over time.
Different materials have strengths and weaknesses regarding water exposure, cleaning needs, and durability.
Finding the right match for your shower will ensure your tile pattern looks good and lasts for years.
Ceramic vs. Porcelain
Ceramic tiles cost less and cut more easily, making them good for complex patterns. They’re slightly more porous, which matters in wet areas.
Porcelain tiles have been fired at higher temperatures, making them denser and more water-resistant. They’re excellent for showers because they handle moisture better and last longer.
While porcelain costs more initially, its durability often makes it the better value for shower installations.
Stone vs. Glass
Natural stone brings unique patterns and a rich, organic look to shower walls. Each tile is different, creating a truly natural effect.
However, stone needs regular sealing to prevent water damage. Glass tiles add light and brightness to showers.
They’re completely waterproof and available in many colors. Glass works well for accent areas but can be slippery on floors and tends to show more water spots than other materials.
How to Mix and Match Materials
Combining materials creates depth in your shower design. Use porcelain for most walls, with glass accents in niches or as borders. Keep colors coordinated for a unified look.
Consider which materials work best in wet areas. Using materials of similar thickness makes for easier installation and smoother surfaces. Start with one main material, then add accents of different materials for balance.
Tips for Installing Shower Tiles
Before diving into installation, proper planning and preparation are essential for a successful shower tile project.
Taking the time to prepare your space and gather the right materials will save you headaches later and ensure your beautiful tile pattern stays looking good for years.
Preparation and Planning
Start with clean, level, and waterproofed walls. Install cement backer board if needed. Measure carefully and buy 10% extra tiles for cuts and mistakes.
Plan your layout on paper first, marking center points to avoid small edge pieces. Then, try arranging tiles on the floor before installing them to check the pattern’s appearance.
Choosing the Right Adhesive
Use only waterproof thin-set mortar made for wet areas in showers. Regular mastic can fail when exposed to constant moisture.
Mix small batches that you can use within 30 minutes. Choose the correct notched trowel size for your tiles. Bigger tiles need deeper notches for proper coverage.
Sealing Your Tiles
After the grout has cured (2-3 days), apply a sealer to protect your shower. Natural stone, cement tiles, and all grout lines need sealing to prevent water damage.
Use a penetrating sealer for the stone and a surface sealer for the grout. Apply with a small brush for grout lines. Plan to reseal every 1-2 years to maintain water resistance.
Maintenance and Care of Shower Tiles
Proper care keeps your shower tiles looking beautiful and extends their lifespan. Regular maintenance prevents mold growth, grout deterioration, and staining that can make even the most stunning tile pattern look worn and dated.
With a few simple habits, you can maintain the fresh look of your shower for many years.
- Clean tiles weekly with a gentle, pH-neutral cleaner made for your specific tile material.
- Apply a daily shower spray to prevent soap scum accumulation.
- Clean grout lines monthly with a soft brush and appropriate grout cleaner.
- Avoid acidic cleaners on natural stone tiles as they can cause etching.
- Reseal grout lines annually to maintain water resistance.
- Use a microfiber cloth for cleaning to avoid scratching delicate tile surfaces.
- Install proper ventilation to reduce humidity and prevent mold growth.
- Remove hair and debris from drains regularly to prevent water backup.
- Consider professional deep cleaning once a year for showers that see heavy use.
Conclusion
Selecting the right tile pattern transforms your shower both visually and functionally. The pattern you choose can make spaces feel bigger, showcase special features, and reflect your taste.
By understanding different options and how they work with various materials, you can create a shower that stays beautiful and practical for years to come.
Don’t hesitate to follow your taste when choosing shower tile patterns. This is your personal space, and you’ll use it daily.
The best design is one that makes you happy each time you step into the shower. Trust your judgment and select what appeals to you most.
Check out other blogs on our website for similar content on home improvement and design ideas.
Frequently Asked Questions
Is it better to stack or stagger shower tiles?
Both work well, depending on your style preference. Stacked tiles create a modern, clean look, while staggered tiles offer a classic, more textured appearance with better structural stability.
What is the 1/3 rule for tile?
When staggering tiles, offset each row by 1/3 of the tile length rather than 1/2. This prevents an uneven look and reduces the chance of lippage between tiles.
What is the correct order to tile a shower?
Start with the back wall, then the side walls, and finish with the floor. Always work from bottom to top on walls, leaving space for floor tiles.


