The Ultimate Guide to Crafting a Beautiful Plaster Range Hood
Hey there! I’m excited to show you how to make a plaster range hood that will become the centerpiece of your kitchen.
I’ve spent years perfecting this technique, and today, I’m sharing everything I know with you.
Let’s be honest – a well-made plaster range hood does more than just remove cooking fumes. It adds character and style to your kitchen, turning an ordinary space into something special.
In this guide, I’ll walk you through each step of creating your own plaster range hood – from the initial design to the final touches.
By the end, you’ll have the knowledge and confidence to tackle this project yourself.
Ready to start? Let’s make something beautiful together.
What is a Plaster Range Hood?
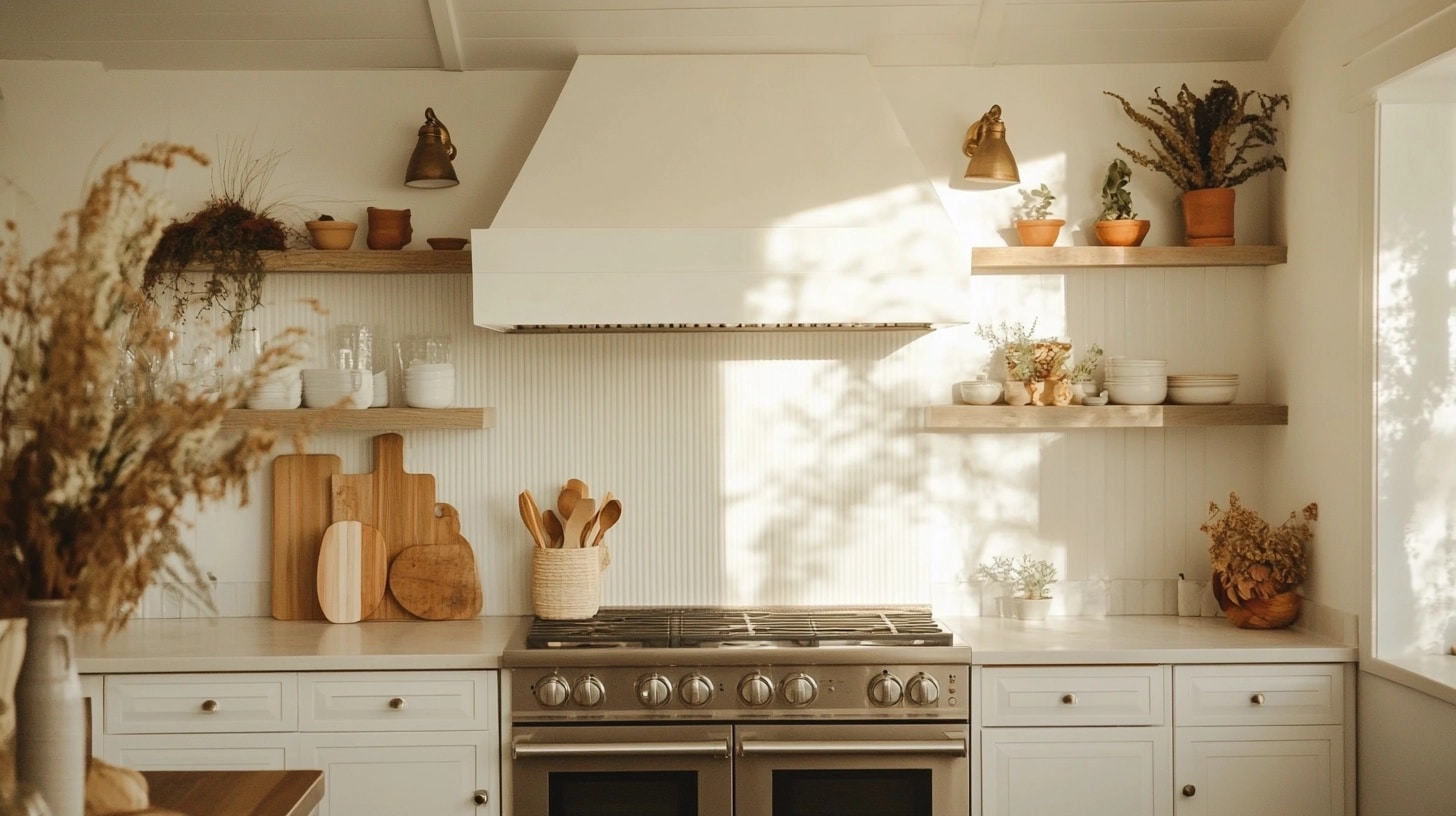
A plaster range hood combines looks and purpose in your kitchen.
It starts with a basic vent system covered by a wooden frame, which is then coated with plaster to create a solid, smooth surface.
Think of it as your kitchen’s air cleaner dressed in nice clothes. The inside parts pull out cooking smoke and smell, while the outer plaster shell matches your kitchen’s style.
The setup is simple – a metal vent insert handles air flow, supported by a wooden frame. Wire mesh wraps around this frame to help the plaster stick. The final plaster coating creates the outside look you see.
People pick plaster hoods because they work with any kitchen style.
They’re simple to keep clean, stay strong for years, and you can paint them to match your kitchen’s colors whenever you want. Plus, they cost less than many other options.
Step-by-Step Guide: DIY Plastered Range Hood
Tools and Materials Table:
| Tools | Estimated Cost | Materials | Estimated Cost |
|---|---|---|---|
| Tape measure | $10 | Frame kit (Archways and Ceilings) | $500-$1,000 |
| Chalk reel | $5 | Venetian plaster (Thermalux) | $50-$100 |
| Cordless drill | $80 | Joint compound (all-purpose) | $10-$20 |
| Screwdriver | $15 | Drywall | $15-$30 per sheet |
| X-Acto knife | $10 | Drywall tape | $5 |
| Chop saw | $150 | Rounded corner beads | $10-$20 |
| Safety glasses | $10 | Reclaimed barn wood (optional for accents) | Varies ($50-$200) |
| Gloves | $5 | Screws | $5-$10 |
| Ladder | $50 | Electrical vent hood | $200-$600 |
| Trowel | $15 | Spray adhesive | $10 |
| Sandpaper (220 grit) | $5 | Primer (for drywall preparation) | $15-$20 |
| Stapler (for corner beads, if needed) | $10 | Paint (Revere Pewter by Benjamin Moore) | $30-$60 per gallon |
| Work gloves | $5 | Paint for Venetian plaster tinting (Greek Villa) | $30-$60 per gallon |
Step 1 Measure, Prepare, and Assemble the Frame
- Measure the area and mark stud locations for the range hood frame.
- Assemble the frame from Archways and Ceilings using screws, following the provided instructions. Ensure it is securely attached to the studs.
- Drill holes as needed for electrical wiring and ductwork.
Step 2 Install the Vent Hood and Attach Drywall
- Insert the vent hood into the frame and connect it to the ductwork and electrical system.
- Score the drywall with an X-Acto knife to make it flexible, then attach it to the frame, bending it to follow the hood’s shape. Secure with screws.
Step 3 Prepare for Plastering
- Apply joint compound to all seams, screw holes, and the edges of the drywall.
- Attach rounded corner beads with spray adhesive, then cover them with joint compound to ensure smooth edges.
Step 4 Apply Venetian Plaster
- Prime the surface and apply the first coat of Venetian plaster using a trowel. Work in different directions to avoid patterns.
- After drying, apply a second coat using a skipping technique to create texture and allow it to dry overnight.
Step 5 Buff and Finish
- Buff the surface with 220-grit sandpaper to smooth out the plaster while retaining the textured look.
- Paint the kitchen cabinets (if needed) and add a piece of reclaimed barn wood to enhance the European farmhouse style.
How to Choose the Right Style of Plaster Hood for Your Kitchen
- Consider Your Kitchen’s Theme: The plaster hood should match the overall style of your kitchen. A smooth finish suits modern spaces, while a textured, rustic look enhances farmhouse or European-inspired kitchens.
- Hood Shape and Size: Your hood needs to fit both kitchen and stove sizes. Big kitchens can handle larger designs, while small spaces need simpler, clean-lined hoods.
- Custom vs. Pre-fabricated: Custom plaster hoods offer personalization and unique designs, but pre-fabricated options are more affordable and quicker to install, though less customizable.
- Texture Selection: Choose between smooth finishes for a sleek, modern look or textured finishes for a rustic or European feel.
- Color and Tinting: Neutral tones blend easily with most kitchens, while bold colors create a striking contrast.
- Integration with Other Elements: The hood should complement your cabinets, countertops, and accents like wood or metal to tie the kitchen design seamlessly.
- Functionality: Ensure the hood is compatible with your kitchen’s ventilation system, ensuring proper airflow and smoke removal.
- Budget Considerations: Custom designs are more expensive, while pre-fabricated options offer a budget-friendly alternative without compromising too much on style.
Different Styles and Popular Designs of Plaster Range Hoods
1. Modern Minimalist
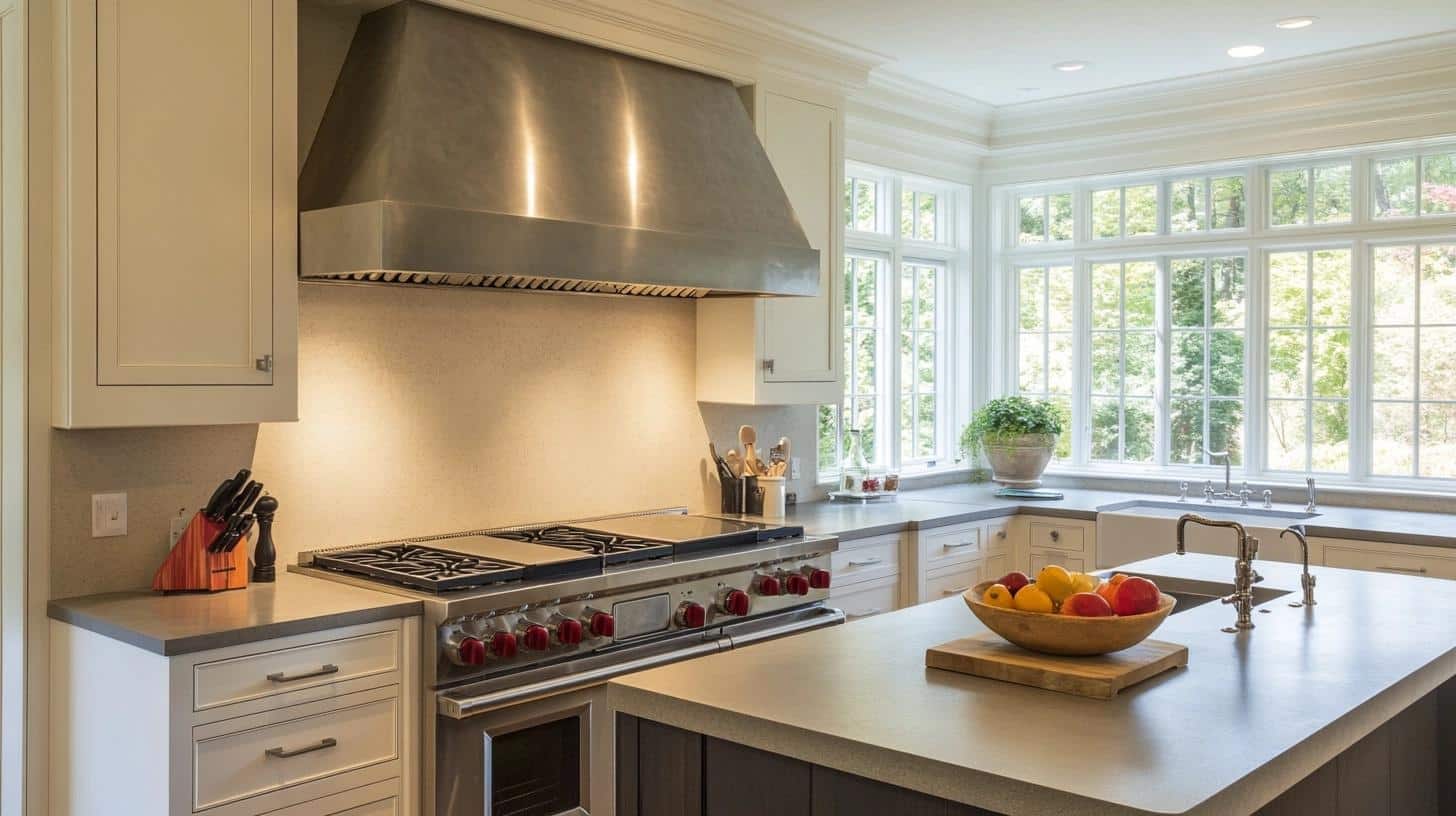
The modern minimalist plaster range hood makes a statement using basic shapes and clean lines. The structure flows without breaks, keeping surfaces flat and smooth.
Works Best With:
- Flat-panel cabinets and metal appliances
- Single-color backsplashes and plain stone counters
2. Traditional Style
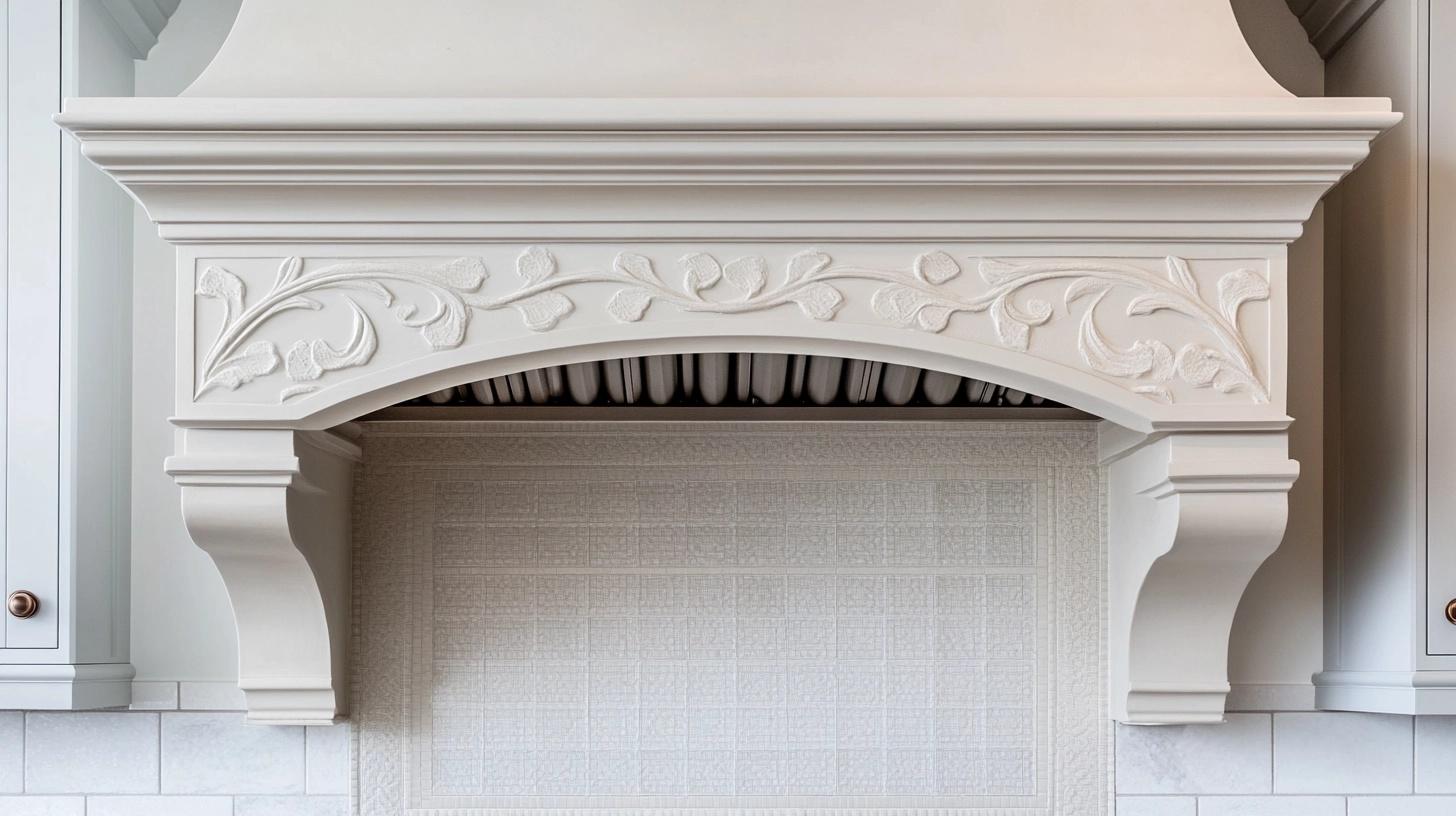
The traditional plaster range hood brings skilled craftsmanship to your kitchen. Each curve connects smoothly to the next, while crown molding frames both top and bottom. Small details like pressed patterns charm this classic look.
Works Best With:
- Panel-style cabinets and natural stone surfaces
- Pattern tiles and copper or bronze pulls
3. Rustic
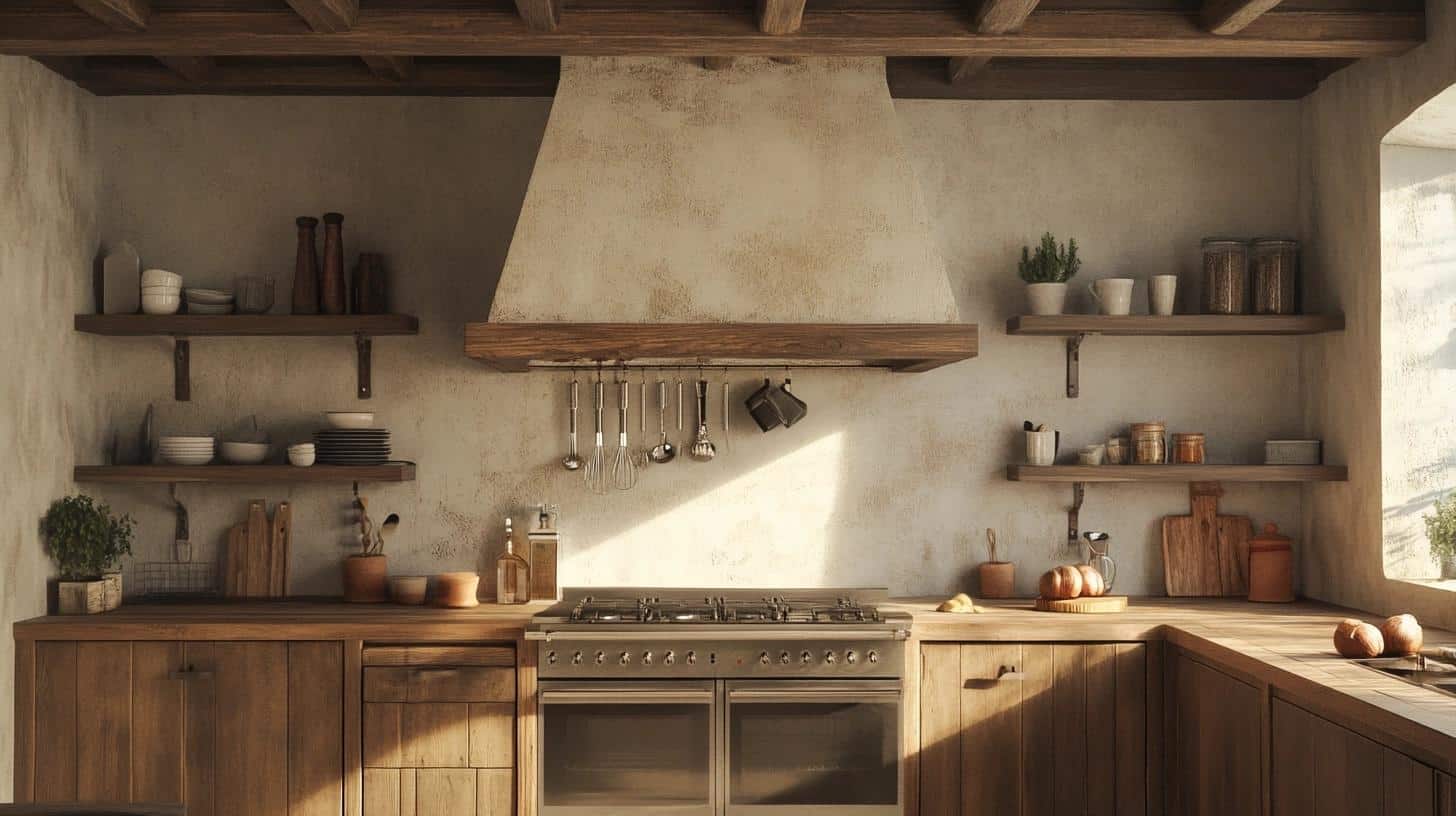
This plaster range hood features a textured finish with natural marks and grooves. The raw surface and warm tints create a casual, homey feel that is perfect for country-style spaces.
Works Best With:
- Wood beams and stone surfaces
- Open shelving and simple hardware
4. Tuscan
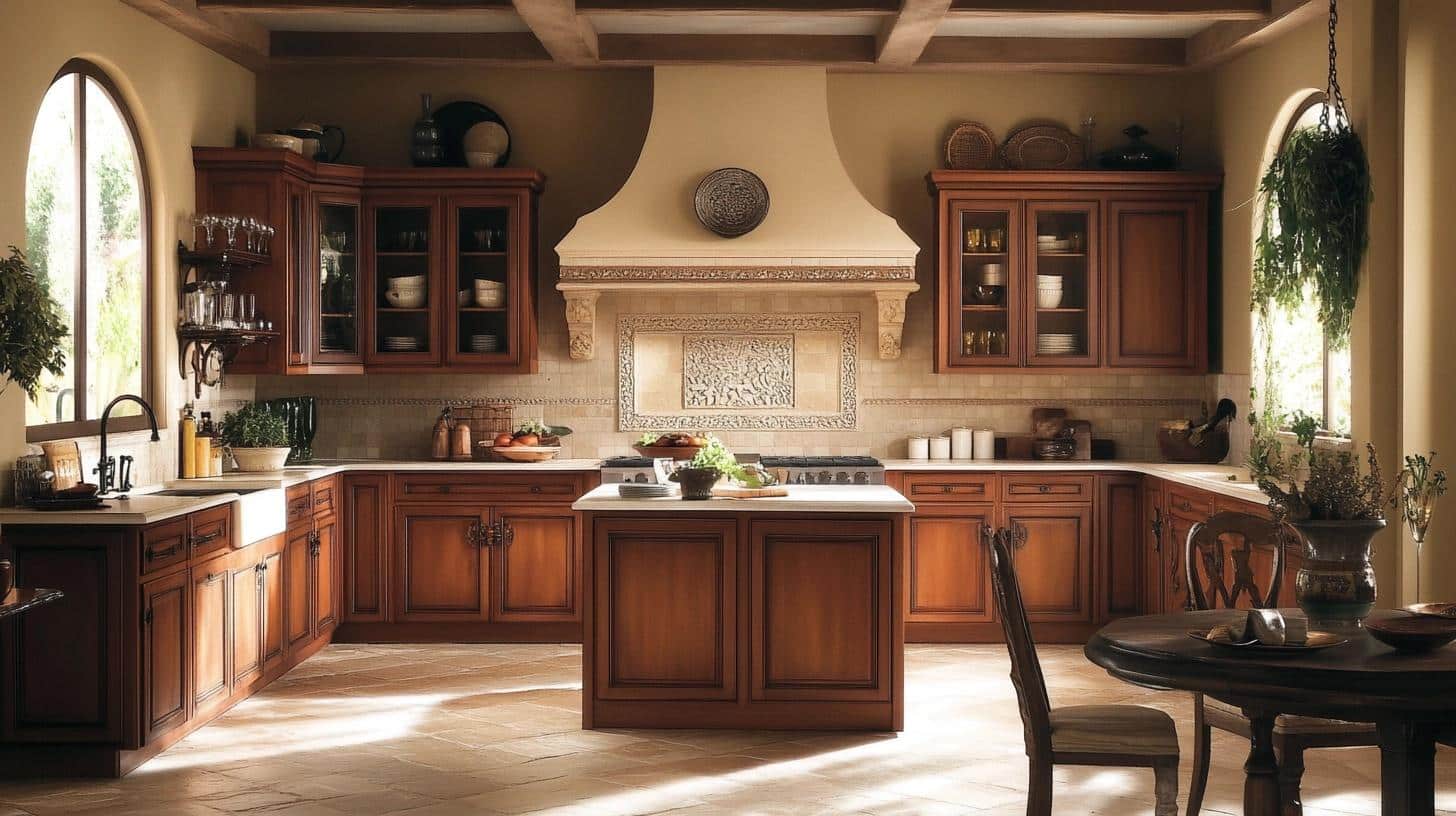
Inspired by Italian homes, this style brings old-world beauty to your kitchen. Its design includes carefully placed trim and flowing curves. The finish often shows subtle color changes, like those found in well-aged walls of European homes.
Works Best With:
- Terra cotta tiles and carved wood details
- Stone floors and wrought iron touches
5. Industrial
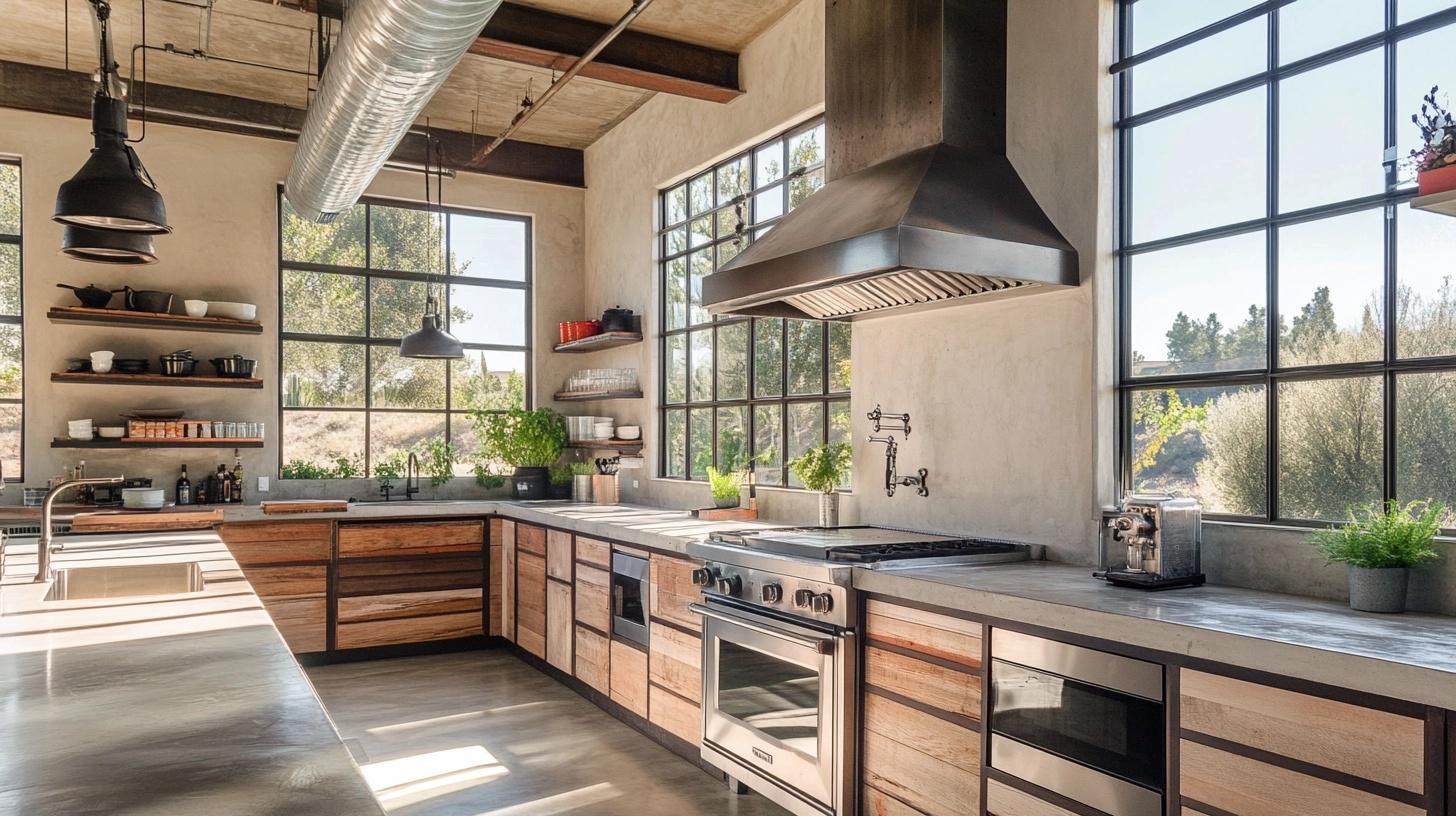
This style mixes raw plaster with metal elements for a workshop-inspired look. Simple finishes with visible joints create a workshop feel, while metal elements add contrast.
Works Best With:
- Metal fixtures and concrete counters
- Steel appliances and open pipes
6. Arched Design
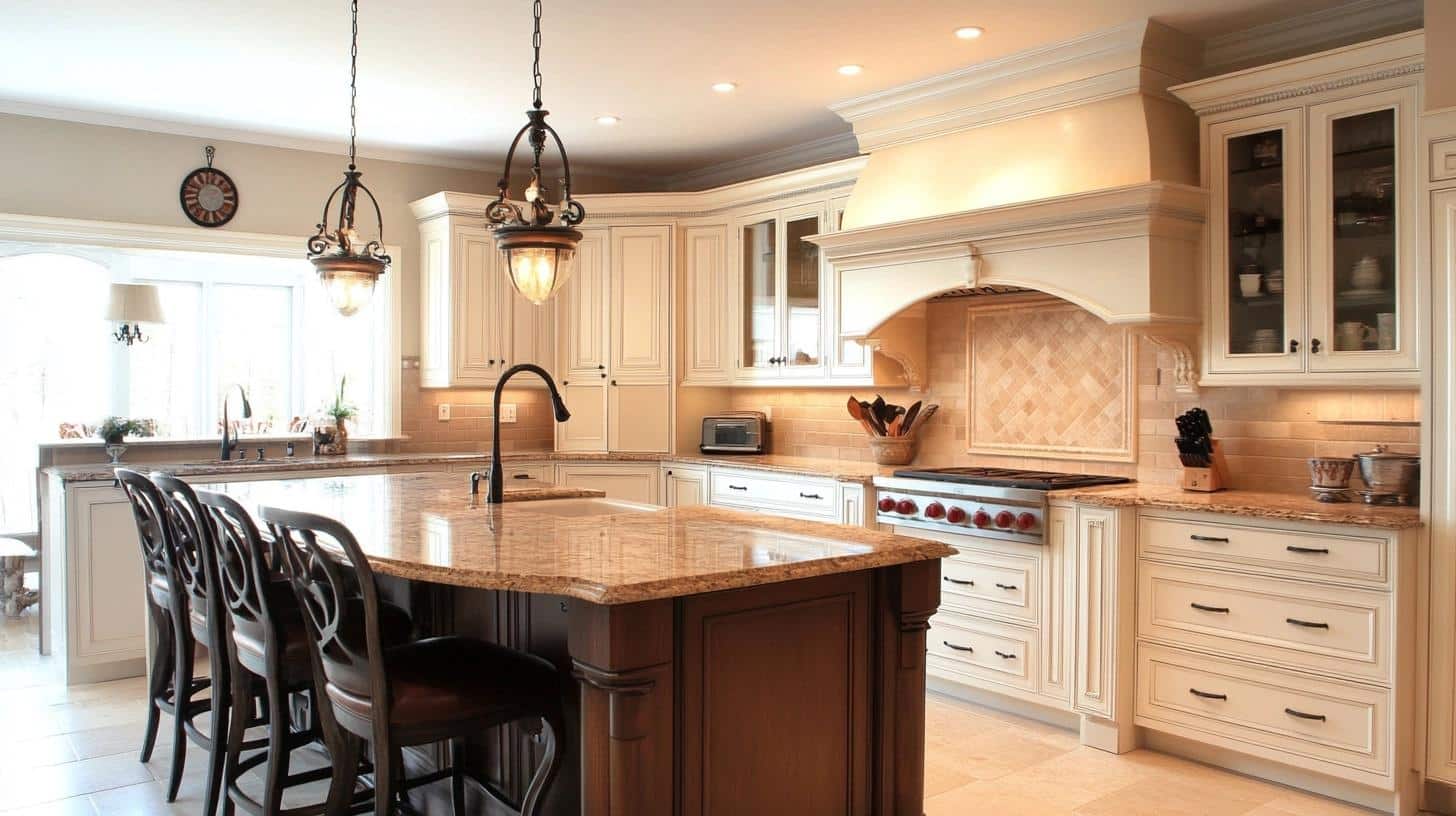
The soft curve at the bottom creates a gentle statement piece. This style bridges old and new by keeping lines simple while adding enough curves to catch your eye.
Works Best With:
- Mixed material countertops and classic tiles
- Simple cabinets and statement lighting
7. French Country
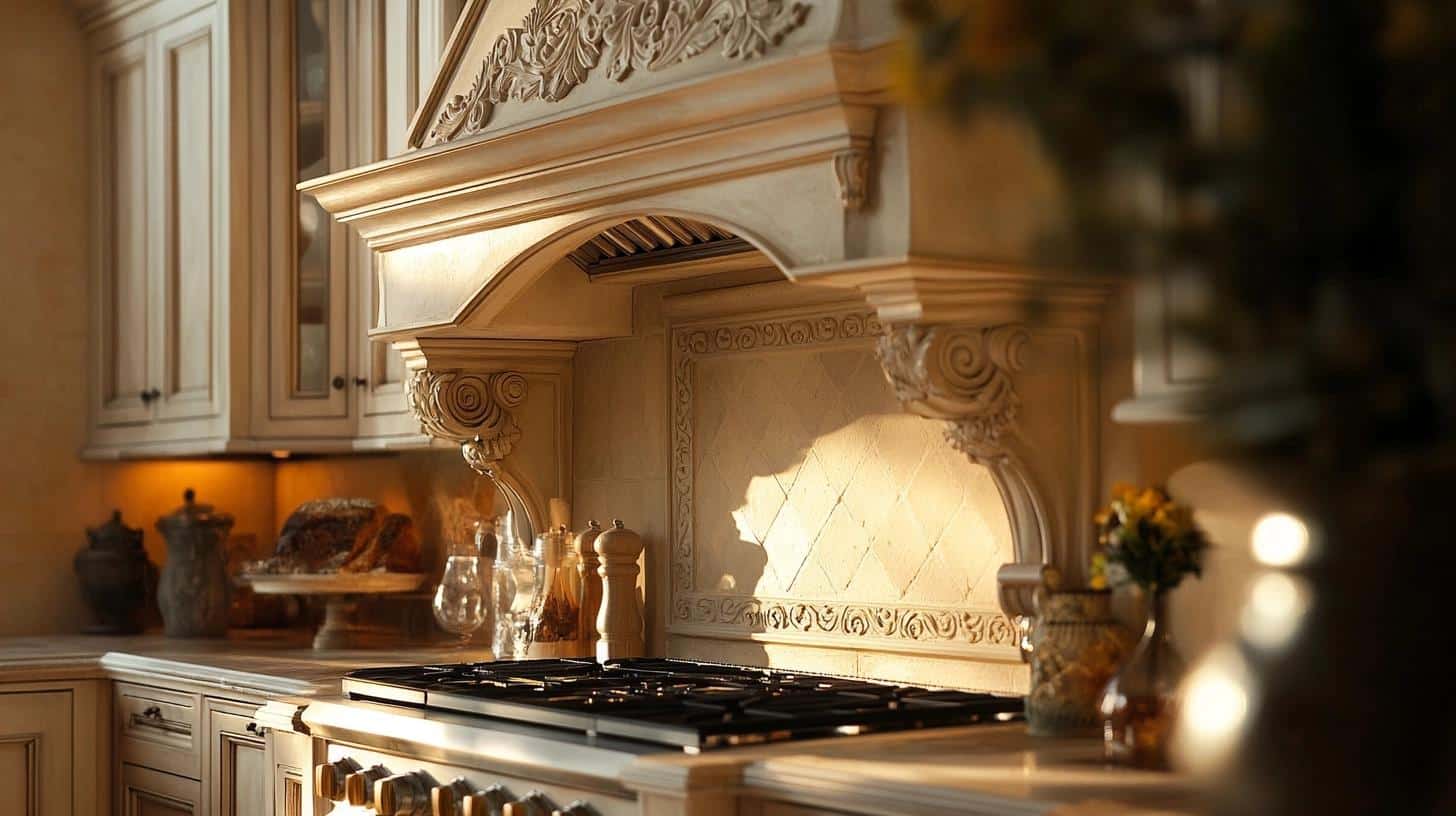
Small, careful details make this style special. Hand-finished touches and carved patterns bring a cozy yet refined feel. The hood often includes fluted columns on the sides and structured trim work that speaks of skilled handiwork.
Works Best With:
- Painted cabinets and stone counters
- Light fixtures with soft shapes
Maintenance Tips for Your Plaster Range Hood
- Regular Cleaning: Wipe the hood surface weekly with warm water and mild soap. Use soft cloths to clean without scratching. Quick cleaning stops grease from setting in and keeps your hood looking fresh.
- Handle With Care: Avoid hitting the hood with pots or pans. Small bumps can lead to cracks. Keep cooking tools at a safe distance to protect the surface.
- Moisture Control: Check often for water spots or steam marks. Install your hood at the right height above the stove. Use the fan while cooking to pull moisture away from the plaster.
- Quick Fixes: Fix small issues fast. Fill tiny cracks with plaster patch as soon as you spot them. Sand lightly and touch up paint if needed. Small fixes now prevent bigger problems later.
- Yearly Check-Up: Look over your hood once a year. Test the fan, check seals, and look for wear signs. Clean vents fully to keep air flowing well. Apply a fresh coat of sealant if the surface looks dull.
- Safety First: Keep heat settings normal – no extreme temperatures. Make sure your fan works well. Clean grease filters monthly to prevent fire risks.
Conclusion
I hope this guide has shown you that creating a plaster range hood isn’t as hard as it might seem.
With the right tools, materials, and a bit of patience, you can build something truly special for your kitchen.
Remember, your first try doesn’t need to be perfect. Focus on getting the basics right – proper ventilation, solid structure, and good sealing.
The beauty of plaster is that you can always smooth out rough spots or add fresh coats until you’re happy with the result.
I’d love to see what you create! Share photos of your finished hood in the comments below, or ask questions if you need help along the way.
Let’s make something beautiful together.
Frequently Asked Questions
Can I Apply Plaster Over an Existing Range Hood?
Yes, you can cover your current hood with plaster. First, clean the surface, add metal mesh for grip, then apply your plaster layers. Make sure the hood is sturdy enough.
How Do I Seal a Plaster Hood to Prevent Stains?
Apply two coats of clear, water-based sealant made for kitchen use. Let each coat dry fully before using your hood. For best results, reapply yearly.
What Type of Vent Insert Should I Use for Optimal Performance?
Pick a vent that matches your cooktop size and type of cooking. A 600-900 CFM insert works well for standard stoves. Check local codes first.
Is Plaster Durable Enough for Kitchen Environments?
Yes, sealed plaster is resistant to kitchen heat and moisture. With normal use and proper care, it won’t crack or chip.
Can I Customize the Color and Texture of The Plaster?
Yes, you can mix color into your plaster or paint it later. You can create smooth or textured finishes using different tools and methods during application.

