The Complete DIY Guide: How to Install a Stair Runner Like a Pro
Are you looking to add style and safety to your staircase? A stair runner could be just what you need. As a homeowner who spent hours looking for the right runner and installing it myself, I know the process can feel tricky.
But here’s what I promise: you can install a stair runner in a day with the right steps and tools. In this guide, I’ll share my hands-on tips from choosing the perfect runner to securing that last staple.
You’ll learn:
- How to pick a runner that fits your home
- A clear nine-step installation method
- Ways to keep your runner looking good for years
- Simple fixes for common problems
Ready to give your stairs a new look? Let’s turn those plain steps into something special.
Understanding Stair Runners
What Exactly Are Stair Runners?
Stair runners are long carpet strips that cover the middle section of your stairs. Think of them as a well-fitted carpet path that runs up your staircase. These strips typically show a few inches of wood on each side, creating a neat border effect.
Most runners measure 27 and 32 inches wide, but you can find them in various sizes to fit your stairs. The material sits firmly on each step, held in place with special rods or strong fasteners.
Why Consider a Stair Runner?
I added stair runners to my home last year, and the change was worth every penny. They make everyday life better in simple but important ways. My kids can run up and down without making me worry about slips. Plus, the morning rush feels less hectic with softer steps under our feet.
Exploring Types of Stair Runners
Each type of stair runner material brings its own set of good points and limits. Let me share what I’ve learned from helping many homeowners pick their runners.
| Material Type | Durability Rating | Maintenance | Price Point | Perfect For | Cleaning Guide |
|---|---|---|---|---|---|
| Wool | Excellent (5/5) | Moderate | Premium ($$$) | Heavy-traffic spaces | Weekly vacuum, annual deep clean |
| Nylon | Very Good (4/5) | Low | Mid-range ($$) | Homes with kids & pets | Easy spot cleaning, resists stains |
| Sisal | Good (3/5) | High | Budget ($) | Natural style homes | Gentle spot clean only, no water |
| Cotton | Fair (2/5) | High | Budget ($) | Casual settings | Regular cleaning needed |
| Polyester | Very Good (4/5) | Low | Mid-range ($$) | Modern homes | Simple wipe clean, stain-resistant |
Regarding materials, wool is the top choice for strength and shape retention. Thanks to its strong fibers, nylon makes sense in homes with pets and kids.
Sisal brings a natural touch but needs extra care to stay looking fresh. Cotton offers comfort at a lower price, though it might need replacing sooner. Polyester blends durability with easy cleaning, making it perfect for busy families.
Step-by-Step Guide to Installing a Stair Runner
When I first installed my stair runner, I wished I had a clear guide to follow. Let me share my experience, breaking down each step to make your installation smoother.
Step 1: Gather Materials
Before starting, I learned it’s best to have everything within arm’s reach. You’ll need carpet tape, sharp scissors, staples with a staple gun, painter’s tape, and measuring tape. Of course, don’t forget your chosen stair runner! Having these tools ready saves time and prevents frustrating mid-project stops.
Step 2: Prepare the Stairs
The secret to straight runners? A well-marked center line. Place painter’s tape down the middle of each stair. This simple step saved me from a crooked installation – trust me, it’s worth the extra minutes.
Step 3: Measure and Mark Placement
This step might seem fussy, but proper measurements make all the difference. Measure your stair width, then subtract your runner’s width. Split this number in half – that’s your distance from each edge. Mark these spots with painter’s tape. My first try looked perfect until I noticed uneven edges – careful measuring would have prevented that!
Step 4: Apply Carpet Tape
Put double-sided carpet tape between your marked lines on each step. I found that pressing it down firmly helps it stick better. This tape provides extra hold beyond the staples.
Step 5: Load and Prep the Staple Gun
Safety first! Keep the staple gun unloaded and unplugged during setup. Once you’re ready, load those staples carefully. I learned this the hard way after a few misfires early in my project.
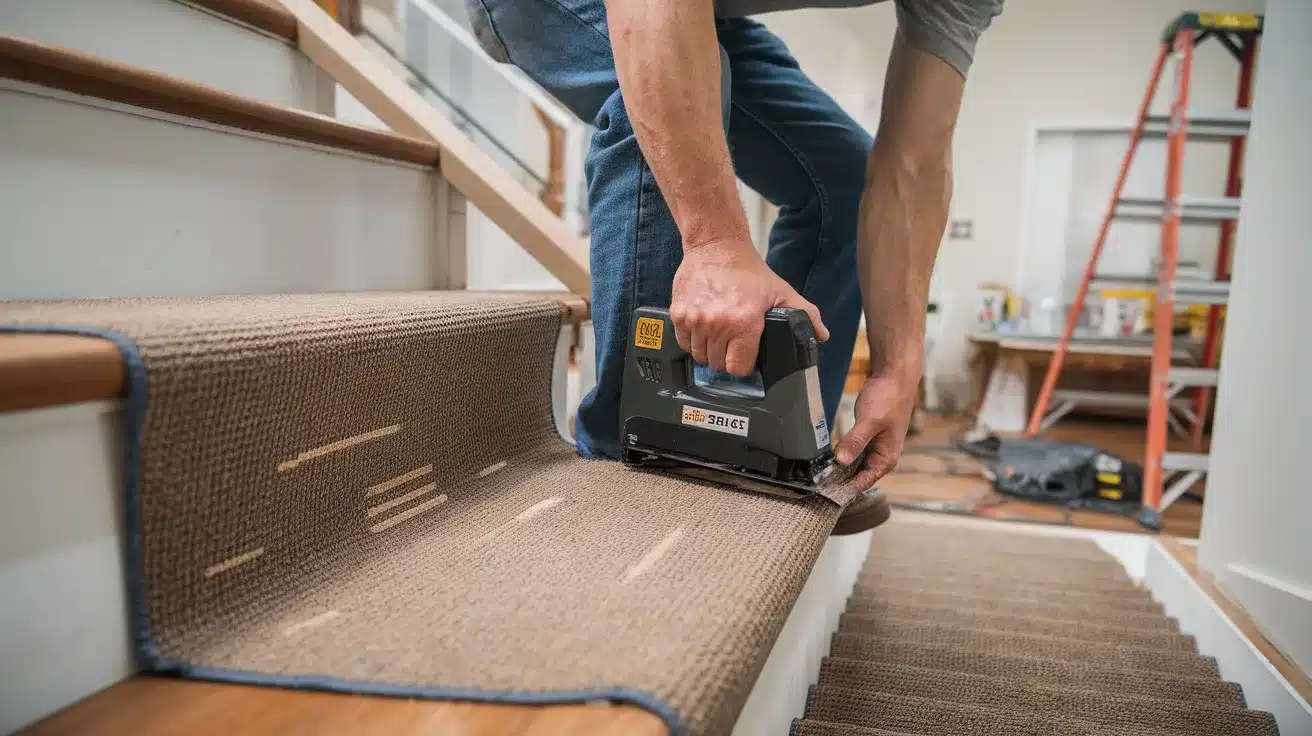
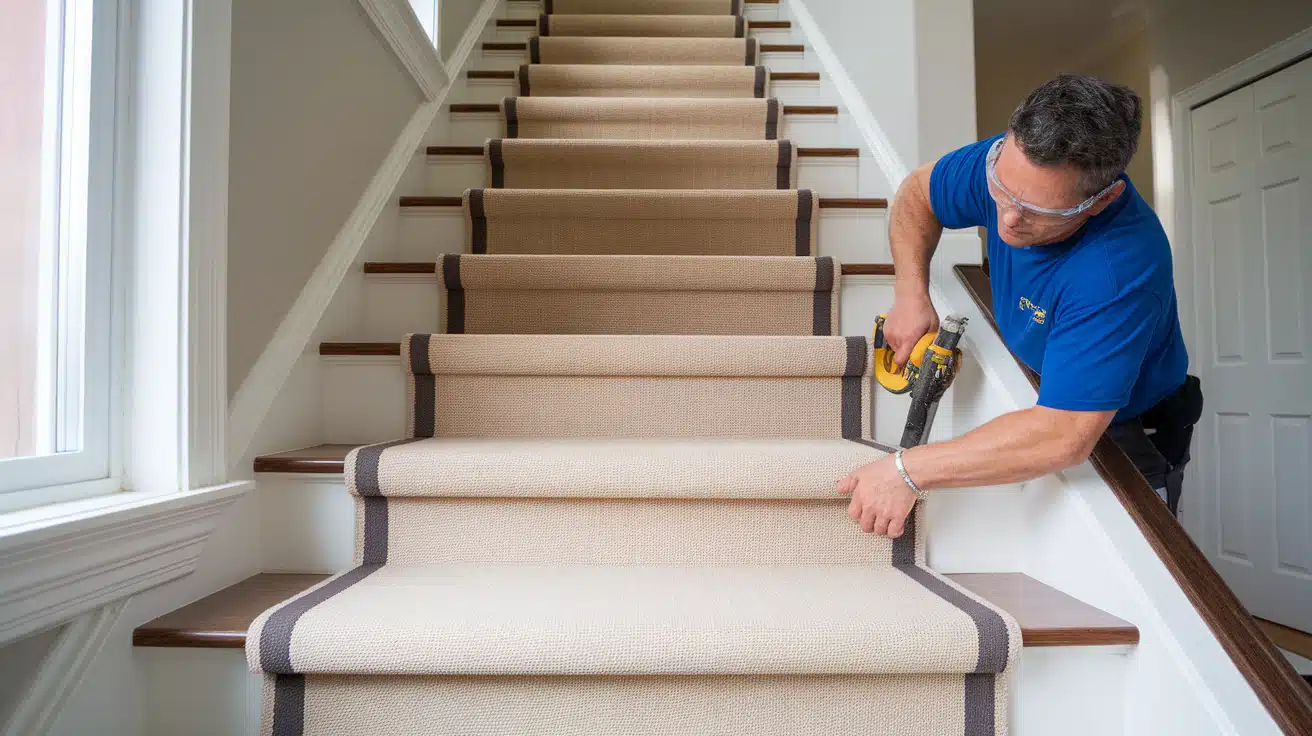
Step 6: Attach the Stair Runner
Start at the top – this gives you better control as you work down. Pull off the tape backing and line up your runner with care. Press it onto the tape, then secure with staples. Work from top to bottom, just like I did in my installation.
Step 7: Secure the Runner at Each Step
Keep that runner snug! Press it firmly against each step’s back and riser. Add staples where the tread meets the riser. A tight fit here prevents those annoying bubbles I got in my first attempt.
Step 8: Handle Corners and Curves
Got stairs with rounded edges? Tuck the runner underneath and staple from below. This creates that clean look I was after in my own home. It takes patience, but the results are worth it.
Step 9: Finish at the Bottom
Leave a bit extra at the bottom – about an inch worked well for me. Fold this under neatly and secure it with tape before adding final staples. This creates a clean finish that looks professional.
Want to see these steps in action? Check out the tutorial video that helped me master this process:
Post-Installation Tips and Tricks
1. Inspecting Your Handiwork
After completing my first stair runner installation, I found several key spots to check. Run your hands along the edges – they should feel firm and flat. Look at the runner from different angles in both natural and artificial light.
Check the corners where the runner meets the risers on each step. Press gently on each section to spot any loose areas that need extra attention.
2. Routine Care
My weekly cleaning routine keeps my runner looking fresh. I vacuum the entire runner twice a week, moving from top to bottom. For spots and spills, I blot them right away with a clean white cloth. I keep a spot-cleaning kit nearby for quick action when accidents happen.
3. Long-Term Care
Give your runner extra attention every six months. Use appropriate cleaning products for your specific material type. I schedule professional cleaning once a year, which helps extend the life of my runner.
Watch for signs of wear in high-traffic spots – catching issues early prevents bigger problems.
Troubleshooting Common Issues

Addressing Loose Ends
Over time, you might notice some areas becoming less secure. When I spot a loose section, I add new staples right away. Check the carpet tape’s hold – sometimes, a fresh strip helps tighten things.
Pay special attention to the edges and corners where loosening often starts.
Stain Removal
Spills happen – I’ve dealt with plenty! Start with gentle blotting using a white cloth. Never rub the stain, as this pushes it deeper into the fibers. Different materials need different cleaning methods:
| Stain Type | First Response | Secondary Treatment | What Not To Do |
|---|---|---|---|
| Coffee/Tea | Blot with water | Use carpet cleaner | Avoid hot water |
| Red Wine | Blot with club soda | White vinegar solution | Don’t use soap first |
| Mud | Let dry completely | Vacuum, then spot clean | Don’t wet immediately |
| Pet Accidents | Absorb moisture | Enzyme cleaner | Avoid steam cleaning |
| Food Spills | Remove solids first | Gentle carpet cleaner | Don’t scrub hard |
Remember to test any cleaning solution on a small, hidden area first. I learned this rule after a cleaning product left a visible mark on my previous runner.
Many of these tips came from my personal experience and conversations with professional cleaners. Proper care helps your runner stay fresh and functional for years to come.
The Benefits of Installing Stair Runners
1. Safety First
Bare stairs can be risky, especially in homes with small children or older adults. Runners add grip to each step, making falls less likely. The carpet fibers create natural traction, which helps in several ways:
- They give your feet better hold during rainy days
- They stop socks from sliding on wooden steps
- They provide steady support when carrying items upstairs
2. Aesthetic Appeal
Good runners can make your stairs stand out in the best way. They work like a flowing accent piece that ties your home’s look together. You can pick from:
- Solid colors that match your walls
- Simple patterns that catch the eye
- Rich textures that add depth to your space
The right runner turns plain stairs into a key part of your home’s style.
3. Noise Reduction
Walking up wooden stairs can sound like a small drum concert. Runners act as sound buffers, making each step quieter. This helps in many ways:
- Early morning walks to the kitchen become less noticeable
- Children’s playtime creates fewer echoes
- Late-night trips upstairs won’t wake the whole house
Conclusion
Adding a stair runner brings more than beauty to your home. My own stair runner project taught me how small changes can make a big impact. The soft steps, the safer stairs, and the fresh style all came together perfectly.
Remember, success lies in careful planning and proper tools. Take time with your measurements, keep your stapler steady, and treat each step with care. Your runner will thank you with years of good service.
From my home to yours, I hope this guide helps you create stairs that look great and work well for your family. Like any good home project, installing a stair runner takes patience. But when you see those finished stairs, you’ll know every minute was well spent.


