Stone Backsplash Ideas, Installation Tips, and Care
Stone backsplashes are a top choice for kitchens and bathrooms. They look great and last a long time. Unlike other materials, stone can handle heat and moisture well. It also comes in many colors and patterns, making finding a look that fits your style easy.
In this guide, you’ll learn about different stone backsplash designs. We’ll cover how to put one in your home. You’ll also find out how to keep it looking good for years.
This guide is for people who like to do home projects and homeowners who want to update their kitchens. If you’re thinking about changing your kitchen, this is for you. You’ll find useful info here, even if you’re curious about home fixes.
What to Know Before You Get Started on Installing Stone Backsplashes
Pros and Cons of Stone Backsplashes
| Pros | Cons |
|---|---|
| Durability: Highly resistant to heat, scratches, and general wear. | Cost: Natural stone can be more expensive than other materials like ceramic or glass. |
| Aesthetic Appeal: Adds a timeless and luxurious look to the kitchen with unique colors and textures. | Maintenance: Requires regular sealing to prevent staining, especially in areas exposed to food and moisture. |
| Variety: Comes in various types (granite, marble, slate) and colors, allowing customization to match any kitchen style. | Weight: Stone is heavy and may need extra support, especially on large wall areas. |
| Natural Material: Environmentally friendly, especially when using reclaimed or locally sourced stone. | Installation: More challenging to install than lighter, pre-made tiles; may require professional help. |
| Heat Resistance: Ideal for kitchens, as stone can handle high temperatures without damage. | Porosity: Some types of stones are porous, making them susceptible to staining if not properly sealed. |
Choosing the Right Stone Type
There are many types of stone for backsplashes. The marble looks fancy but can stain easily. Slate is tough and comes in dark colors. Travertine has a warm, old-world feel. Granite is very hard and comes in many patterns.
Budget Considerations
Stone backsplashes can cost more than other types. The price depends on the stone you pick. Some stones are more costly than others. You can save money by doing the work yourself. But if you’re unsure how hiring someone who knows how to do it is best.
Measuring the Area
To figure out how much stone you need, measure your wall space. Measure the width and height of the area you want to cover. Multiply these numbers to get the square footage. Add 10% extra for cuts and mistakes.
Step-By-Step Stone Backsplash Installation Process
Tools and Materials Needed
| Category | Item | Purpose |
|---|---|---|
| Tools | Coarse sandpaper | Roughens the wall surface for better tile adhesion |
| Trowel (½ inch x ½ inch square notch) | Spread thin-set mortar evenly with grooves for bonding | |
| Tile saw | Cuts tiles to fit around outlets and corners | |
| Utility knife or grout bag | Applies grout or makes precise cuts | |
| Caulk gun | Applies caulk in gaps and edges | |
| Level | Ensures tiles are placed evenly | |
| Safety glasses | Protects eyes during cutting and sanding | |
| Sponge and rag | Cleans excess thin-set and caulk | |
| Materials | Stone ledger tiles | Main backsplash material |
| Modified thin-set mortar (non-slip, suitable for walls) | Adheres tiles to the wall | |
| Tile spacers (1/8 inch wedges) | Keeps consistent gaps between tiles | |
| Grout (sanded, if needed) | Fills spaces between tiles | |
| Tile sealer | Protects tiles from stains and moisture | |
| Caulk | Seals edges and gaps between the countertop and tiles | |
| Wax paper or plastic | Protects countertops during installation |
Step 1: Prepare the Wall and Protect Surfaces

- Use coarse sandpaper to rough up the wall. This helps the tiles stick better.
Step 2: Mix and Apply Thinset
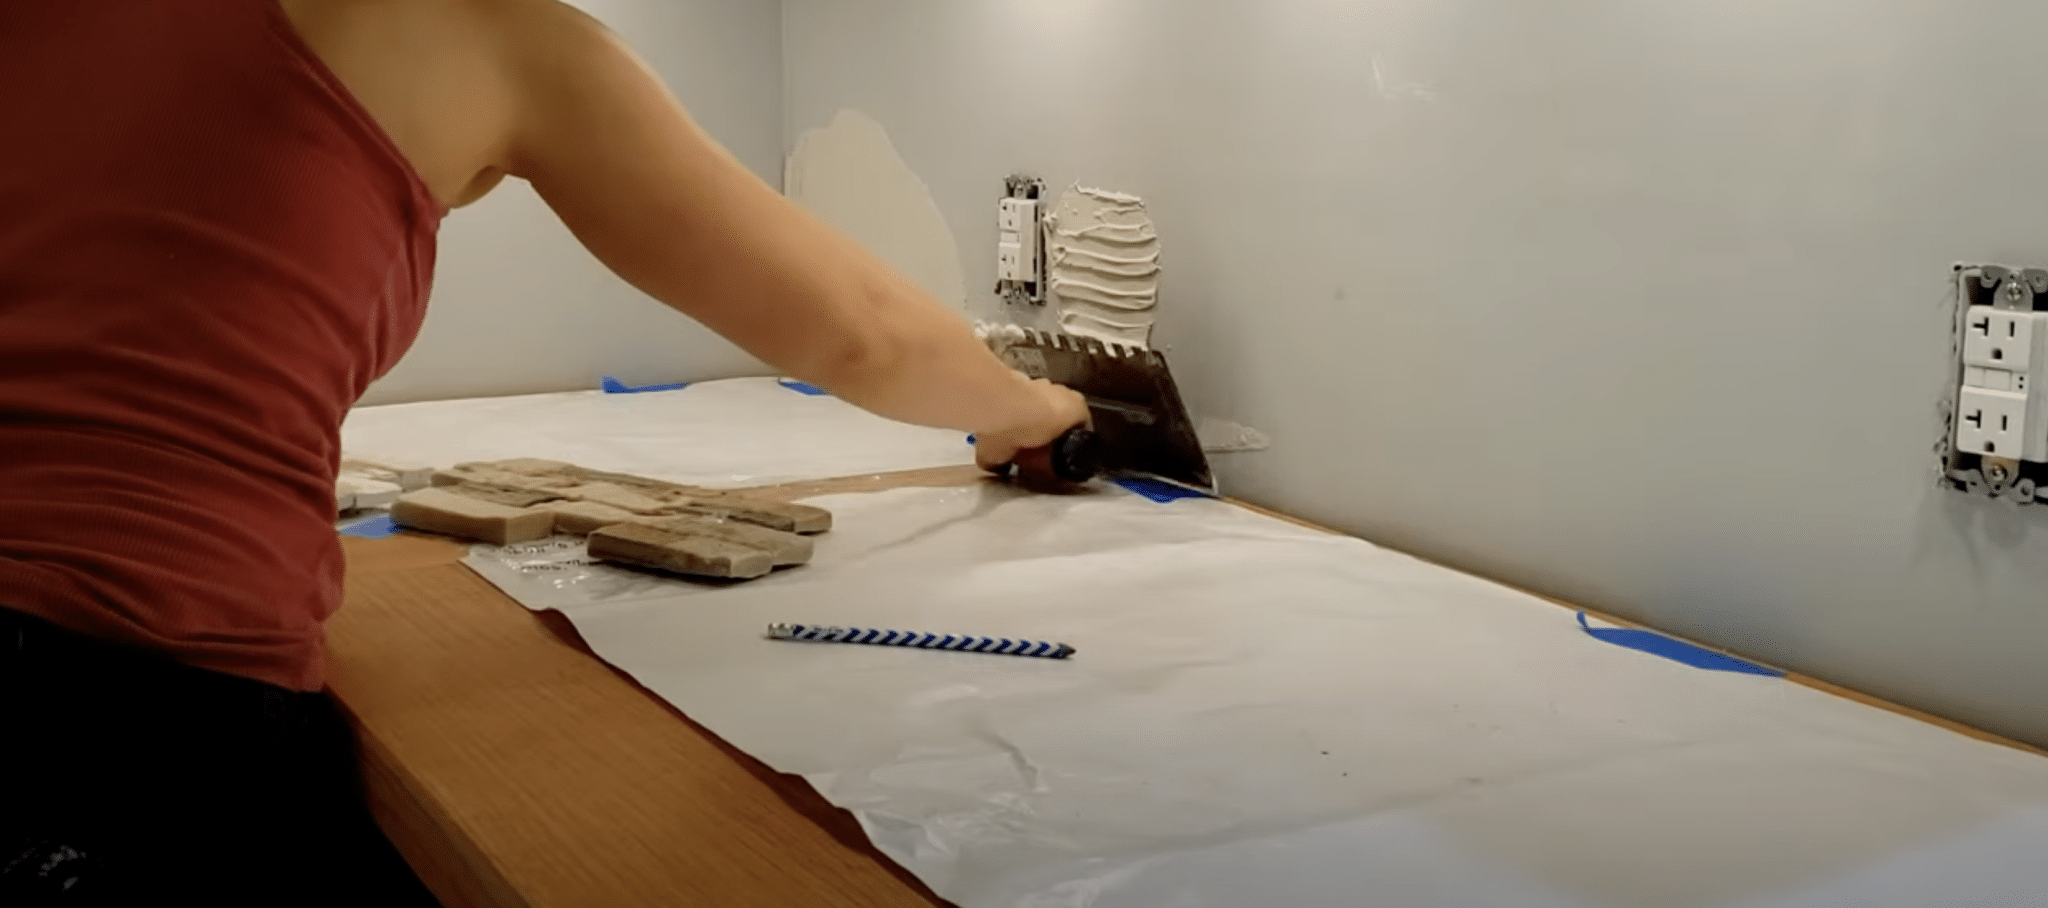
- Follow the instructions to mix the thinset.
- Spread it on the wall with a trowel.
- Put wax paper or plastic on your countertop to keep it safe.
Step 3: Lay the First Row of Tiles
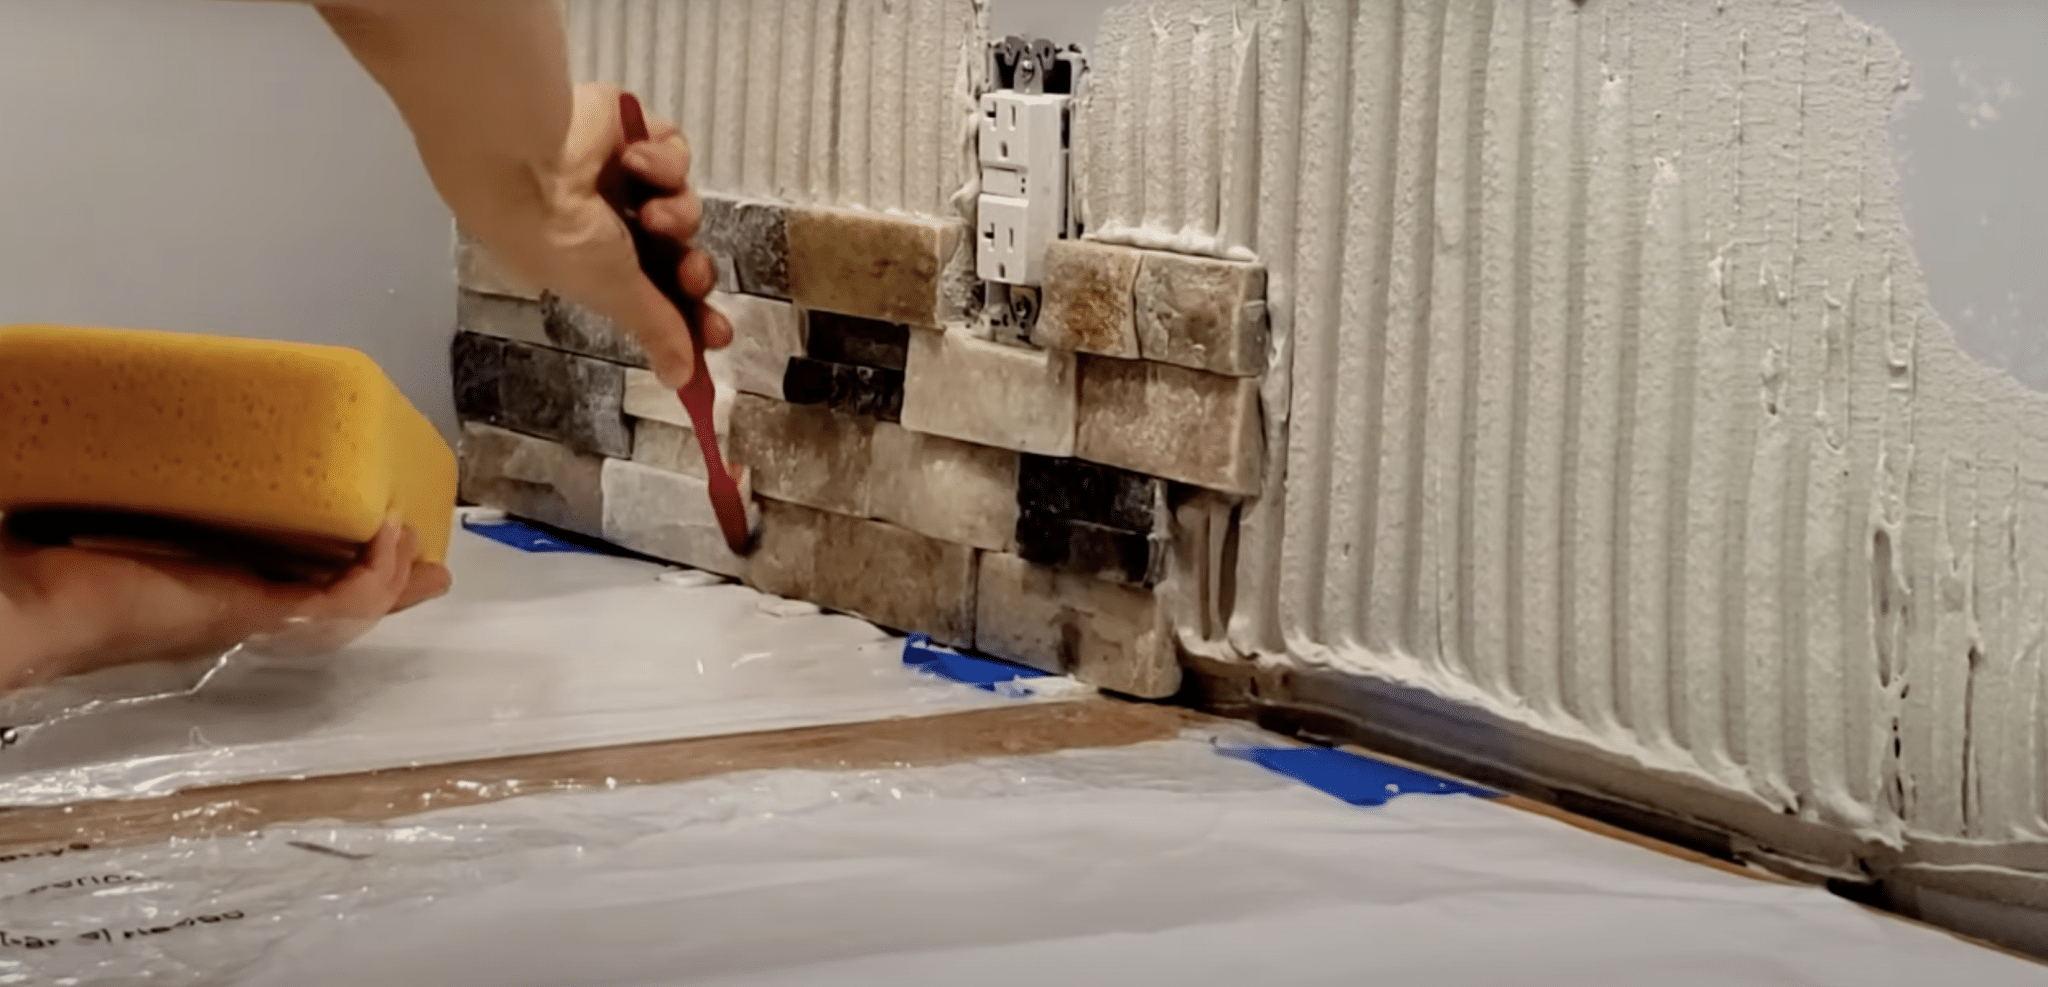
- Start putting tiles on the wall. Use spacers to keep gaps even.
- Put a thin set on the back of each tile before placing it.
Step 4: Cut and Fit Tiles
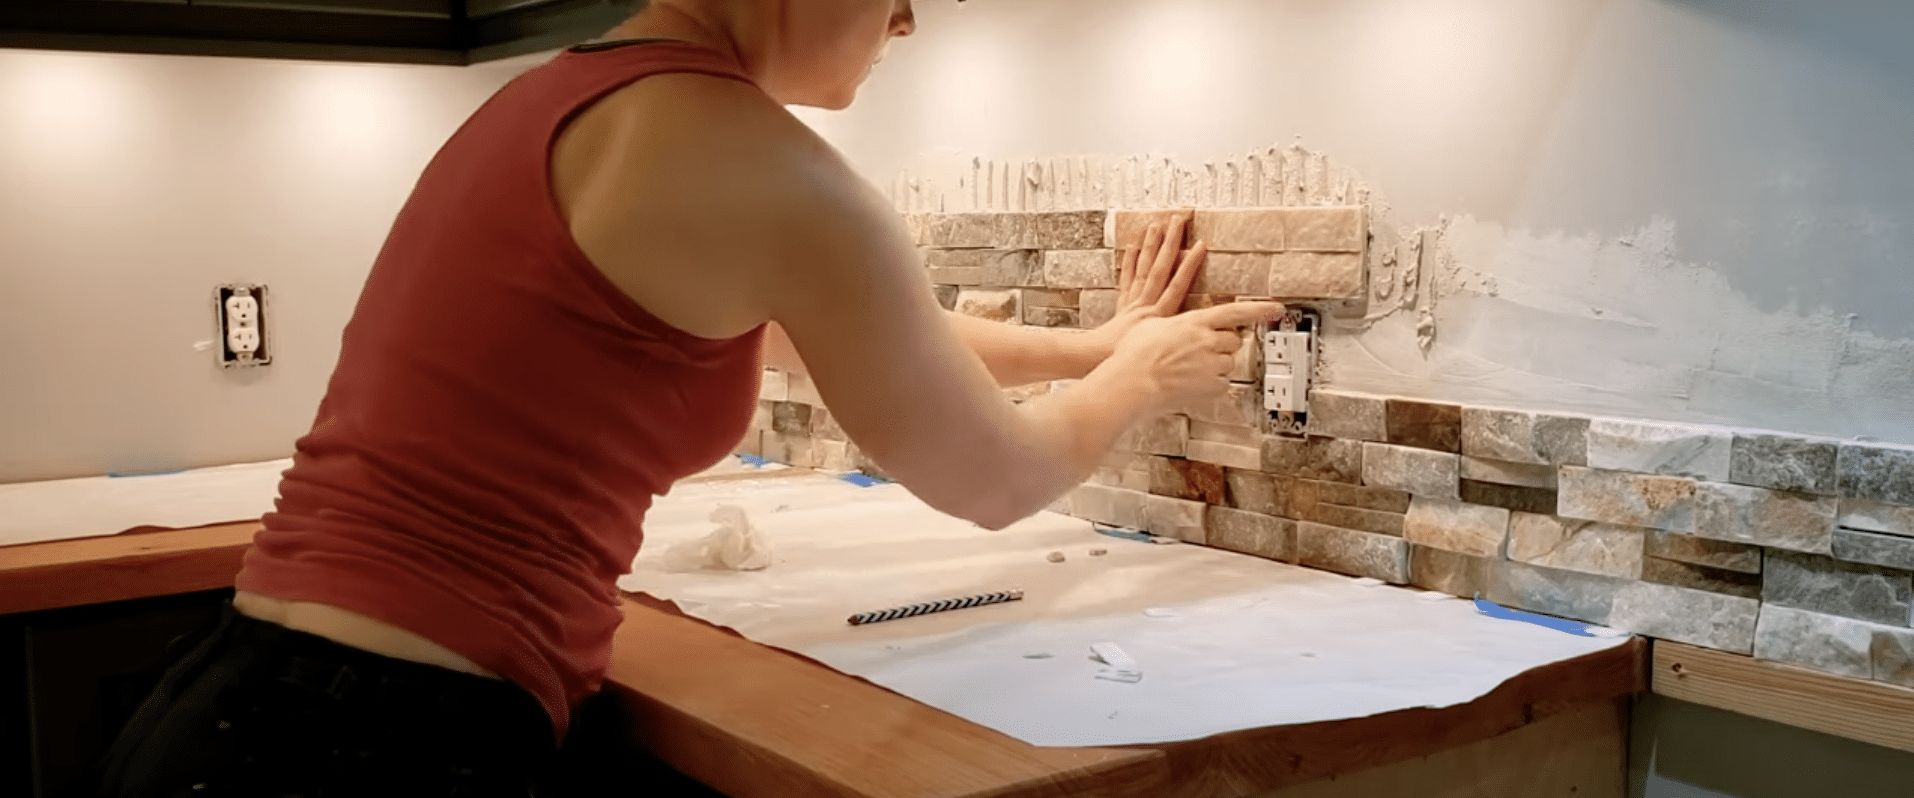
- Use a tile saw to cut tiles that go around outlets and corners.
Step 5: Clean and Allow to Set
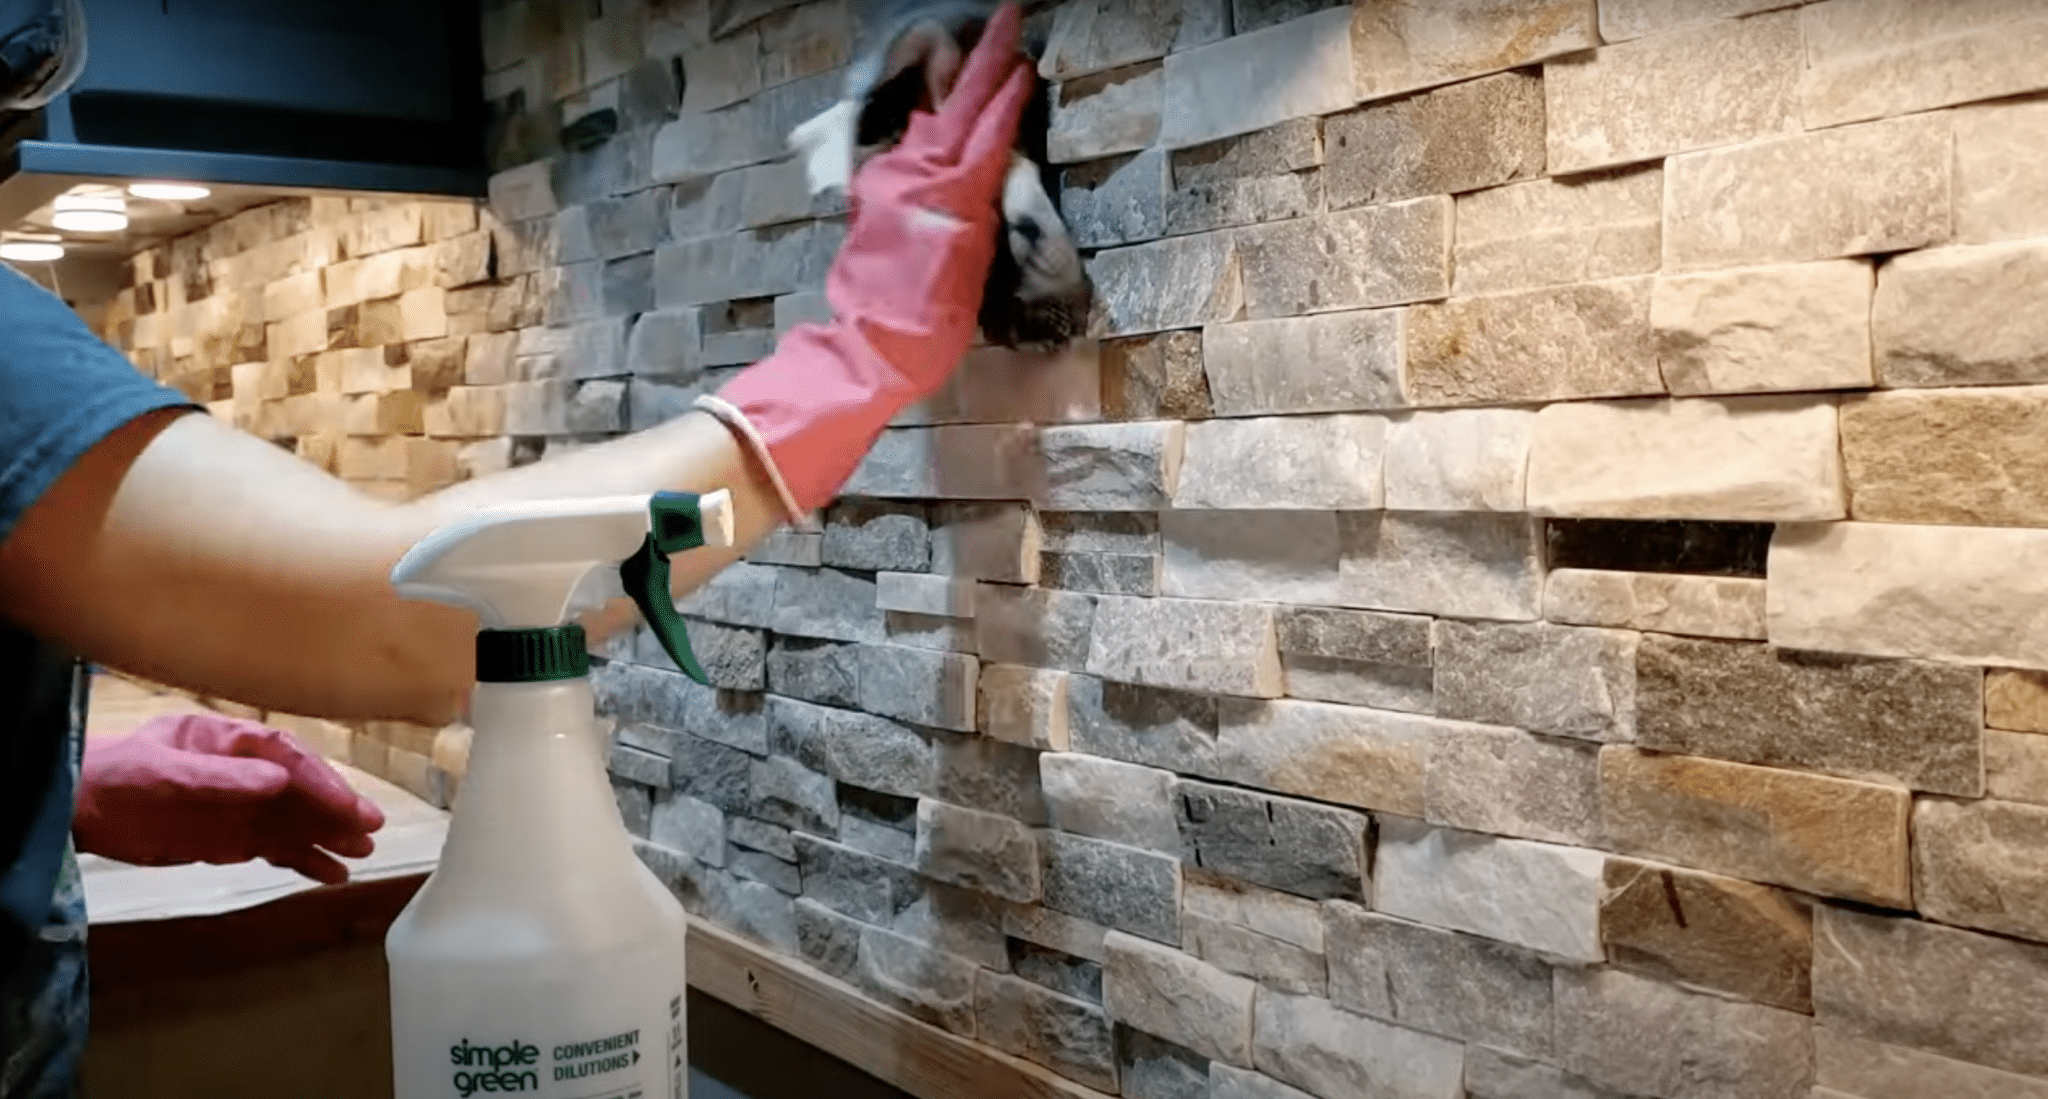
- Wipe off an extra thin set.
- Let the tiles sit for 24 hours without touching them.
Step 6: Apply Sealer and Caulk
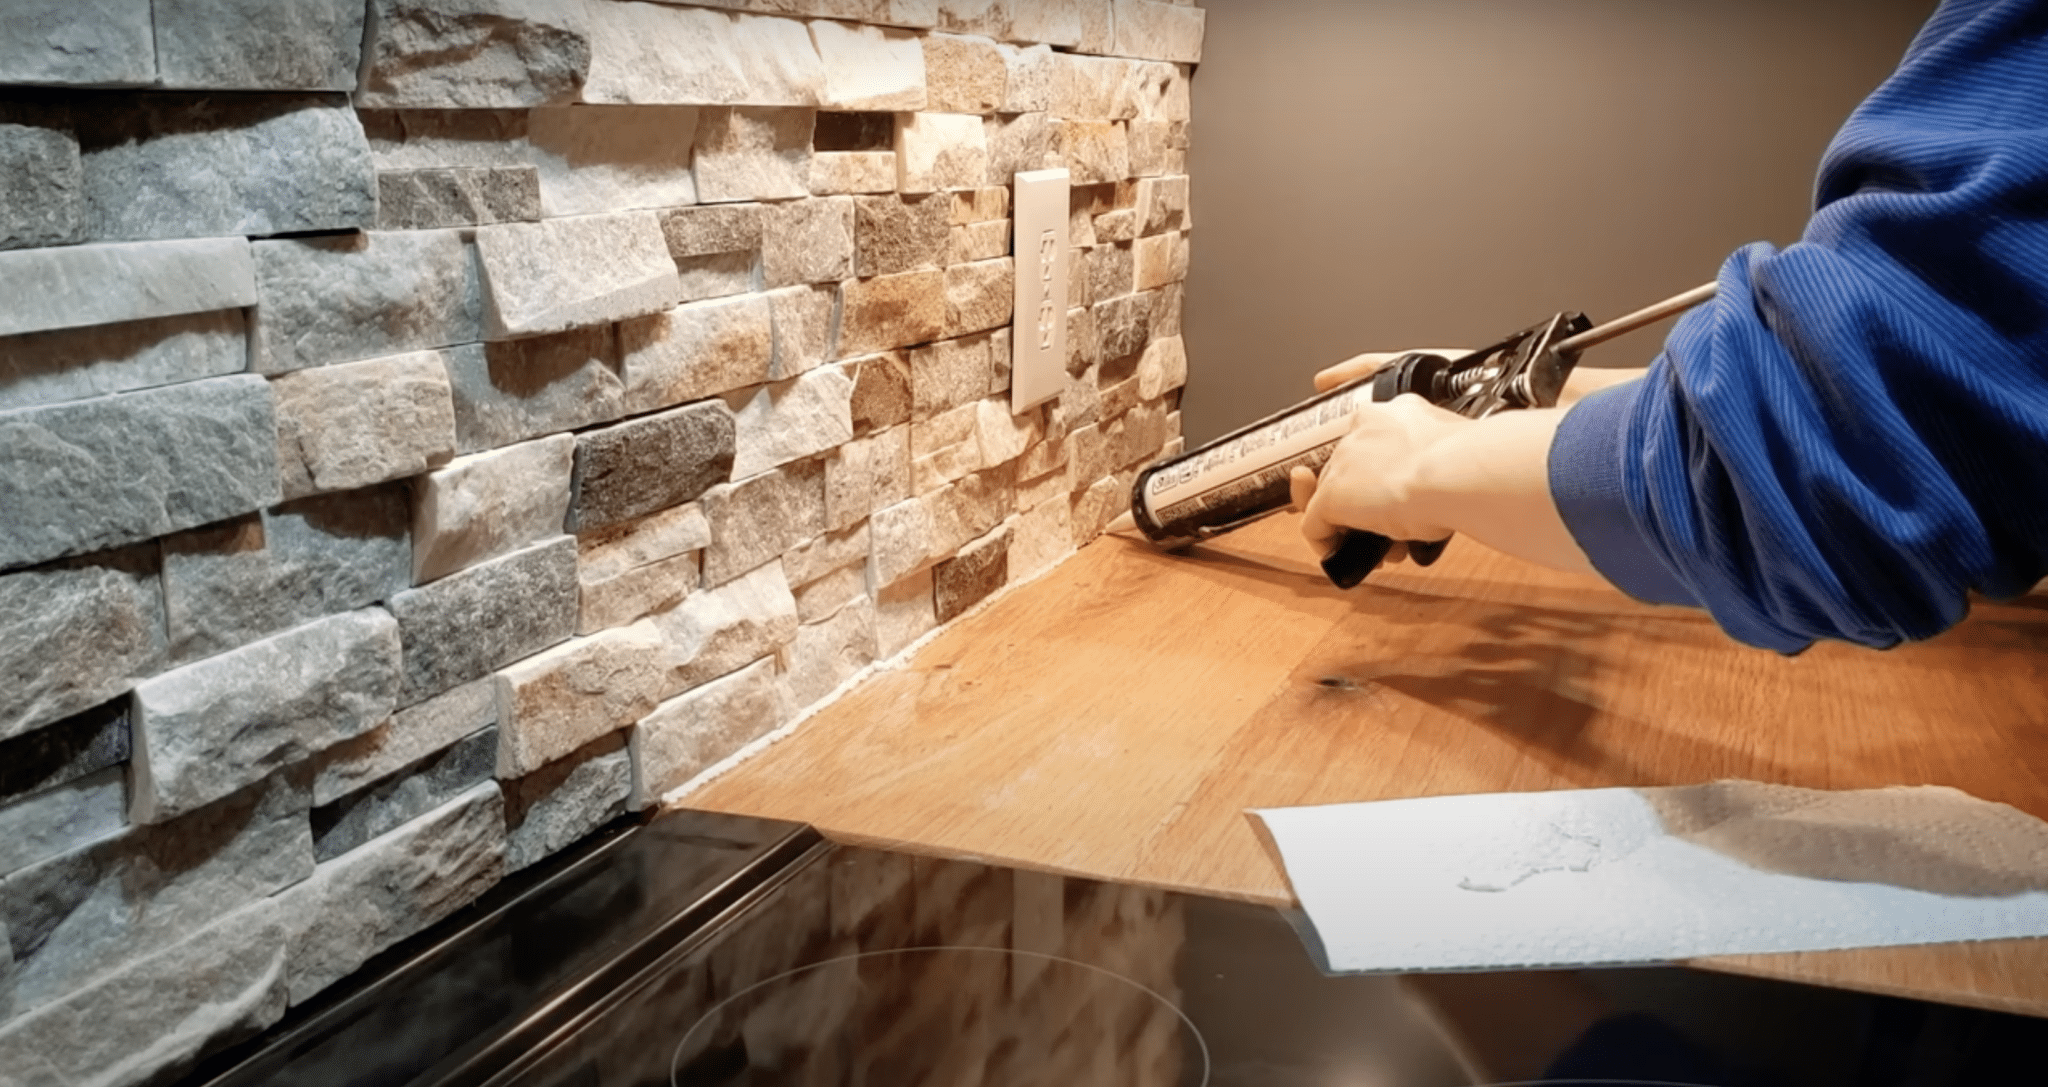
- Put sealer on the tiles to protect them.
- Use caulk between the tiles and the countertop.
Step 7: Adjust Outlets and Fill Gaps
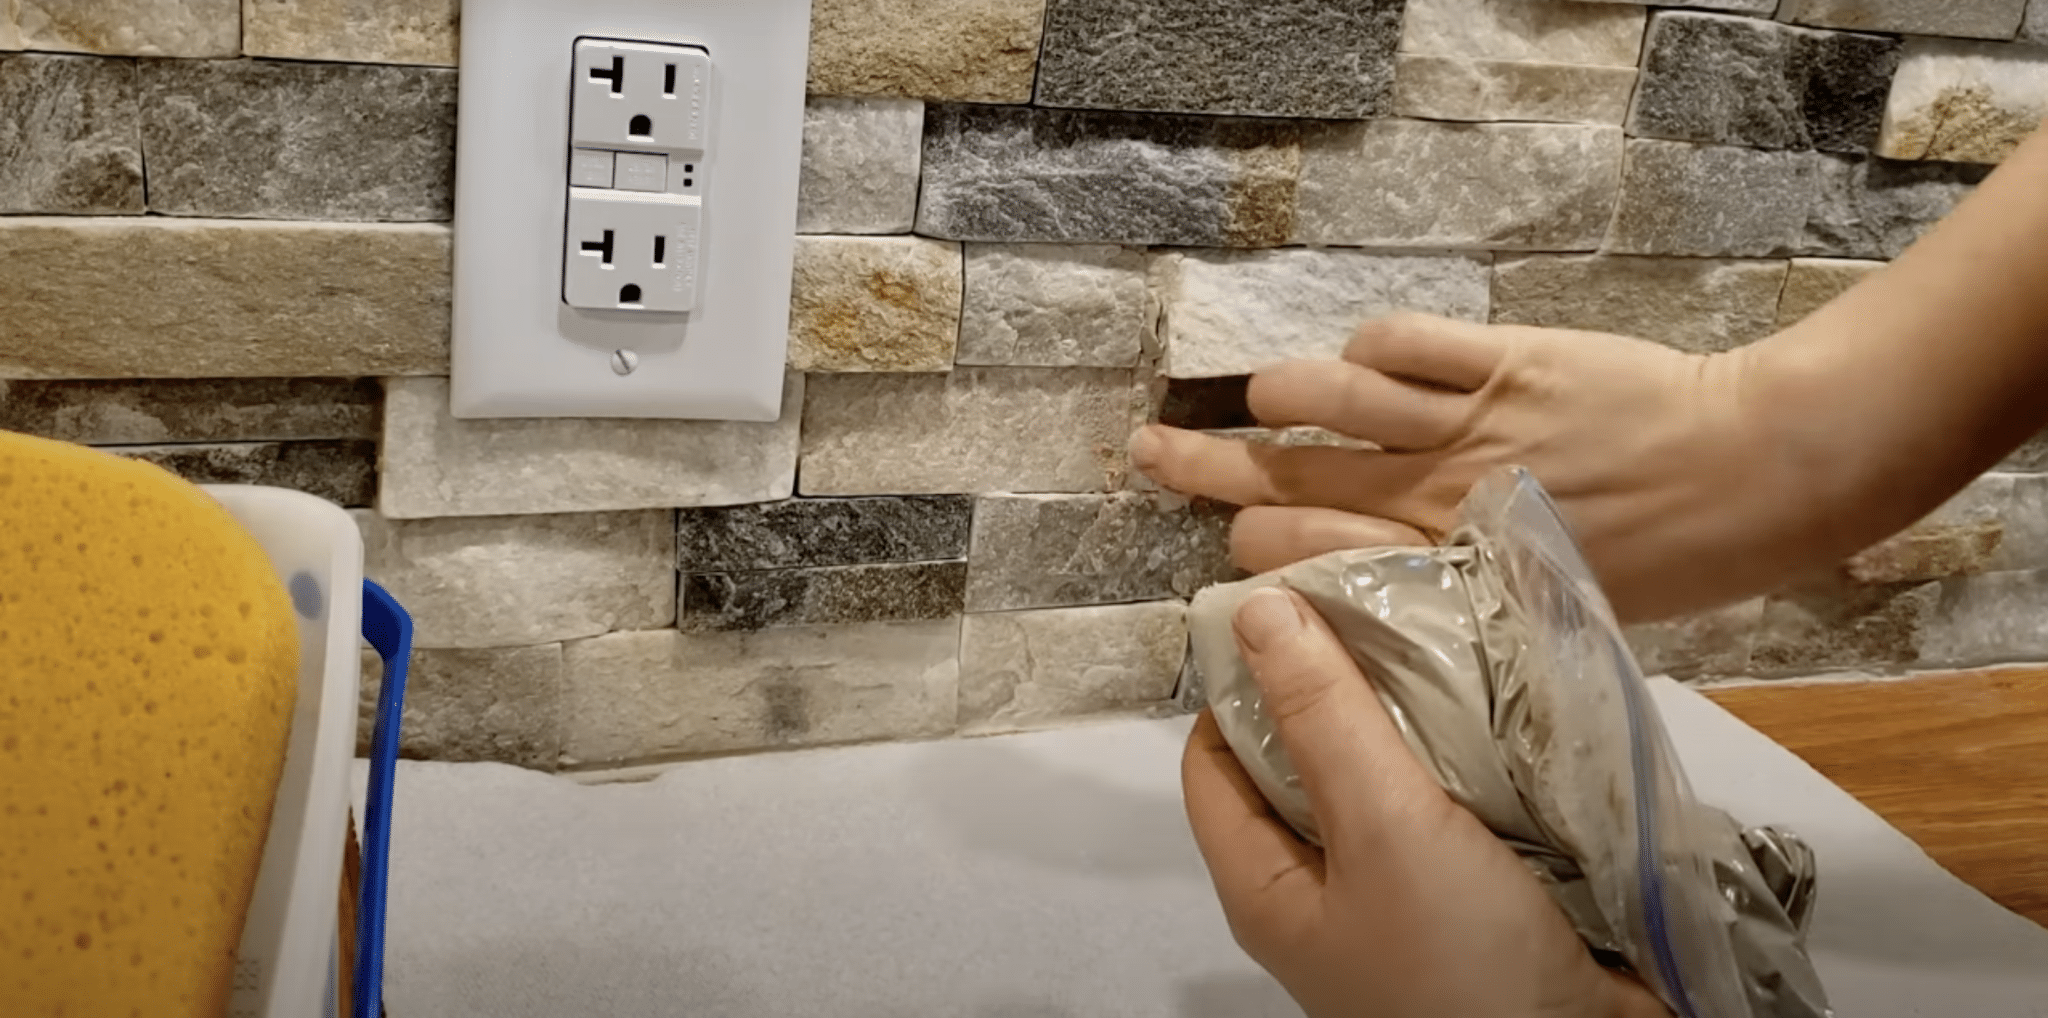
- Move outlets if you need to.
- If there are big gaps, fill them with grout.
Step 8: Finishing Up
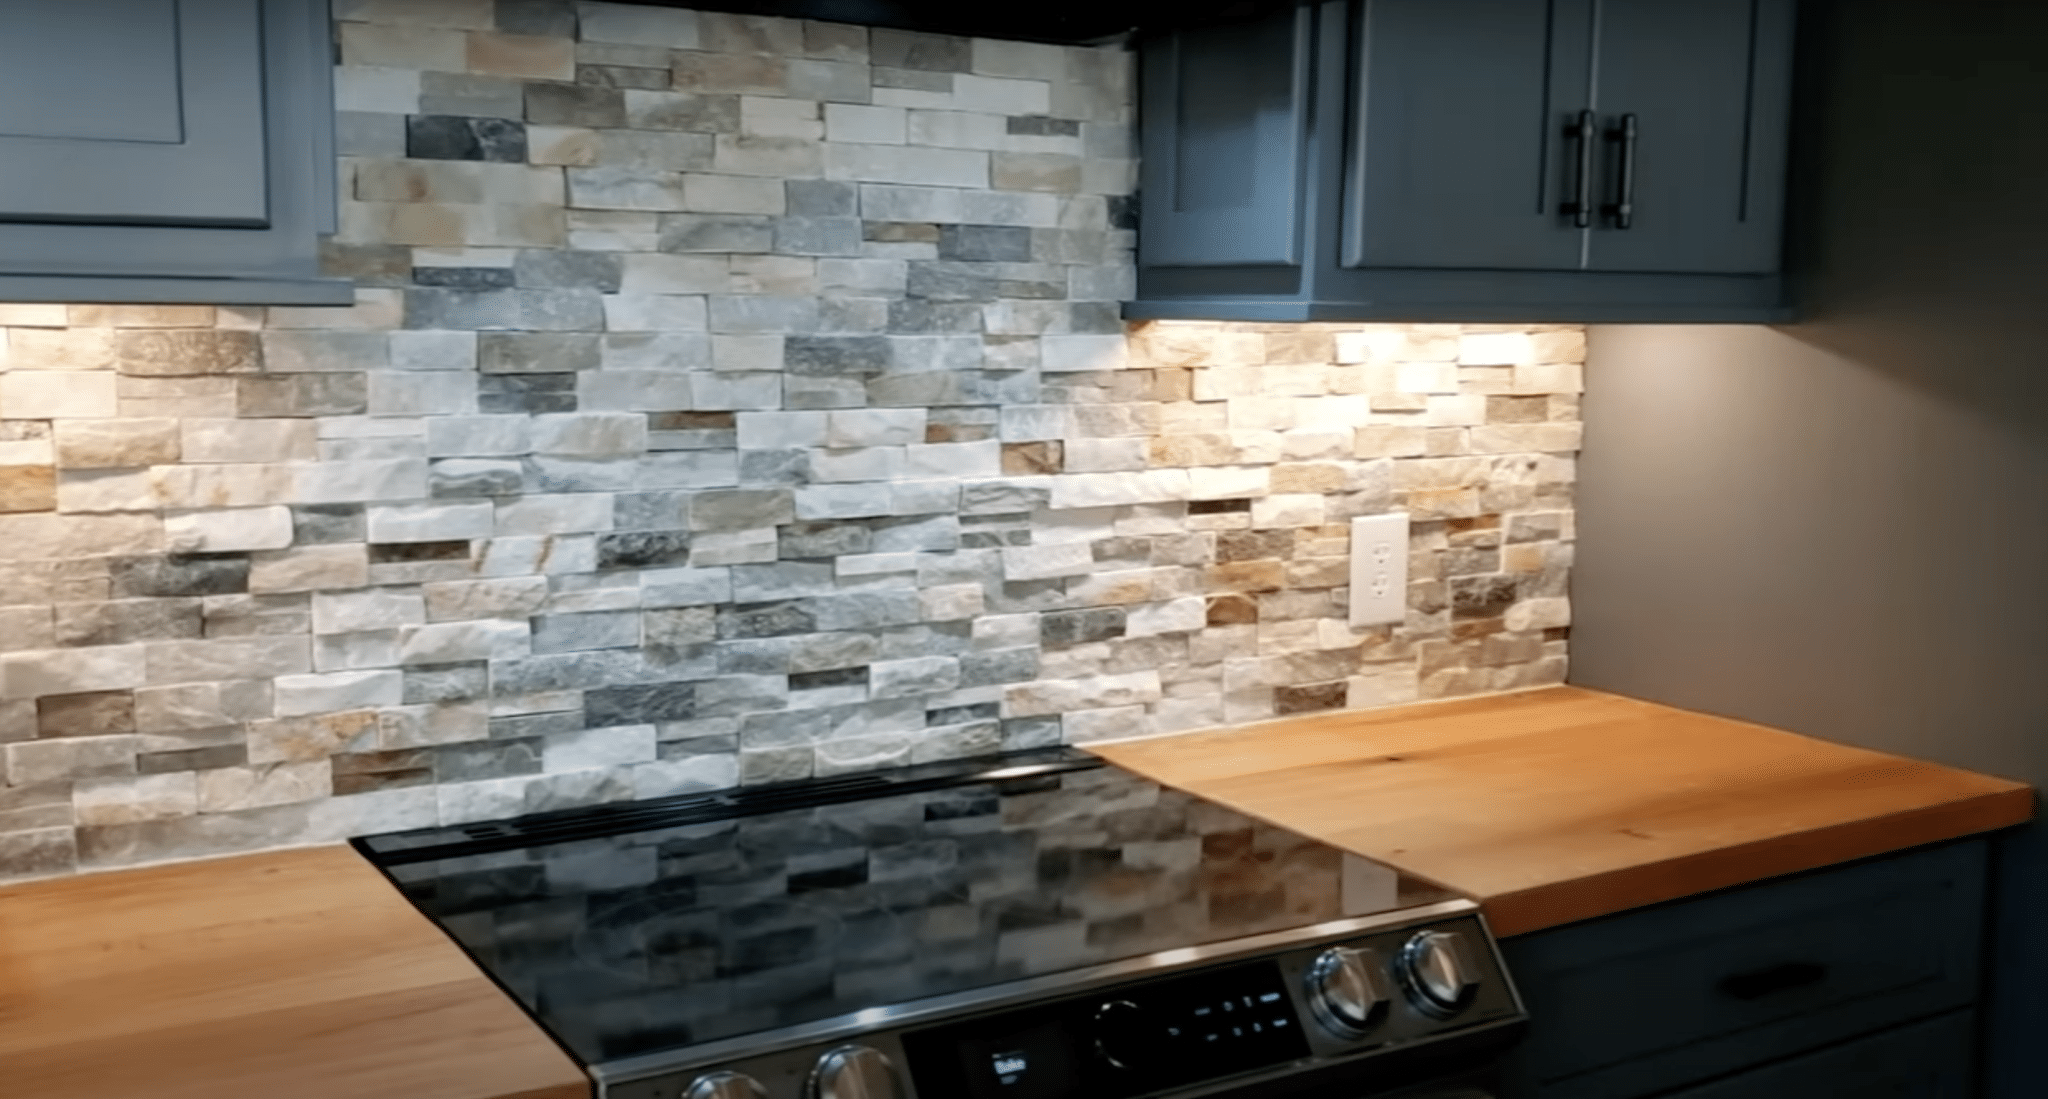
- Clean off any leftover mess.
- Put the outlet covers back on.
- Your stone backsplash is now done!
For more details, click here for the full detailed video tutorial.
Stone Backsplash Ideas for Your Kitchen
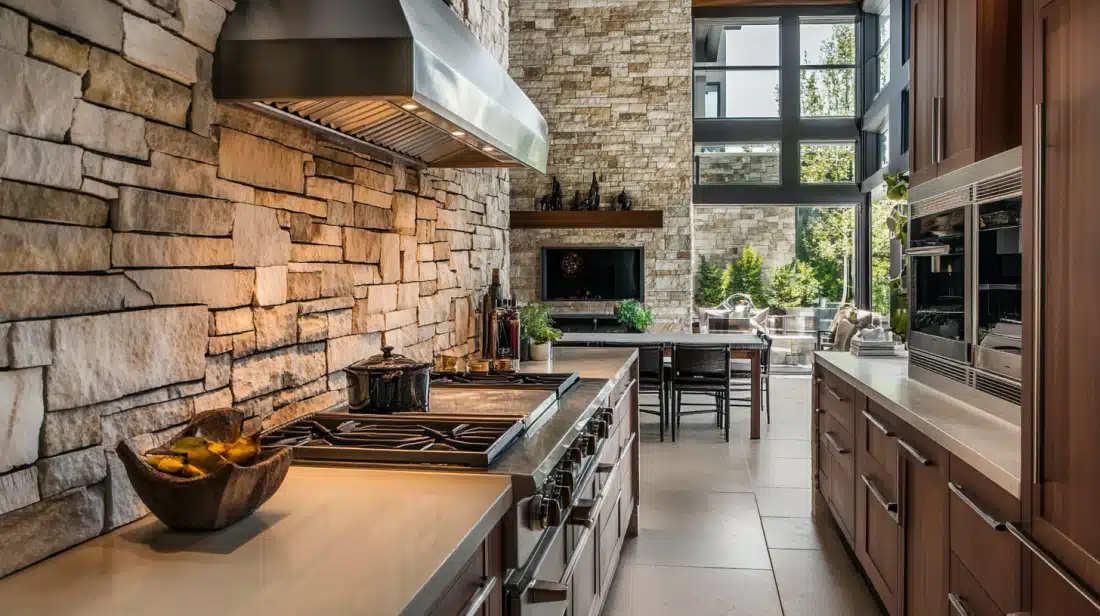
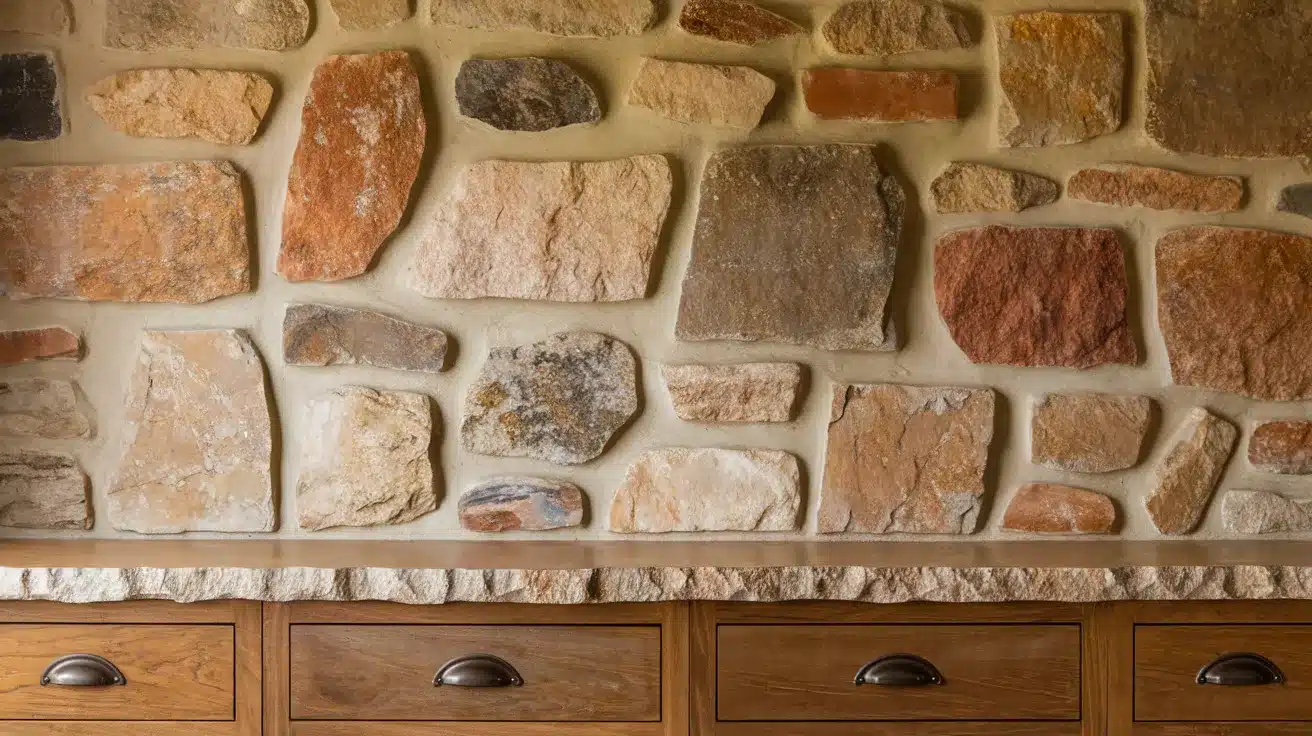
1. Rustic Stone Backsplash
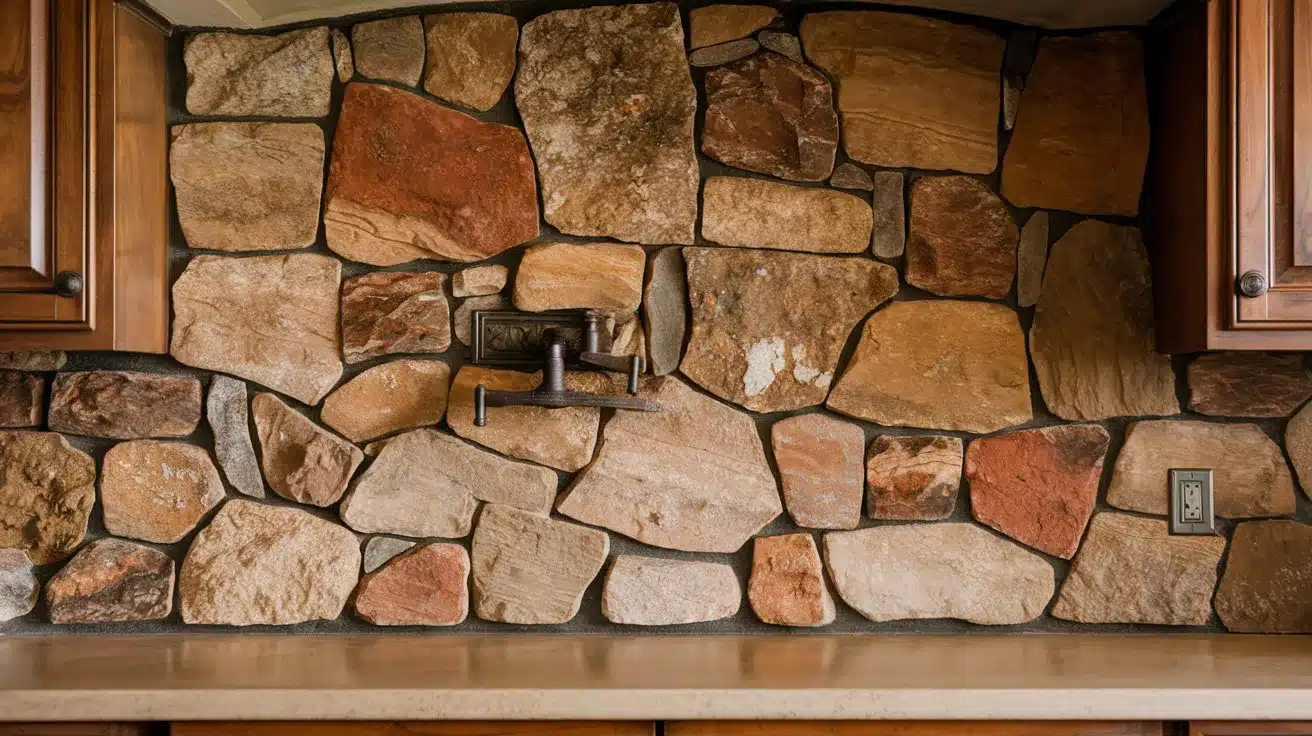
A rustic stone backsplash brings a cozy, natural feel to your kitchen. It often uses rough-cut stones in warm earth tones like brown, tan, and reddish hues. The uneven surface adds depth and texture to your walls.
Design tips:
- Mix stone sizes for a more natural look
- Pair with wood cabinets for a cohesive rustic style
- Use iron or bronze fixtures to complement the rustic theme
- Consider a herringbone pattern for added visual interest
2. Natural Stone Backsplash
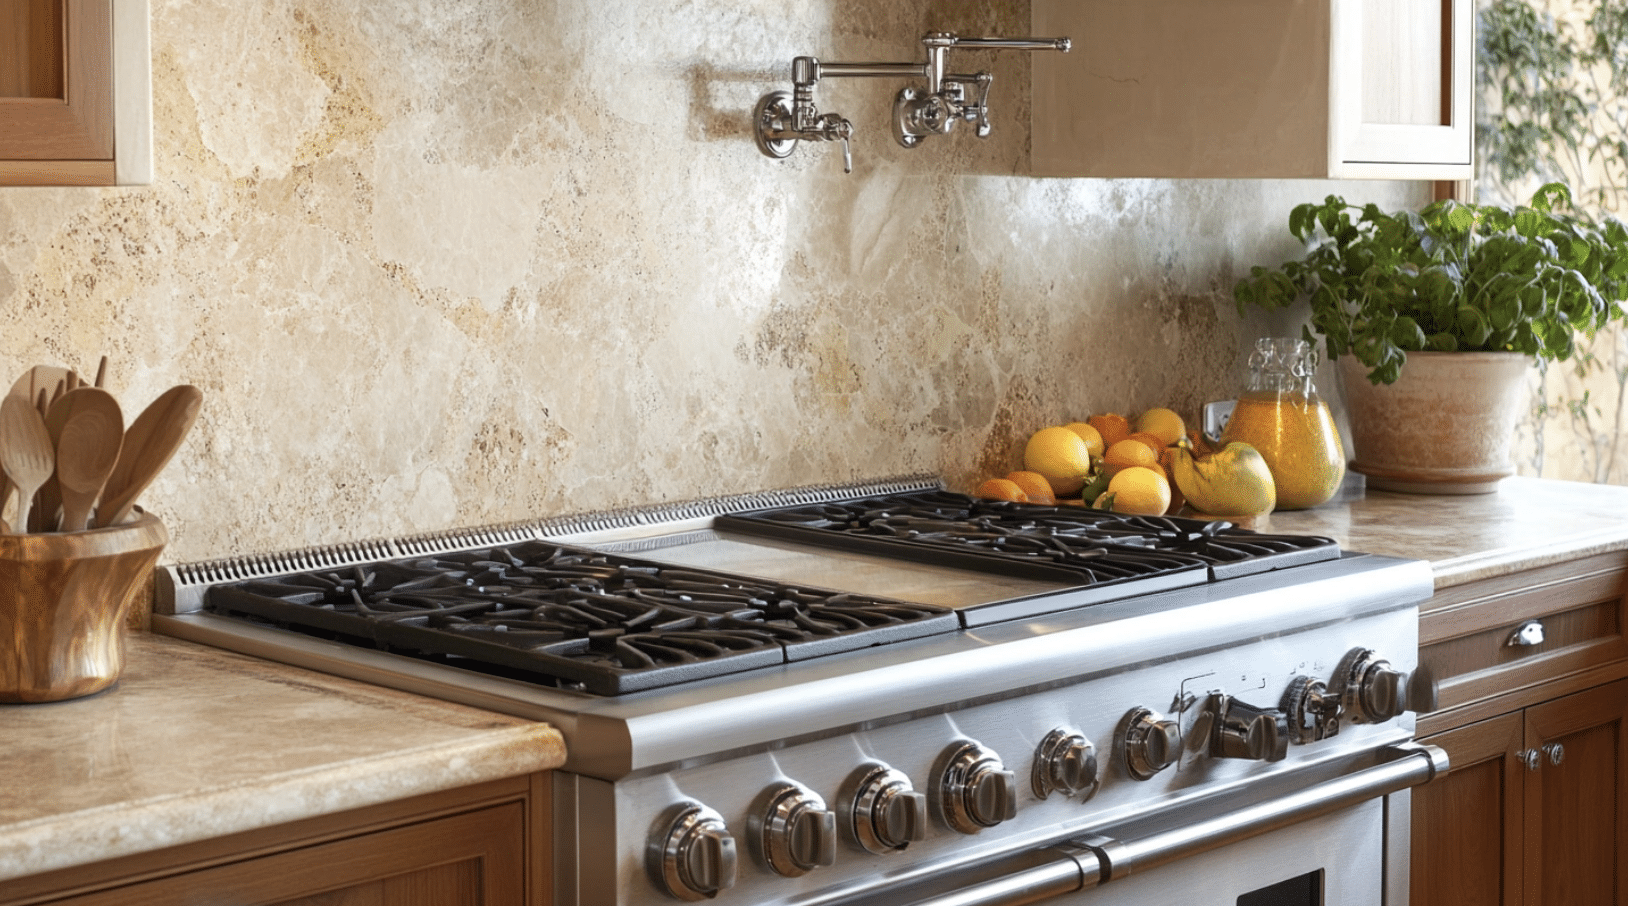
Natural stone backsplashes showcase the beauty of real stone. Each piece is unique, giving your kitchen a one-of-a-kind look. Popular choices include granite, marble, and slate.
Design tips:
- Choose lighter stones to make your kitchen feel bigger
- Use large format tiles for a modern twist on natural stone
- Highlight a special stone piece as a focal point behind the stove
- Match your countertops to your backsplash for a seamless look
3. Modern Stone Backsplash
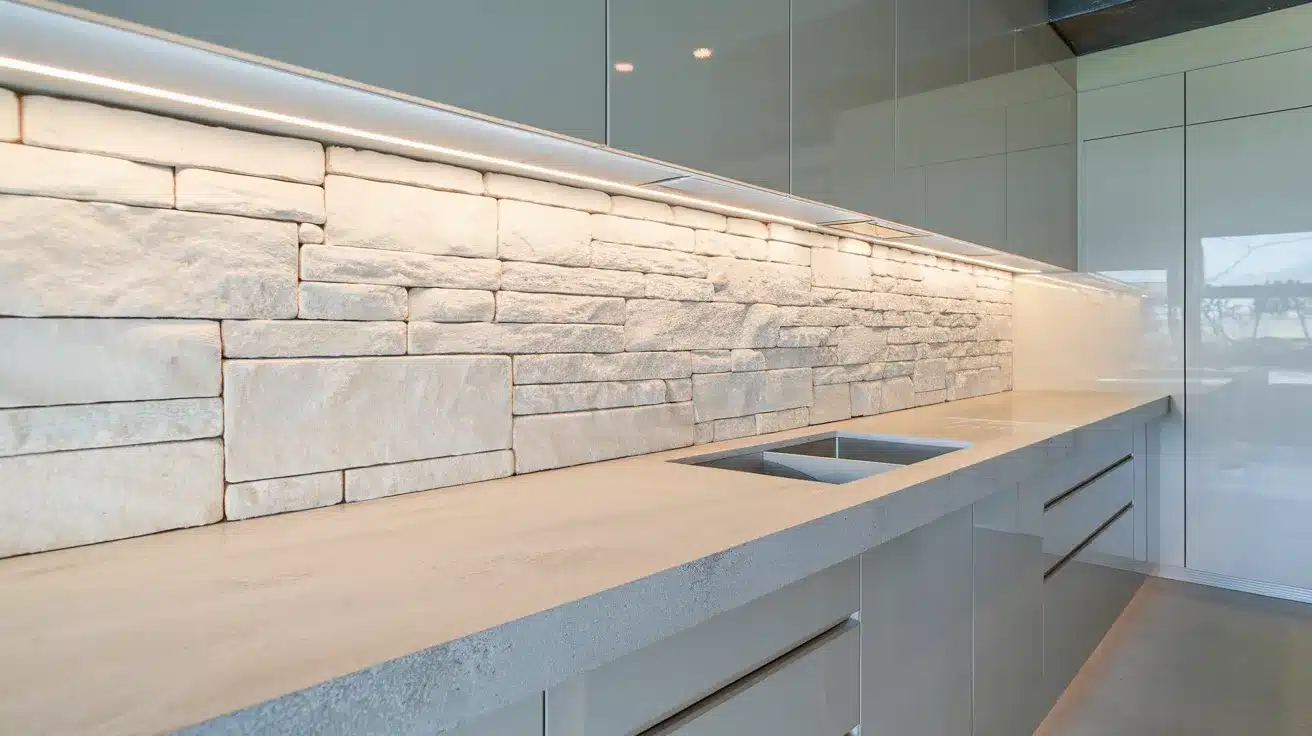
Modern stone backsplashes feature clean lines and smooth surfaces. They often use large, flat pieces of stone in light colors like white, pale gray, or beige.
Design tips:
- Use long, horizontal tiles for a sleek, modern look
- Pair with glossy cabinets for a high-end feel
- Add under-cabinet lighting to highlight the stone’s texture
- Consider a waterfall edge on your countertops to match the modern style
4. Gray Stone Backsplash
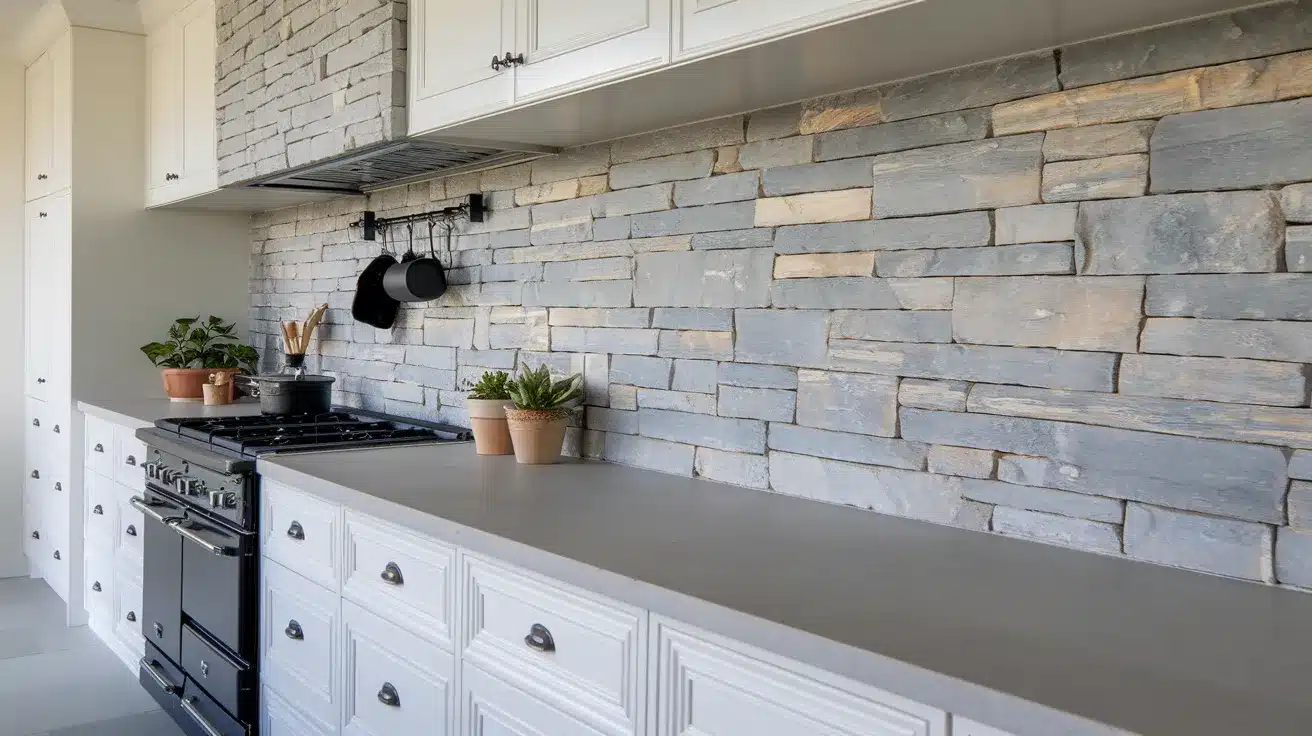
Gray stone backsplashes offer a neutral backdrop that works with many kitchen styles. They can range from light silver to deep charcoal, and from smooth to highly textured.
Design tips:
- Use different shades of gray for a subtle, layered look
- Pair with white cabinets for a classic, timeless kitchen
- Add pops of color with accessories or appliances
- Consider a mosaic pattern to add interest to a monochrome palette
5. Blue Kitchenette with Stone
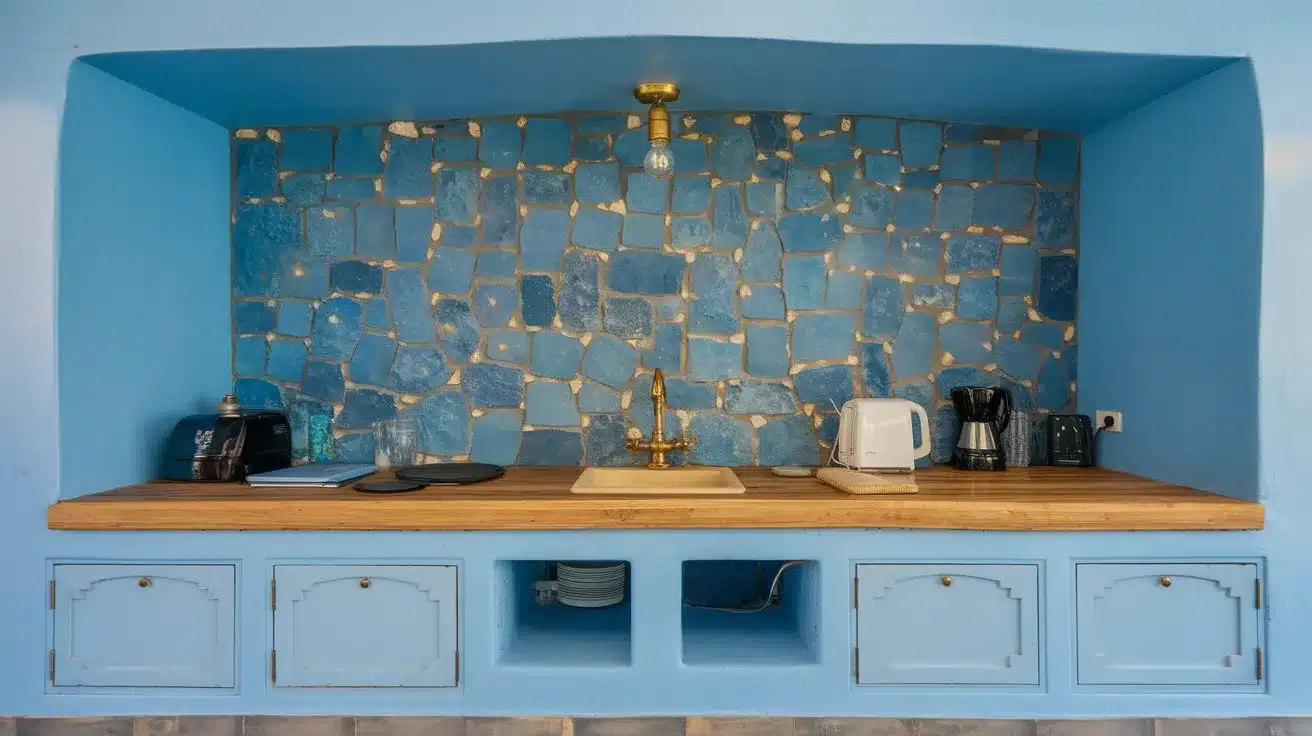
Adding blue to a stone backsplash creates a calm, cool atmosphere. This could mean using blue-tinted stones or pairing neutral stones with blue cabinets or accessories.
Design tips:
- Use blue glass tiles mixed with natural stone for a unique look
- Pair a pale blue stone backsplash with navy cabinets for contrast
- Add warmth with brass or gold hardware
- Consider a wave pattern to evoke a beachy, coastal feel
6. Over-Grouted Stone Backsplash
An over-grouted stone backsplash has extra grout that partially covers the stones. This technique can make your backsplash look older or more rustic.
Design tips:
- Works well with river rocks or other rounded stones
- Use a contrasting grout color to highlight the stone shapes
- Pair with distressed wood cabinets for a vintage look
- Consider extending this style to a feature wall for added impact
Maintenance and Care Tips
Cleaning Your Stone Backsplash
- Use warm water and a soft cloth to clean your backsplash.
- If it’s very dirty, use a mild soap made of stone.
- Clean up spills right away to stop stains.
- Dry the stone with a soft towel after you clean it.
- For tough dirt, use a soft brush with soap and water.
- Clean the lines between tiles with a toothbrush and baking soda mix.
Keeping Your Stone Sealed
- Put water drops on the stone to check if you need to seal it.
- If the water soaks in fast, it’s time to seal.
- Clean the stone well before you put on the sealer.
- Use a soft cloth to put on the sealer.
- Follow the steps on the sealer bottle.
- Wipe off any extra sealer.
- You may need to seal your stone every 1 to 3 years.
Fixing Stone Problems
- If something spills, soak it up fast. Don’t wipe, as this can spread it.
- For oil stains, mix baking soda and water to make a paste.
- Put the paste on the stain and cover it with plastic wrap.
- Leave it for a day, then wash it off.
- For watermarks, rub gently with fine steel wool.
- If a tile cracks, ask a pro to fix it.
- Don’t put hot pots right on the stone. Use a pot holder to protect it.
Comparing Stone Backsplashes to Other Materials
| Material | Cost per Sq. Ft. | Durability | Aesthetic | Maintenance | Moisture Resistance |
|---|---|---|---|---|---|
| Stone | $15 – $30 | Highly durable; heat and scratch resistant, but can stain if unsealed. | Natural, earthy look; adds warmth and elegance. | Requires sealing to prevent stains; regular maintenance is needed. | Moderate; needs sealing to prevent moisture absorption. |
| Ceramic Tile | $5 – $15 | Durable, scratch-resistant; may chip, but easily replaced. | Versatile with various colors, patterns, and styles available. | Low maintenance; easy to wipe down. | High; water-resistant and ideal for humid areas. |
| Glass Tile | $10 – $40 | Fairly durable; it can crack on impact and show scratches. | A modern, reflective finish adds brightness with a glossy look. | Easy to clean but prone to smudges and fingerprints. | High; non-porous and highly resistant to moisture. |
| Stainless Steel | $20 – $35 | Extremely durable, heat and stain-resistant; may dent or scratch. | Industrial, modern look; sleek and reflective. | Low maintenance; shows fingerprints and smudges, so frequent cleaning is needed. | Very High; impervious to moisture and highly resistant to water damage. |
Conclusion
Stone backsplashes offer a unique blend of beauty and function for your kitchen. They bring natural charm and toughness to your cooking space.
We’ve examined different types of stone, from smooth marble to rough-cut slate, and shared tips on how to install them and keep them looking good.
Remember, stone requires a bit more care than some other options. But it can last for many years with the right cleaning and sealing. Whether you like a rustic look or something more modern, a stone backsplash can fit your style.
You’re adding a piece of nature to your home by choosing a stone backsplash. This choice can make your kitchen stand out and feel special.


