Stepwise Guide to DIY Built in Closet
I just finished my DIY built-in closet project and want to share my hands-on experience with you.
I’ve compiled this guide after countless hours learning what works and what doesn’t in a closet building.
Whether you’re looking to save money or love hands-on projects, I’ll walk you through every detail of making your DIY built-in closet – from picking materials to adding those final touches.
Trust me, the satisfaction of building your own storage space is worth every minute.
TLDR
Ideal for: Walk-in closets with a minimum of 5.5 ft. by 6 ft., especially those with corner entrances.
Materials Needed: 3/4-inch plywood, edge banding, drawer slides, hanging rods, knobs, pocket hole screws, clear coat finish, shims, and baseboards.
Tools Required: Saw, edge banding tool, pocket hole jig, drill, clamps, level, measuring tape, sander, painter’s tape, paint supplies, utility knife, and speed square.
Steps:
1. Prep the Closet: Clear out brackets and baseboards; paint the walls.
2. Build Closet Towers:
- Tower 1 (Shelves + Drawers): Cut plywood, assemble, add shelves, and install drawers.
- Tower 2 (Shelves + Rod): Cut, assemble, angle the bottom shelf for shoes, and add a hanging rod.
3. Install Wall Shelf: Cut and secure a 16-inch shelf across both towers.
4. Add Extra Rod: Attach support panels and install a second rod.
5. Finish: Secure the top shelf, apply a clear coat, reinstall baseboards, and attach drawer knobs.
Result: A custom closet with hanging rods, angled shoe shelves, and spacious drawers for organized storage.
Step-by-Step Guide to DIY a Built-in Closet
This DIY project is designed for a walk-in closet with minimum dimensions of 5.5 feet wide by 6 feet deep.
The layout includes two custom-built cabinet towers in an L-shape, with the main storage areas along the back and right walls.
This setup works best for closets with corner entrances where the left wall may be inaccessible and is ideal for hook storage.
Suppose your closet has significantly different dimensions or a different door layout.
In that case, you may need to adjust measurements, cabinet sizes, or the configuration of shelves and hanging rods to maximize space effectively.
Additionally, check the closet’s structural integrity and wall material before securing cabinets to ensure they can support the weight.
Materials Required
- Plywood Sheets (3/4 inch) – for cabinet towers, shelves, and drawer boxes.
- Edge Banding – for covering exposed plywood edges.
- Drawer Slides (16-inch) – four pairs for drawer installation.
- Hanging Rods – repurpose the original or use a new rod for hanging clothes.
- Knobs – for drawer fronts.
- Pocket Hole Screws – for assembling cabinets and drawers.
- Clear Coat Finish – for protecting and finishing the cabinets.
- Shims – for aligning drawer fronts.
- Baseboards – for reinstalling along the bottom of the closet.
Tools Required
- Saw (Table Saw or Circular Saw) – for cutting plywood sheets to size.
- Edge Banding Tool – for applying edge banding.
- Pocket Hole Jig – for creating pocket holes for assembly.
- Drill and Driver – for drilling and driving screws.
- Clamps – for holding pieces together during assembly.
- Level – to ensure shelves and supports are aligned.
- Measuring Tape – for precise measurements.
- Sander or Sandpaper – for smoothing edges and surfaces.
- Painter’s Tape – to keep drawer boxes closed during installation.
- Paint Supplies (Roller/Brush) – for painting closet walls.
- Utility Knife – for trimming edge banding.
- Speed Square – for measuring angles, especially for sloped shelves.
Step 1: Prepare the Closet Space
- Remove existing brackets, rails, and baseboards in the closet.
- Save the old rails for potential later use.
- Paint the walls to create a clean, bright workspace.
Step 2: Build the Closet Towers
Tower 1: Closet Tower with Shelves and Drawers
1. Cut plywood pieces:
- Two tall sides.
- Three shelves (top, bottom, and middle).
- Two 3.5-inch-wide strips for the toe kick and top back support.
2. Edge-band the front of each piece to give a finished look.
3. Assemble the cabinet:
- Use pocket holes to join the sides and shelves.
- Attach the toe kick (optional to add this last for easier assembly).
4. Add stationary shelves to the top section as preferred (alternatively, add a hanging rod).
5. Install drawer slides in the bottom section for four drawers: Three deeper drawers and one shallow drawer.
6. Build the drawer boxes using plywood:
- Cut plywood pieces for the box sides and bottoms.
- Edge-band the tops of each drawer front.
- Assemble with pocket holes and screws.
7. Attach the drawer fronts with an even 1/8-inch gap around all sides using a shim for alignment.
8. Secure the cabinet in the closet to the wall studs.
Tower 2: Closet Tower with Shelves and Hanging Rod
1. Cut plywood pieces:
- Two tall sides.
- Four shelves.
- Two strips for toe kick and top back support.
2. Assemble the cabinet with pocket holes and screws:
- Attach the toe kick piece first.
- Angle the bottom shelf slightly (optional for storing shoes).
3. Install additional shelves evenly spaced above the bottom.
4. Install the flat top shelf along with the top support strip.
5. Attach the hanging rod by drilling pilot holes and securing it with screws.
Step 3: Add a Shelf Across the Wall
- Cut a 16-inch wide plywood shelf to fit across the wall.
- Secure the shelf on top of the two closet towers, attaching it to the wall supports.
Step 4: Add an Extra Hanging Rod
1. Cut two plywood supports for the rod:
- One to fit between wall studs (16 inches).
- The other matches the width of the cabinet.
2. Drill holes to insert the hanging rod.
3. Attach the shelf across the cabinet first, then use a level to screw the supports into the wall studs at the right height.
Step 5: Finish the Closet Build
- Secure the top shelf to both the cabinets and wall supports.
- Apply a clear coat finish to the cabinets for durability.
- Reinstall the baseboards.
- Attach knobs to the drawers.
Customization Options for Your DIY Closet
1. Accessory Integration
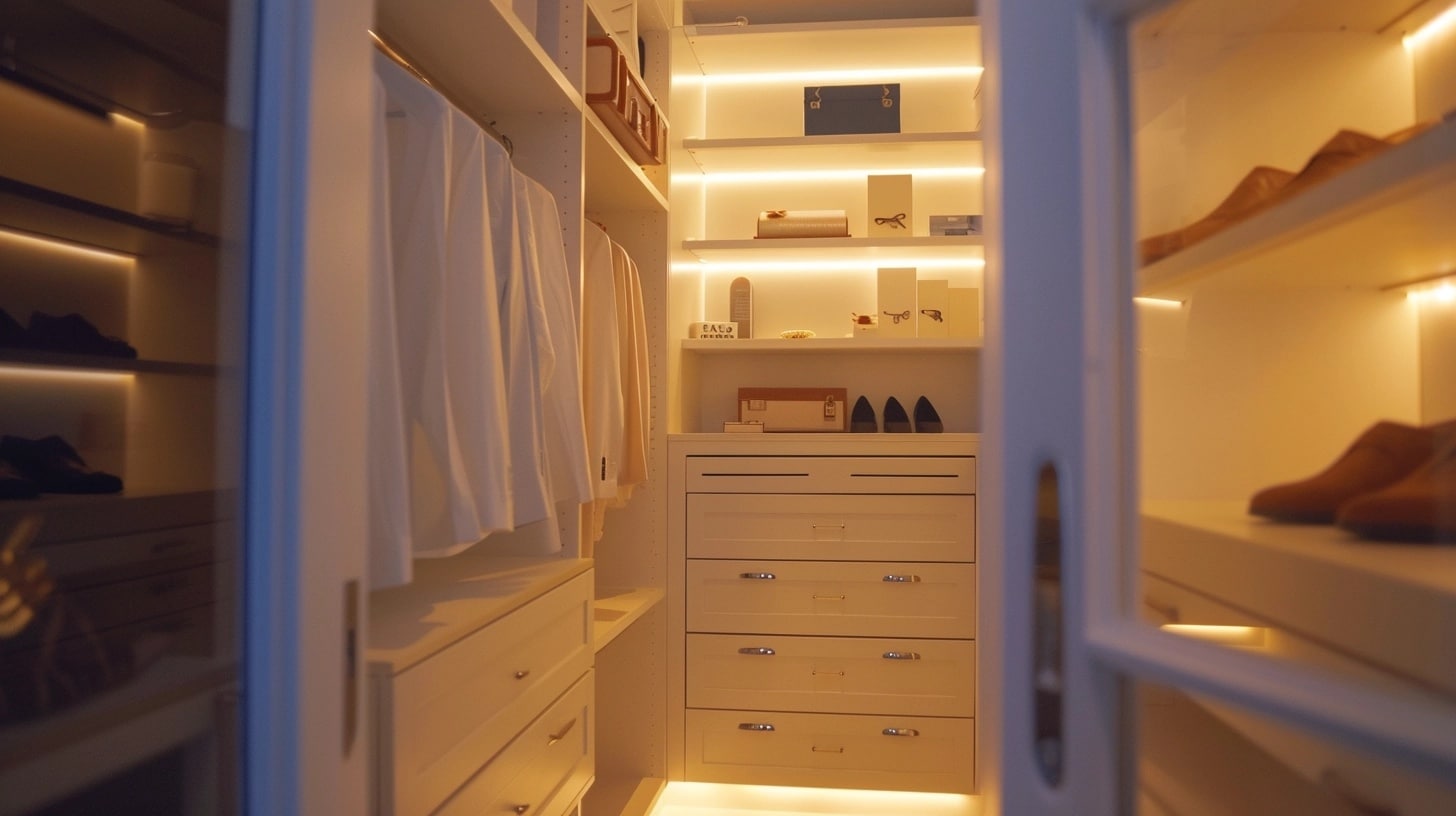
- Shoe Racks, Tie Holders, and Jewelry Trays: Add specialized storage solutions to organize accessories efficiently.
- Lighting Solutions: Install LED strips or motion-activated lights for visibility and a modern touch.
2. Space-Saving Solutions
- Small or Awkward Spaces: Design compact storage units, foldable components, or modular shelves.
- Corner and Vertical Space Usage: Maximize by vertically installing corner shelves or stacking cabinets for increased storage.
3. Aesthetic Enhancements
- Colors and Finishes: Select paint or stain that complements your room’s decor.
- Decorative Hardware: Use unique knobs, pulls, or handles for a personalized, stylish look.
Summing Up
Depending on the design complexity and preparation, a built-in closet typically takes 1-3 days to complete.
The best part about a DIY built-in closet? You can change things whenever you want since you know how everything fits together.
My advice? Take your time, measure twice, and don’t be afraid to make it your own.
With the steps I’ve shared, you’ll save money and get exactly what you want. Are you ready to grab those tools and get started? Your perfect built-in closet awaits!
Frequently Asked Questions (FAQs)
Is it Cheaper to Build Your Own Closet?
Building your own closet is generally more affordable than hiring professionals, as it cuts labor costs, but materials and tools still require a budget.
What is the Best Material for a DIY Closet?
Plywood is ideal for DIY closets due to its durability, versatility, and ease of customization, especially when building shelves, drawers, and cabinets.
Can I Build a Closet without Advanced Carpentry Skills?
Yes, a simple closet can be built with basic tools and carpentry knowledge if you follow instructions carefully and work with prepared materials.

