Stepwise Guide on How to Make a Barn Quilt
Let me share my barn quilt story with you. Seven years ago, I made my first one – a bright, patterned board that brought life to my plain old shed.
When it started fading, I knew I needed to learn how to make these outdoor art pieces. After lots of research and help from other quilters, I’ve mastered the process.
I’m excited to walk you through every step, from picking your wood to hanging your finished piece.
Making a barn quilt isn’t just a project—it’s a way to personalize your home.
What is a Barn Quilt and Why is it Popular?
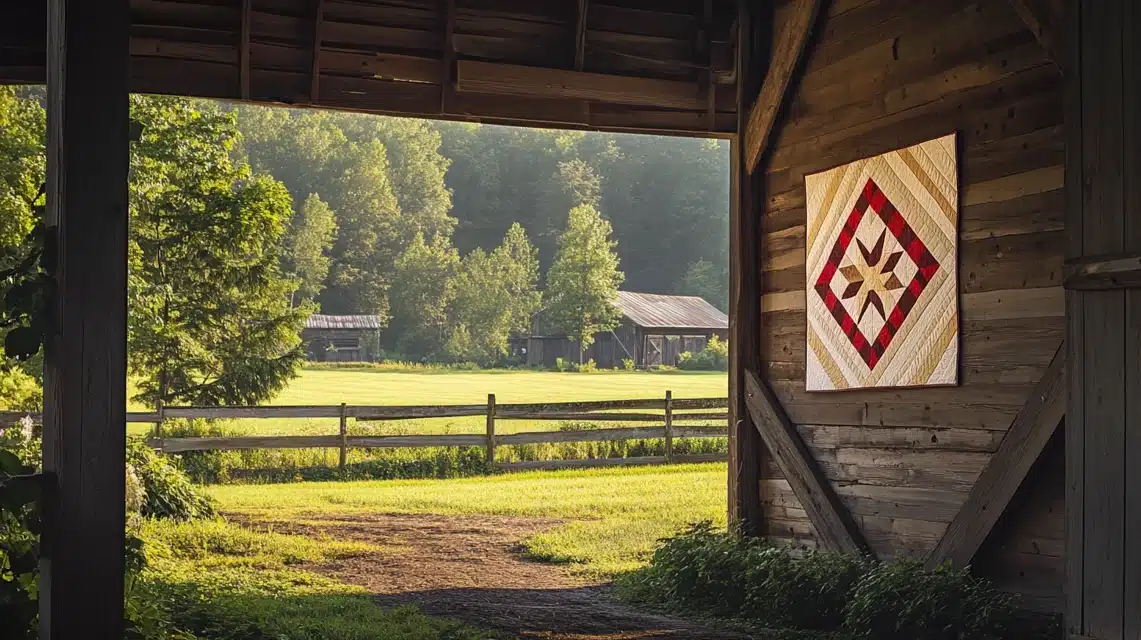
A barn quilt is a wooden board painted with a quilt pattern. But unlike fabric quilts that keep you warm, these go on the outside of barns, sheds, and homes. They bring color and style to plain walls while connecting to the rich history of quilting.
Think of it as bringing your family’s quilt pattern outdoors, much bigger and bolder. People often make 4-foot or 6-foot squares painted in bright colors that you can see from far away.
Why folks love them:
- They turn simple buildings into eye-catching sights
- Each pattern can tell a family story
- They last for years with the right materials
- Making one is simpler than sewing a real quilt
Step 1: Gather Materials and Tools You’ll Need
Materials
- MDO Plywood or pre-primed barn quilt board.
- Exterior primer (if not pre-primed).
- Exterior paint in desired colors.
- Yellow Frog Tape or painter’s tape.
- Paintbrushes in various sizes.
- Ruler, yardstick, or 6-inch grid ruler.
- Chalk or pencil for marking.
Tools
- Scissors or cutting knife for tape.
- Hair dryer (optional) for drying paint quickly.
- Drill and stainless steel screws for mounting.
- Optional: Software like a word processor for scaling designs.
Step 2: Choosing and Preparing Your Design
Picking and sizing your pattern is easier than you think! Open any word processor and import your design.
Here’s what works best: if you’re making a 4-foot board, size your pattern to 4 inches – each inch on paper equals one foot on your board. Please print it out as your guide.
Are you new to barn quilts? Keep these tips in mind:
- Choose square patterns with basic shapes
- Pick your colors first
- Label each section (like ‘BR’ for brown, ‘R’ for red)
- Make a simple color guide before you start painting
That’s all you need to start planning your barn quilt! The key is good preparation – it makes the painting process much smoother later.
Step 3: Preparing the Board
Let’s discuss the best wood for your barn quilt. After seeing my first one fade, I learned that MDO plywood is the way to go.
The builders and experienced painters in my barn quilt groups use it because it stands up to the weather and lasts longer than regular plywood.
You’ll find it in the building supplies section with other plywood sheets.
Getting your board ready is simple:
- Cover every inch with exterior primer
- Don’t skip the edges – they need protection too
- Put on two good coats
- Wait until it’s completely dry
That’s all there is to the prep work! This foundation step greatly affects how long your barn quilt will look good outside.
Step 4: Drawing Your Design on the Board
Let’s find your center point first. Take a yardstick and make two diagonal marks from corner to corner. Where they meet – that’s your center!
Making your grid is like drawing a big map:
- Start at the center
- Draw straight lines up, down, and across
- For a 4-foot board, mark every 6 inches
- Add your diagonal lines using your ruler
Now, look at your printed design. Each section on your small paper matches up to your board – just bigger!
Mark out all your spaces and write your color codes in each section (I write ‘W’ for white and ‘T’ for tan).
A quick tip: check your measurements twice. It’s much easier to fix a pencil line than a paint line!
Step 5: Taping Off Your Design
Let me tell you about my go-to tape – Yellow Frog Tape. It’s made for fresh paint and stops colors from seeping under the edges.
Here’s my method:
- Place tape right on the middle of your pencil lines
- Press down the edges firmly with your finger
- For outer sections, you can tape multiple areas at once
- For middle designs, tape one section at a time for better results
A handy trick is to press those spots extra well when two pieces of tape meet. This prevents the paint from sneaking through the corners.
A quick tip: When you pull the tape off, your pencil marks come with it—no erasing needed!
Step 6: Painting the Barn Quilt
First, grab exterior paints – they’ll hold up outdoors. I use colors like Hearthstone Brown, Heritage Red, and Simply White.
Money-saving tip: check the paint store’s mismatch section for good deals on exterior paints!
Painting steps that work:
- Begin with your background shade
- Keep each coat thin – you should see through the first one
- Let paint dry between coats
- Lift the board at the end to paint all edges
For perfect lines:
- Start tape removal from a straight edge, not a corner
- Pull the tape back low and slow
- Wait until the paint feels dry to touch
A quick tip: If you’re in a hurry, a hair dryer helps speed up drying time between coats!
Step 7: Sealing and Protecting Your Barn Quilt
The final step is important – give those edges and back some love! Take your exterior paint (any color works; I use whatever I have extra) and cover every side completely.
Quick steps:
- Paint all edges
- Cover the entire back
- Make sure no spots are missed
- Wait for it to dry fully
Think of it as shielding your barn quilt against rain and sun. Those covered edges make a difference in how long it lasts outside!
Step 8: Mounting Your Barn Quilt
Get stainless steel screws – they won’t rust and stain your work.
Quick mounting steps:
- Mark spots 1-1.5 inches from each corner
- Make pilot holes with your drill
- Put screws in all four corners, not just the top
- Paint the screw heads if you want them hidden
A must-know tip: Four corners keep your quilt steady in strong winds. I learned this the hard way – two screws just aren’t enough!
Troubleshooting and Pro Tips for Making a Barn Quilt
1. Fixing Paint Bleeds
- Press the tape extra hard with your finger
- Test a small spot first
- If paint sneaks under, touch it up with a tiny brush
2. Getting Straight Lines
- Start from the outer edges, move inward
- Paint one color at a time
- Check your pencil marks match your paper guide
3. Money-Saving Secrets
- Look for mismatched exterior paints
- Small paint samples often work fine
- Save leftover paint for touch-ups
My best tip: Take your time with the tape. Those extra minutes save hours of fixing later!
Customize Your Barn Quilt
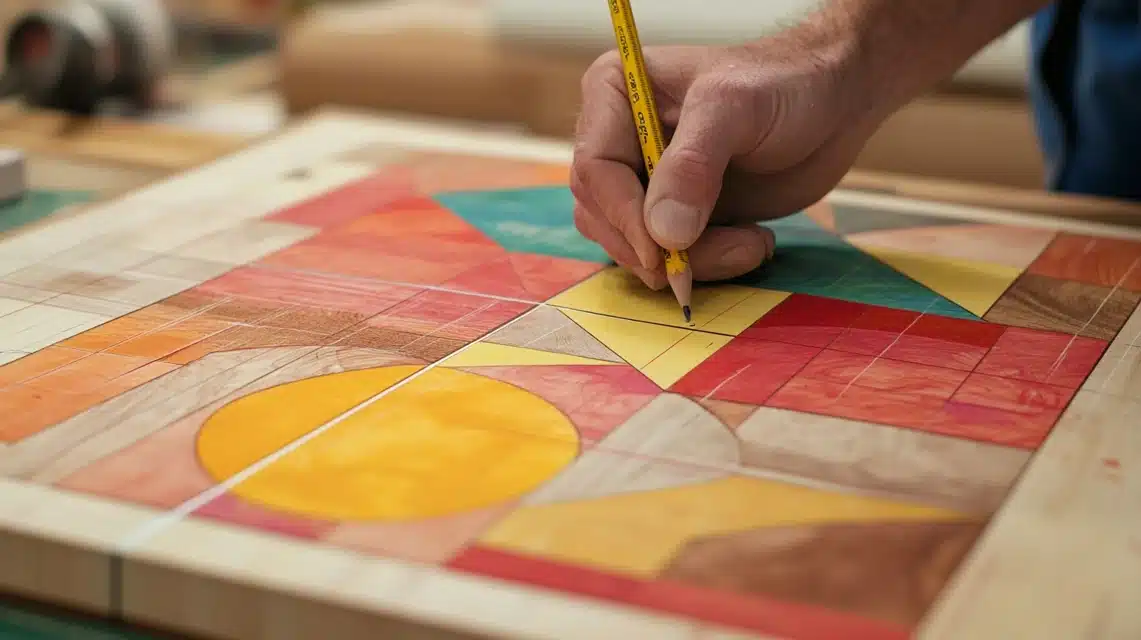
Think of your board as a blank canvas that tells your story. You can:
- Pick colors that match your home
- Use a pattern from a family quilt
- Choose shapes that mean something to you
- Make it as simple or detailed as you want
Many people start with basic squares and triangles, then make them special with their own color choices.
For example, I used tan and brown in my design because these colors fit perfectly with my house.
Just remember: stick to straight lines and clear sections for the best results. My first tip for anyone making a personal design is to draw it small on paper first to ensure it works.
Summing Up
There you have it – everything I’ve learned about creating a lasting barn quilt!
Looking back at my first attempt compared to now, I’m grateful for all the tips and tricks shared by fellow makers along the way.
Remember, your barn quilt tells your story, so take your time and enjoy the process.
Start with good materials, follow each step carefully, and soon, you’ll have a beautiful outdoor display that will make you smile every time you see it.
If I can do it, so can you! I’d love to hear how your barn quilt turns out.
Frequently Asked Questions
What Size are Most Barn Quilts?
Most barn quilts are 4×4 or 6×6 feet squares. Smaller 2×2 foot versions work well on houses, while larger 8×8 ones stand out on big barns.
How Do You Weatherproof a Barn Quilt?
Use MDO plywood, apply two coats of exterior primer on all sides, and finish with quality outdoor paint. Paint the edges and back for complete protection.
Can You Make a Barn Quilt Indoors?
Yes! A garage, basement, or any covered space works great. Ensure you have good airflow for painting and enough room to move around.
How Do You Hang a Heavy Barn Quilt Safely?
Use stainless steel screws in all four corners, placing them 1-1.5 inches from the edges. Always drill pilot holes first to prevent wood splitting.

