Step-by-Step Guide to Refinish Wood Furniture at Home
Refinishing furniture can feel intimidating at first, but it’s one of the most rewarding DIY projects you can take on.
Instead of spending hundreds on new pieces, you can breathe new life into the furniture you already own. The trick? Having the right tools and following a clear process.
When I first started, I had no idea what I was doing, but after a few mistakes (and some lessons learned), I found a system that works.
In this guide, you’ll learn each step so you can refinish your furniture with confidence. So take your best sander and let’s get started.
Why Refinish Furniture Instead of Buying New?
There are numerous reasons to refinish old furniture instead of discarding it.
- It saves money; most solid wood pieces are far better quality than cheap flat-pack replacements.
- It’s sustainable. Refinishing keeps furniture out of landfills and reduces waste.
- Many pieces carry sentimental value. That chair from your grandparents or the dresser from your childhood deserves a second life.
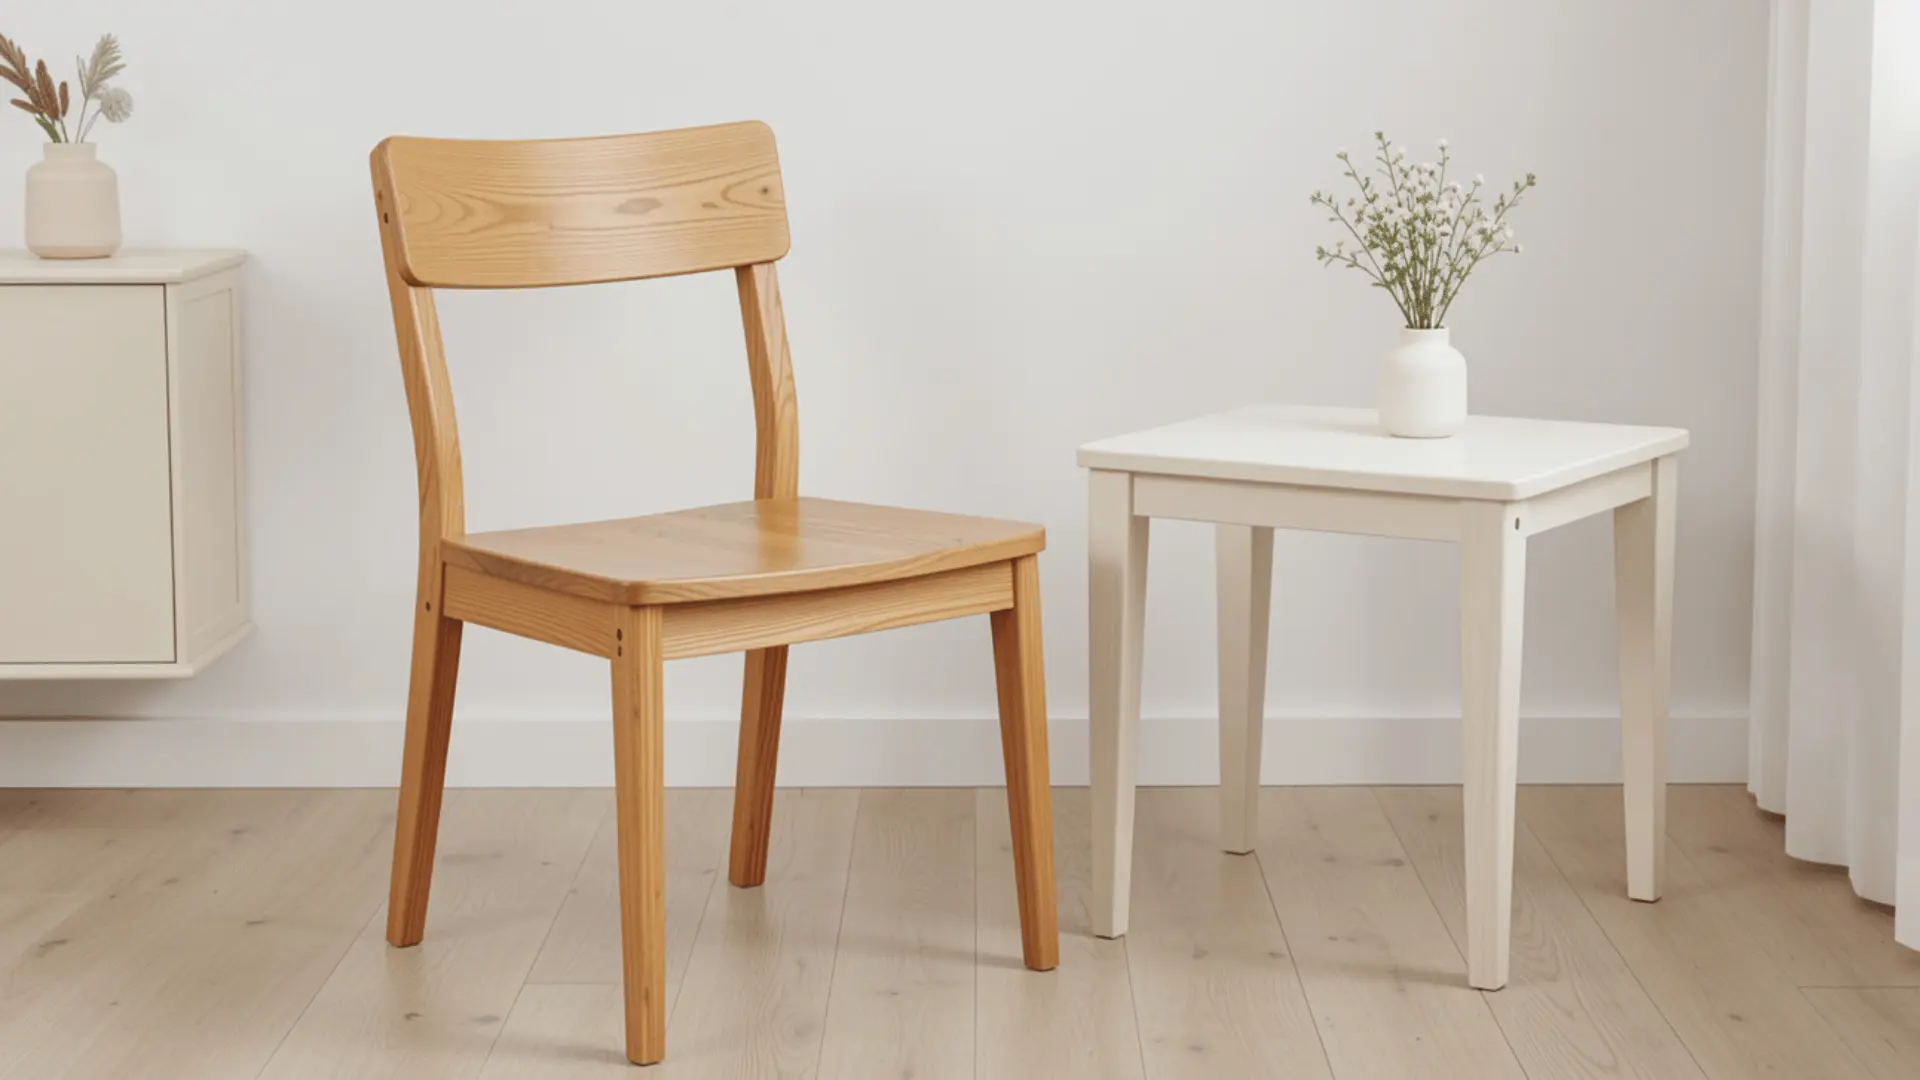
Refinishing also allows customization. A dated oak table can be made into a sleek, modern showpiece with the right sanding and finish.
How to Refinish Wood Furniture

Before proceeding, gather all the necessary items so the process runs smoothly.
Tools and Materials Checklist
- Sander
- Sandpaper
- Safety gear: dust mask, goggles, gloves
- Wood filler and putty knife
- Brushes, rags, or foam applicators
- Stain, paint, or finish of your choice
Having these tools ready prevents delays and ensures the project flows without interruptions.
Step 1: Prepare Your Workspace
Choose a well-ventilated space, ideally a garage or workshop, and lay down a drop cloth to catch dust and drips. If working indoors, open windows and use fans to keep air circulating.
Secure the furniture on a flat surface to prevent it from wobbling. Keep a shop vac nearby to control dust. Skipping this prep step often results in unnecessary mess and wasted time.
Step 2: Clean and Strip the Furniture
Clean the furniture thoroughly with warm water and mild soap. Dirt and oils can clog sandpaper quickly. For thick or glossy finishes, consider a chemical stripper before sanding.
Apply the stripper with a brush, let it sit, then gently scrape it with a plastic scraper. Always wear gloves and goggles for safety. For lighter finishes, you can usually skip this step and begin sanding immediately.
Step 3: Sand the Surface Smooth
This is where the change begins. Pick the right sander for your furniture project to make the job easier. A random orbital sander is best suited for large, flat surfaces, while a detail sander is ideal for working in corners.
Choose the right grit sandpaper. Follow the golden rule: start with a coarse grit (around 80), move to medium (120), and finish with fine (220).
Don’t skip grits; it leaves scratches. Use steady, even pressure and always sand with the grain of the wood.
Step 4: Repair and Fix Imperfections
After sanding, check for cracks, dents, or wobbly joints. Use wood filler to patch small holes or scratches, smoothing it out with a putty knife. Once dry, lightly sand over the area to blend it in.
For bigger repairs, tighten screws or add wood glue to loose joints. Addressing these small issues ensures the piece looks and feels solid when finished.
Step 5: Apply Stain or Paint
Choose a finish style that matches your vision. For stain, apply it with a rag or brush in the direction of the grain, then wipe away excess. Stains accentuate the natural wood grain, lending a timeless appearance.
For paint, use a primer first, then apply thin, even coats. Multiple light coats look better than one heavy coat.
Step 6: Seal with a Protective Finish
No matter whether you stain or paint, sealing is essential. Polyurethane is a durable material that comes in matte, satin, or glossy finishes. Wax and oils provide a softer, natural appearance but require reapplication over time.
Apply finishes in thin layers, letting each coat dry completely before lightly sanding and adding another. This step protects your work and ensures the piece lasts for years.
Pro Tips for Smooth Results
Refinishing furniture isn’t just about following steps; the little details can make or break the final look. Keep these tips in mind for flawless results:
- Always sand between finish coats with 220-grit sandpaper to achieve a silky, professional finish. This simple extra step removes imperfections and helps each layer bond more effectively for better durability.
- Don’t rush drying times; patience pays off. Allow stains, paints, and finishes to fully cure before moving to the next step to prevent streaks, bubbles, or peeling.
- Keep the sander flat against the surface to avoid swirl marks or gouges. Uneven sanding alters the texture, making it more difficult for finishes to appear smooth.
- Test stain or paint on a hidden area first so you can preview how the color looks on your wood type before committing to the entire surface.
- Apply the finish in thin, even layers, rather than one thick coat. Multiple light applications create better protection, smoother texture, and a more polished professional appearance.
These small habits make a big difference in the final outcome.
How Long Does Refinishing Take?
The time depends on the size and condition of the furniture. A small chair may take just a few hours, while a large dresser could stretch into a weekend project. Typical refinishing times are:
| Task | Average Time | Notes |
|---|---|---|
| Sanding | 2–3 hours | Depends on size and grit progression |
| Repairs | 30–60 minutes | Filling cracks, tightening joints |
| Stain/Paint Application | 1–2 hours (+ drying) | Multiple light coats work best |
| Finishing (Sealing) | 1–2 hours (+ drying) | Thin layers with sanding between |
Plan your schedule accordingly to avoid rushing through the process.
At the End
Refinishing furniture isn’t just a repair job; it’s a change that adds value and personality to your home.
Each stage, from preparation to the final finish, builds toward a piece that feels brand new while preserving its history.
I have found that the process may seem lengthy, but the reward is seeing a once-worn surface come alive with new life.
What I have learned is that rushing never yields the desired results. Careful sanding, choosing the right grit, and sealing with a protective finish will ensure your hard work lasts.
With patience and the right approach, you can create furniture that’s both practical and beautiful for years to come.