Step-by-Step Guide to Painting Red Brick
Red brick walls often look old and worn out. I know the feeling – my brick house needed a fresh look, but I wasn’t sure where to start.
The good news? You can transform those dull bricks into a clean, modern surface with some paint and the right steps.
I learned the tricks of brick painting through hands-on work. Now, I want to share my tested method with you.
In this guide, I’ll walk you through red bricks, each step of painting brick walls. You’ll learn what tools you need, how to prep the surface, and the best ways to apply paint for lasting results.
Want to give your brick a new life? Let’s get started with the basics.
What are Red Bricks
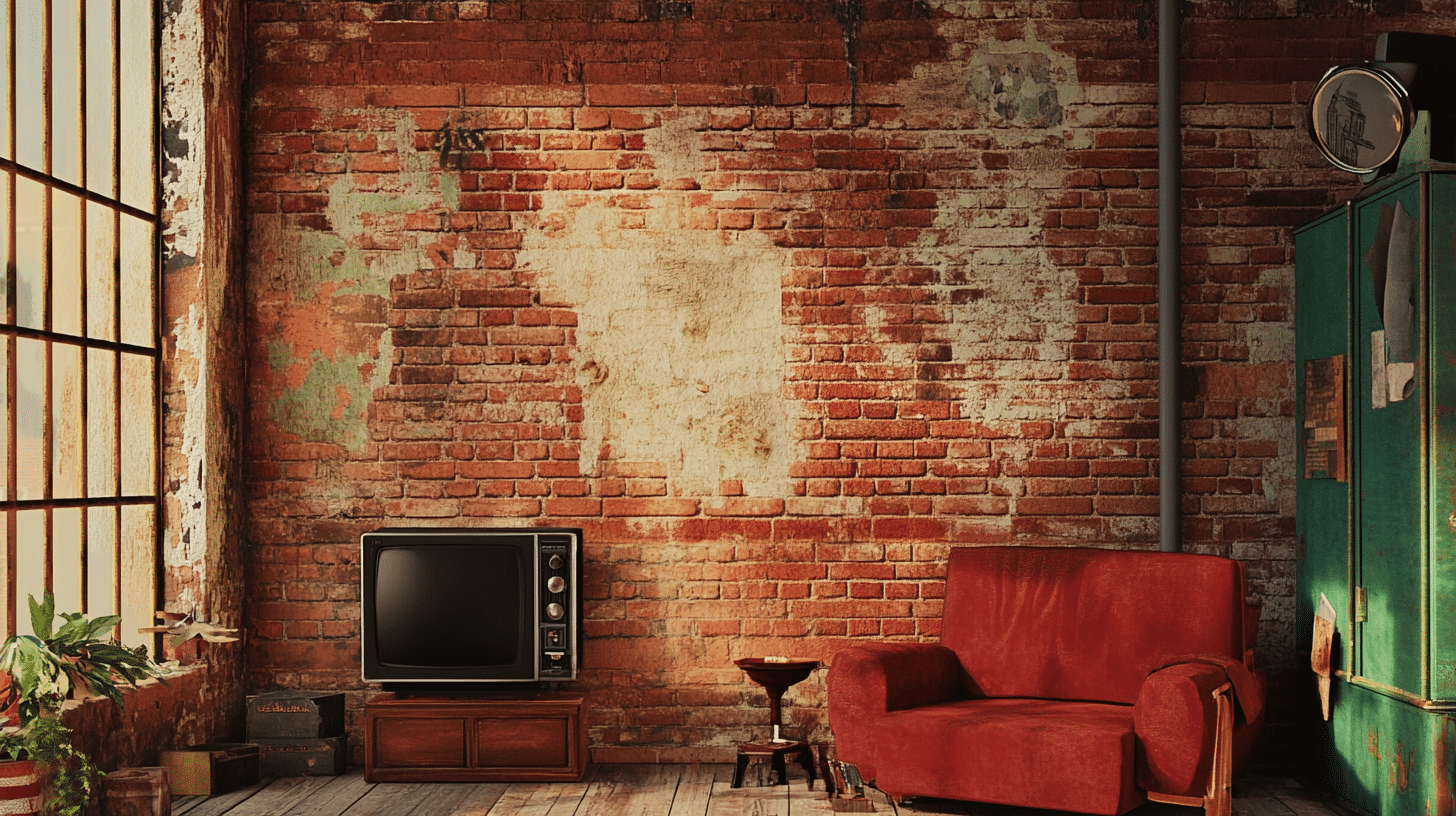
Red bricks bring a classic appeal to homes. I look at them as the building blocks that have shaped home design for many years.
Let me tell you what makes these bricks special.
- Each red brick is made from clay and shale mixed with water. The mix is heated at very high temperatures, which gives the bricks their reddish color. I find it interesting that these bricks can last for more than 100 years when built right.
- Red bricks serve multiple purposes in homes. I see them most often as outer walls, shielding houses from rain and wind. Inside homes, you’ll spot them as eye-catching fireplaces or accent walls. Some folks use them for garden paths, too.
- What I like most about red bricks is how they keep homes warm in winter and cool in summer. They’re like natural temperature controls. Plus, they need very little upkeep – just some cleaning occasionally, which keeps them looking good.
- The rough, grainy surface of red bricks makes them stand out. Each brick has tiny holes that help it grip mortar better. This also means they can hold paint well when you want to change their look.
How to Paint Red Bricks
Tools & Materials Required
| Tools | Materials |
|---|---|
| Wire brush | Brick cleaner |
| Paintbrushes (2-inch and 4-inch) | Masonry primer |
| Paint rollers with thick nap covers | Masonry paint |
| Paint tray | Caulk |
| Drop cloths | Painter’s tape |
| Pressure washer | Clean rags |
| Safety glasses | Putty for repairs |
| Face mask | |
| Work gloves | |
| Ladder (if needed) |
Step-by-Step Painting Process
- Clean the Brick Surface: I scrub the bricks with a wire brush. Then, I wash the wall with a pressure washer. I let the surface dry for 24 hours.
- Fix Any Damage: I check for loose mortar or cracks. Small fixes need putty, while bigger ones require new mortar. Wait until the repairs dry fully.
- Protect Areas Not Being Painted: I cover windows, doors, and trim with painter’s tape and drop cloths. This step saves lots of cleanup time later.
- Apply Primer: I applied masonry primer using a roller. The primer helps the paint stick better. One coat works well. Let it dry for 12 hours.
- Paint First Coat: I start from the top and work down. A roller works for big areas, while brushes help with edges and corners. Let dry for 6 hours.
- Add Second Coat: I apply another layer of paint. Two coats give better coverage. The second coat needs 24 hours to dry fully.
- Check and Touch Up: I look for missed spots in good light. Small touch-ups with a brush fix any gaps in coverage.
Approximate Painting Cost Analysis
| Category | Item | Cost Range |
|---|---|---|
| Basic Tools | Wire brush | $8-12 |
| Paintbrushes | $15-25 | |
| Paint rollers and covers | $20-30 | |
| Paint tray | $5-8 | |
| Drop cloths | $10-15 | |
| Face mask and goggles | $15-20 | |
| Work gloves | $8-12 | |
| Materials | Brick cleaner | $20-30 per gallon |
| Masonry primer | $30-40 per gallon | |
| Masonry paint | $35-45 per gallon | |
| Caulk | $5-8 per tube | |
| Painter’s tape | $6-10 per roll | |
| Extra Costs | Pressure washer rental | $40-60 per day |
| Ladder rental | $20-30 per day | |
| Repair materials | $15-25 | |
| Total Cost Range | Small project (one wall) | $200-300 |
| Medium project (house front) | $400-600 | |
| Large project (whole house) | $800-1,200 |
Money-Saving Tips
- Buy materials in bulk for big projects
- Share tool rentals with neighbors
- Look for paint sales at local stores
- Get more quotes if hiring help
Best Alternatives to Painting Red Bricks
- Limewash Treatment: I find limewash creates a soft, natural look. It’s made from lime and water, letting bricks breathe better than paint. This option costs about $25-35 per gallon. The finish changes slightly as it dries, creating depth.
- German Smear Method: This method uses white mortar spread over bricks. I like how it makes them look old and worn, like European cottages. You’ll spend $20-30 per bag of mortar. The process takes time, but results last long.
- Staining: Brick stains soak into the surface rather than coat it. I notice they keep the brick texture while changing the color. A gallon runs $25-40. The color won’t peel or chip like paint might.
- Whitewashing: I mix one part of water with one part of white paint. This thin coating lets some brick show through. It costs less than full painting, about $30-40 per gallon of paint. You can control how much brick shows.
- Clear Sealing: Sometimes, bricks need a fresh look. Clear sealers make colors brighter and protect the surface. They cost $25-35 per gallon. This choice keeps the natural brick look.
- Mortar Washing: This uses a thin mortar mix brushed over bricks. It costs about $15-25 per bag. The result looks softer than plain brick but more natural than paint.
Should You Paint Red Bricks
- Fresh Look: I see how paint can make old, faded bricks look new again. A clean coat of paint hides stains and gives walls a fresh face.
- Color Choice: Paint lets you pick any color you want. You can match your home’s style or try something new that fits your taste.
- Protection: Paint adds a layer that shields bricks from rain and sun. I’ve found it can help stop water from getting into small cracks.
- Value Boost: A well-done paint job might make your house worth more. It can make your home stand out in the best way.
Things to Think About Before Painting
- No Going Back: Once you paint bricks, it’s hard to return them to their natural look. I tell folks to be very sure before they start.
- Upkeep Needs: Painted bricks need new paint every 3-5 years. This means more work and money over time than plain bricks.
- Moisture Issues: Paint can trap water in bricks. This might lead to damage if the walls can’t dry out well.
- Skills Required: Good brick painting needs careful work. Small mistakes can look bad and be hard to fix later.
- Cost Over Time: Think about long-term costs. You’ll pay for new paint and tools every few years to keep it looking nice.
DIY vs. Hiring a Professional – Which is the Best Option
| Category | DIY | Professional |
|---|---|---|
| Cost | Tools and materials: $200-600 | Labor costs: $1,500-3,000 |
| Rental equipment: $60-90 | Materials included: Yes | |
| Total: $260-690 for a medium project | Total: $1,500-3,000 for a medium project | |
| Time Investment | Prep work: 2-3 days | Project timeline: 2-3 days |
| Painting: 2-4 days | Your time spent: None | |
| Total time: 4-7 days | Total time: 2-3 days | |
| Skill Level Needed | Basic painting skills | Years of experience |
| Physical stamina | Special tools | |
| Attention to detail | Expert knowledge | |
| Problem-solving ability | Team of workers | |
| Quality Results | Depends on your skills | Even coverage |
| May have small flaws | Clean edges | |
| Learning curve needed | Fast fixes if needed | |
| Pride in personal work | Written warranty | |
| When It Works Best | Small projects | Big projects |
| Tight budget | High walls | |
| Good basic skills | Short timeline | |
| Flexible timeline | Complex repairs | |
| Patient personality | Value perfection |
How to Choose the Right Color for Your Brick
- Test Colors First: I always start with sample patches. I paint 3-foot squares in different colors on my brick wall. This helps me see how they look in sun and shade.
- Match Your Home’s Style: I pick soft whites or warm grays for older homes. These colors keep the classic feel. Modern homes work well with bold whites or even dark colors.
- Think About Light: Bright colors reflect more sun and keep walls cooler. I’ve learned that darker shades hold more heat. This matters if your walls get lots of sun.
- Look at Your Setting: I check my neighbors’ homes and local buildings. The best color fits well with nearby houses, helping my home look good but not odd.
- Consider Size Effects: Light colors make houses look bigger, while dark colors can make them seem smaller. I use this trick to help my house look just right.
- Weather Matters: In sunny places, colors fade faster. When my walls get lots of sun, I pick fade-resistant shades. Rain and snow can also change how colors look.
Common Good Choices:
- Soft white: Clean look that fits most styles
- Light gray: Low-key but fresh
- Cream: Warm feel that works with many colors
- Pale tan: Natural look that ages well
Colors to Use With Care:
- Pure bright white: Can look harsh
- Very dark colors: Show dirt and fade fast
- Pink tones: Hard to change later
- Yellow: May not age well
Conclusion
Painting brick walls takes time and careful planning, but the results can give your home a whole new feel. I’ve shared my hands-on tips, from picking colors to finishing touches.
The choice between DIY and hiring pros comes down to your time, budget, and skills.
Before you start, remember that brick painting is a big step that’s hard to undo. Take time to test colors, gather the right tools, and prep your surface well. Your effort will pay off with walls that look fresh for years.
Ready to start your brick painting project? I’d love to hear about your plans.
Drop a comment below about which color you’re thinking of using, or share pictures if you’ve already painted your brick walls!
Frequently Asked Questions
How Long Does Paint Last on Brick?
Paint on brick walls typically lasts 5 to 7 years. But this depends on the weather, paint quality, and how well you prep the surface first.
Can You Remove Paint from the Brick?
Yes, but it’s tough and costly. I use chemical strippers or sandblasting to remove brick paint, but these methods might damage the brick surface.
Does Painting Brick Cause Moisture Problems?
If brick walls can’t breathe, moisture gets trapped inside. I prevent this by using breathable masonry paint and making sure walls are fully dry before painting.

