Rub n Buff: Application Techniques and DIY Ideas
When I first found Rub ‘n Buff, I couldn’t believe how simple it was to give my old items a new life.
This small tube of wax-based product, mixed with metal powders and special colors, makes it so easy to add metallic touches to almost anything.
It’s different from regular paint – you rub it on, buff it up, and watch your items shine!
In this guide, I’ll walk you through everything: the colors you can pick from, how to put them on different things like metal and wood, plus lots of ideas for your home projects.
I’ll even tell you how to fix any mistakes. Ready to make your stuff look better? Let’s get started!
Colors Available in Rub ‘n Buff
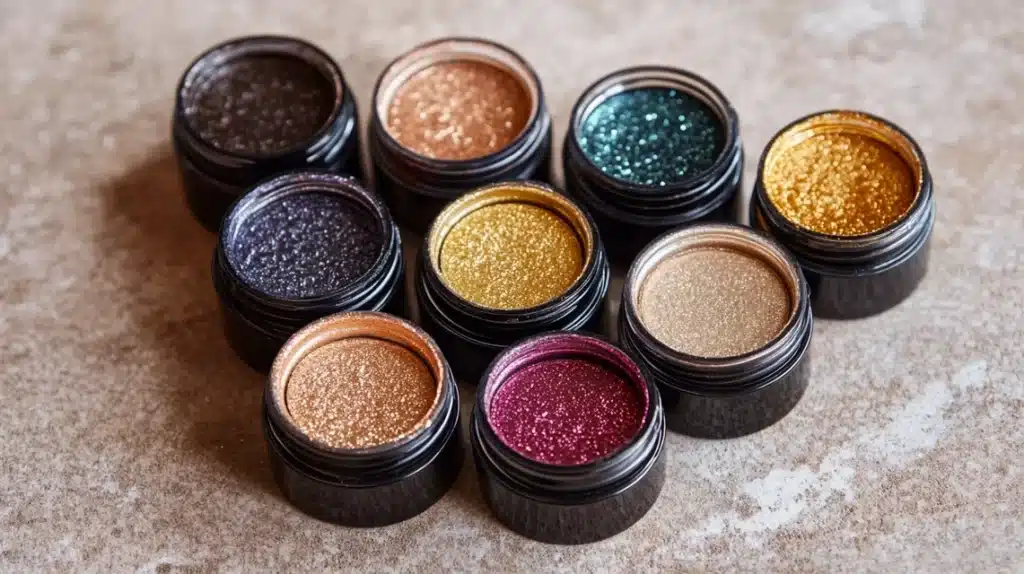
When selecting a color for your project, you have nine options to pick from:
- Antique Gold: A warm, muted gold that works well for vintage-style items
- Autumn Gold: A rich, deeper gold that adds warmth to any piece
- Ebony: A dark, rich black shade with subtle metallic undertones
- European Gold: A light, bright gold perfect for modern looks
- Gold Leaf: A classic gold that mimics traditional gilding
- Grecian Gold: A soft, pale gold that suits subtle highlights
- Pewter: A cool, silvery gray for industrial or modern styles
- Silver Leaf: A bright, clean silver for contemporary pieces
- Spanish Copper: A warm, reddish metallic that adds depth
These shades work with many styles, from old-world charm to clean, modern designs.
You can mix them to create custom looks, use pewter with gold for an aged effect, or layer ebony over gold for depth.
Application Techniques for Rub ‘n Buff
Getting good results with Rub ‘n Buff starts with the right method.
First, put on a disposable glove – this stuff sticks to everything, including your hands!
Take a tiny amount, about the size of a pea, and work it onto your surface using small circles.
Think of it like putting cream on your face – gentle and even.
The key is using very little product. Too much makes a mess and wastes the material.
Once you’ve spread it evenly, grab a clean, soft cloth and start buffing. The more you buff, the shinier it gets.
If you need more shine in some spots, just buff those areas more. If you want full coverage, wait for the first layer to dry before adding another.
Application Technique for Metal
Metal needs extra attention before you start. Clean it well with mineral spirits to remove any dirt or oil – even fingerprints can stop Rub ‘n Buff from sticking properly.
Once it’s clean, use fine sandpaper to lightly scratch the surface. This gives the product something to grip onto, like making tiny grooves to sit in.
Apply very thin coats – metal shows every mark, so less is better.
Work in one direction with your cloth or finger, then buff in the same direction. This helps prevent streaks.
If you want an old-looking finish, try not buffing some areas as much. This creates light and dark spots that make the piece look naturally aged.
Application Technique for Wood
Wood takes Rub ‘n Buff differently than metal. Start by cleaning off any dust. Even tiny bits can make bumps in your finish.
If your wood has a shiny finish, sand it lightly. This helps the product stick and prevents peeling later.
Put on thin layers in the direction of the wood grain.
This makes the finished look natural, as if the metal color belongs there.
Use your finger to press the product into the grooves for carved areas or details in the wood.
You can make the effect as subtle or strong as you want – one layer gives a hint of metal, while more layers make it more noticeable.
Application Technique for Patterned Glass
Working with patterned glass takes a careful touch. Start with completely clean glass – any smudges will show through.
Focus on getting the product into the etched or textured areas. Work on small parts at a time, about the size of your palm.
This stops the product from drying before you can buff it properly. Use your finger or a small brush to push the product into the patterns.
Then, quickly wipe the flat parts of the glass with a clean cloth. This creates a nice contrast between the shiny patterns and clear glass.
Take your time with buffing – rushed work shows up clearly on the glass.
Once you’re done, the metallic finish should sit perfectly in the patterns while the rest of the glass stays clear.
DIY ideas with Rub n Buff for your home!
Give a fancy look to your frame
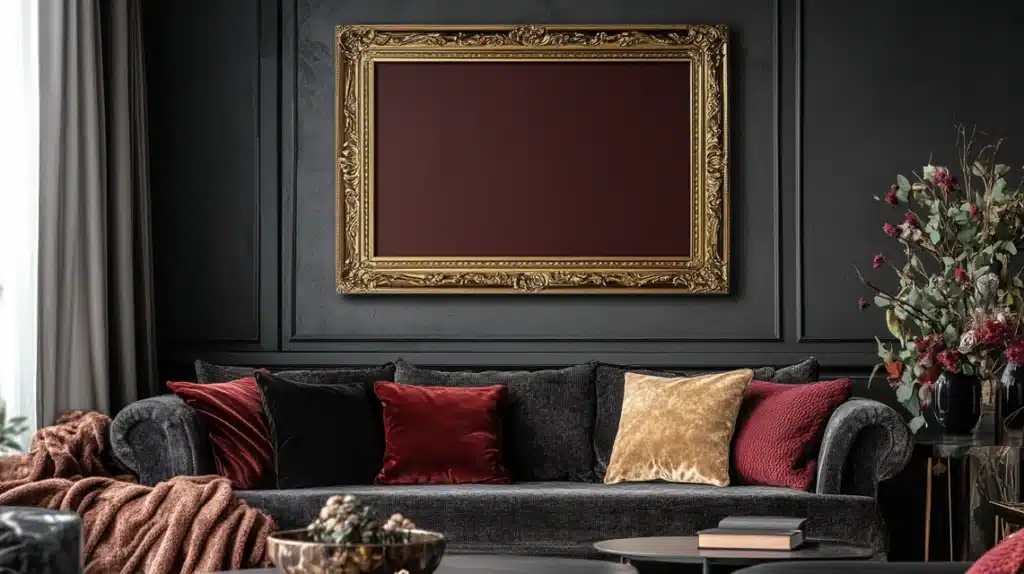
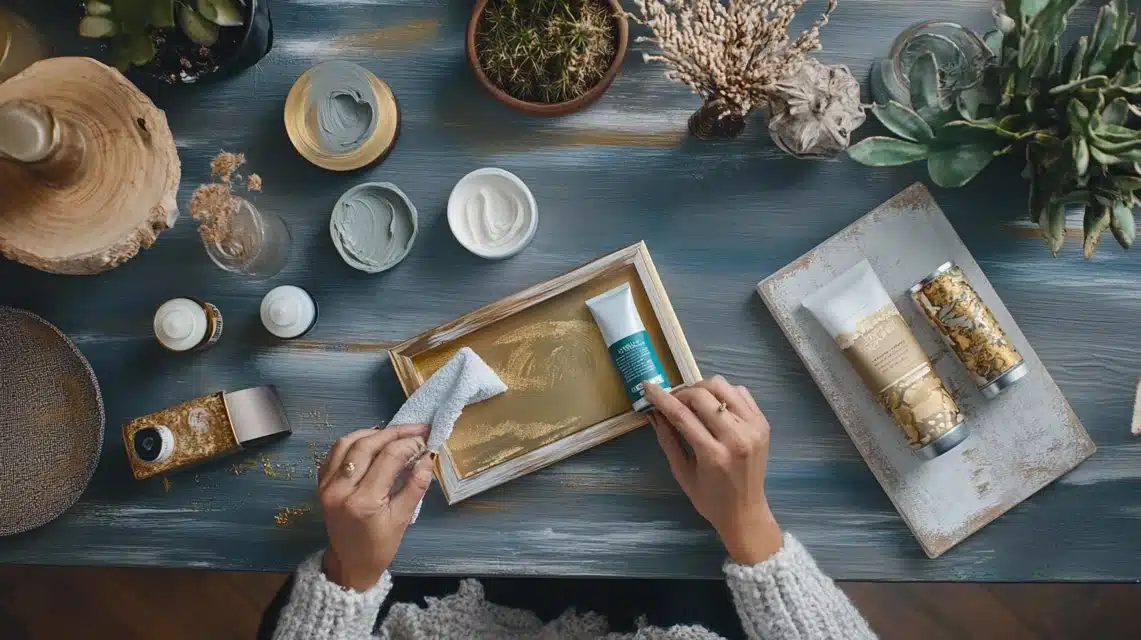
You can make any frame look special with Rub ‘n Buff.
Take a basic frame from the store and turn it into something that looks like an expensive piece.
Rub the product into the corners and details – these spots really show off the metallic shine.
For a classic look, try European Gold. Want something more modern? Silver Leaf makes frames look clean and new.
You can even mix colors to make your own special finish.
Renovate your taps
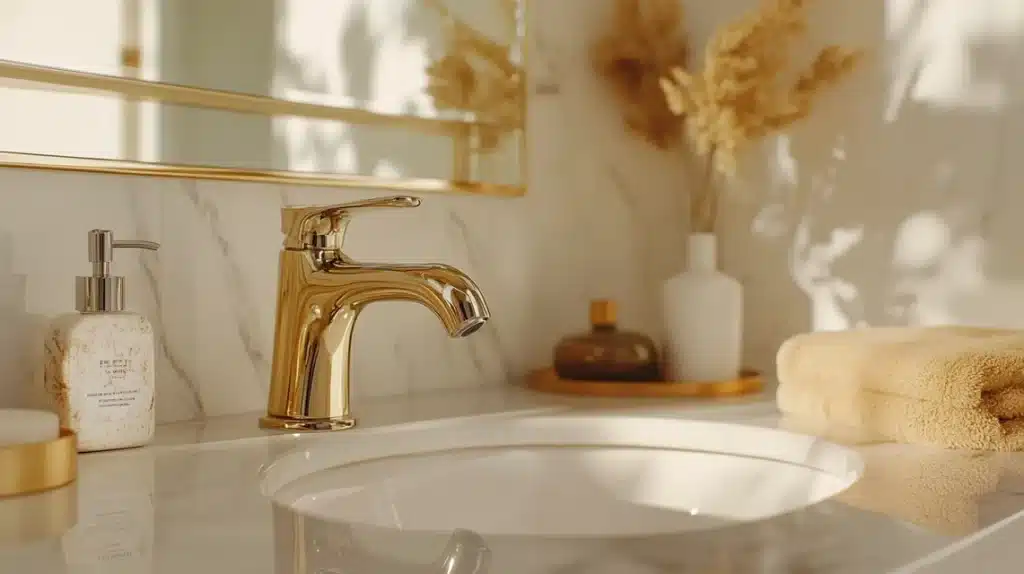
Old taps can make your bathroom look dated. Here’s how to fix that: First, clean your taps well with mineral spirits.
Put on thin layers of Rub ‘n Buff, making sure to get into all the curves.
Work slowly around the base and handles. After it’s done and dry, add a coat of oil-based clear polyurethane.
This extra step helps the finish last longer, which matters a lot for things you touch often.
You can do this same thing with shower door frames to match.
Update your furniture
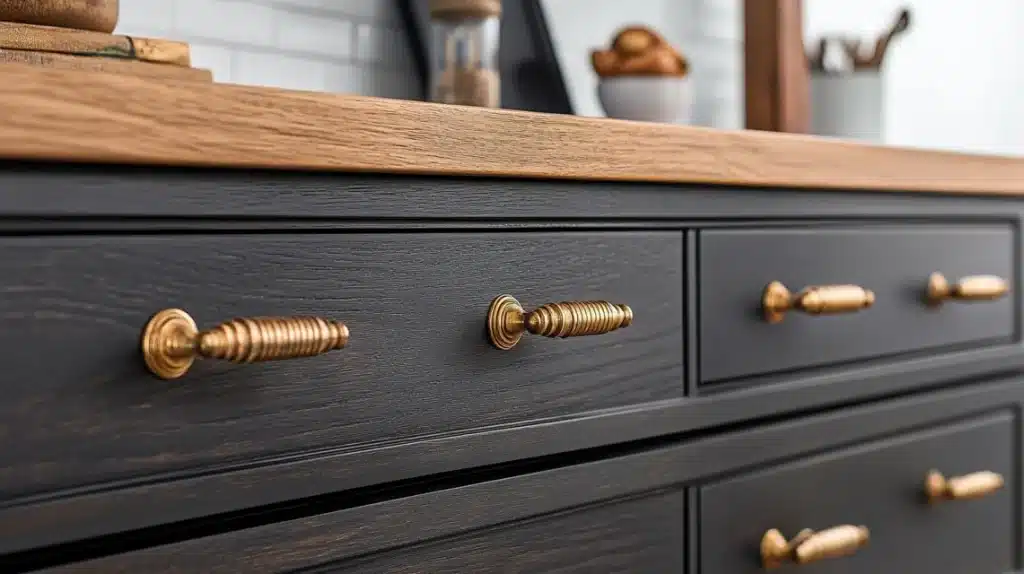
Think about the handles and knobs in your house – they’re small, but they make a big impact.
Take those old brass pulls and make them look fresh with Rub ‘n Buff. First, clean each piece well.
Then, apply a thin coat of your chosen color. Want an aged look? Put on Antique Gold, then add tiny bits of Ebony in spots.
This makes the hardware look like it’s been there for years but in a good way. Make sure to let each layer dry before adding another.
Let your decor shine
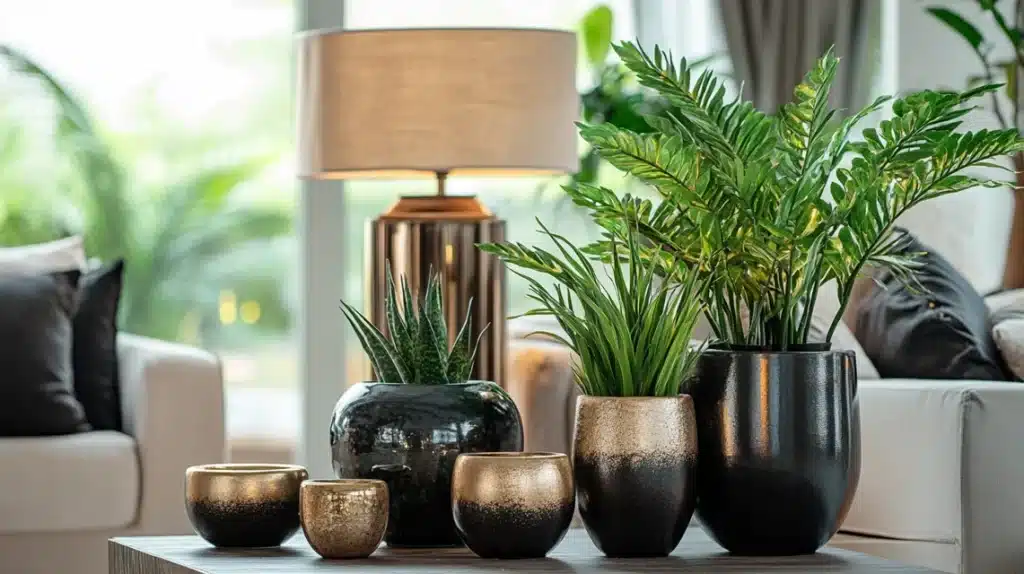
Look around your house – those plain items can become special. That basic lamp base? Make it match your room’s style with Silver Leaf.
The boring planter? Add texture with Gold Leaf. Here’s a tip: work in small sections on bigger items. This helps you keep the finish even.
You can even use it on plastic items – they’ll look like real metal when you’re done.
Remember to clean everything well first, and take your time with the buffing.
Additional Styling Elements
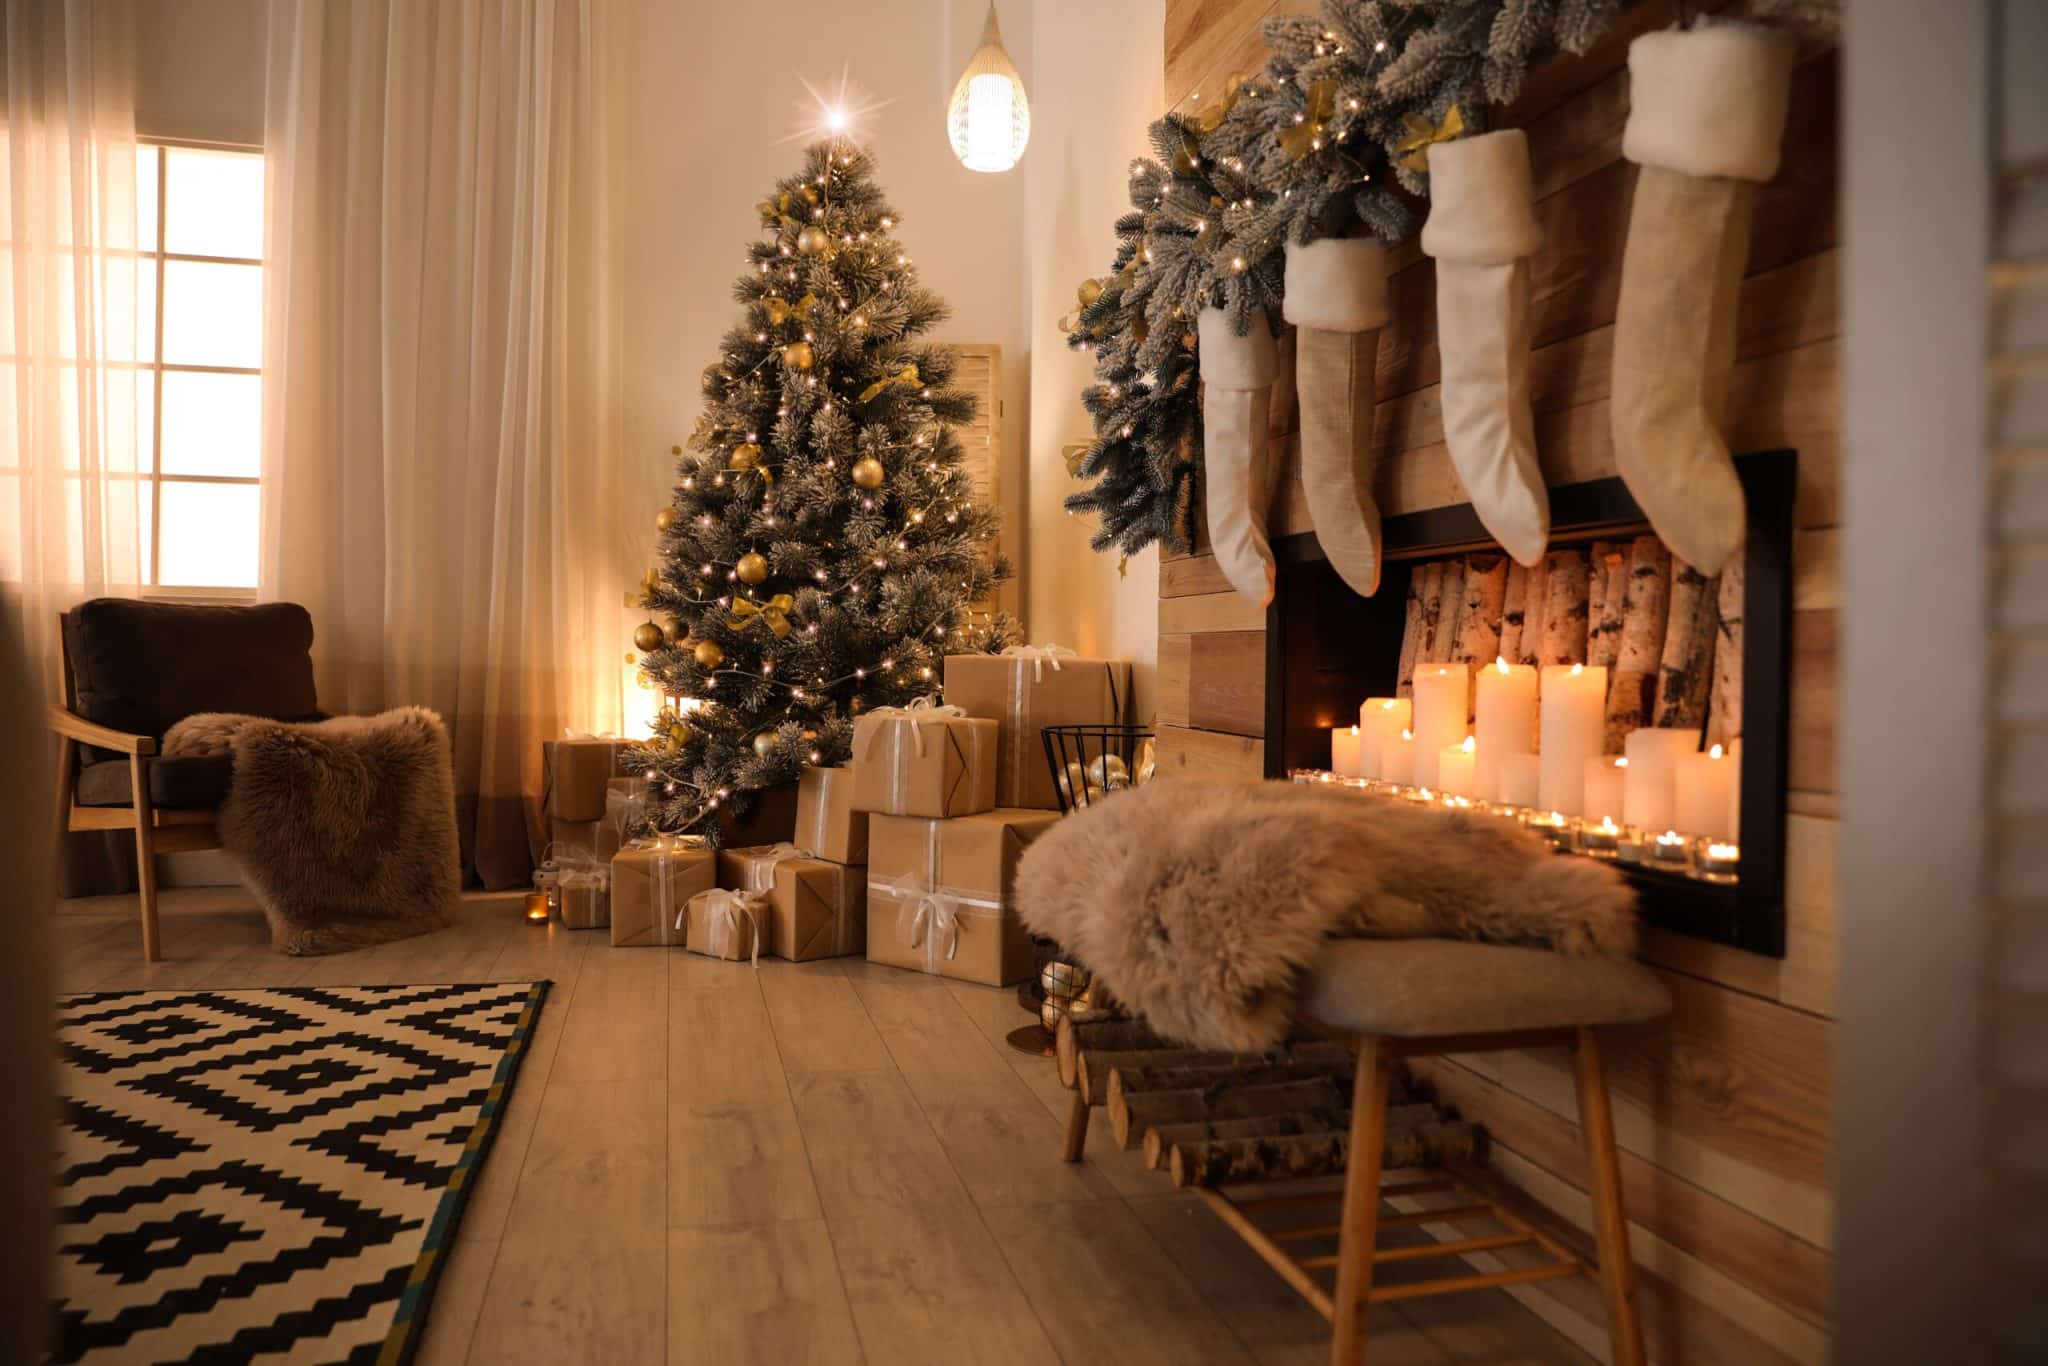
Make your seasonal items special by adding metallic touches.
Plain glass balls can become beautiful holiday decorations. Old bells can shine again with new color.
Look for items with patterns or carvings – these details stand out with Rub ‘n Buff.
Work the product into the deep spots, then clean the raised areas.
This creates depth that catches light and makes simple items look more interesting.
Removing rub n buff is difficult but possible
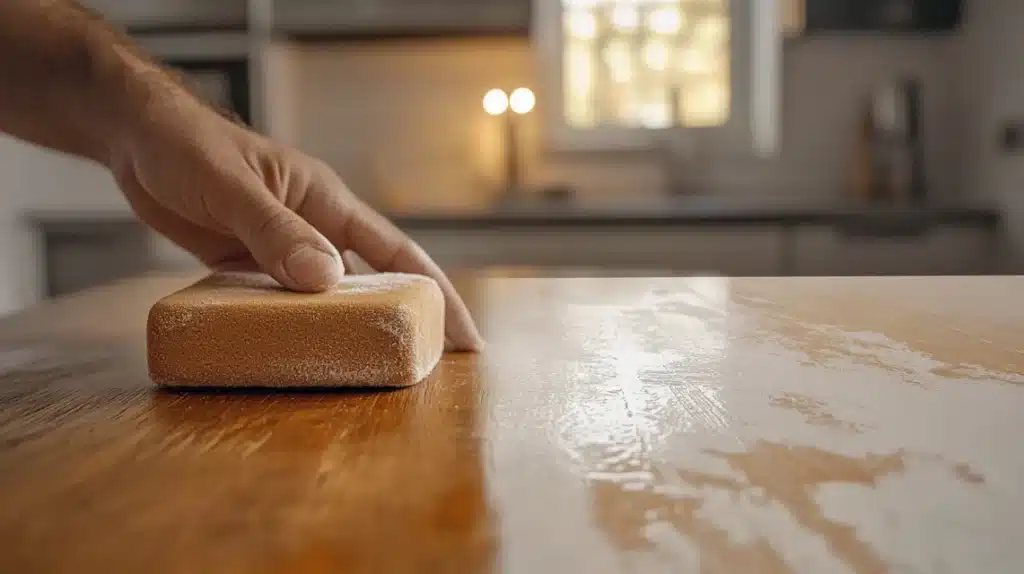
Sometimes, you might want to start fresh. Here’s what works: Start with warm, soapy water and a soft cloth.
If that’s not enough, try a magic eraser – but test it first in a hidden spot.
For tough spots, use mineral spirits, but be careful with this strong cleaner. Work in a room with good airflow, and wear gloves.
On wood, you might need to sand after removing the product.
Remember that taking it off textured surfaces is harder, so think carefully before applying it to these areas.
Conclusion
I can tell you it’s worth trying after using Rub ‘n Buff on so many things in my home. The best part? You don’t need to be an expert.
Clean your item, put on a thin layer, and buff until you like how it looks. Start small with a picture frame or some drawer pulls.
Once you see how easy it is, you’ll spot all kinds of things around your house that could use a metallic touch!
Pick colors that match your style – Antique Gold for old-world charm, Silver Leaf for modern spaces, or Spanish Copper for a warm look.
Frequently Asked Questions
Do I need to sand before using Rub n Buff?
Sanding is only needed on very smooth or shiny surfaces. For most items, ensure the surface is clean and dry before starting.
Why is my rub n buff not sticking to metal?
Your metal surface might be too smooth or have oils on it. Clean it well with mineral spirits and lightly sand it first for better grip.

