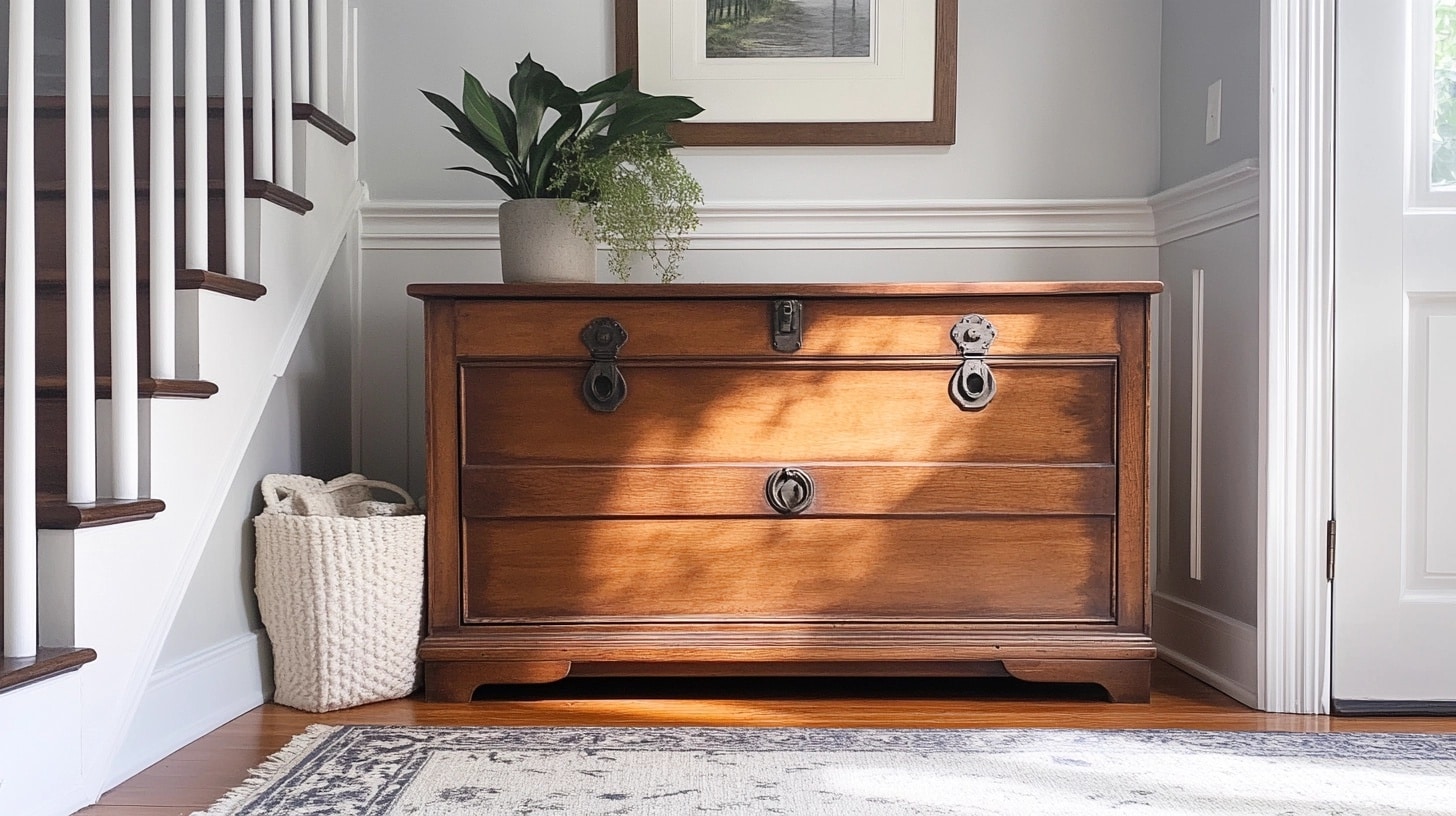
Revitalize Your Space with a Lane Cedar Chest Makeover
Old cedar chests often sit forgotten in attics or basements, collecting dust and occupying space. I know the feeling – I had one sitting in my garage for years, unsure what to do with this family piece.
But I learned these vintage treasures can become stunning focal points with just a bit of care and creativity.
I’m excited to share my guide to breathing new life into your cedar chest. You’ll learn how to turn that overlooked piece into something special while keeping its cherished character through simple steps and basic tools.
In this post, I’ll explain how to choose the right materials, proper preparation techniques, and painting methods for cedar.
I’ll also share tips on hardware updates and finishing touches that make all the difference.
Benefits of A Lane Cedar Chest Makeover
Updating Style
I’ve found that giving a cedar chest a fresh look helps it fit perfectly with today’s home styles.
A new finish or paint color can transform an old piece into something that matches your current decor while maintaining its classic shape.
Preserving Memories
Family heirlooms tell stories through generations. When I restore cedar chests, I keep their core structure intact.
This way, the piece holds onto its history and emotional value while looking refreshed and cared for in your home.
Enhancing Functionality
Your cedar chest can do more than store blankets. I’ve seen these pieces work wonderfully as coffee tables, entryway seating, or toy storage.
Adding proper hinges and supports makes the chest both beautiful and practical.
Understanding Your Cedar Chest

Before starting any updates, I always check every detail of the chest. Here’s my tried-and-true inspection process:
1. Assessing Condition
- Look for splits or cracks in the wood panels
- Check joints and corners for looseness
- Inspect the bottom for water damage or rot
- Test lid stability and hinge function
2. Safety Checks
I can’t stress this enough – safety comes first! Make sure to:
- Verify if your model has any recall notices
- Test the lid’s opening and closing mechanism
- Check for proper ventilation holes
- Ensure lid support hardware works correctly
3. Evaluating Value
Some older cedar chests are worth more in their original state. Before making changes, I recommend:
- Looking up the manufacturer and model
- Checking for maker’s marks
- Taking photos of any original hardware
- Dating the piece through its construction style
Materials Required for A Cedar Chest Makeover
| Tools | Materials |
|---|---|
| Drill | Plastic wood putty |
| Chisel | Sandpaper (various grits) |
| Rotary sander | Stain-blocking primer |
| Foam brush | Chalk paint |
| Putty knife | Gel stain |
| Clamps | Rust-Oleum protective coat |
| Paintable caulk | Liquid nails |
| Screwdriver | Lint-free cloth or shop towels |
| Measuring tape | Mineral spirits |
| Fine-grit sandpaper | Wooden board (for bottom reinforcement) |
Step-by-Step Guide to Cedar Chest Makeover
1. Preparation and Hardware Removal
- Remove all hardware, including handles and screws. Drill out eight screws holding the 1970s handles and detach them.
- Use a chisel carefully to remove decorative wood pieces without damaging the chest. Clean off excess glue or debris.
2. Sanding and Filling Imperfections
- Sand the chest’s surface using a rotary sander to remove the old stain and smooth the surface. Begin with coarse-grit sandpaper and gradually move to finer grit.
- Fill crevices with plastic wood putty. Wait for the putty to dry (it changes color when ready) before sanding it smooth again.
3. Applying Primer and Paint Preparation
- Tape off edges and apply a stain-blocking primer to the chest’s base. Use a foam brush or cloth for even application. Ensure proper ventilation as primers can emit fumes.
- Sand between coats with fine-grit sandpaper for a smooth finish.
4. Staining the Chest Top
- Use mineral spirits to clean the sanded top. Apply gel stain using a foam brush in the direction of the wood grain. Wipe off excess stain with a lint-free cloth or shop towel.
5. Adding Support for Modern Legs
- Flip the chest and attach a new wooden sheet to the bottom for additional leg support. Use liquid nails to secure the sheet, and clamp it until the adhesive cures (24 hours). Seal gaps with paintable caulk for a seamless look.
6. Attaching New Legs
- Drill pilot holes in the newly added base for leg supports to avoid splitting. Attach legs securely with screws, ensuring they are stable and evenly aligned.
7. Final Painting and Sealing
- Apply two coats of chalk paint, lightly sanding between coats. Use light strokes and allow drying time between applications.
- Seal the stained top with a Rust-Oleum protective coat. Similarly, seal the chalk paint to protect against wear and water damage.
For a detailed tutorial on Cedar Chest Makeover, check out the video below:
Tips for a Successful Lane Cedar Chest Makeover
- Start with gentle cleaning – a soft cloth and mild soap work best.
- Take photos before you begin to track your progress.
- Write down measurements and details about original hardware.
- Sand in the wood grain direction only.
- Use primer made for cedar wood.
- Apply thin paint layers instead of one thick coat.
- Let each coat dry completely – patience is key.
- Keep your workspace well-ventilated.
- Save original hardware in labeled bags.
- Test products on a hidden spot first.
- Keep the inside wood natural for clothing storage.
- Store small parts in clear containers while working.
- Take breaks between steps to avoid rushing.
- Clean brushes right after use for next time.
Safety and Maintenance Tips
Addressing Recalls
I take chest lock safety seriously, especially with Lane cedar chests made before 1987. The old locks can trap children inside. I always tell my readers to:
- Remove old spring-loaded locks
- Contact manufacturers for free replacement locks
- Keep documentation of safety updates
Child Safety
Simple changes make these chests safer for homes with kids:
- Install safety hinges that prevent lid slam
- Add slow-close mechanisms
- Remove key locks that might interest small children
- Place the chest where kids can’t climb in
Ongoing Care
I’ve learned these basic care steps help maintain your chest’s beauty:
- Dust weekly with a soft cloth
- Clean with mild soap when needed
- Keep away from direct sunlight
- Use furniture wax twice yearly
- Check hinges and locks monthly
Wrapping It Up
Giving new life to an old cedar chest is more than a weekend project. I’ve shared my methods to help you turn a forgotten family piece into a useful, safe, and beautiful addition to your home. From checking safety features to adding final touches, each step matters.
Remember, these chests carry stories within their wood. By taking time to fix them up properly, we keep those memories alive while making them work for today’s needs.
Ready to start your cedar chest project? First, check for recalls, gather your supplies, and work step by step.
If you enjoy furniture makeovers, check out my other DIY guides on building a coffee bar cabinet, creating a storage bench, or making a boot rack (and many more!).
Share your cedar chest story in the comments below – I’d love to see what you create!


