Renting with Pets? 10 Tips for Your End of Lease Flea Control
So, your lease is almost up, and you’re knee-deep in packing boxes, organizing utilities, and managing endless to-do lists. Amidst all this chaos, there’s one critical task that often gets overlooked: End of lease pest control. If you’ve had pets, it’s essential to ensure your rental property is flea-free before handing over the keys.
Don’t worry! With a bit of preparation and some elbow grease, you can manage this effectively and leave your former home in impeccable condition.
1. Start with a Clean Slate

Before diving into specific flea control measures, begin with a thorough cleaning of your entire home. Fleas are notorious for hiding in the most unexpected places, such as carpets, rugs, upholstery, and even behind baseboards. Vacuum every corner of your space meticulously.
Ensure you focus on areas where fleas and their eggs are most likely to be hiding, such as along the edges of carpets and under furniture. After vacuuming, dispose of the vacuum bag or empty the canister outside your home to prevent any fleas from escaping back into your living space.
2. Wash It All
Next, turn your attention to washable fabrics throughout your home. Fleas and their eggs can cling to materials such as curtains, couch covers, and pet bedding. Wash all these items in hot water, as the high temperature will help kill fleas and their eggs. If the items are machine washable, run them through a hot cycle. For items that can’t be machine washed, consider taking them to a professional cleaner who can ensure they’re treated effectively.
3. Treat Your Pets
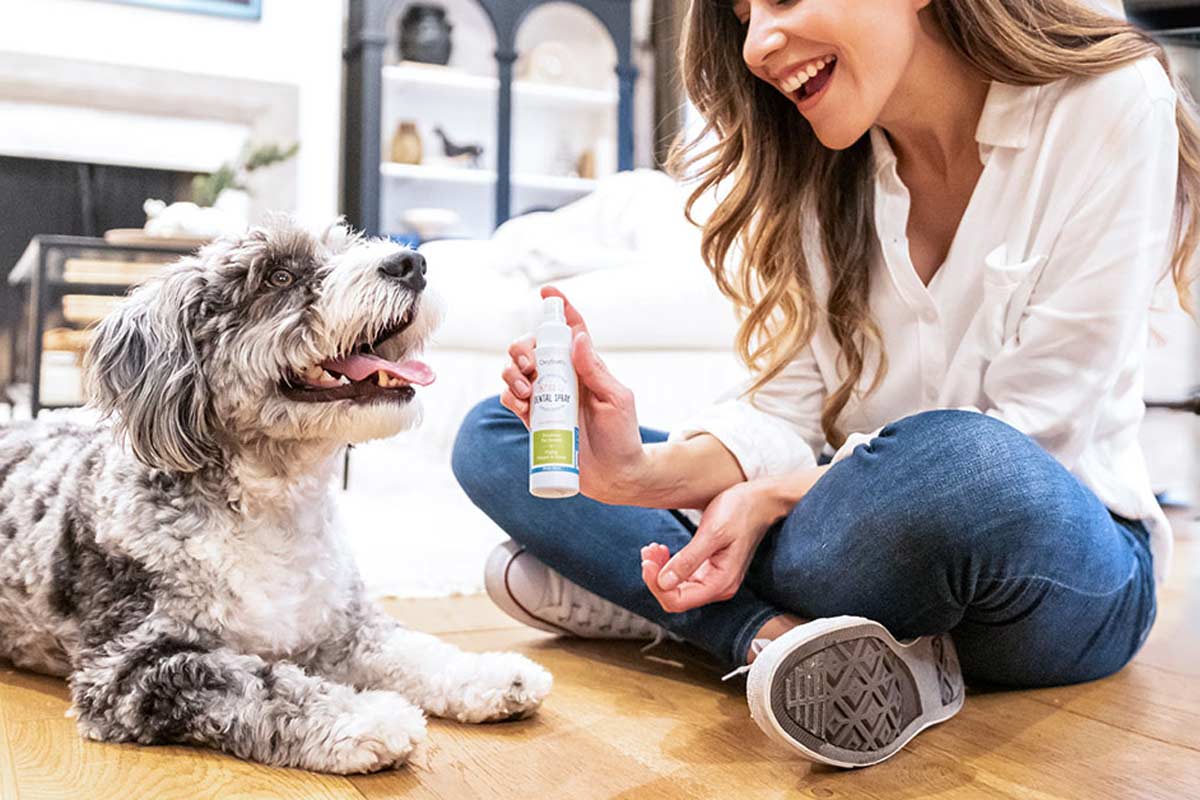
Your pets are the primary carriers of fleas, so they require special attention. Administer a flea bath or use a vet-recommended flea treatment for your pets. If your pets are already on a flea prevention program, ensure their treatments are current and up-to-date. Consult with your veterinarian for advice on the most effective treatments available. Remember, a clean home is not enough if your pets still have fleas.
4. Remove Droppings and Fur
Take a trip to your yard or balcony and clean up any signs of your pets’ presence. This includes picking up and properly disposing of any pet droppings, fur, and toys. Fleas can hitch a ride on pet toys and bedding, so ensuring that these items are clean and free of debris is crucial for effective flea control.
5. Use Flea Control Products
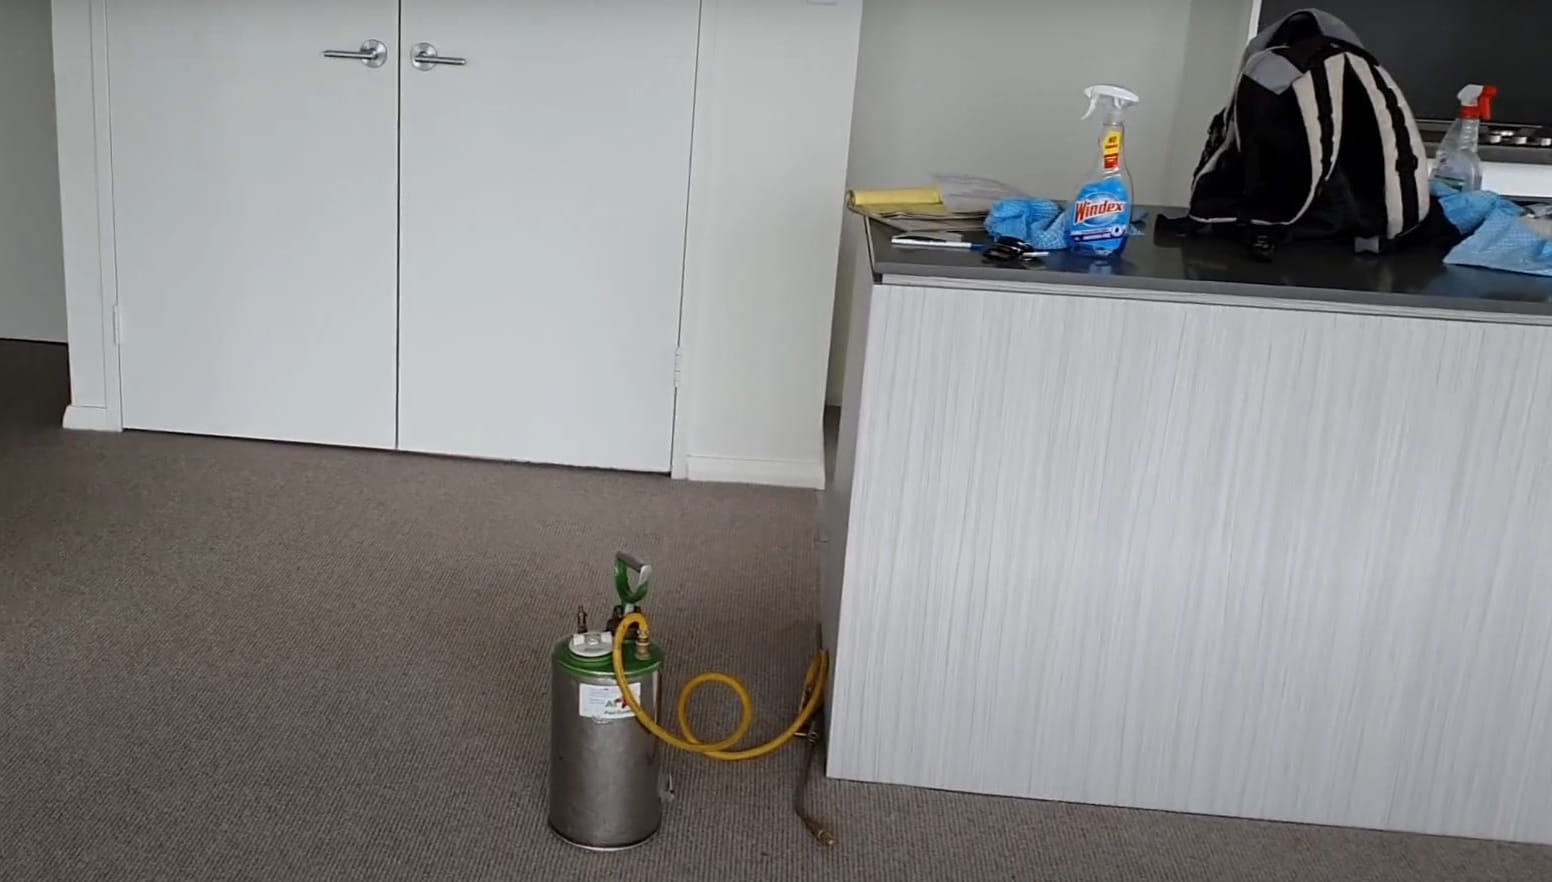
Invest in flea control products designed for home use. You can find these products at pet stores or online. Options include flea sprays and insect bombs, which are specifically formulated to tackle fleas in your living space.
Follow the product instructions carefully, as many of these products require you to vacate the premises for a few hours while they take effect. Make sure to plan accordingly to avoid any inconvenience.
6. Seal and Protect
Fleas can find their way into your home through the smallest cracks and crevices. Seal up any gaps or cracks in your floors, walls, and around baseboards to prevent fleas from entering or escaping. This step is crucial not only for keeping new fleas out but also for ensuring that any remaining fleas within the home cannot find a new hiding spot.
7. Document Everything
To protect yourself from any disputes with your landlord, it’s wise to document the flea control measures you’ve taken. Take photos or make detailed notes about the steps you’ve implemented. This documentation can serve as proof of your efforts and may be necessary if your landlord asks for evidence of flea control.
8. Organize Your Pest Control Service
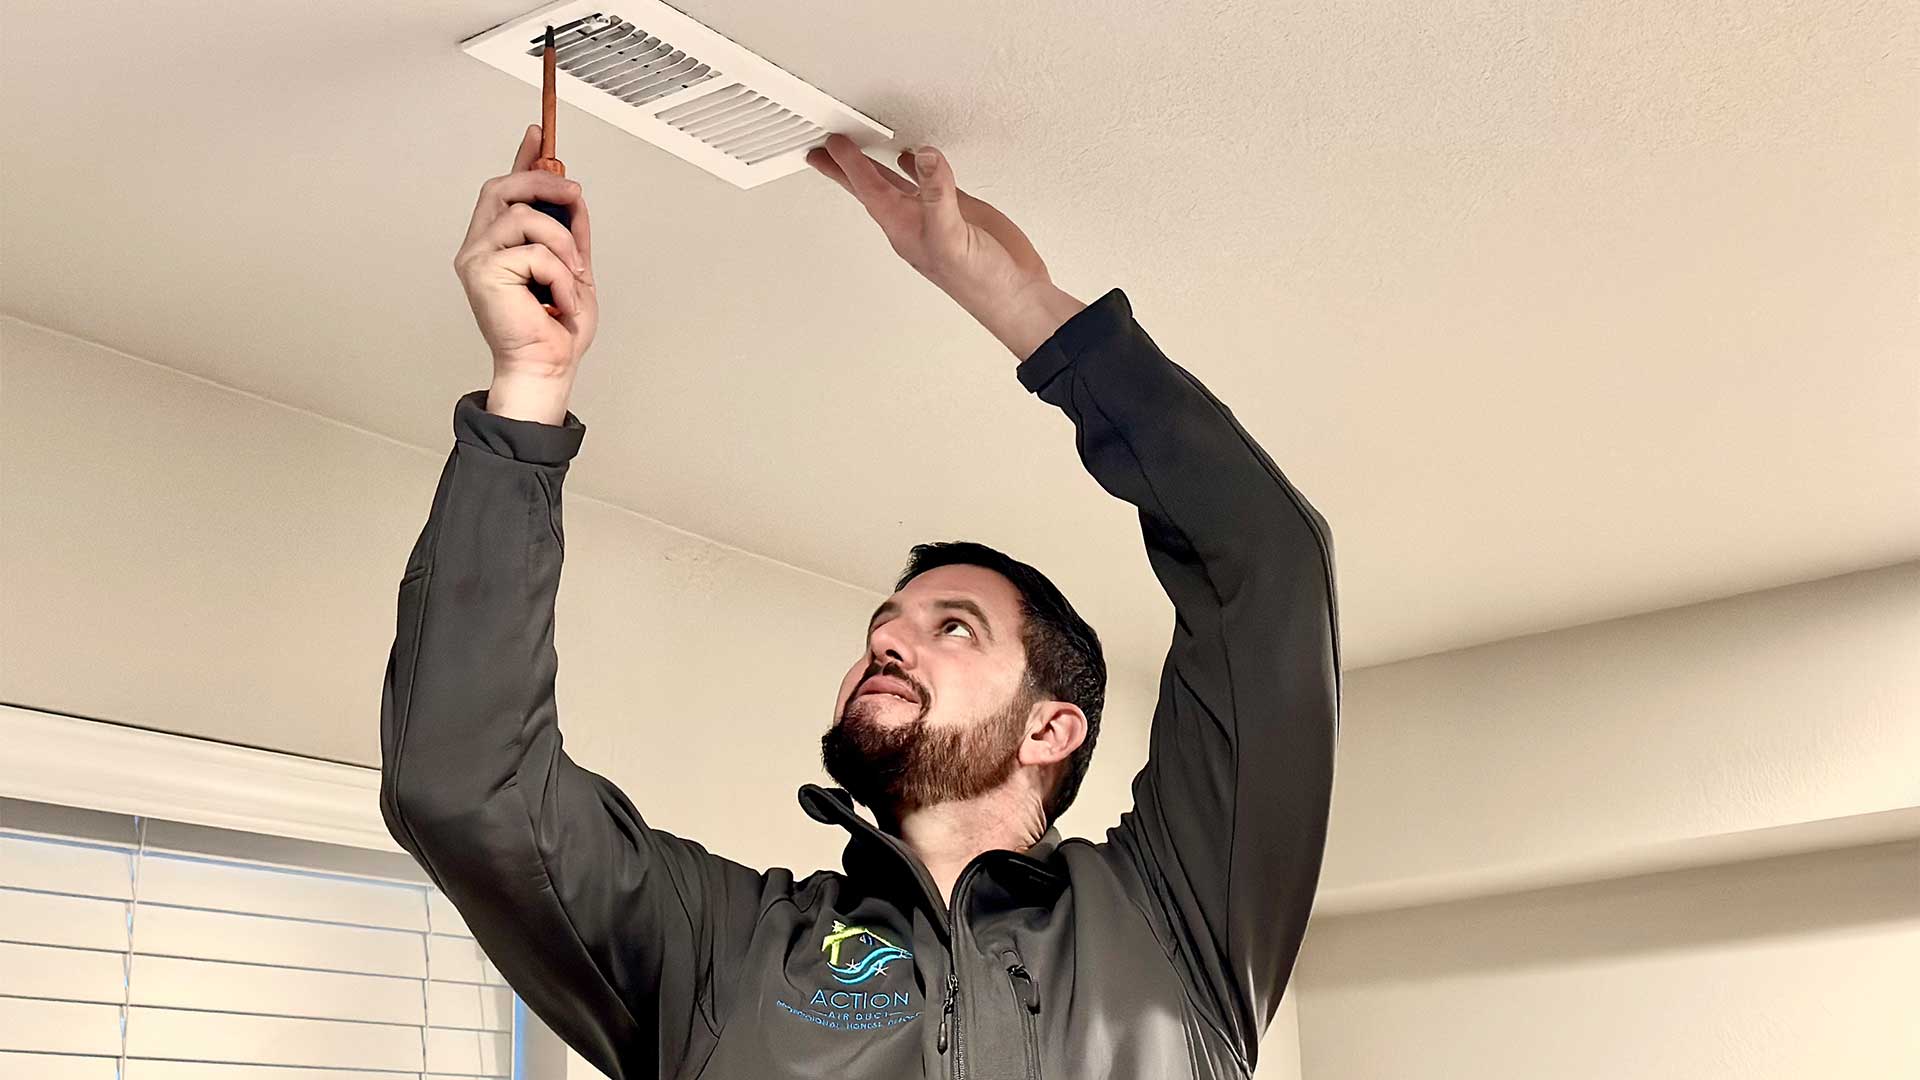
If you’re feeling overwhelmed or if the flea problem is extensive, consider hiring a professional pest control service. Search online for “End of Lease Flea Control” and “End of Lease Flea Treatment” in your local area. Shortlist at least three pest control companies with excellent reviews. Contact them for quotes and discuss their services to find the best option in terms of price and customer service. A professional service can provide a thorough treatment and ensure all fleas are eradicated.
9. Make Sure You Get Your Certificate
When booking a pest control service, be clear about the need for an end-of-lease flea control certificate. This certificate serves as proof that the property has been treated for fleas. Ideally, obtain the certificate directly from the pest control technician once the job is completed. This document will be valuable if your landlord requests evidence of flea treatment before returning your bond or security deposit.
10. Final Sweep
Before you hand over the keys, perform a final sweep of the property. Check for any remaining signs of fleas, such as flea dirt or eggs. Give any trouble spots a final vacuuming to ensure that your efforts have been thorough. It’s better to address any issues now rather than face potential disputes with your landlord later.
Conclusion
By following these ten tips, you’ll be well-prepared to handle end-of-lease flea control effectively. A clean, flea-free home will not only ensure that you meet your lease obligations but also help you secure your security deposit. Moving out is stressful enough without the added worry of pest problems, so taking these proactive steps will set you up for a smooth transition.
For those seeking more comprehensive solutions or professional assistance, consider visiting A1 Pest Control Sydney. Our experts offer year-round pest management services to keep your home safe and pest-free. Happy moving!
By implementing these strategies, you’ll have a better chance of leaving your rental property in the best possible condition—flea-free and ready for the next tenant.


