Plywood Ceilings: Ultimate Guide to Installation, Design Ideas and More
A plywood ceiling can completely change how your room looks and feels. It’s popular for homeowners who want something different from standard drywall. The simple look of plywood adds warmth to any space while staying within budget.
Many people think plywood is just for construction. But this material has grown into a favorite for indoor ceilings. Its natural wood patterns create interest, and its flat surface makes it perfect for modern and traditional homes.
This guide will teach you everything about plywood ceilings. We’ll discuss how to install them, share design ideas, and help you pick the right type. You’ll also learn about costs, tools needed, and tips for making your project successful.
By the end, you’ll have the know-how to add a plywood ceiling to your home. Let’s start with the basics and build up to more complex details.
Types of Plywood for Ceilings
| Type of Plywood | Grade | Description | Cost Factor |
|---|---|---|---|
| Softwood Plywood | Standard | Commonly used, made from pine, cedar, spruce, etc. | Low |
| Hardwood Plywood | Premium | Made from hardwoods like oak, maple, and birch; it is durable | Moderate to High |
| Marine Plywood | High | Water-resistant, used in high moisture areas | High |
| Birch Plywood | High | Fine grain, smooth finish, good for visible surfaces | Moderate |
| Fire-Retardant Plywood | Specialty | Treated to resist combustion and slow down burning | High |
| Flexible Plywood | Specialty | Designed for curved surfaces, less structural | Moderate |
| Prefinished Plywood | High | Comes with a ready-to-use finish, saves labor | Moderate to High |
Installation Guide: Putting Up Your Plywood Ceiling
Planning your plywood ceiling installation carefully saves time and reduces waste. Here’s how to do it step by step.
Step 1: Preparation
Start by measuring your entire ceiling space. Count how many plywood sheets you’ll need. Make a layout plan that shows where each sheet goes. Put sheets in different patterns to strengthen and improve the ceiling.
Step 2: Edge Work
Paint the edges where plywood sheets will meet. This creates clean lines between panels. Black paint works well here since it won’t show if small gaps appear. These painted lines become part of your ceiling’s design.
Step 3: Frame Check
Look at your ceiling frame carefully. Mark spots that aren’t straight or level. You might find sagging rafters or uneven walls. Fix these issues before putting up any plywood.
Step 4: Cutting Your Plywood
Cut sheets based on your measurements. Some pieces may need special cuts for:
- Angles near walls
- Spots where thickness changes
- Areas around beams
- Corner pieces
Step 5: Adding Adhesive
Put strong glue on your ceiling frame every 4 inches (100mm). Use enough to hold well, but not so much that it drips. Black adhesive helps hide any squeeze-out between panels.
Step 6: Setting Panels
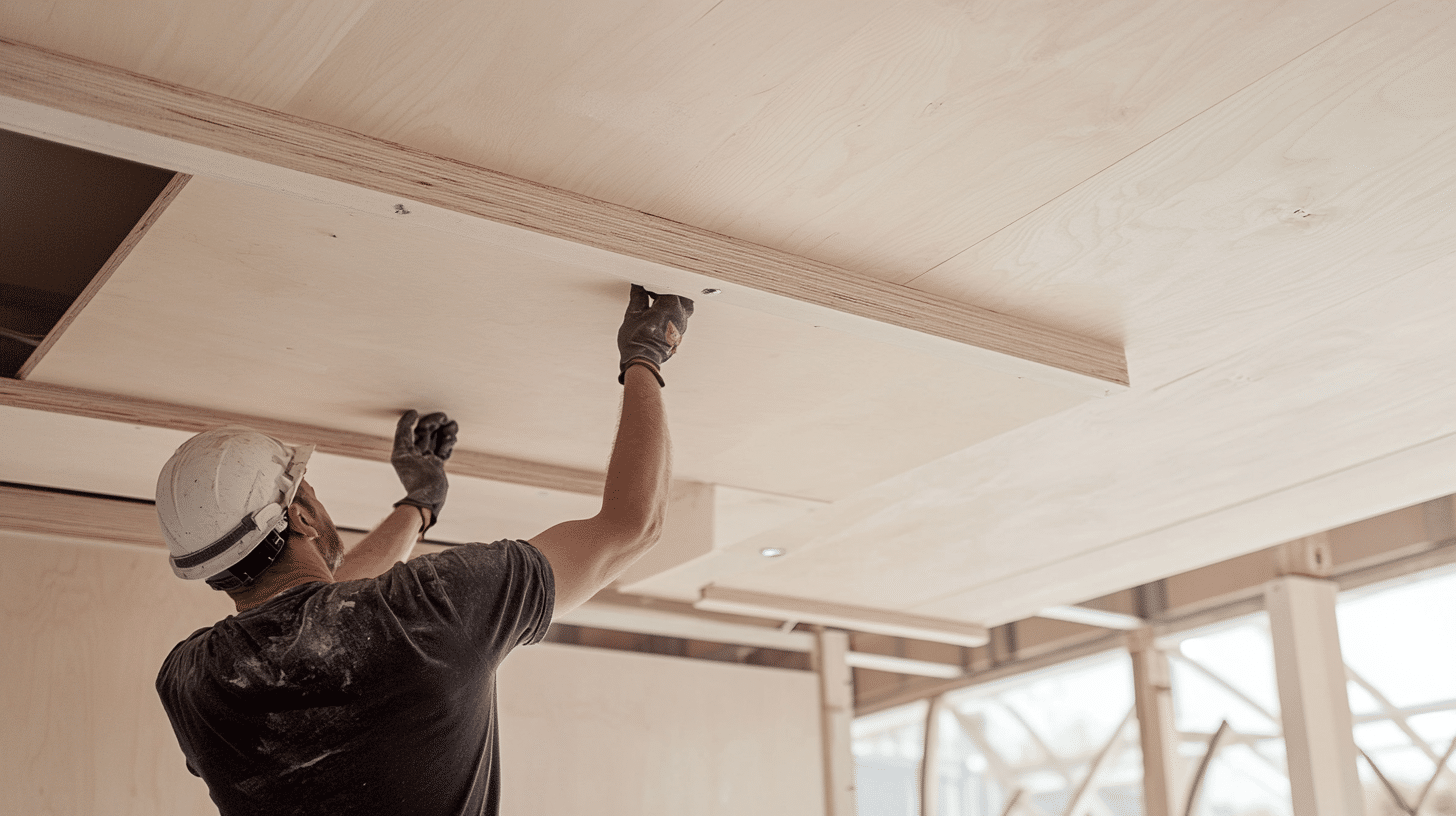
Put up plywood sheets one at a time. Start in a corner and work across the room. Line up the painted edges as you go. Keep sheets level while you work.
Step 7: Securing Panels
Add nails every 24 inches (600mm). Don’t use too many – let the glue do most of the work. This keeps your ceiling looking clean with fewer visible nail spots.
Step 8: Working Safely
Use proper support when handling full sheets. A stable work platform helps prevent:
- Dropped panels
- Broken pieces
- Installation marks
- Safety issues
Step 9: Making It Fit
Trim extra plywood after the panels are up. Cut carefully where:
- Walls meet ceiling
- Beams cross panels
- Corners come together
Step 10: Final Steps
Check all your joints. Fill small gaps if needed. Make sure every panel sits tight against the frame. Look for spots that might need touch-ups.
Step 11: Clean Up
Remove any dried glue. Wipe down the panels. Fill nail holes if you’re using raw plywood. Leave pre-finished panels as they are.
Step 12: Last Look
Stand back and check your work. Look from different spots in the room. The ceiling should look even, with clean lines between panels.
Remember to follow local building rules during installation. Take your time with each step. Good preparation leads to a plywood ceiling that looks great and lasts long.
For a more detailed tutorial, check out this YouTube video on how to install a plywood ceiling!
Maintenance Tips for Your Plywood Ceiling
Keeping your plywood ceiling in good shape doesn’t take much work. A few simple steps help it stay looking fresh for years.
1. Regular Cleaning
Dust your plywood ceiling with a soft brush or dry cloth. This stops dirt from building up over time. Use light strokes to avoid scratching the surface. Monthly cleaning works well for most homes.
2. Dealing with Stains
Spot clean marks as soon as you see them. Use a slightly damp cloth – never soak the wood. Pat the area dry right away with a clean cloth. Water left on plywood can cause spots.
3. Watch for Changes
Check your ceiling every few months. Look for:
- Small gaps between panels
- Changes in color
- Signs of moisture
- Loose spots
- Nail pops
4. Temperature Control
Keep your room temperature steady. Big changes can make wood expand and shrink. This might create gaps in your ceiling. Use your heating and cooling system to maintain even conditions.
5. Moisture Management
Control moisture in your home. Good airflow helps prevent problems. Use fans in bathrooms and kitchens. Fix leaks quickly if you find them. This keeps your plywood ceiling dry and stable.
6. Touch-Up Work
Fix small issues when you find them. Fill nail holes that pop up. Seal any spots where the finish wears off. Small fixes now prevent bigger problems later.
7. Ventilation Matters
Keep air moving in your rooms. Good airflow helps your ceiling last longer. It stops moisture from settling on the wood. Open windows when weather permits.
Remember, plywood ceilings need less work than many other types. Simple care keeps them looking good. Quick action on small problems helps avoid bigger ones later.
Plywood Ceiling: Design Inspirations and Ideas
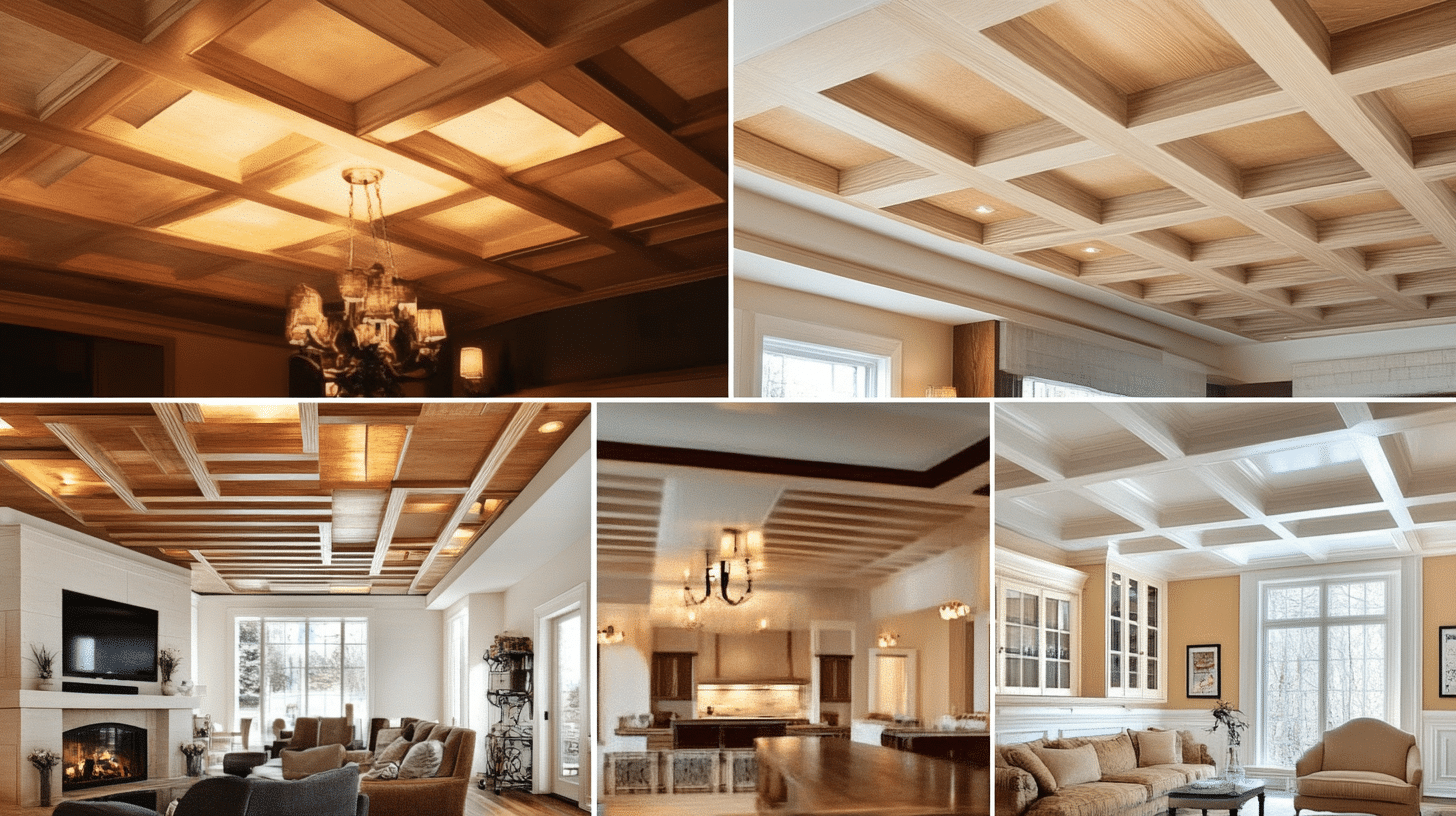
A plywood ceiling opens up many style options for your home. Let’s look at some popular designs that work well with this material.
Exposed Plywood Beam Look
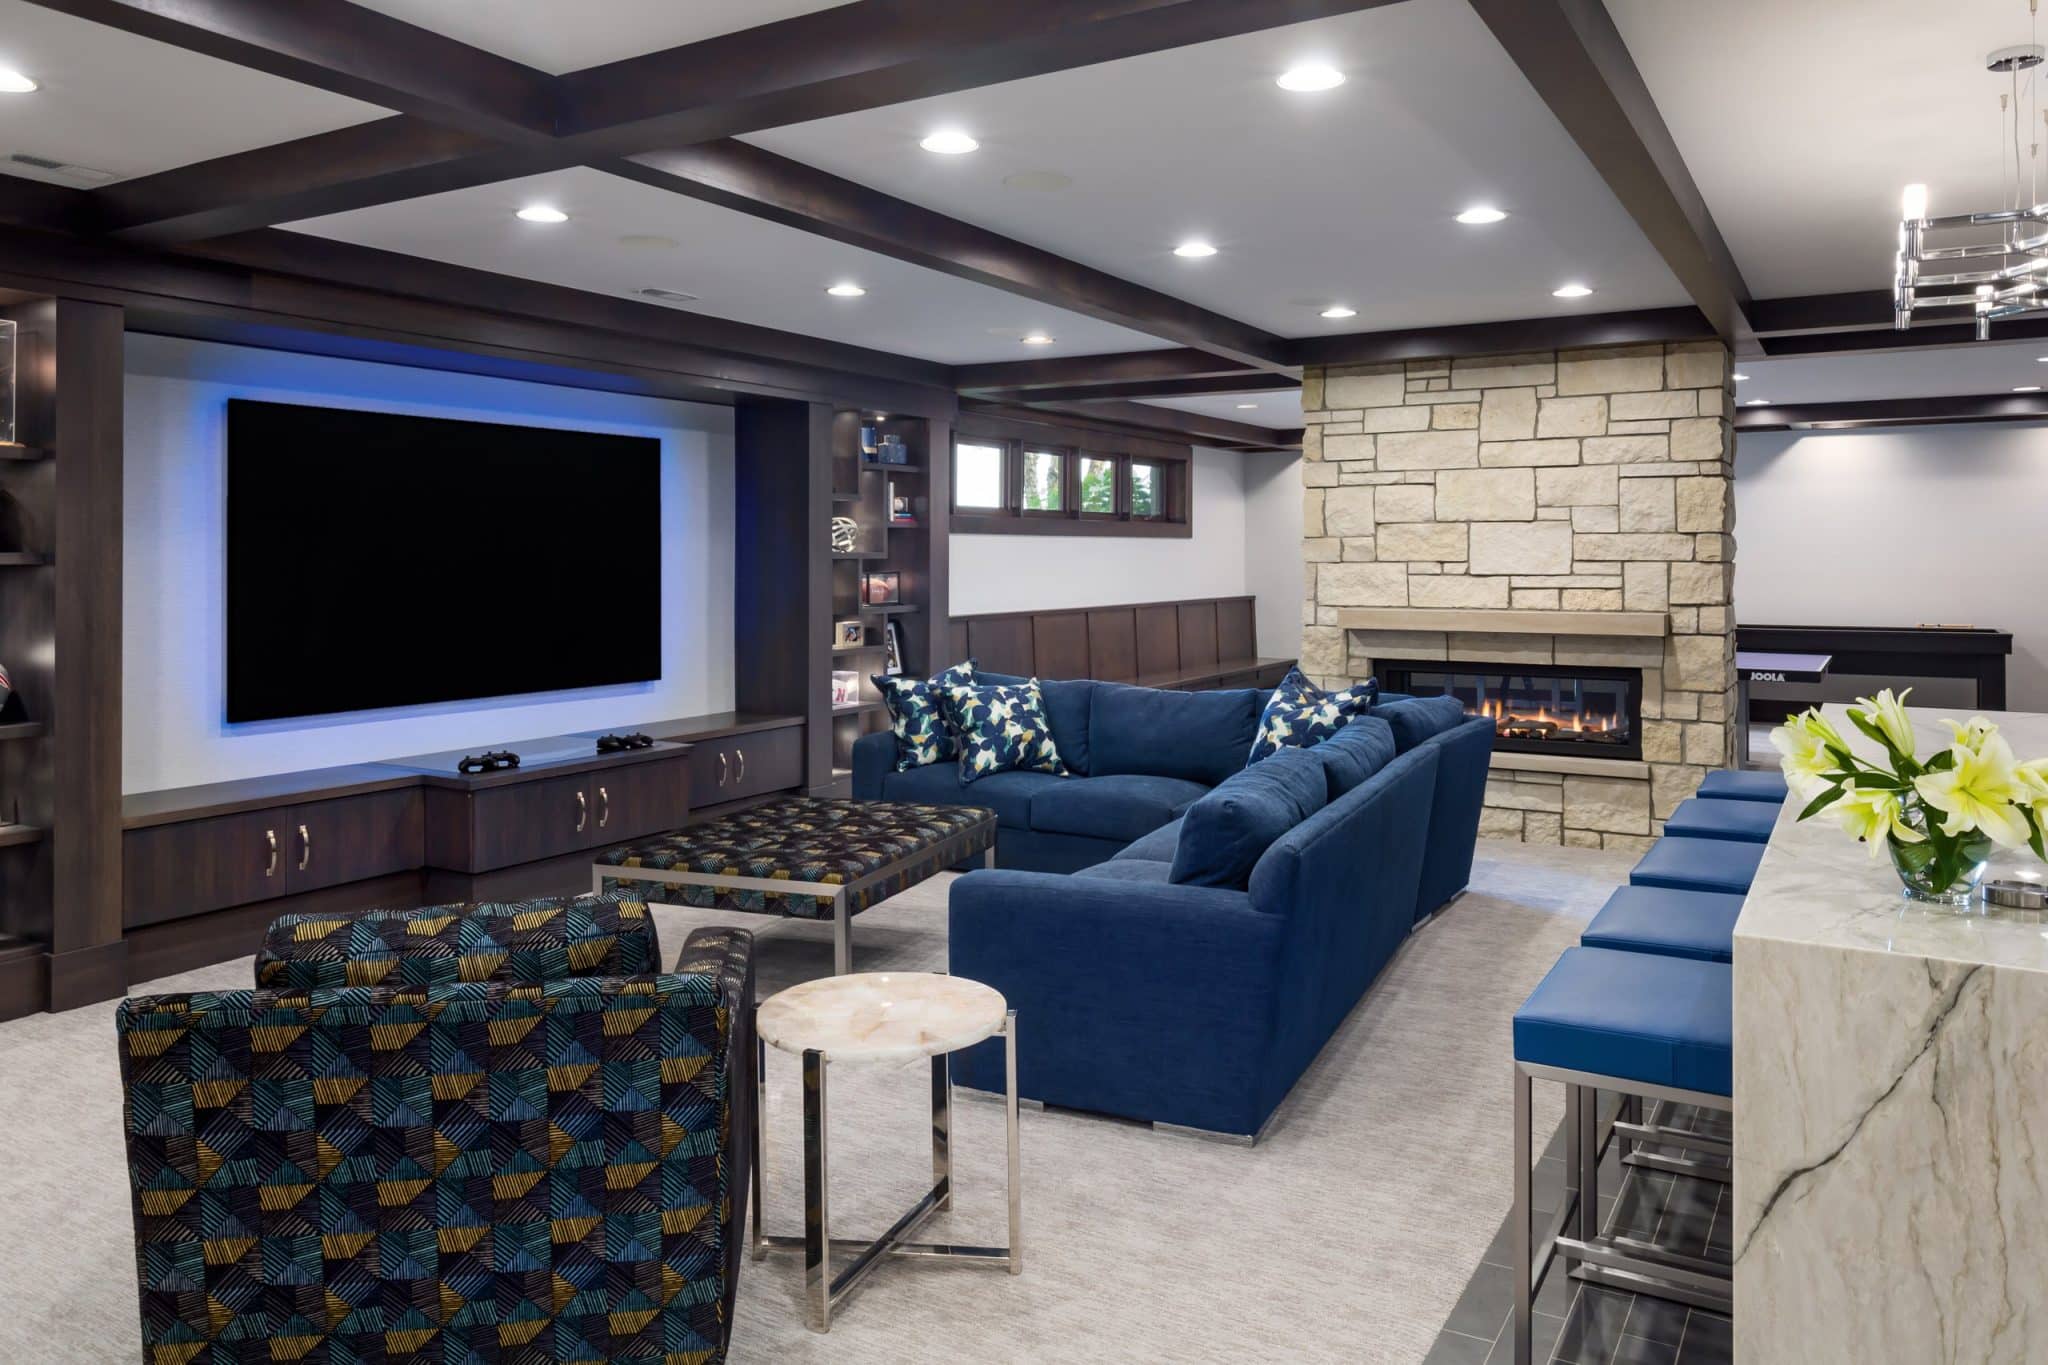
Showing off ceiling beams with plywood creates a strong visual impact. The beams add depth to your room. Match beam colors with plywood tones for a pulled-together look. This style works great in living rooms and dining areas.
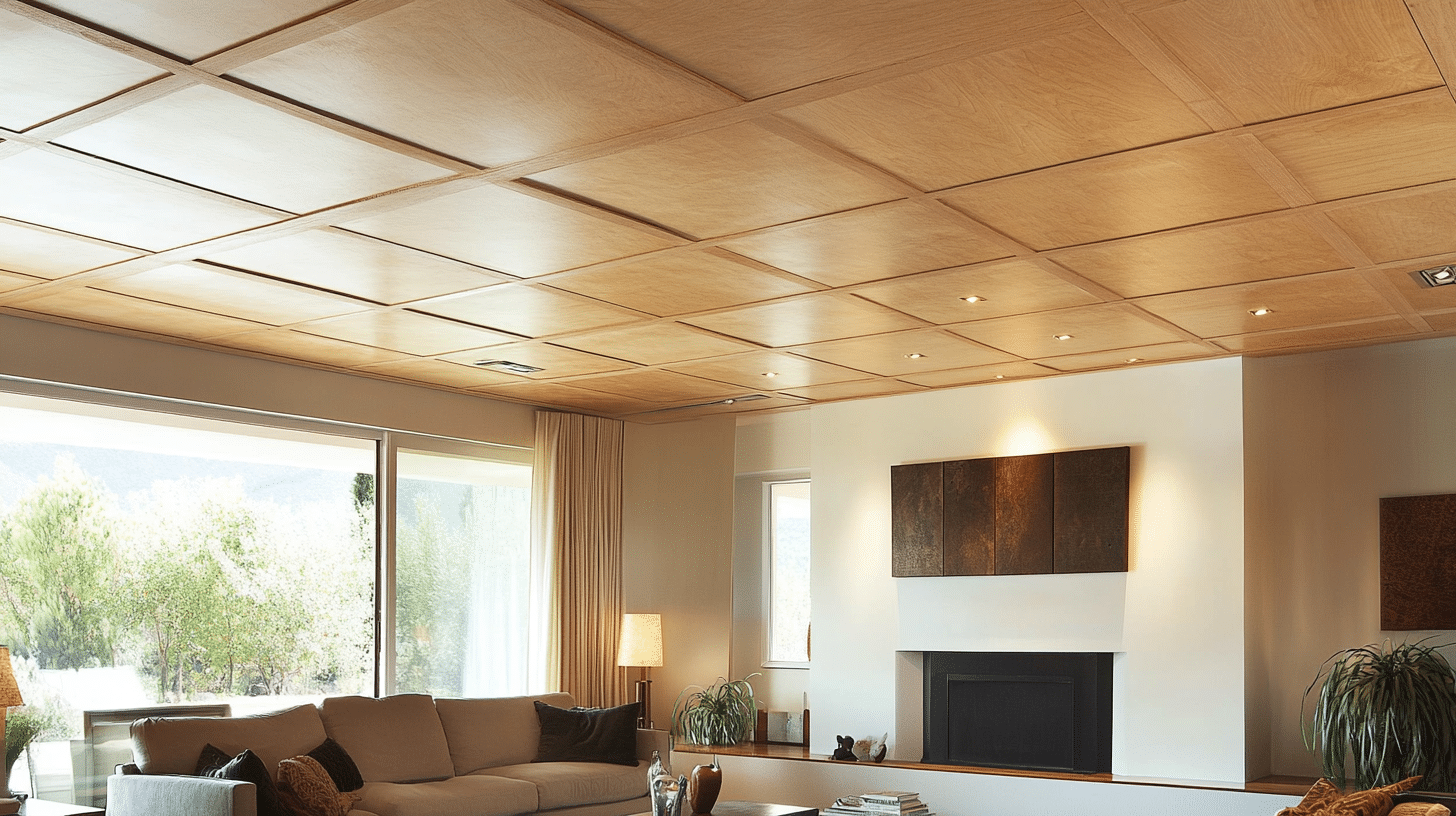
Modern Waffle Pattern
Waffle-style plywood ceilings make rooms feel bigger. The grid pattern draws eyes upward. This design uses strips of plywood to create squares or rectangles. Add small lights in the spaces for extra style.
Coffered Design with Lighting
Mix old and new styles with a coffered plywood ceiling. Build boxes with plywood strips. Put LED strips inside the boxes for soft light. This works well in formal rooms or home offices.
Herringbone Layout
Create movement overhead with herringbone patterns. Cut plywood into same-size pieces. Lay them at angles to form zigzags. This pattern brings life to plain rooms. It needs careful planning but looks stunning when done.
Simple Plank Style
Sometimes, simple works best. Line up plywood planks in straight rows. This clean look fits any room style. You can paint it or leave the wood natural. The straight lines make rooms feel longer.
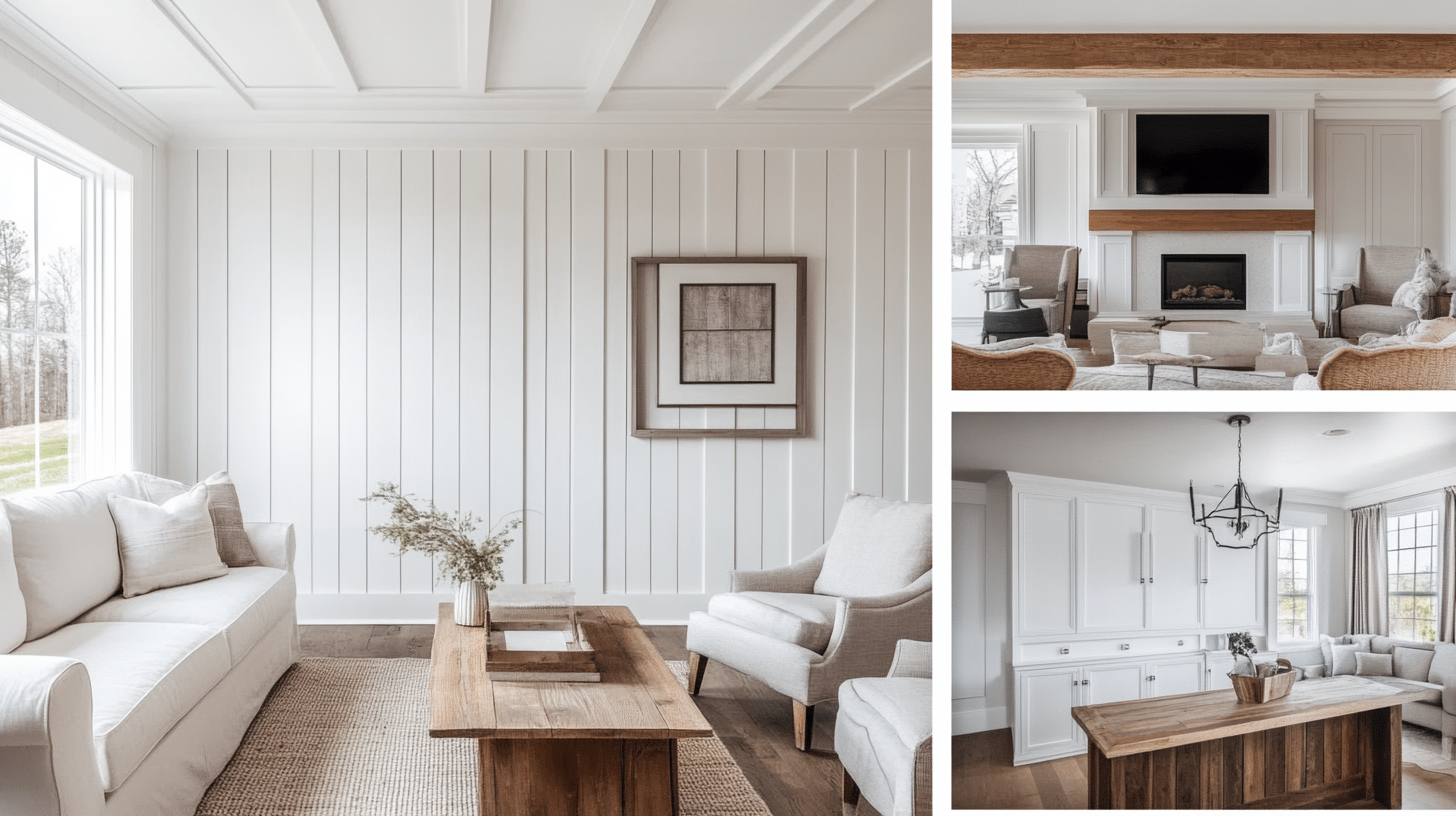
White Plywood Treatment
Paint the rooms white plywood to make them feel bigger and brighter. Use a good primer first for best results. This choice works in small spaces.
Why Install a Plywood Ceiling?
1. Durability and Strength
A plywood ceiling stands strong year after year. The layered structure makes it resistant to warping and sagging. When installed correctly, these panels maintain their flat surface without the cracks common in other materials.
You won’t need frequent repairs or replacements, saving time and money in the long term.
2. Ease of Handling and Installation
Installing a plywood ceiling feels less daunting than working with other materials. Each panel’s standard size and balanced weight let you work smoothly. You can cut plywood with basic tools, which stays stable while you secure it. Most homeowners find they can complete sections quickly without needing extra helping hands.
3. Versatility in Design
Your plywood ceiling can match any room style. The surface takes well to different finishes – from paint to stains. You might choose light colors for a bright, open feel or darker tones for a cozy setting. The natural wood patterns can become part of your design plan, adding subtle texture to your space.
4. Affordability and Cost-Effectiveness
The price point of plywood ceiling installations makes sense for most budgets. You pay less per square foot compared to specialty ceiling materials. The quick installation process cuts labor costs, too. Plus, the long-lasting nature of plywood means you won’t face replacement expenses anytime soon.
5. Aesthetic Appeal
Wood brings life to any room, and plywood ceilings do this beautifully. The natural grain patterns create subtle movement overhead. Your space feels more welcoming with this touch of nature above. Even painted plywood keeps a soft, warm feel that plain drywall can’t match.
6. Enhanced Acoustics
A plywood ceiling helps control sound in your space. The wood structure absorbs some noise, making rooms more comfortable. This quality proves especially useful in busy households or home entertainment areas. You’ll notice less echo and better sound quality overall.
7. Eco-Friendly Options
Today’s plywood options include many earth-friendly choices. Look for panels made from sustainably grown trees. Many manufacturers now offer certified products that support forest conservation. You can enjoy your plywood ceiling knowing it comes from responsible sources.
Challenges of Plywood Ceilings
Moisture Sensitivity
Water is not a friend to plywood ceilings. When moisture builds up, panels can start to change shape or swell. Bathrooms and kitchens need special care with plywood installations. Sealants and proper ventilation help keep ceilings dry and stable.
Limited Fire Resistance
Safety comes first with any building material. Basic plywood burns more easily than some ceiling options. But you can get specially treated plywood that fights fire better. Local building codes often require these safer types for home use.
Susceptibility to Scratches and Dents
Plywood ceilings can show marks over time. Moving furniture or accidents might leave small dents in the surface. The softer nature of wood means you should handle items carefully near your plywood ceiling. Regular checks help catch any damage early.
Chemical Treatments and Health Concerns
Some plywood contains glues that might affect air quality. Look for low-emission options when picking your ceiling panels. Many makers now use safer glues in their plywood. Good airflow in your rooms helps maintain healthy indoor air.
Difficulty in Achieving a Perfect Finish
Getting plywood ceiling panels to line up takes skill. Gaps between panels can show if not installed well. Light plays a big role – it can highlight any small flaws in your ceiling. Taking time during installation makes a big difference in the final look.
Conclusion
A plywood ceiling brings more than just good looks to your home. This simple material makes rooms feel special without breaking your budget. From smooth white finishes to natural wood patterns, plywood fits any style you choose.
We’ve shown you what it takes to put up a plywood ceiling. You now know about different types, how to handle common issues, and ways to keep it looking good. Each design choice adds its own character to your space.
Remember that careful planning leads to better results. Take time to pick the right plywood type and pattern for your needs. Good installation techniques and regular care will keep your ceiling beautiful for years.
Your ceiling sets the tone for every room. With plywood, you’ve got a reliable option that combines value with lasting appeal.

