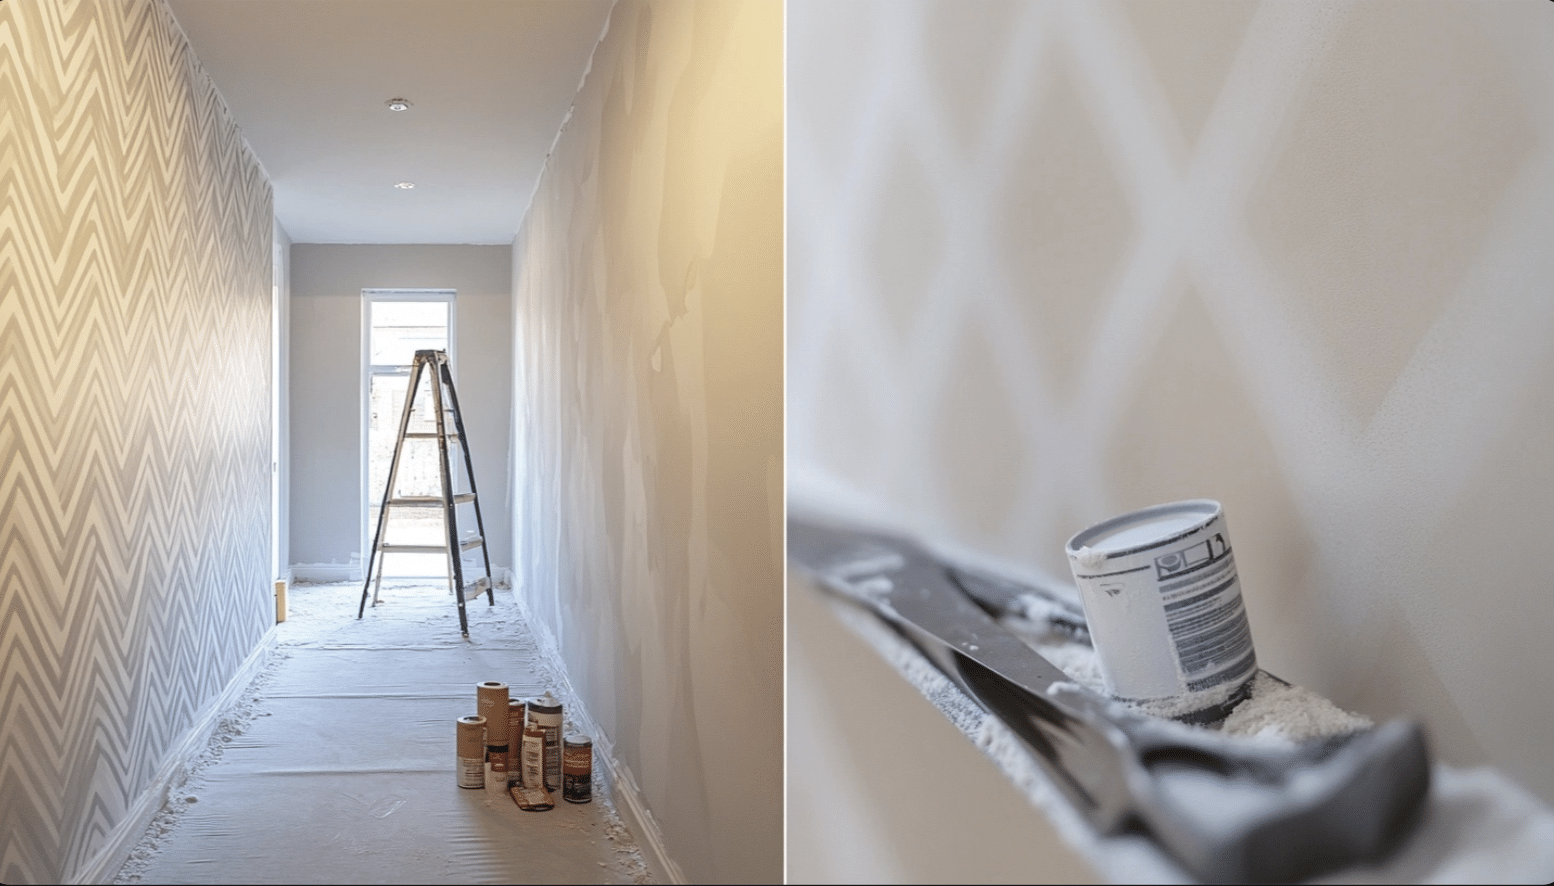
Paste the Wall Wallpaper: Simple Installation Guide
Looking to update your walls with minimal fuss? Paste the wall wallpaper offers a fresh take on home decoration.
Unlike traditional methods, which involve applying paste to the paper, this technique involves applying adhesive directly to the wall surface.
The benefits make it an ideal choice for home projects. You’ll save time without needing large tables for preparation, and the installation process creates less mess. The paper stays in perfect shape since you don’t need to soak or fold it.
This method is perfect for both beginners and experienced decorators. It lets you adjust the paper while hanging.
If you enjoy DIY projects but worry about complex installations, paste-the-wall wallpaper proves an excellent starting point. The simple process and forgiving nature of the material help ensure successful results.
What Makes Paste the Wall Wallpaper Different?
Paste-the-wall wallpaper differs from traditional options in that it requires an adhesive to be applied directly to the wall rather than the paper.
Made with non-woven materials, it creates a canvas-like texture that adds subtle depth to your walls.
The method is especially useful for beginners and experienced installers, reducing installation time and common issues.
The key benefits include minimal mess during installation, simple hanging adjustments, and better pattern matching.
You won’t need large tables for preparation, and the paper maintains its quality without stretching or warping during the process.
Getting Started: Essential Planning
Before starting your project, careful planning ensures success. Measure your walls multiple times, multiplying height by width to calculate square footage.
Add 15% extra for pattern matching and potential mistakes. Your budget should account for:
- Wallpaper rolls (65% of total cost)
- Quality tools (20%)
- Adhesive and primer (15%)
Tools and Materials You’ll Need
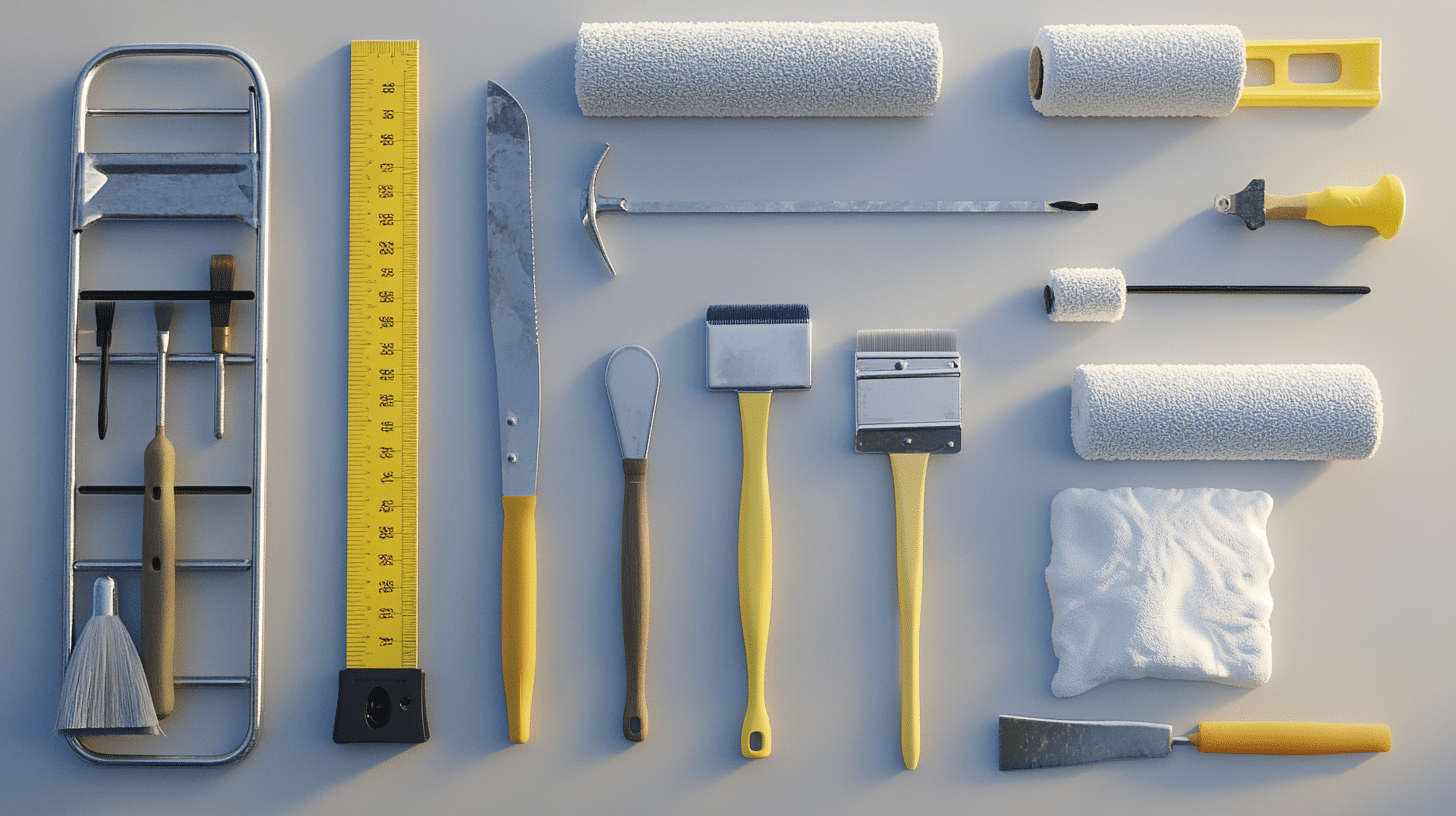
Gather these essential items:
- Steel measuring tape
- Level tool
- Sharp utility knife
- Clean sponges
- Plastic smoother
- Seam roller
- Paint tray and roller
- Small paintbrush
- Step ladder
- Clean cloths
- Quality adhesive
You can choose between ready-mixed and powder adhesive depending on your project size. Ready-mixed works well for smaller jobs, while powder proves cost-effective for larger areas.
Preparing Your Walls
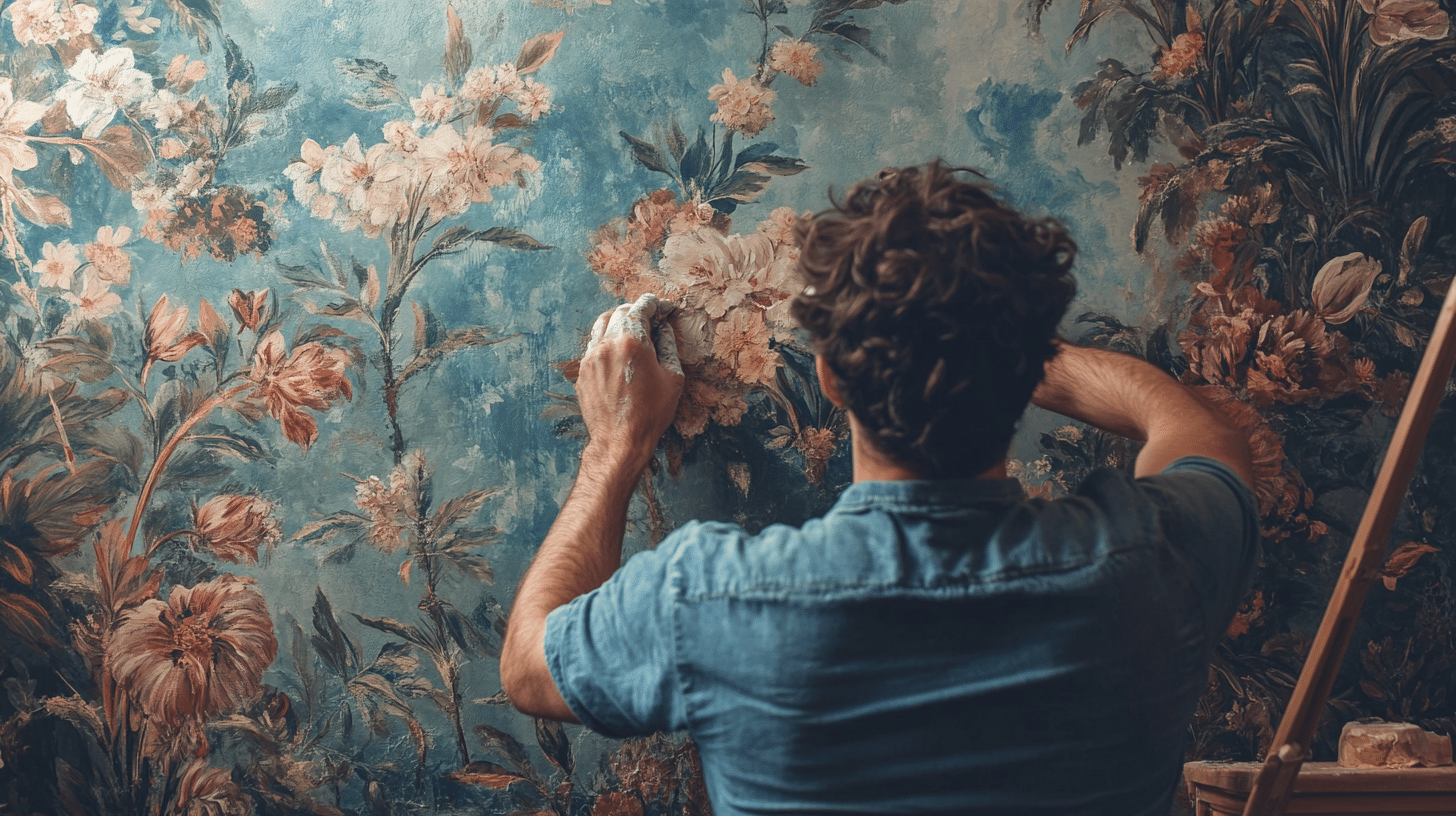
Wall preparation makes a crucial difference in your final results. Follow these steps:
- Clean surfaces thoroughly
- Fix holes or cracks with spackling compound
- Sand repairs until smooth
- Remove old coverings completely
- Apply primer made for wallpaper
- Let the primer dry fully before starting
Installation Process
Start by marking a vertical line using your level as a guide. Work from left to right, ensuring your first strip aligns perfectly with this line. Apply the paste evenly to the wall in sections:
- Cover an area slightly wider than your paper
- Use enough paste for good adhesion
- Work in three-foot sections
- Pay special attention to corners
Position your first strip along the level line, smoothing from the center outward to remove air bubbles. For subsequent strips:
- Match patterns carefully
- Roll seams with a seam roller
- Clean excess paste immediately
- Check alignment frequently
Handling Special Areas
For outlets and switches:
- Turn off power
- Remove cover plates
- Cut small diagonal slits
- Trim excess carefully
- Replace covers
When working around windows and doors:
- Leave extra paper at openings
- Make precise corner cuts
- Work paper into corners
- Trim after drying
Maintaining Your Wallpaper
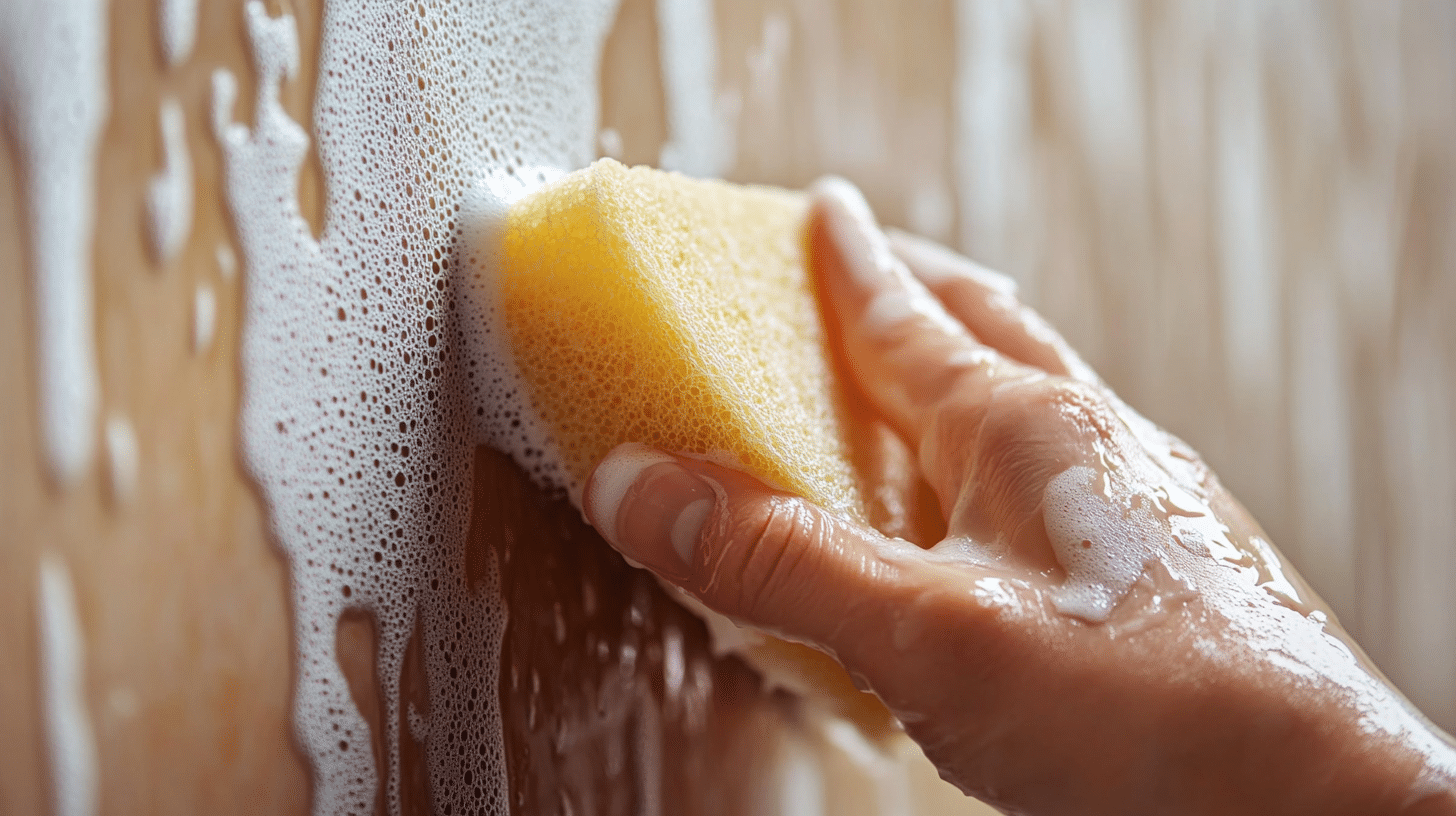
Keep your walls looking fresh with proper care:
- Dust with a soft cloth weekly
- Clean spots using a damp sponge
- Avoid harsh cleaning products
- Fix loose edges promptly
- Store extra paper for repairs
Common Issues and Solutions
Watch for these typical problems:
- Air bubbles: Pierce small holes and smooth
- Lifting edges: Add more adhesive
- Pattern misalignment: Begin in less visible areas
- Paste marks: Clean while wet
- Corner gaps: Use extra adhesive in corners
Design Tips
Consider room characteristics when selecting patterns:
- Small rooms benefit from light colors
- Large spaces can handle bold designs
- Narrow rooms work well with vertical patterns
- Low ceilings pair with upward designs
- High-traffic areas need durable options
Tips and Tricks for Success
Follow these guidelines for best results:
- Read instructions completely before starting
- Maintain consistent room temperature
- Work with good lighting
- Take time with pattern-matching
- Keep your workspace clean
- Allow proper drying time
Paste-the-wall wallpaper offers a practical option for updating your space. With proper preparation and attention to detail, you can achieve professional results.
Remember that patience plays a key role in success—take time with each step, especially pattern matching and smoothing. Keep your workspace organized and clean throughout the project.
The method creates less waste than traditional wallpapering, uses less water, and creates fewer damaged strips. This efficiency and easier future removal make it an excellent choice for modern home updates.
Maintenance and Removal
Caring for Your Wallpaper
Taking good care of your wall coverings ensures they last longer and maintain appeal. Start with daily maintenance by using a soft, dry cloth to remove dust and keep your rooms well-ventilated.
Good airflow helps prevent moisture buildup that could damage your wallpaper. Watch for any signs of peeling edges or seam separation, as catching these issues early simplifies repairs.
Use a barely damp cloth for regular cleaning and work from bottom to top using gentle, circular motions. This method prevents drip marks and water damage.
When dealing with spots or stains, always test your cleaning method in a hidden area first. Mix a small amount of mild soap with water, clean the spot gently, and dry the area thoroughly with a clean cloth.
Remove furniture from the walls to protect your wallpaper from rubbing or scuffing. Use window coverings to reduce direct sunlight exposure, which can fade patterns over time.
Fix water leaks promptly, as moisture is one of the biggest threats to wallpaper longevity. Maintain steady room temperatures and humidity levels to prevent paper expansion and contraction.
Removal Process
When you’re ready for a change, removing paste from the wall wallpaper can be straightforward if done correctly.
Begin by gathering your supplies, including plastic sheets for floor protection, a spray bottle filled with warm water, a wide putty knife, clean sponges, and a bucket for collecting paper.
Start the removal process by testing a small, inconspicuous area. Spray warm water lightly on the surface and wait a few minutes for it to soak in.
The non-woven material should peel away in full strips, starting from the bottom. If you encounter resistance, apply more water and wait longer. Don’t force the paper off, which might damage your wall surface.
After removal, clean the walls thoroughly to remove any remaining paste. Use warm water and a sponge to wipe down the entire surface.
Let the walls dry completely before applying any new treatments. Fill any small holes or damage with a spackling compound and smooth the sand. This preparation ensures your walls are ready for paint or new wallpaper.
These maintenance and removal methods help preserve your walls while extending the life of your wallpaper.
Regular care prevents the most common issues, and proper removal techniques protect your walls for future decorating projects.
Remember that prevention through good maintenance often proves easier than fixing problems after they develop.
Video Tutorial
For More Details, Check out This Video Tutorial by Rob Gardner.
Conclusion
With its simple approach, paste-the-wall wallpaper brings positive changes to home decoration. The method saves time, reduces mess, and helps you achieve professional results without special skills or tools.
Follow this guide to transform your space confidently. Remember these key points: prepare your walls, work in small sections, and clean your workspace. Take your time matching patterns and smoothing out air bubbles.
The lasting benefits extend beyond installation. With basic care, your walls will look fresh for years, and removal proves straightforward when you’re ready for a change.
Whether you’re new to DIY projects or an experienced decorator, paste-the-wall wallpaper offers a practical way to update your space with lasting results.
Frequently Asked Questions (FAQs)
Is Paste the Wall Wallpaper Any Good?
Paste-the-wall wallpaper is a convenient and efficient option. It is easier to install and remove than traditional wallpaper, making it ideal for quick room transformations.
How Long Does Paste the Wall Wallpaper Take to Dry?
Depending on room temperature and humidity levels, the wall wallpaper typically takes 24-48 hours to dry completely. Adequate ventilation helps ensure even drying.
Can You Use Paste the Wall Wallpaper in Bathrooms?
Yes, paste-the-wall wallpaper can be used in bathrooms if labeled as moisture-resistant or suitable for humid environments. Ensure proper ventilation to maintain its durability.

