One Room Challenge: What It Is and How to Join
The One Room Challenge brings together people who want to update a room in their home.
It started as a way for home and design bloggers to finish their projects within a set time.
Each person picks one space to work on and shares their weekly changes.
The event runs twice a year, allowing creative people to push themselves while getting support from others who are doing the same thing.
Let me tell you more about it.
Timeline of One Room Challenge
The challenge lasts 6-8 weeks, and participants share updates every Wednesday—week 1 starts by showing the room before any changes and sharing plans.
The middle weeks focus on progress, such as painting, adding new items, and fixing problems that arise. The final week shows off the finished room with photos of how it turned out.
Participants
The event includes two main groups:
- 20 Featured Designers are chosen to lead the way
- Guest participants can join in and share updates on their rooms. These people range from professional designers to home DIY fans to bloggers who write about home projects.
Categories
Looking at past challenges, people have updated many types of rooms:
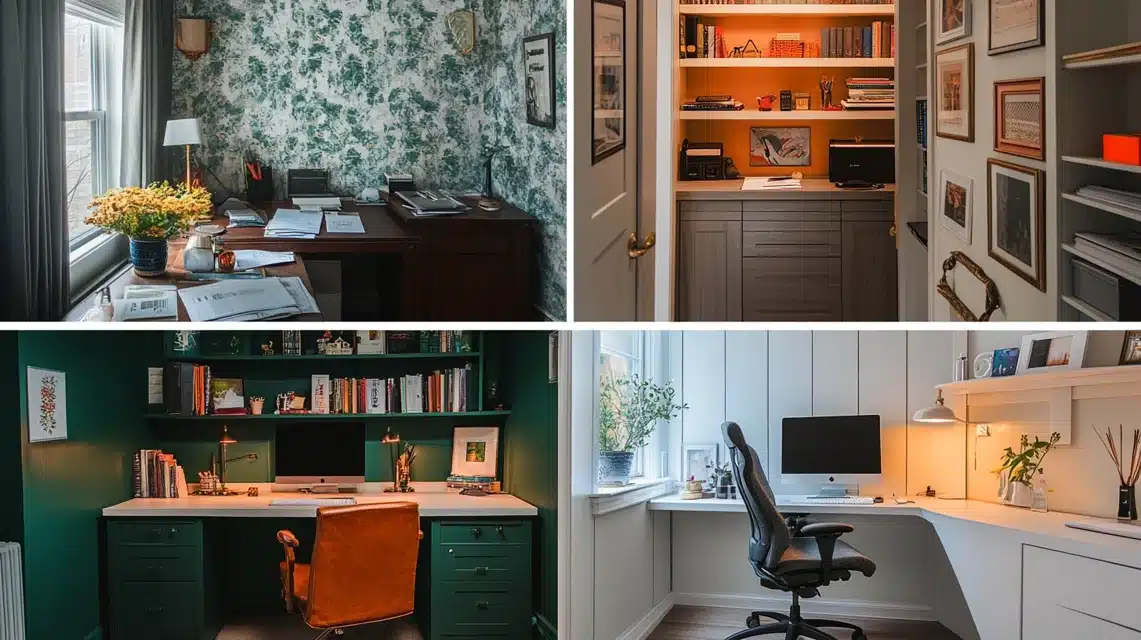
- Home offices
- Bathrooms
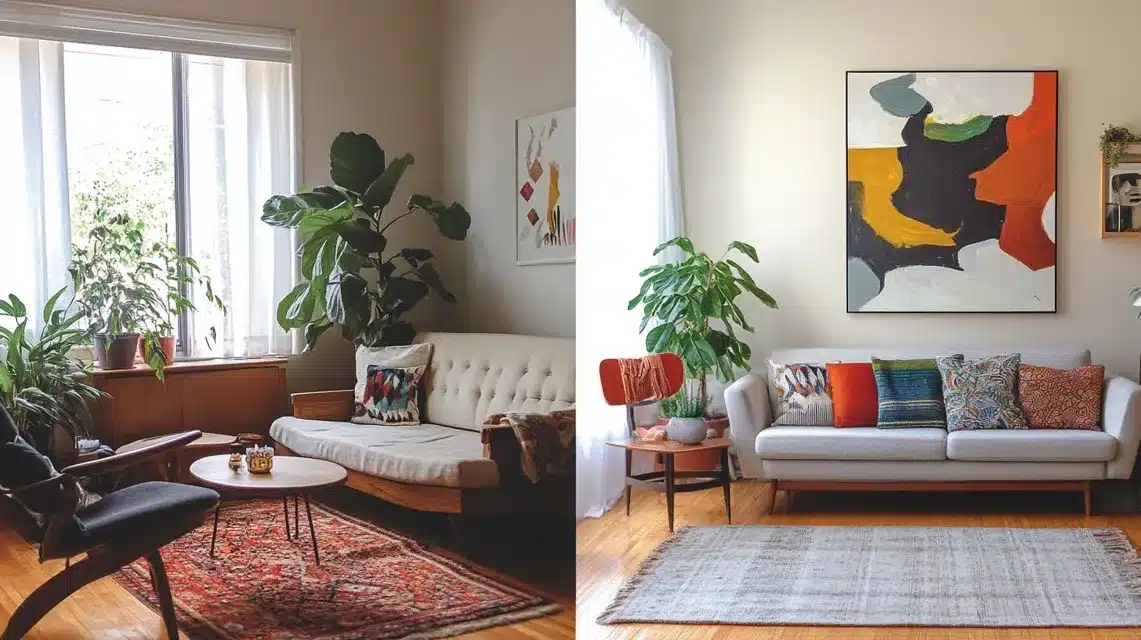
- Living rooms
- Dining rooms
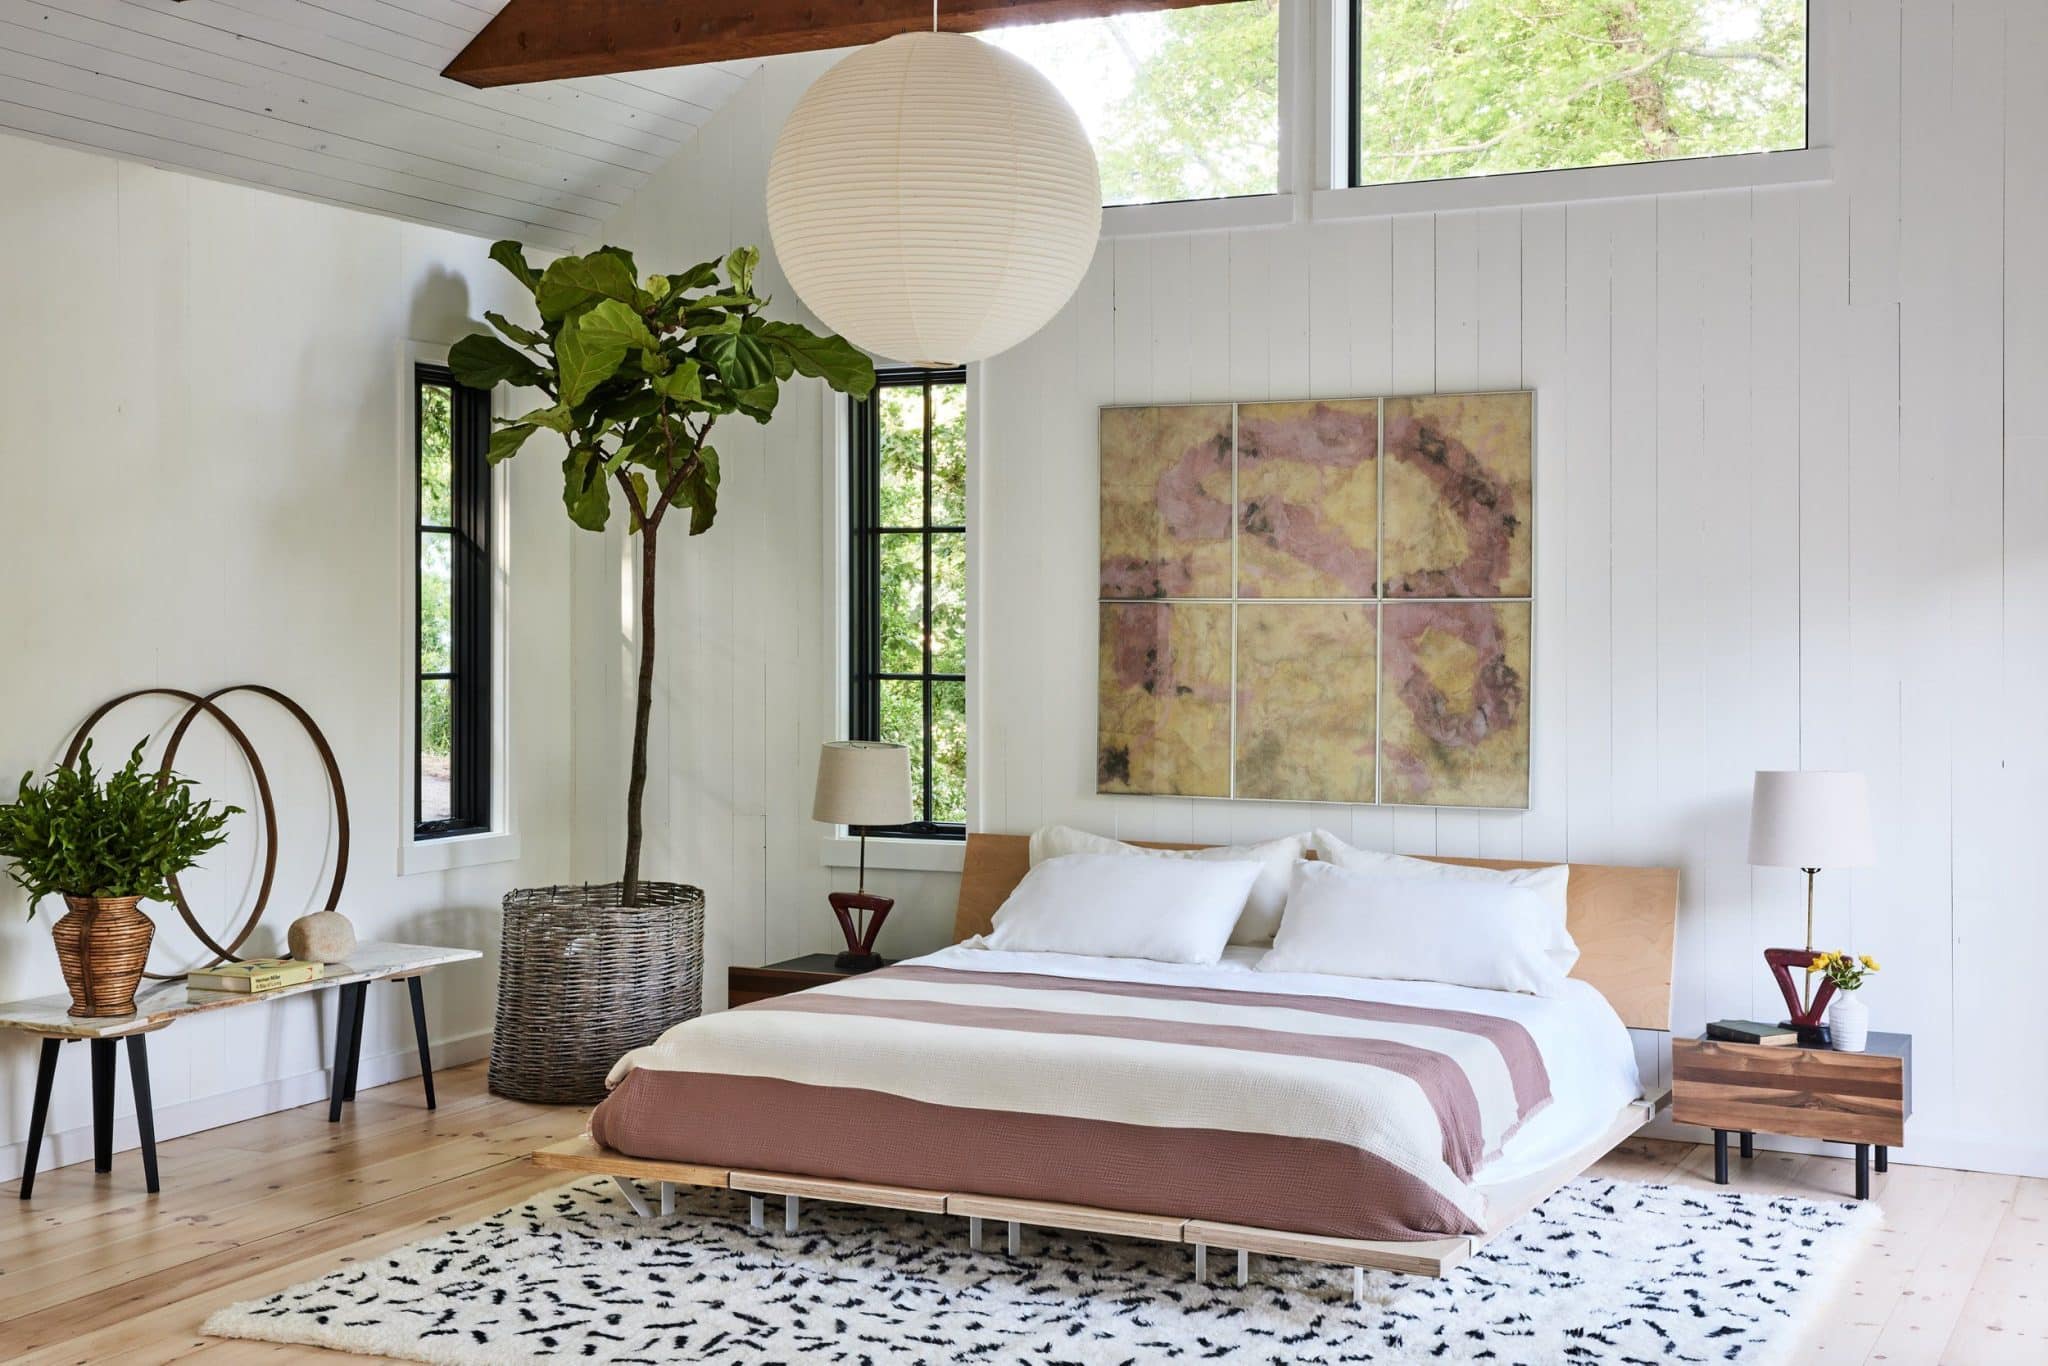
- Bedrooms
- Kitchens
- Small spaces like utility rooms
- Outdoor areas
Why Participate in the One Room Challenge?
Taking part in the One Room Challenge offers great rewards! You’ll stretch your design skills and develop fresh ideas as you plan your space.
The weekly updates push you to keep going and finish what you start.
The best part? You’re not alone. You’ll meet others who love improving homes, from beginners to pros.
Many share tips and cheer each other on through the ups and downs of room updates.
You’ll feel good about your work when you finish your room in six weeks.
Plus, you’ll have photos and a story about how you turned your ideas into reality. The challenge gives you the right push to stop planning and start doing!
Week-by-Week Breakdown of the One Room Challenge
Week 1 – Planning and Inspiration
This first week sets the foundation for success. Participants showed photos of their room’s current state and shared their plans.
They collect ideas from magazines, websites, and other designers to create their vision. Many make picture boards to show their ideas for colors, items, and the overall feel they want.
Week 2 – Design Concept and Challenges
People focus on making specific choices for their rooms. From the sources, we see that Brittany had to decide between using one color or two colors for her walls and whether to add wallpaper.
This week often raises timing concerns and practical issues, like when items will arrive or whether contractors are available.
Week 3 – Product Selection and Sourcing
This is when participants order everything they need. They look for items that match their plans and fit their budget.
Many share where they found their items to help others. Timing is key – everyone needs their items to arrive before the final week.
Week 4 – Execution Begins
The real work starts now. Rooms get painted, new items are added, and old things are removed.
Some people do the work themselves, while others hire help for harder tasks like electrical work or building things. This week, everyone’s ability to stick to their plans will be tested.
Week 5 – Tweaks and Adjustments
As rooms take shape, participants make small changes to get everything right.
They might move furniture around, add extra touches, or solve problems. If something isn’t working, this is the time to fix it.
Week 6 – Final Reveal
The big moment arrives! Everyone shares photos of their finished rooms. They talk about what worked well and what they learned.
It’s fun to see how different the rooms look from week 1 and how happy people are with their new spaces.
Before vs. after images of some transformations of one room challenge
1. Living Room Transformation (Before and After)
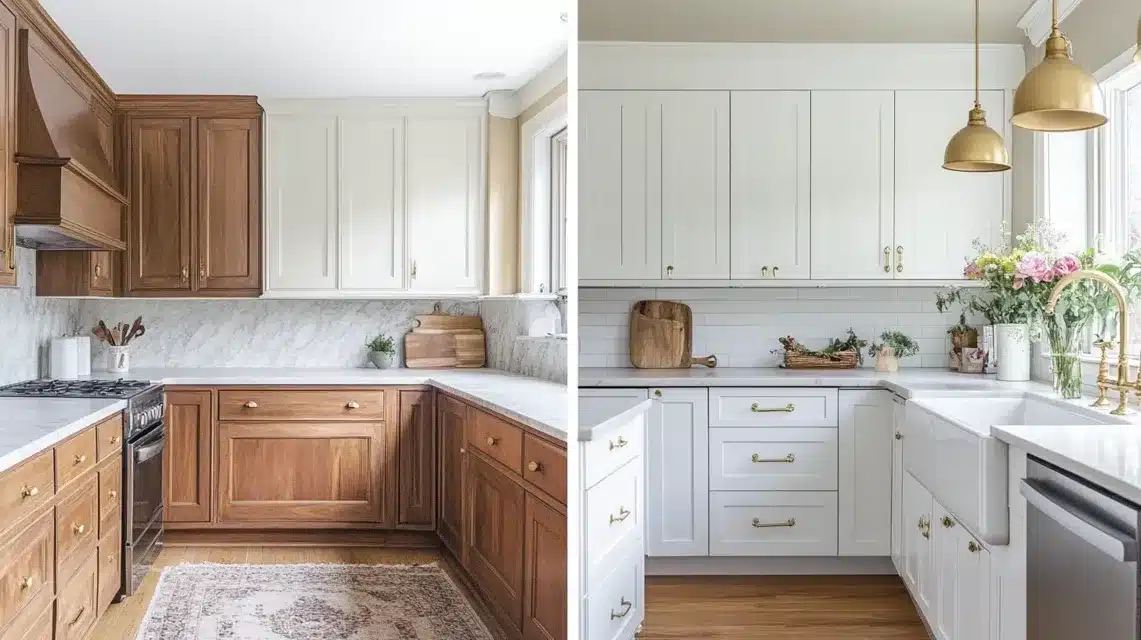
2. Kitchen Makeover (Before and After)
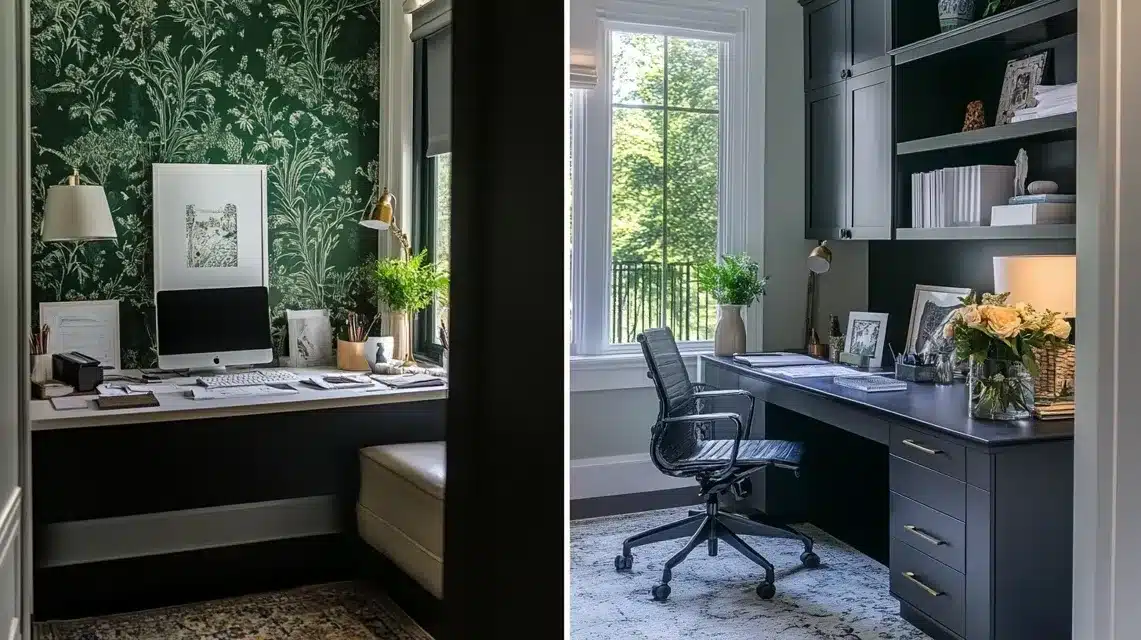
3. Home Office Upgrade (Before and After)
Key Design Tips for Success in the One Room Challenge
Stay Organized
- Make a week-by-week plan before you start
- List everything you need to buy and when you need it
- Keep track of delivery dates for all items
- Plan ahead for any help you’ll need from others
- Take photos to track your progress
Budget Wisely
- Pick one or two special items to be the main focus
- Save money on less noticeable items
- Look for sales and second-hand finds
- Get quotes from multiple suppliers
- Include extra money for unexpected issues
Use DIYs for Maximum Impact
- Paint is your best friend – it’s low cost with big results
- Make your art for wall decor
- Update existing furniture with new hardware
- Create custom pieces that fit your space perfectly
- Try simple updates like new trim or molding
Focus on Functionality
- Think about how you’ll use the room daily
- Make sure there’s enough storage
- Plan the layout for easy movement
- Consider lighting for different times of day
- Test furniture placement before making final decisions
Common Challenges and How to Overcome Them
Time constraints
- Break your six weeks into clear tasks
- Start with the big items that take the longest to finish
- Order materials early – many participants mention waiting for items is their biggest stress
- Have a backup plan for key items that might arrive late
- Save small styling tasks for the final week
Unexpected issues
- Build extra time into your schedule for delays
- Keep some money aside for surprises
- Stay flexible and ready to change plans if needed
We see common problems
- Supply chain holdups with furniture
- Contractors are too busy
- Paint colors look different than expected
- Items arriving damaged
Balancing ambition with realism
- Start with what must get done
- Pick changes that make the biggest impact
- Think about what you can finish in six weeks
- Consider your skill level for DIY tasks
- Remember, the room needs to work for daily life
Summing Up
The One Room Challenge proves that having a deadline and a supportive group can help turn design dreams into reality.
Each season brings new ideas, fresh approaches, and stunning room changes that inspire others.
While the six-week timeline may seem short, it pushes people to make decisions, solve problems, and keep moving forward.
Whether you join as a featured designer or guest participant, you’ll gain more than just a new room.
You’ll build skills, make connections, and maybe even find the confidence to tackle your next big project.
Frequently Asked Questions
How can I make a small room serve multiple purposes?
Plan your layout carefully, use furniture that can serve different functions, and create zones within the space. Good storage solutions help keep everything organized and accessible.
Where can I find inspiration and ideas for my design?
Look at past One Room Challenge projects, design websites, social media, and magazines, and pay attention to rooms that match your style and space needs.
How do I document and share my progress with others?
Take clear before photos, capture weekly updates, and share your progress on social media. Include both success stories and challenges to help others learn.

