Lean To Shed Roof Pitch: What You Need to Know
I know how challenging it can be to see the ideal lean-to shed roof pitch. You want something that can withstand rain and snow, while also complementing your shed’s design and materials.
I’ve built my fair share of shed roofs, and getting the pitch right always makes the rest of the build easier.
In this post, I’ll walk you through what pitch means, how to measure it, and what range works best.
I’ll also show you how climate, roofing materials, and local codes factor into your decision, as well as a few mistakes I’ve learned to avoid.
If you’re looking for a simple, solid roof that lasts, you’re in the right place. This is the kind of info I wish I had the first time around.
What is a Lean-To Shed Roof?
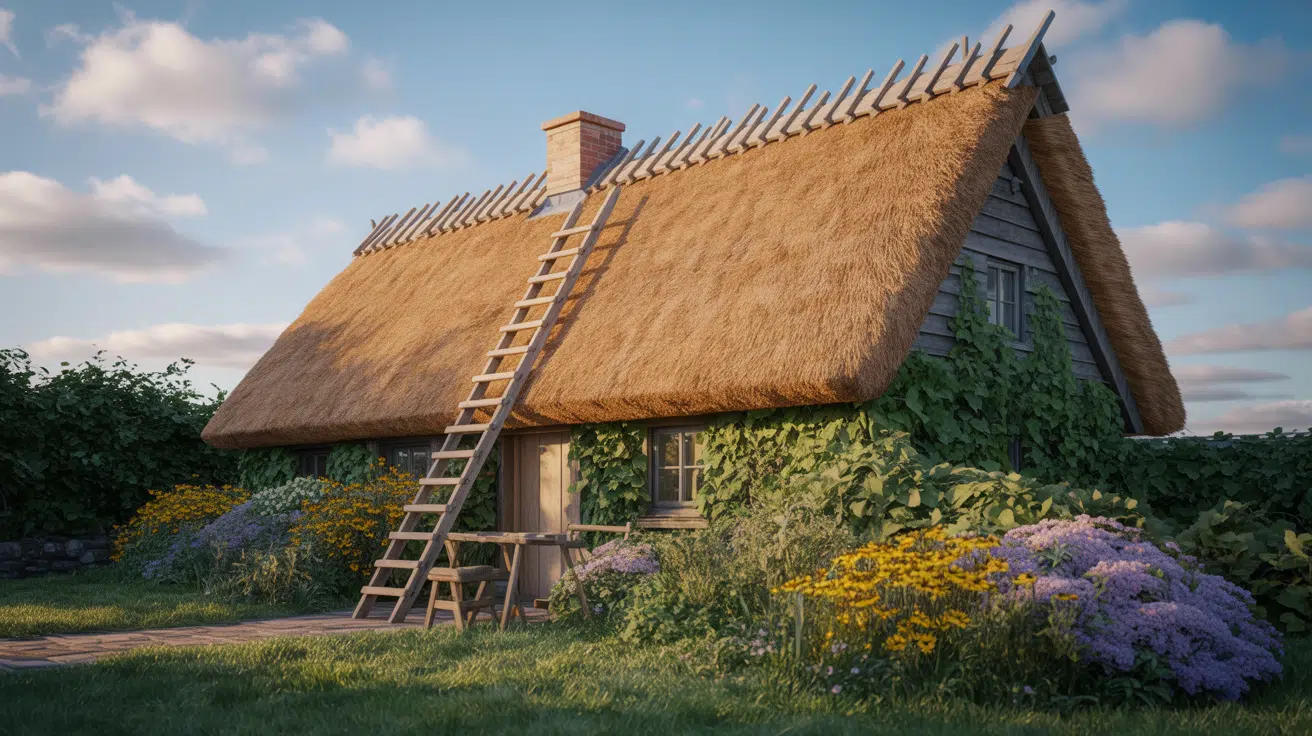
A lean-to shed roof is a single-sloped roof that tilts in just one direction. You may also hear it referred to as a skillion roof.
It’s one flat surface with no peaks, ridges, or complex angles. One side is higher than the other, which helps water and snow slide off easily.
Compared to a gable roof, which has two sloping sides that meet in the middle, a lean-to is simpler and uses fewer materials.
Unlike a flat roof, which can collect water, the lean-to design has enough slope to handle rain and debris better.
Choosing the Right Roof Pitch
The pitch of your lean-to roof determines how well it handles rain, snow, and even its appearance from the outside. It’s simply the amount your roof rises for every 12 inches of horizontal run.
Minimum and Ideal Pitch Options
At the very least, you’ll need a 3/12 pitch if you’re using asphalt shingles. That means the roof rises 3 inches for every 12 inches it runs. This is usually the lowest slope allowed for most shingle types.
If you want better water runoff and fewer long-term issues, go with a 4/12 to 6/12 pitch. It strikes a nice balance between function and a neat look, without getting too steep.
Steeper Pitches and Their Trade-Offs
Going steeper, like 7/12 or higher, helps snow slide off faster. This is useful in colder climates. But it also means:
- The roof is taller
- Materials may cost more
- You’ll need to plan for extra support
For most shed builds, anything above 6/12 can be more than you need unless snow is a serious concern.
Factors That Affect Pitch
Here are the key things that influence your final pitch decision:
- Weather: More rain or snow = steeper pitch
- Local Codes: Some towns have pitch minimums for safety
- Materials: Metal roofing can handle low slopes; shingles need more angle
- Shed Use: Taller pitches may allow attic storage or better ventilation
Pitch Chart
If you’re not sure how to measure pitch, here’s how to do it:
- Measure 12 inches horizontally along the bottom edge of a rafter.
- At the 12-inch mark, measure straight up to the top edge.
- That vertical number is your pitch rise.
So if you measure 4 inches of rise, that’s a 4/12 pitch. You can also use a pitch finder app or an online roof pitch calculator to speed things up.
Tools and Materials List
- Circular Saw: for cutting rafters, birdsmouth notches, plywood
- Jigsaw: for precise birdsmouth cleanup
- Hacksaw: used when needed for small or precise cuts
- Carpenter Square: for pitch angles and straight cuts
- Framing Square: for marking heel and seat cuts
- Tape Measure: for all layout markings
- Pencil/Marker: for marking cuts and measurements
- Framing Nailer: for attaching rafters, blocking, sheathing
- Drill: for driving screws into fascia boards
- Chalk Line: for aligning nails to rafters under plywood
- Clamps (Bar Clamps): for holding fascia boards and rafters during installation
- Ladders: for roof access
- Screwdriver Bit / Impact Driver: for driving in 3-inch screws
- 2x6x16 Lumber: for roof rafters (cut to 14′ for this build)
- 2×6 Lumber: for fascia boards (cut to 12′ for front/back)
- 2×6 Blocking Pieces: ripped down slightly to fit between rafters
- Plywood Sheets: for roof sheathing (approx. ½” or 5/8″ thick)
- Hurricane Ties: for securing rafters to top plate
- 3-Inch Screws: for attaching fascia and overhang rafters
- Nails: for framing nailer and plywood sheathing
- Temporary Braces: small support blocks for fascia installation
- Chalk: for snapping lines
How to Build a Lean To Shed Roof
Step 1: Cut the Rafters

Measure and cut your rafters according to the shed’s size and roof overhang. For example, 14-foot rafters were used for a 10×10 shed with a 3-foot front and 1-foot back overhang.
Determine your spacing (approximately 12–16 inches on center), and use your first rafter as a template for the rest.
Step 2: Make Birdsmouth Cuts

Use a carpenter’s square to mark the heel and seat cuts on each rafter. These birdsmouth notches help the rafters sit flat on the walls.
A 2/12 pitch was used in the video. Cut the notches using a circular saw and clean them up with a jigsaw or handsaw.
Step 3: Install the Rafters

Mark your spacing on the shed walls and place each rafter in line. Tack them in temporarily with a framing nailer.
Once they’re all placed correctly, secure them using hurricane ties to keep them stable and wind-resistant.
Step 4: Add Blocking

Cut small 2×6 blocks to fit between each rafter. Slightly trim them down so they sit just below the top edge. Nail them in place to keep animals out and strengthen the frame.
Step 5: Add Fascia and Side Rafters

Attach fascia boards to the front and back of the shed, making sure the overhang is even. Then, install a side rafter on each end to create the overhang.
Use clamps and screws to secure everything, and add small blocks between the side and main rafters.
Step 6: Install Plywood Sheathing

Lay plywood sheets across the rafters, making sure each edge lands in the center of a rafter. Use chalk lines to mark where to nail, and secure the sheets at every 12-inch interval. Once the decking is in place, your lean-to shed roof is ready for shingles.
Here is a YouTube video so that you can understand the process better:
Code and Permitting Considerations
Before you even think about picking up a hammer or laying down a foundation, it’s smart to take some time to look into your local building rules and codes—even for something as small as a backyard shed project.
Slope and Height Limits
Some local codes have minimum pitch requirements, especially if you’re using shingles. Others might limit your shed height to stay under zoning restrictions.
If your design includes a tall front wall, double-check that you’re still within allowed limits. Also, check how close your roofline can be to property lines, fences, or nearby buildings.
Attaching to an Existing Building
If you’re building the lean-to against your house or garage, you may need flashing at the connection point and extra structural bracing.
You might also need a permit since you’re altering the exterior of a permanent structure. This connection should be strong enough to handle shifting loads or temperature changes.
Snow Load and Rainfall Rules by Region
In snowy areas, your roof may require a steeper pitch or additional framing to withstand the weight. Coastal or rainy regions might require special underlayment or water-resistant barriers.
Always review local requirements before finalizing your plan. Using materials rated for your climate can prevent early wear, leaks, or structural sagging.
Common Mistakes and How to Avoid Them
Even a simple shed roof can go wrong if you miss a few key details. Here are common mistakes people make—and smart tips to help you get it right the first time.
- Underestimating roof load: Using rafters that are too thin or spaced too far apart can lead to sagging or collapse, especially in areas with snow or heavy rain. Use a rafter span chart to size your boards correctly and keep your spacing tight (12–16 inches on center works well).
- Skipping flashing or edge sealing: Leaving out flashing or sealant at key joints can let water seep in and damage the shed from the inside out. Always install flashing where the roof meets a wall, and seal around edges and fasteners to stay watertight.
- Choosing the wrong pitch for your climate:A roof that’s too flat might hold water or snow, especially in wet or cold areas. Match your roof pitch to your local weather. A steeper pitch sheds snow and rain more easily.
- Forgetting overhangs or drip edges: Without a small overhang or drip edge, water can run down the walls and soak your shed base. Include at least a 1-foot overhang on all sides and install a drip edge to guide water away from the structure.
Conclusion
You’ve now got a clear picture of how lean-to shed roof pitch works and why it matters. I hope this guide gave you what you needed to move forward with your build.
Take your time with the layout, create one good rafter to use as a template, and select a pitch that suits your weather and roofing material.
That one decision will save you from numerous problems later. I’ve seen builds go sideways just from skipping this step.
If you’re tackling more shed projects soon, I’ve got other posts that break it all down without the fluff—go check them out when you’re ready!