
Is Polycrylic Waterproof: Here’s What You Need to Know
Ever ask yourself, “Is polycrylic really waterproof?” You’re not the only one. If you’ve used it on wood, it might feel like a strong shield, but is it enough to keep out water?
The truth is that polycrylic is water-resistant, not fully waterproof. Using it incorrectly can compromise your hard work.
In this post, I’ll walk you through what polycrylic is, how it works, when it’s useful, and when it’s not. You’ll also learn how to apply it correctly and what to use if you need full waterproof protection.
From sealing tables to protecting crafts, this guide helps you avoid mistakes and choose the right finish for your next project.
What is Polycrylic?
Polycrylic is a clear, water-based protective finish. It’s kind of like a shield for wood and painted surfaces. When you apply it, it helps protect your furniture or projects from scratches, smudges, water, and damage.
Think of it as a see-through coat that makes your work last longer without significantly altering its appearance.
Why Use It, and What Does It Look Like?
Polycrylic is used on furniture, cabinets, wood crafts, painted items, and even children’s toys because it dries quickly and has a minimal odor.
It works well on light woods, such as birch or pine. You can choose how shiny it looks: gloss is very shiny, semi-gloss is less so, satin is soft and smooth, and matte has no shine for a natural look.
Who Produces It?
One of the most popular brands that makes polycrylic is Minwax. If you’ve been to a hardware store, you’ve probably seen their products in the paint or wood finish aisle.
Minwax is known for wood care and protection products, and their polycrylic is trusted by many people for home DIY and craft projects.
Is Polycrylic Water-Resistant or Truly Waterproof?
Water-resistant means it can withstand some water, such as a small spill or splash, but not for an extended period. If water sits on it too long, it can still soak in.
Polycrylic is water-resistant, not waterproof. It protects surfaces from light spills and moisture, but if water pools or sits on it too long, it may leave marks or damage the finish.
It’s fine for indoor furniture and crafts but not for surfaces exposed to heavy moisture. Always wipe spills quickly to keep your project looking its best.
Polycrylic vs. Polyurethane: Key Differences
When choosing a protective finish, polycrylic and polyurethane are two popular options. Both protect the wood, but they’re different in how they look, feel, and work.
Here’s a quick comparison for you:
| Feature | Polycrylic | Polyurethane |
|---|---|---|
| Durability | Good for light use and indoor projects | Stronger and more durable for heavy use |
| Finish Look | Clear, doesn’t yellow; best on light colors | Can yellow over time, especially on light paint |
| Ease of Use | Easy to clean (water-based); low smell | It needs mineral spirits to clean; stronger smell |
| Drying Time | Dries fast (within hours) | It takes longer to dry (can be 24+ hours) |
| Toxicity | Low odor and safer indoors | Strong fumes; needs good airflow |
| Waterproofing | Water-resistant only | Waterproof when fully cured |
Best Ways to Use Polycrylic Indoors
Polycrylic works best for indoor projects where you want a clear, smooth finish without a strong smell. Here are the top ways to use it:
- Indoor furniture: Great for tables, dressers, and shelves that don’t get heavy wear.
- Cabinets: It adds a clean, protective coat without yellowing.
- Painted surfaces: Seals and protects your paint while keeping colors true.
- Crafts: Perfect for signs, frames, and DIY home décor.
- Kid’s furniture: Safe once dry, low odor, and dries fast, ideal for toy boxes or small chairs.
Why You Shouldn’t Use Polycrylic Outdoors
Polycrylic is not made for outdoor use. It can’t handle sunlight, rain, or temperature changes. Over time, it may turn cloudy, crack, or peel when exposed to these conditions.
The finish wears out faster when it faces UV rays and moisture, making it a poor choice for anything kept outside.
How to Apply Polycrylic in Easy Steps
Learn how to apply polycrylic the right way with this simple guide. Ideal for beginners seeking to protect wood with a clear, smooth, and durable finish.
Tools You’ll Need
- Polycrylic
- Synthetic bristle brush or foam brush
- Sandpaper (220-grit)
- Clean cloth or tack cloth
- Stir stick (don’t shake the can)
- Drop cloth (to protect your work area)
Step 1: Prep and Clean the Surface

Start by checking that the surface is completely dry and free of dirt or grease. Sand it gently using 220-grit sandpaper to smooth out rough spots or scratches.
After sanding, use a tack cloth or clean, lint-free rag to wipe off all the dust and debris before continuing.
Step 2: Stir the Polycrylic

Open the can carefully and stir the polycrylic slowly with a wooden stick. Avoid shaking the can this causes air bubbles that may ruin your finish.
Stirring gently helps mix the product evenly without adding bubbles. Always stir again between coats to keep the texture and flow of the finish consistent.
Step 3: Apply the First Coat
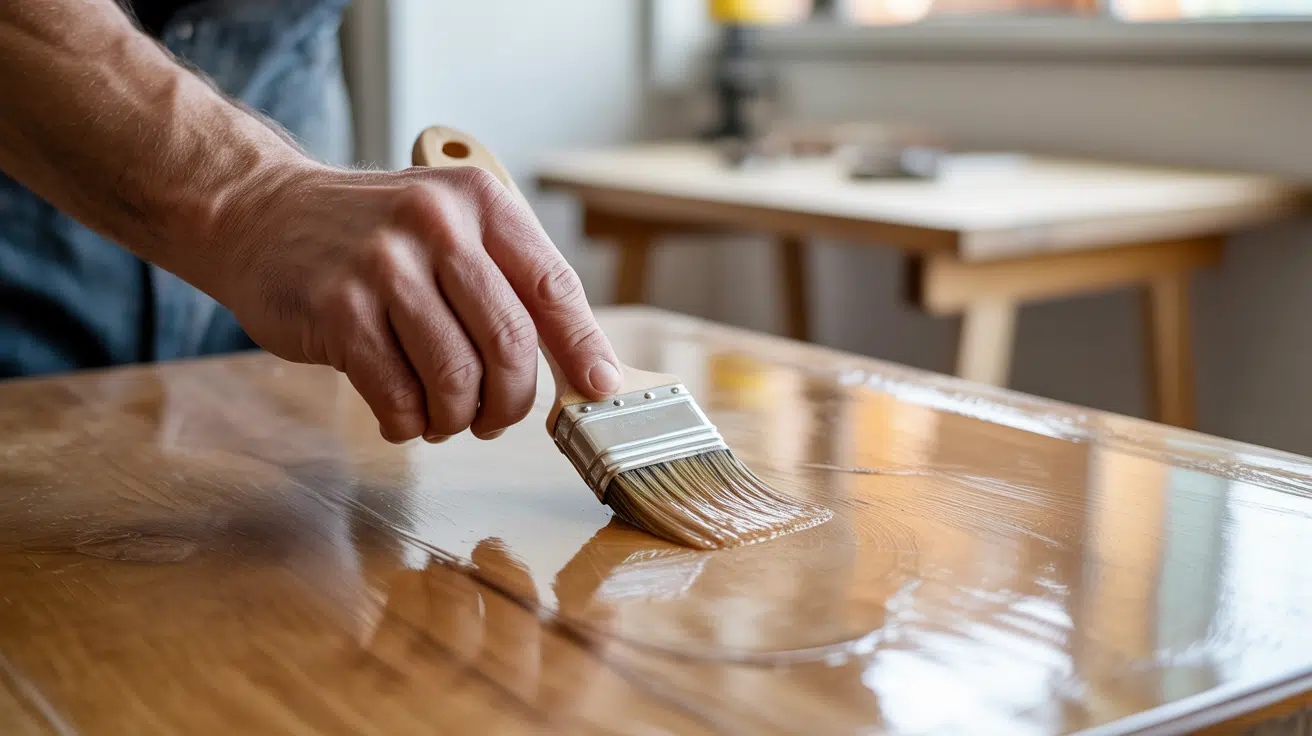
Dip a foam brush or synthetic bristle brush into the polycrylic. Apply a thin layer using long, even strokes, moving in one direction.
Don’t press too hard or go over the same area too much. Thin coats dry better and help prevent drips, bubbles, or streaky brush marks on the surface.
Step 4: Dry, Sand, and Repeat

Let the first coat dry for around 2 hours (or as directed). Once dry, sand the surface lightly using 220-grit sandpaper to smooth out any bumps or dust nibs.
Wipe clean again. Repeat this process for 2 to 3 coats, sanding lightly between each coat to keep the finish smooth.
Step 5: Let It Cure Fully

Although polycrylic may feel dry after a few hours, it’s not fully cured yet. Avoid using the item for at least 24 to 72 hours.
Full curing means the finish is completely hardened and durable. During this time, keep the surface clean and avoid placing anything heavy or wet on it.
Tips to Avoid Streaks or Bubbles
Streaks and bubbles can ruin the look fast. Follow these simple tips to get a smooth, even finish every time:
- Don’t shake the can; stir gently
- Apply thin coats only
- Brush in long, smooth strokes
- Work in a space with good airflow, but avoid direct wind or fans
- Use a foam brush for fewer brush marks
- Don’t go back over wet spots; let them self-level
Ups and Downs of Choosing Polycrylic
Polycrylic is a great choice for many indoor projects, but it’s not perfect for everything. Here’s a quick look at the good and not-so-good sides of using it.
| Pros | Cons |
|---|---|
| Easy to use and clean with water | Not waterproof, only water-resistant |
| Low odor and fast drying | Not suitable for outdoor use |
| Doesn’t yellow over time | Can streak or bubble if not applied right |
| Safe for indoor and kids’ furniture | Not ideal for high-wear or wet areas |
Alternatives for Full Waterproofing
If you require strong waterproof protection, especially for outdoor projects or areas with high moisture, polycrylic may not be sufficient.
Here are some better choices that provide full sealing and protection against water.
1. Oil-Based Polyurethane
Oil-based polyurethane forms a strong, waterproof barrier ideal for surfaces like hardwood floors, tabletops, and kitchen counters.
It resists moisture, scratches, and heavy use. Though it takes longer to dry and has a strong smell, it’s very durable.
It can slightly darken the wood, giving it a warmer tone over time, which some people prefer.
2. Waterlox
Waterlox is made from tung oil and offers great waterproofing for wood while keeping a natural look.
It soaks into the wood and forms a protective finish that resists water and spills. It’s a favorite for wooden countertops, bathroom vanities, and floors.
Waterlox also allows easy maintenance and touch-ups, making it both practical and long-lasting.
3. Marine Spar Varnish
Marine spar varnish is built for extreme weather. It’s made to flex with changing outdoor conditions, like sun, rain, and humidity.
That’s why it’s used on boats. It’s perfect for outdoor wood furniture, decks, and fences. This varnish also protects against UV rays, helping to prevent fading, peeling, and cracking over time, even in direct sunlight.
4. Epoxy Sealants
Epoxy sealants create a thick, glossy, and rock-hard layer over surfaces. They provide complete waterproofing and are commonly used for bar tops, tables, and even boat parts.
Once cured, they resist water, stains, and damage. Epoxy is long-lasting, but applying it takes care; it must be mixed well and poured smoothly to avoid bubbles or uneven spots.
Wrapping Up
So, did you get the answer to Is polycrylic waterproof? I hope so, as the blog says its not fully. It handles light spills but can’t stand up to long-term water or outdoor conditions.
That’s why knowing when and how to use it really matters. In this blog, I have tried my best to walk you through its uses, how it compares to other finishes, and what to choose if you need full waterproofing.
If you’re planning an indoor project, polycrylic could be the perfect match. But if water is a real issue, now you know the better options.
Ready to protect your next project the right way? Save this guide, follow the steps, and choose your finish wisely.


