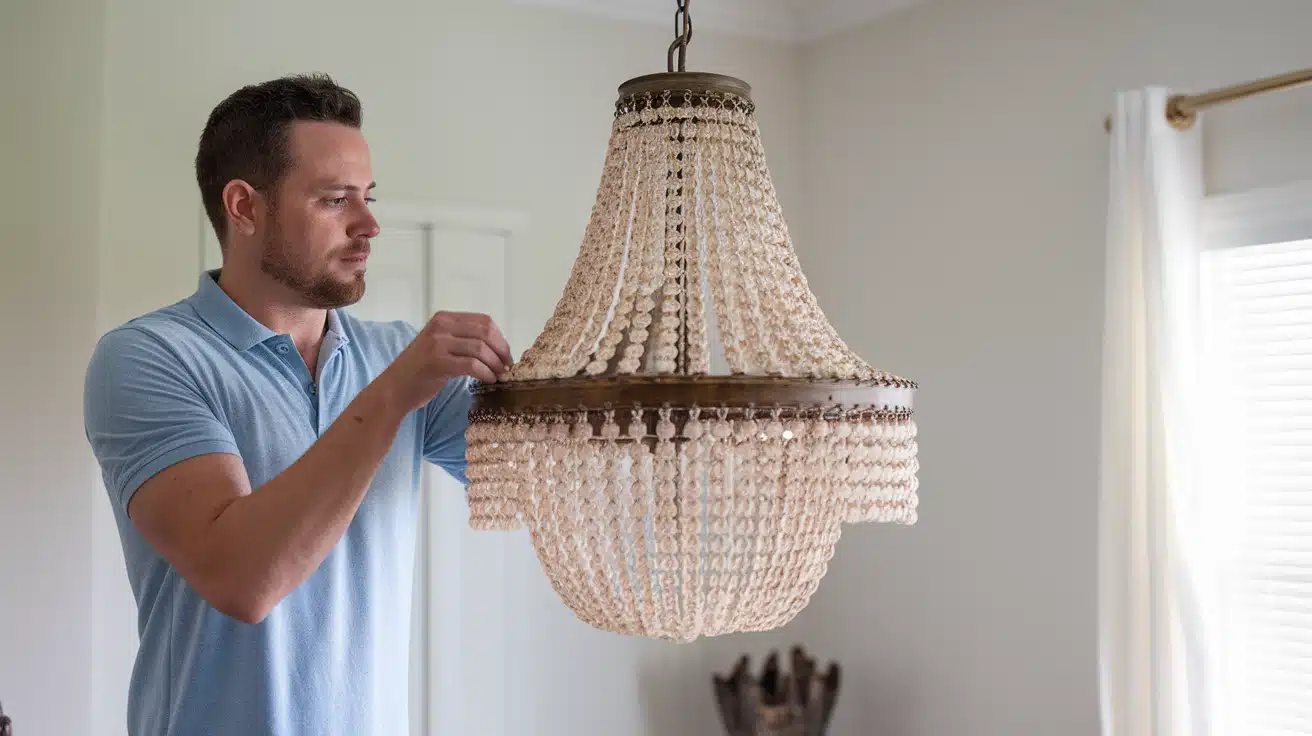
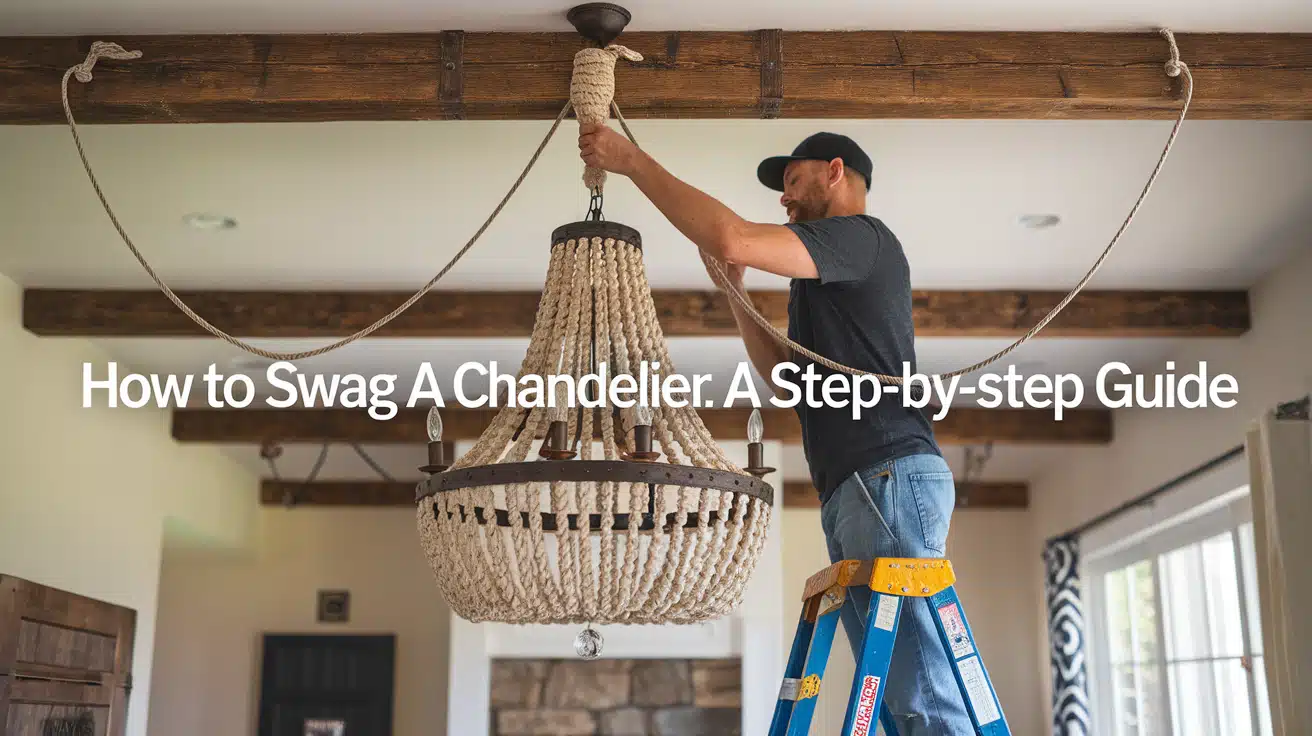
How to Swag a Chandelier: A Step-by-Step Guide
Moving your chandelier doesn’t mean rewiring your whole ceiling. Let me show you how to swag your light fixture to the perfect spot.
Do you have a dining room light that hangs in the wrong place? Many homes face this common problem, where ceiling boxes sit far from where you need light. Swagging offers a simple fix that works without major construction.
I’ll walk you through each step of moving your chandelier. You’ll learn how to pick the right spot, choose proper materials, and make sure everything stays safe. By the end, you’ll know exactly how to shift your light fixture to its ideal location.
Follow along as we turn a poorly placed light into a properly centered chandelier. This guide makes the process clear and manageable, even if you’re new to home projects.
Understanding Swagging
A swag chain lets you move your ceiling light to the perfect spot without changing your home’s wiring. This method helps when your ceiling box sits in the wrong place for your room’s layout. Many older homes have off-center lighting, making swagging a useful fix.
What Does Swagging a Chandelier Involve?
Swagging means adding a chain or cord cover to move your light fixture from its fixed ceiling point to a better location. Think of it as creating a gentle slope with your lighting. The process keeps your chandelier’s wiring hidden while letting you put the light exactly where you need it.
You might want to swag your chandelier when:
- Your dining table sits away from the ceiling’s electrical box
- It would be best if you had better light distribution in a large room
- Your room’s layout changed, but the ceiling box stayed put
Advantages of Swagging Your Chandelier
Moving your chandelier brings several useful benefits to your space. First, you gain complete control over where your light hangs. This matters most in dining rooms, where the light should center above your table.
Swagging solves common issues with older homes, where ceiling boxes often sit in odd spots. Instead of costly electrical work, a swag kit provides a simple fix. You can keep your current wiring while placing your light fixture in the ideal spot.
The right placement does more than light your space well. A properly placed chandelier helps create balance in your room’s design. When your light hangs in the right spot, it ties your furniture layout together and makes the space feel complete.
Planning Your Swagging Project
Before you start moving your chandelier, take time to plan each step. Good planning helps you avoid mistakes and makes the whole process smoother. Let’s look at how to get ready for your project.
Choosing the Right Location
Finding the perfect spot for your chandelier starts with measuring your space. For dining rooms, hang the light 30-34 inches above your table’s surface. Keep at least 7 feet in living spaces between the floor and the bottom of your light.
Here are some tips to help you pick the best spot:
- Mark the floor directly under your current ceiling box
- Measure the distance to your preferred new location
- Use painter’s tape to mark the spot on your ceiling
- Step back and check the placement from different angles
Your furniture layout guides where your light should go. In dining rooms, center the chandelier above your table. For living rooms, think about seating areas and how light will spread through the space.
Selecting Your Materials
| Tools | Materials | Purpose/Usage |
|---|---|---|
| Measuring Tape | Swag Hook | For measuring distances and ensuring accurate placement. |
| Pliers | Chain | Used to adjust and secure the chain links. |
| Screwdriver | Electrical Wire | For securing swag hooks and adjusting fixtures. |
| Wire Cutters | Wire Nuts | For cutting and stripping wires. |
| Adjustable Wrench | Lamp Cord | For tightening swag hooks and other fixtures. |
| Drill | Ceiling Anchors | For making holes for swag hooks if necessary. |
| Level (optional) | Decorative Canopy | To ensure everything is perfectly horizontal. |
| Stud Finder (optional) | Toggle Bolts | To locate ceiling joists and ensure secure anchor points. |
Step-by-Step Guide to Swagging Your Chandelier
Step 1: Assessment of Current Installation
Start by checking your current light fixture’s position. Common issues include lights hanging in walkways or too far from dining tables. Moving the outlet box often requires complex rewiring and ceiling repairs, making swagging a better choice.
In many homes, ceiling boxes sit in less-than-ideal spots. Before starting, check if your current wiring setup includes multiple circuits running through the box. This helps determine if swagging is your best option.
Step 2: Preparation
First, turn off power at the breaker box. Remove the canopy nut and lower the fixture’s canopy. Check for extra cord length in the box – you might need more than you think.
Look inside the junction box to understand your wiring setup. Note the connections: typically, you’ll see hot (black), neutral (white), and ground wires. Some setups include switched wires (often red).
Step 3: Installation of the Swag Hook
Finding the right spot takes careful measurement:
- Center your table where you want it
- Use a measuring tape to mark the ceiling spot
- Try installing with a wood screw first
- If you can’t find a ceiling joist, use a toggle bolt
- Test the hook’s strength by pulling down gently
Step 4: Adjustment of Chain and Cord
Measure for your new setup:
- Allow 8-9 inches of chain near the fixture
- Add length for a gentle swag to the hook
- Include extra cord length for connections
- Thread lamp cord through chain links carefully
- Keep cord movement smooth between links
Step 5: Wiring the Fixture
When connecting wires:
- Find the neutral wire by feeling for a ridge on the cord
- Connect neutrals to the ridged side
- Join hot wires to the smooth cord side
- Secure ground wires together
- Test all connections with a gentle tug
Step 6: Final Assembly and Mounting
Put everything together:
- Hook the chain to your swag hook
- Feed wires through the canopy
- Make connections in the junction box
- Raise the canopy
- Secure with the canopy nut
Step 7: Testing
Complete your installation:
- Double-check all connections
- Turn the power back on at the breaker
- Test the light switch
- Watch for any issues
- Adjust the height if needed
Video Tutorial
Watch the full video tutorial on how to swag a chandelier.
Safety and Maintenance

Routine Inspections
Good care keeps your chandelier safe and bright. Look over all parts while you clean the fixture each month. Small problems can turn into big ones, so catch them early with regular checks.
Your chain links need close attention during cleaning. Give each link a gentle test to ensure it stays closed and strong. The swag hook should sit firmly on your ceiling without any wiggle or movement.
Keep the canopy snug against the ceiling, as gaps might mean something has come loose.
Understanding Weight Limitations
Your chandelier’s weight plays a key role in safety. Every swag hook has a specific weight rating. Pick one that holds more than you need—about 1.5 times your fixture’s total weight offers good safety space.
Most home ceilings handle standard chandeliers well, yet drywall and plaster ceilings need different support methods. Watch for tiny cracks or sagging near your hook—these signs tell you something’s wrong.
Remember to add up everything: the light, chain, and all attached parts count toward the total load.
When to Call a Professional
Some work needs expert hands. You’ll want an electrician when your wiring shows wear marks or your ceiling box feels less than solid. New circuit work always calls for professional skills. Your local rules might say you need special permits, and those often require licensed experts.
Building codes protect everyone’s safety. Many towns ask for permits before you change anything electrical. A good electrician knows these rules and keeps your home up to code.
They also spot problems you might miss, saving you from future trouble. When you doubt any part of your project, asking an expert costs less than fixing mistakes.
Conclusion
Moving your chandelier can greatly affect your room’s feel and function. Proper planning and careful work allow you to place your light exactly where you need it.
Remember that safety comes first with any lighting project. Check your measurements twice, use the right tools, and follow each step carefully. Good connections and strong support will ensure that your chandelier stays secure for years to come.
The time you spend on this project pays off every day. A well-placed chandelier brings the right amount of light to your space, making your room look better and work better for your needs.
Now, you have the knowledge to tackle this home project with confidence. Your newly positioned chandelier will shine in just the right spot.


