How to Repot a Plant Properly Without Damaging Roots
Repotting can feel risky, especially when your plant is doing fine, and you do not want to disturb it.
But keeping a plant in the same pot for too long can slowly affect its growth and health.
Learning how to repot a plant the right way helps you avoid common mistakes and keep your plant stable during the transition.
This guide walks you through the full process in a clear, simple way so you can repot with confidence and avoid damage.
What You Need to Understand Before Repotting
Getting these fundamentals right determines how smoothly your plant transitions and recovers after being moved to a new pot.
1. Why Pot Size Matters
Choosing the right pot size is more about moisture control than space. A pot only 1–2 inches larger keeps water balanced.
Oversized pots hold excess moisture, reduce airflow, and slow root development rather than encouraging faster growth.
2. How Soil Structure Affects Root Health
Soil controls oxygen and water movement around roots. A loose, well-draining mix creates breathing room for roots to function.
Dense or compacted soil traps moisture and suffocates roots, even when your watering habits are perfectly on point.
3. Why Post-Repot Care Is Non-Negotiable
Repotting temporarily disrupts roots, making them less efficient at absorbing water and nutrients.
Indirect light, controlled watering, and no early fertilizing give the plant time to stabilize. Skipping this care phase increases transplant shock and delays healthy recovery.
Prepare Everything Before You Start Repotting
Having the right materials and setup ready before you begin prevents rushed decisions and reduces the risk of accidental root damage.
- Pot with drainage holes: Prevents waterlogging at the bottom.
- Correct potting mix: Loose, well-draining for better airflow.
- Basic tools nearby: Helpful for stubborn or tangled roots.
- Slightly dry soil: Easier removal with less root damage.
How to Repot a Plant Step-by-Step
Follow these steps in order to repot your plant safely and help it settle into its new pot without stress.
Step 1: Remove the Plant Safely from Its Current Pot

Turn the pot sideways and support the base of the plant. Tap or squeeze the pot to release the root ball.
Never pull from the stems, as the force transfers to the roots and can damage them. If the plant is stuck, loosen the edges or break the pot if needed.
Poor removal can damage roots and slow recovery.
Step 2: Check and Fix the Root Structure Before Replanting

Identify Root-Bound Conditions: Look for roots circling the pot or forming a tight mass. This happens when roots run out of space and start looping instead of growing outward, which limits future growth.
Loosen and Adjust the Roots: Gently tease apart the root ball and trim long or tangled roots if needed. This breaks the circular pattern and helps roots spread into fresh soil, improving water and nutrient uptake.
What Happens if You Skip This Step: If roots stay compact, they continue circling and fail to expand. The plant may show slow or weak growth even after repotting.
Step 3: Place the Plant at The Correct Height in The New Pot

Add a base layer of fresh soil before placing the plant. Set the plant so it sits at the same depth as it was in the old pot. This keeps the stem and roots in the right balance.
If planted too deep, the stem stays buried in moist soil and can rot over time. If too shallow, the roots may get exposed and the plant can become unstable.
Leave a small gap below the rim so water can settle without spilling.
Step 4: Fill the Pot and Remove Air Gaps Around Roots

Add soil gradually around the root ball, making sure it spreads evenly on all sides. Lightly press the soil or tap the pot to help it settle naturally.
Avoid packing the soil tightly. Compacted soil reduces airflow, which roots need to function.
At the same time, do not leave large air pockets, as exposed roots can dry out and stop working properly. The goal is firm but breathable soil.
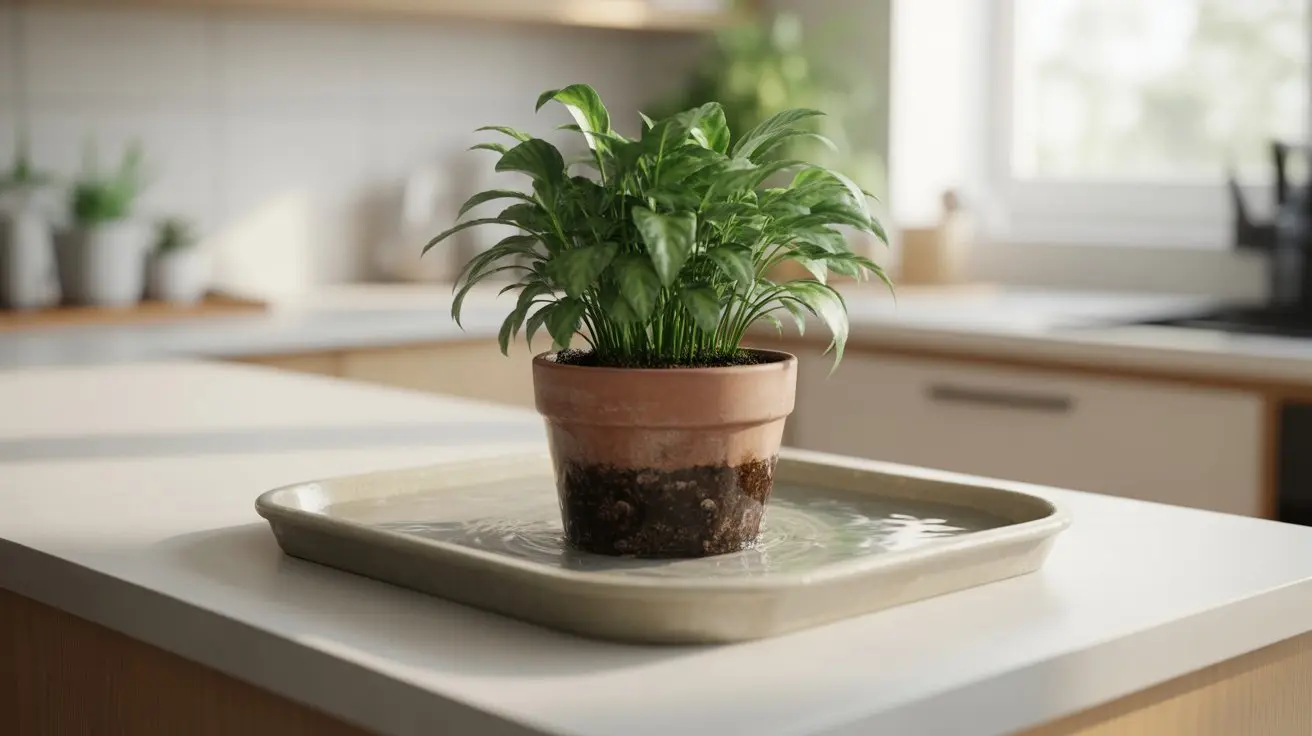
Step 5: Water Immediately to Stabilize the Plant

Water the plant thoroughly until excess water drains from the bottom. This step helps settle the soil around the roots and removes hidden air gaps.
It also helps the roots make proper contact with the new soil, which supports faster recovery.
Avoid light or uneven watering, as it can leave dry spots and prevent the plant from stabilizing properly.
Step 6: Adjust Care Right After Repotting

Place the plant in indirect light for a while to reduce stress. Avoid fertilizing for a few weeks, as roots are sensitive and can burn easily.
Monitor watering closely since new soil holds moisture differently. Mild drooping is normal, but severe decline may indicate damage.
Once done, give the plant time to adjust. With the right steps and care, it will settle in and start growing steadily.
Quick Step-By-Step Repotting Checklist
Use this table as a quick reference while repotting to stay on track and avoid missing any step.
Here’s a simple table you can follow while repotting:
| Step | Action | What To Focus On |
|---|---|---|
| 1 | Choose the right pot | 1–2 inches larger, with drainage holes to prevent water buildup |
| 2 | Remove the plant | Be gentle, avoid pulling from stems to protect roots |
| 3 | Loosen the roots | Break tight root patterns so roots can grow outward |
| 4 | Add base soil & position plant | Keep the same depth and leave space below the rim |
| 5 | Fill gaps with soil | Settle soil lightly without compacting it |
| 6 | Water thoroughly | Let excess water drain to remove air pockets |
| 7 | Adjust aftercare | Keep in indirect light and control watering |
Common Repotting Mistakes and Why They Cause Failure
Avoiding these mistakes can mean the difference between a thriving plant and a struggling one.
- Using an Oversized Pot: Excess soil retains moisture, reducing airflow and causing root rot.
- Skipping Root Loosening: Roots keep circling, blocking proper water and nutrient absorption.
- Overwatering After Repotting: Disturbed roots can’t handle excess water, cutting off oxygen.
- Compacting Soil Too Tightly: Removes air spaces roots need, limiting function, and causing stress.
- Repotting During Dormancy: Slows recovery because the plant isn’t actively growing or establishing roots.
Start Repotting Plants
Repotting plants is not a guessing game once you understand the logic behind each step.
From picking the right pot size to loosening root-bound tangles, fixing soil structure, and adjusting post-repot care, every decision directly shapes how well your plant recovers and grows.
The mistakes are easy to make but just as easy to avoid when you know what to watch for.
Dormancy timing, overwatering, and skipping root prep are the most common culprits behind failed repotting attempts.
Follow the steps, trust the process, and your plant will reward you with steady, healthy growth.
Have you recently tried repotting plants? Drop your experience or your favorite repotting tip in the comments below.
Frequently Asked Questions
How Often Should Plants Be Repotted?
Most plants need repotting every 1–2 years, or sooner if they become root-bound. If you notice roots circling the pot, slow growth, or soil drying too fast, it is a sign the plant has outgrown its space.
Can You Reuse the Same Pot?
Yes, you can reuse the same pot if you trim the roots and replace the old soil with fresh mix. This works well when you want to control plant size or refresh nutrients without increasing pot size.
When Is the Best Time to Repot?
Repot during the active growing season, usually spring, when the plant can recover faster. During this time, roots grow more actively, which helps the plant settle into new soil and reduce stress after repotting.