How to Propagate Succulents Successfully: A Step-by-Step Guide
Many plant lovers find succulents hard to grow. You might have bought a beautiful succulent only to see it wilt or die within weeks.
This can be frustrating and costly. But don’t worry – with the right know-how, you can easily grow and multiply your succulents at home.
This guide will show you how to propagate succulents successfully, step by step. You’ll learn the best methods for different types of succulents, what tools you need, and common mistakes to avoid.
By the end, you’ll have the skills to create a thriving succulent garden without spending a lot of money.
Whether you’re a beginner or have some experience with plants, this guide will help you become a succulent propagation expert.
Introduction to Succulent Propagation
Knowing how to grow new succulents from existing ones is a valuable skill for plant lovers. This section explains what propagation is and why it matters.
What is Propagation?
Propagation is the process of creating new plants from parts of existing ones. For succulents, this means using leaves, stems, or offshoots to grow entirely new plants. It’s a natural way these plants reproduce in their native habitats.
In plant cultivation, propagation is a key skill. It allows gardeners and plant enthusiasts to increase their collection, maintain plant health, and even preserve species.
The process takes advantage of succulents’ ability to regrow from small parts. This trait helps them survive in harsh, dry environments where they might lose leaves or stems.
Why is it important?
Propagation helps you:
- Cost-effective gardening: By propagating, you can grow many new plants for free, saving money on buying new ones.
- Preserves plant genetics: You can keep the traits of a plant you like by making exact copies through propagation.
- Problem-solving: If a succulent is getting too big or has a damaged part, propagation lets you start fresh with a new, healthy plant.
- Learning opportunity: It teaches you about plant growth and care, helping you become a better gardener.
- Space management: You can control the size and number of plants in your garden through careful propagation.
- Gift-giving: Propagated plants make thoughtful, personal gifts for other plant lovers.
- Sustainability: It reduces the need to harvest wild succulents, helping protect natural habitats.
Propagation Methods
There are four main ways to propagate succulents:
- Leaf cuttings: Using a single leaf to grow a new plant
- Stem cuttings: Using a piece of stem with several leaves
- Offsets (pups): Separating baby plants that grow from the parent
- Seeds: Growing new plants from seeds
Each method works best for different types of succulents.
Tools and Materials You’ll Need
To successfully grow new succulents, you’ll need some basic items. This section lists the tools and materials needed for propagation and explains how to get them ready for use.
Tools and Materials List
- Clean, sharp scissors or pruning shears
- Small pots or containers with drainage holes
- Well-draining soil mix for succulents
- Rooting powder (optional but helpful)
- Spray bottle for water
- Paper towels or a clean cloth
- Small tray or shallow dish
- Clear plastic wrap or a clear plastic dome (optional)
How to Prepare Your Materials
- Clean your tools: Wash your scissors or pruning shears with soap and water, then wipe them with rubbing alcohol. This helps prevent the spread of plant diseases.
- Choose the right pots: Pick containers that fit your cuttings and have holes for water to drain.
- Prepare your soil: Use a mix made for succulents or make your own by mixing regular potting soil with sand or perlite.
- Set up your work area: Lay out paper towels or newspapers to keep your space clean.
By getting these items ready, you’ll have everything you need to start growing new succulents. Clean tools and the right materials will help your new plants grow strong and healthy.
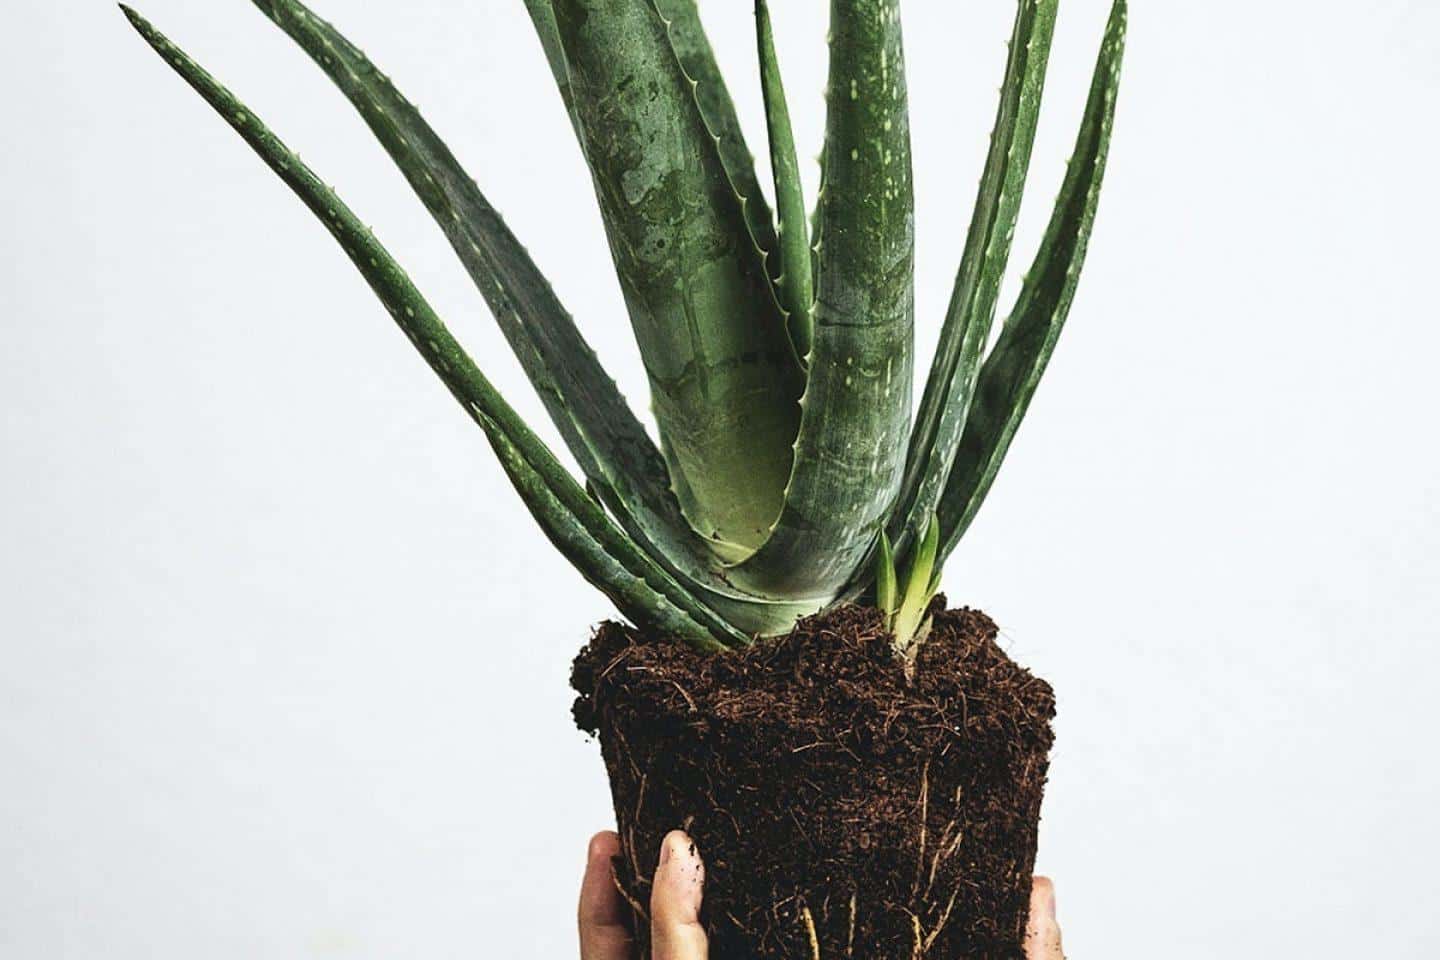
Propagating Succulents from Leaf Cuttings
Leaf propagation is an easy way to multiply your succulents. Follow these steps to grow new plants from single leaves:
Step 1: Selecting the Right Leaf
- Choose plump, healthy leaves from the lower part of the plant
- Look for leaves with a vibrant color and no signs of damage
- Avoid young, small leaves or those that are wrinkled or discolored
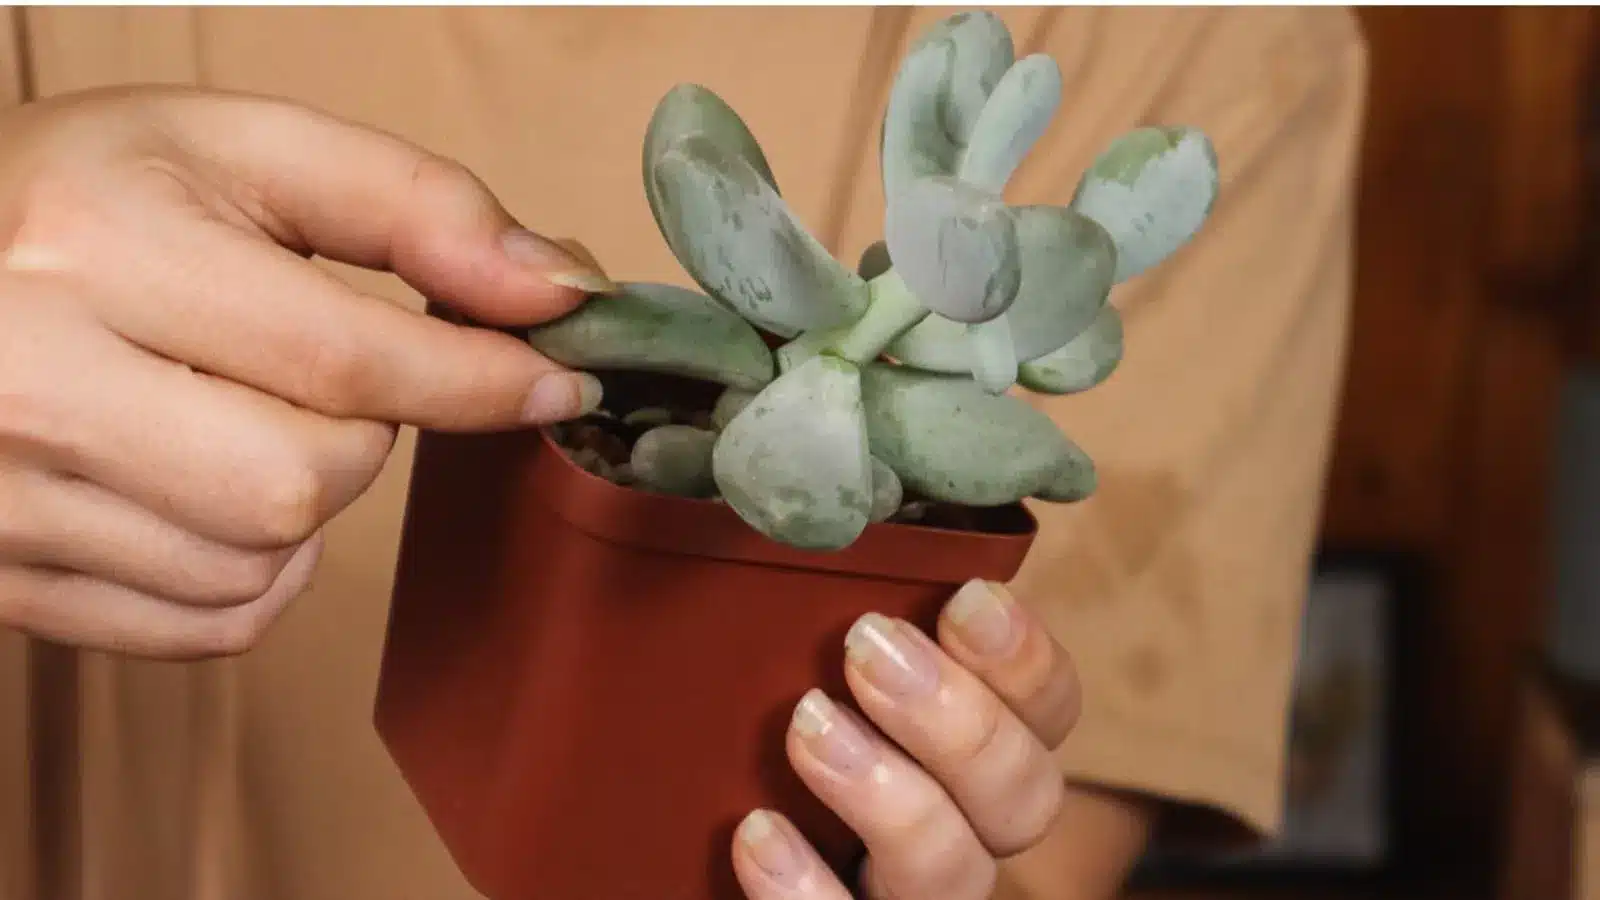
Step 2: Removing the Leaf
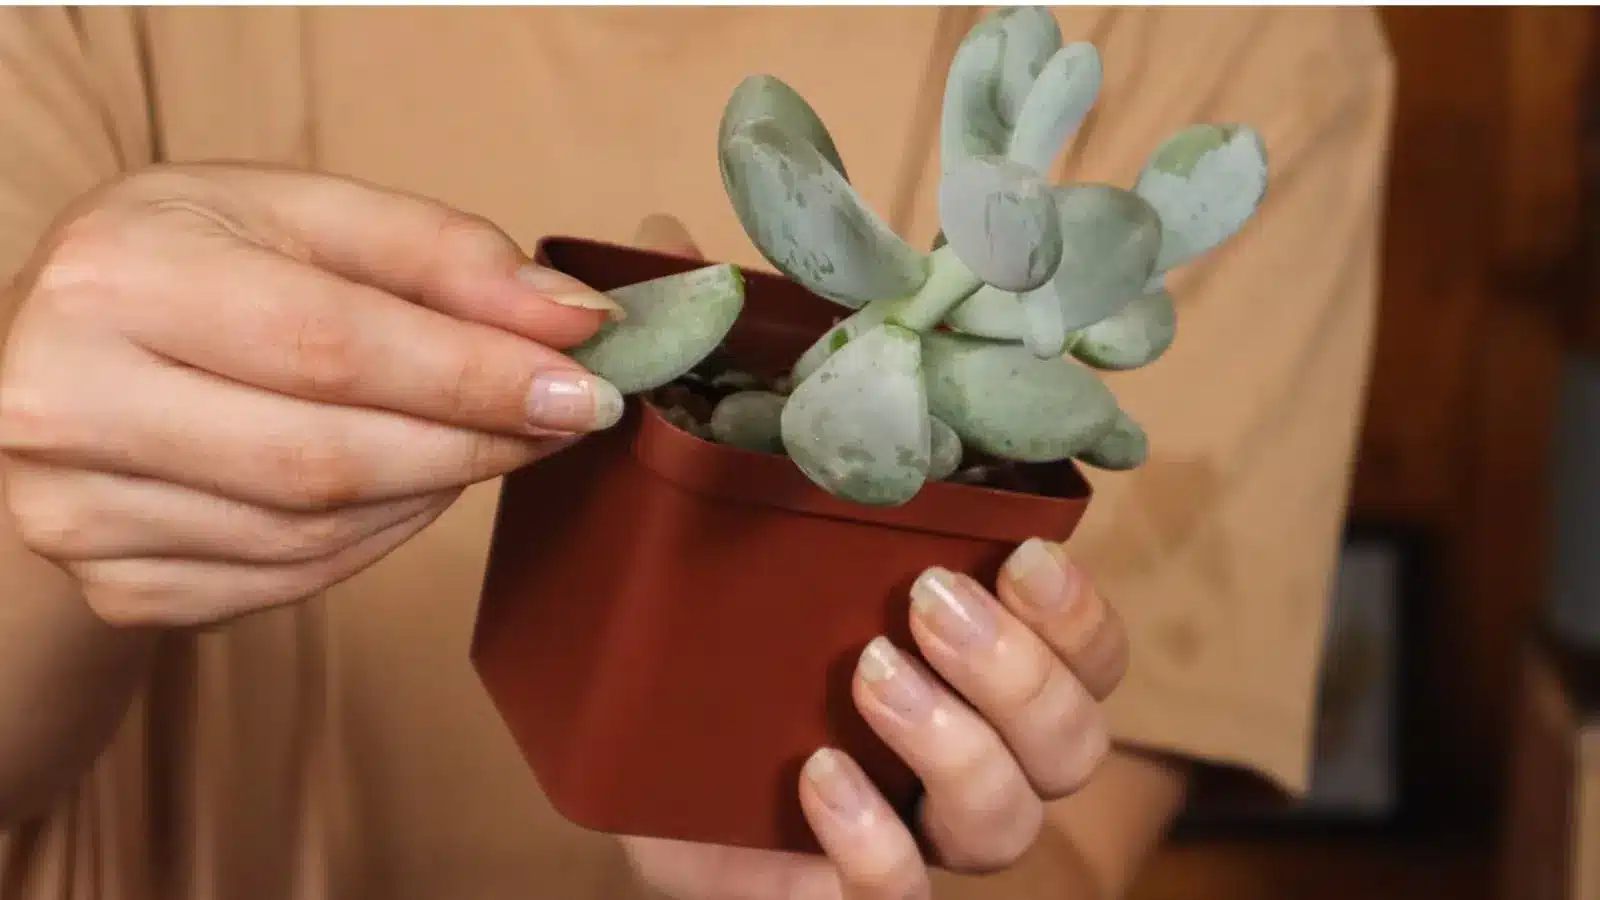
- Hold the leaf gently between your thumb and forefinger
- Move it from side to side while pulling away from the stem
- Ensure you get a clean break, including the base of the leaf
- If the leaf tears or leaves part behind, it won’t grow properly
Step 3: Drying the Leaf

- Place removed leaves on a dry paper towel
- Keep them in a warm, shaded area for 2-3 days
- Wait until the cut end forms a callus (a dry, slightly hardened area)
- This crucial step prevents rot when planting
Step 4: Planting and Rooting
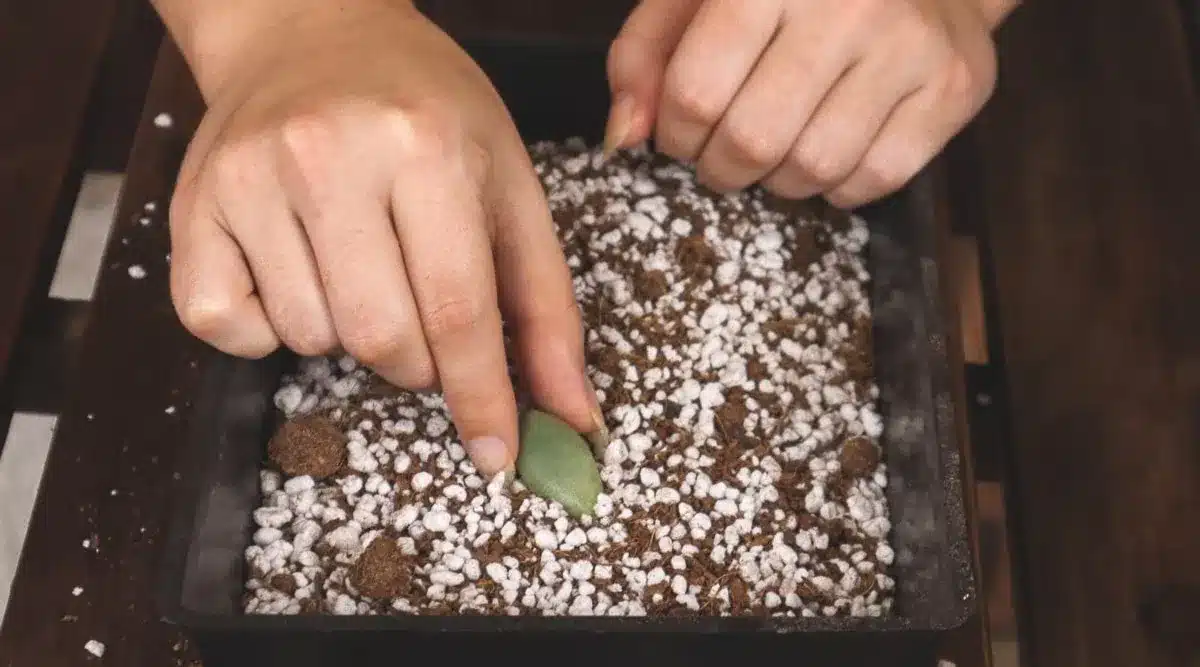
- Prepare a shallow tray with well-draining cactus or succulent soil
- Place the calloused leaves on the soil surface, cut-end down
- The leaf should barely touch the soil – don’t bury it
- Mist the soil lightly every 3-4 days to maintain slight moisture
Tips for Success
- Provide bright, indirect light – avoid harsh direct sun
- Keep soil barely moist, not wet – overwatering leads to rot
- Expect to see tiny roots in 2-3 weeks, and small leaves in 4-6 weeks
- Not all leaves will grow – success rates vary by species and conditions
- Once new plants form, let them grow until they’re about 1 inch tall
- Gently separate new plants from the mother leaf when ready
- Plant the new succulents in their own small pots with fresh soil
Remember, patience is key. Some succulents propagate quickly, while others may take months. Keep caring for your leaf cuttings, and you’ll soon have a collection of new, healthy plants.
For more detailed information visit here.
Propagating Succulents from Stem Cuttings
Stem cuttings are a quick way to grow new succulents. Follow these steps for the best results:
Step 1: Selecting a Healthy Stem
- Choose a stem with several leaves
- Look for stems that are firm and have a good color
- It’s okay if the stem is long or “leggy”
- Avoid stems from plants that look unhealthy or overwatered
Step 2: Cutting the Stem
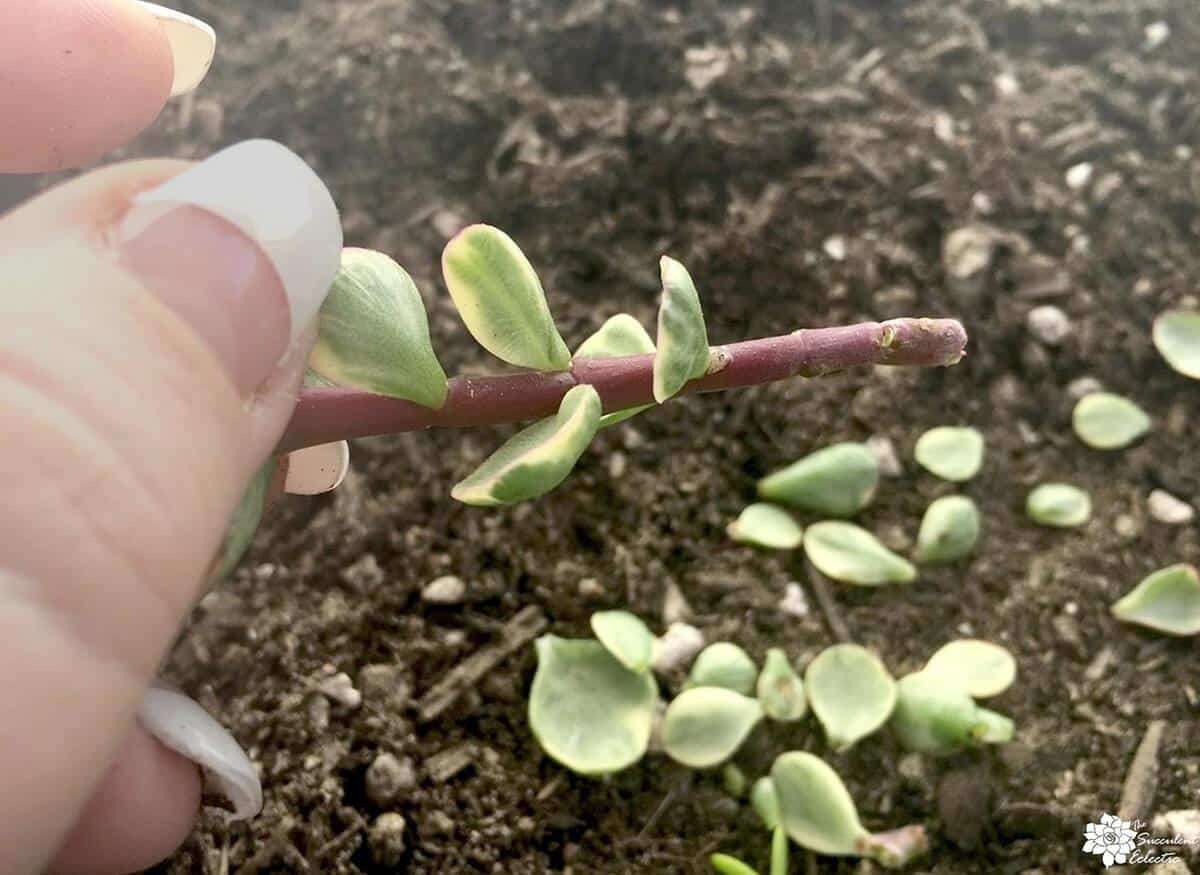
- Use clean, sharp pruning shears
- Cut just below a node (where leaves grow from the stem)
- Make a clean cut to avoid hurting the plant
Step 3: Allow the Cuttings to Callous
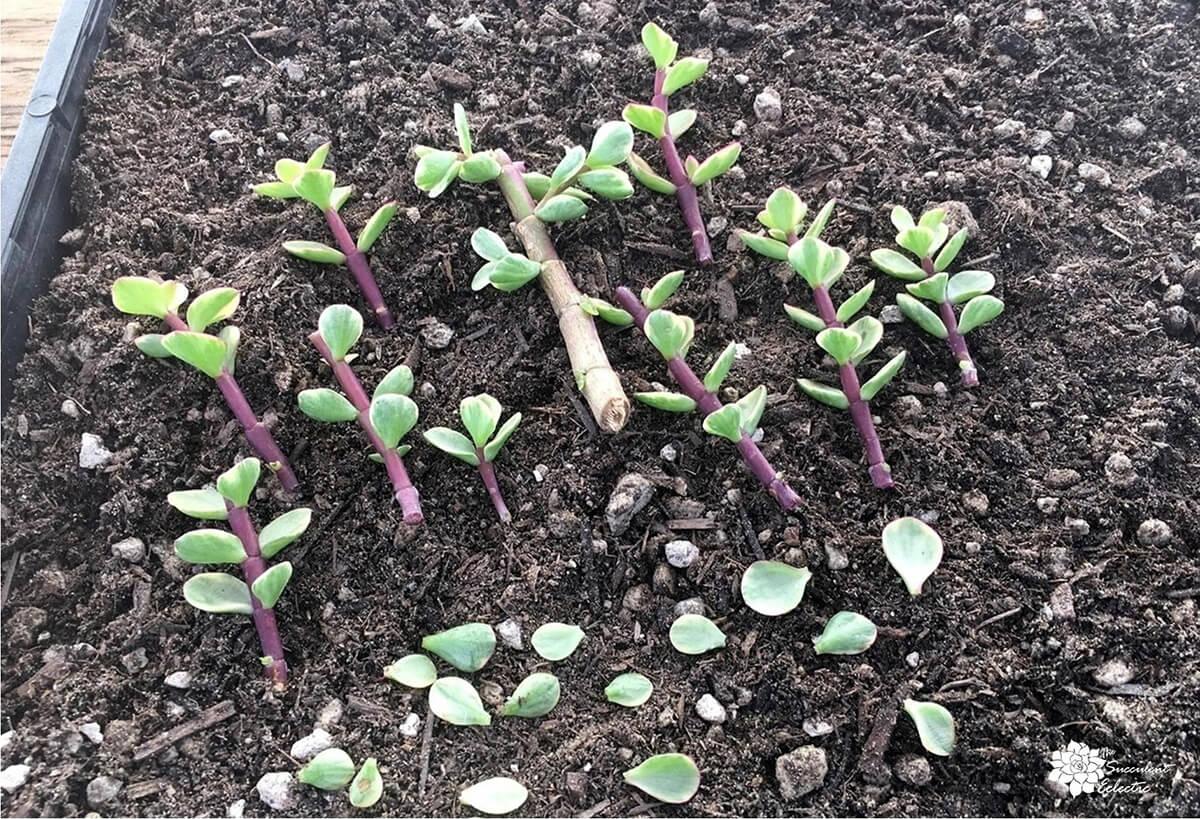
- Let cut stems dry for 2-3 days
- Place them on top of dry soil while they dry
- This step stops the cutting from rotting when planted
Step 4: Planting the Cuttings
- Use soil that drains water well
- Plant the dried cuttings in this soil
- Don’t water right away – wait a few days
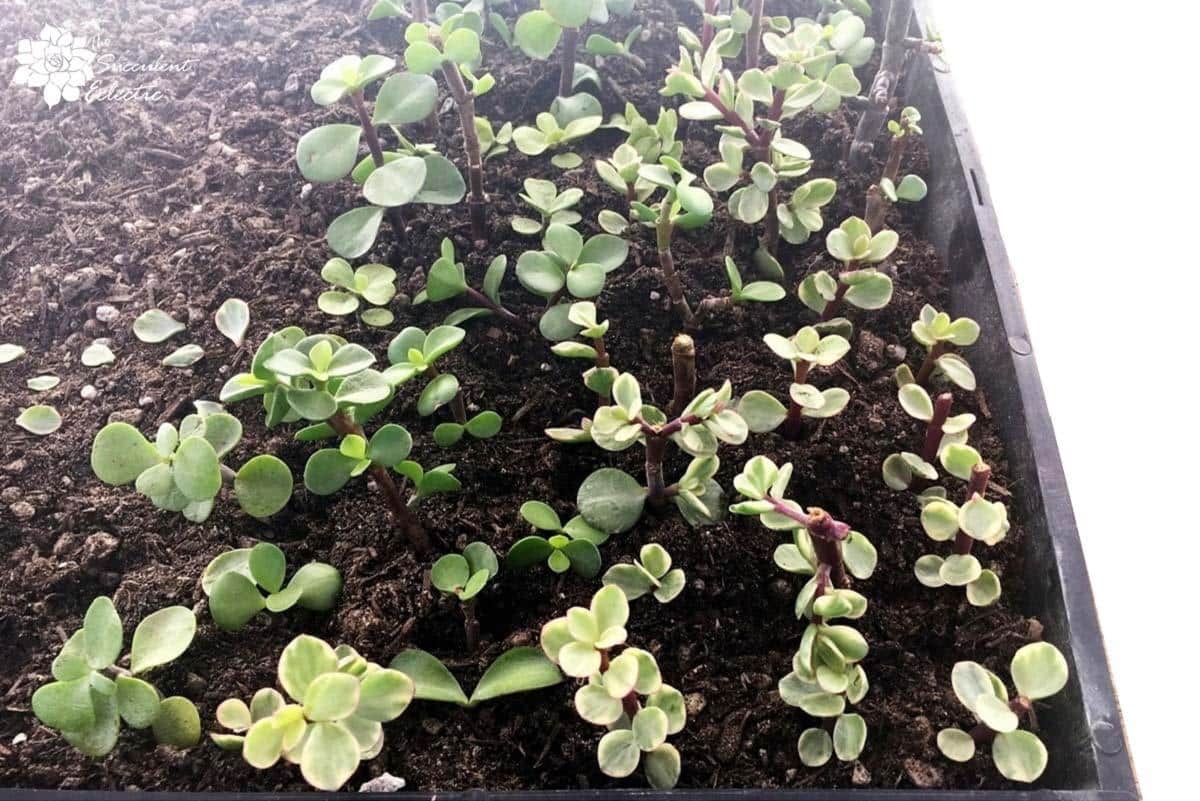
Step 5: Caring and Monitoring
- After two weeks, start misting the soil lightly
- Don’t use too much water – succulents like it dry
- Put the cuttings where they get light but not direct sun
- Roots should start growing in a few weeks
- Check the soil often – it should be slightly damp, not wet
- When roots are strong, you can move the plants to bigger pots
Tips for Success
- Most succulents like bright light but not direct sun
- Water sparingly – too much water can harm succulents
- Be patient – it takes time for new roots and leaves to grow
- If a cutting doesn’t grow, try again with a new stem
- Different types of succulents may need slightly different care
Remember, growing new plants takes time. Keep watching your cuttings and adjusting their care as needed. Soon, you’ll have new, healthy succulents to enjoy or share with friends.
For more detailed information, visit here.
Propagating Succulents from Offsets (Pups)
Growing new succulents from offsets is a simple and effective method. Here’s how to do it:
Step 1: Identify Mature Offsets
- Look for baby plants (offsets) growing at the base of the parent
- Choose offsets that are at least one-third the size of the mother plant
- Ensure the offset has some of its own roots if possible
Step 2: Gently Remove the Offset
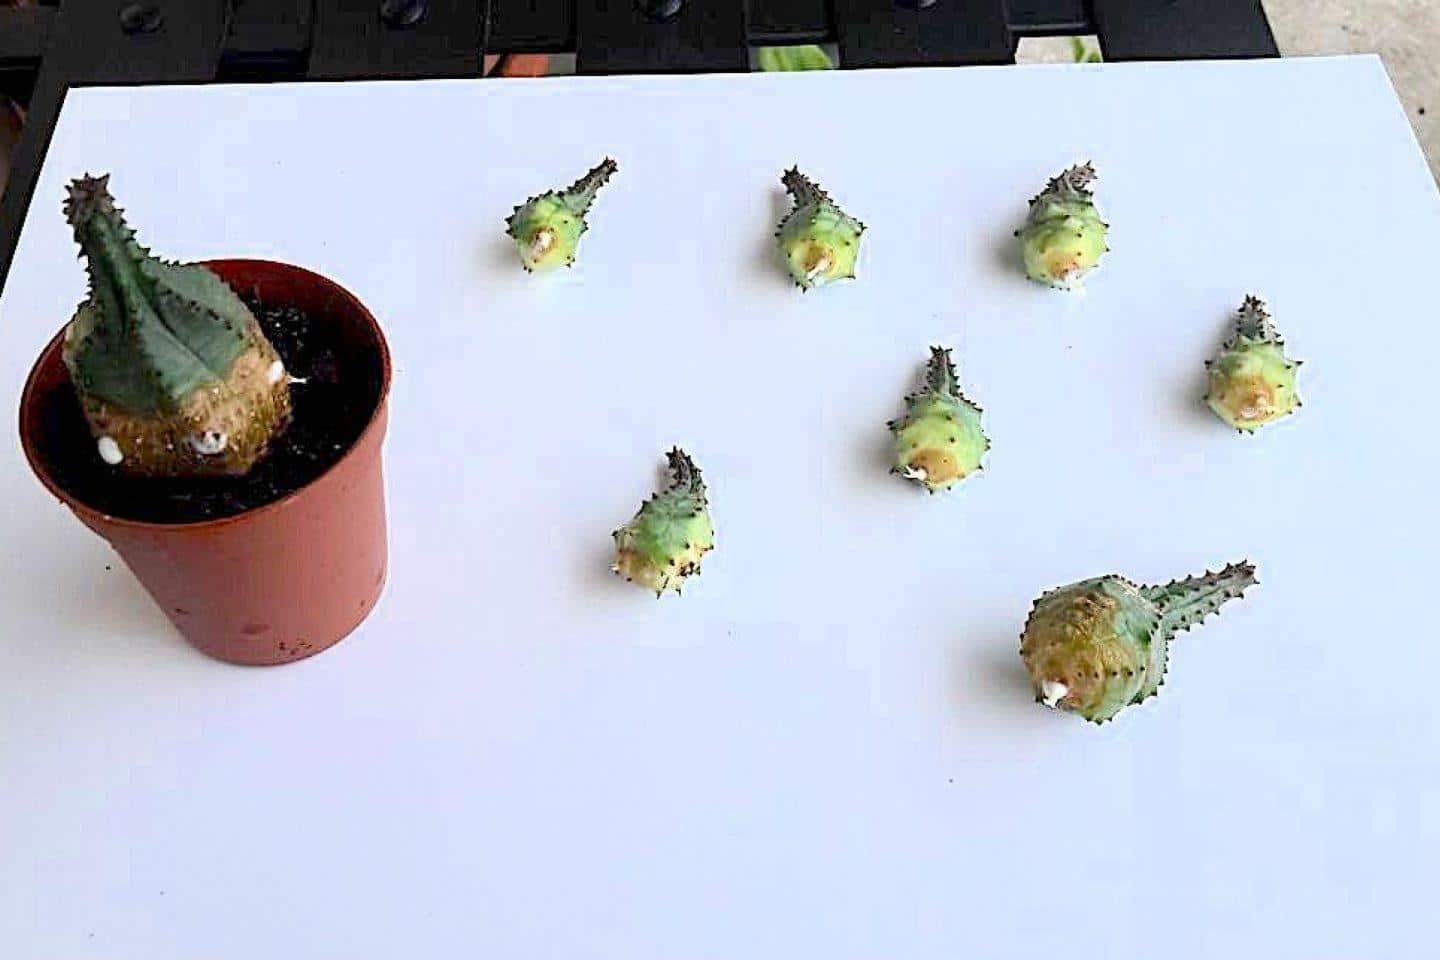
- Carefully pull or twist the offset away from the parent plant
- If it’s firmly attached, use a clean, sharp knife to separate it
- Try to keep some roots on the offset to help it grow better
Step 3: Let the Offset Callous and Prepare the Soil
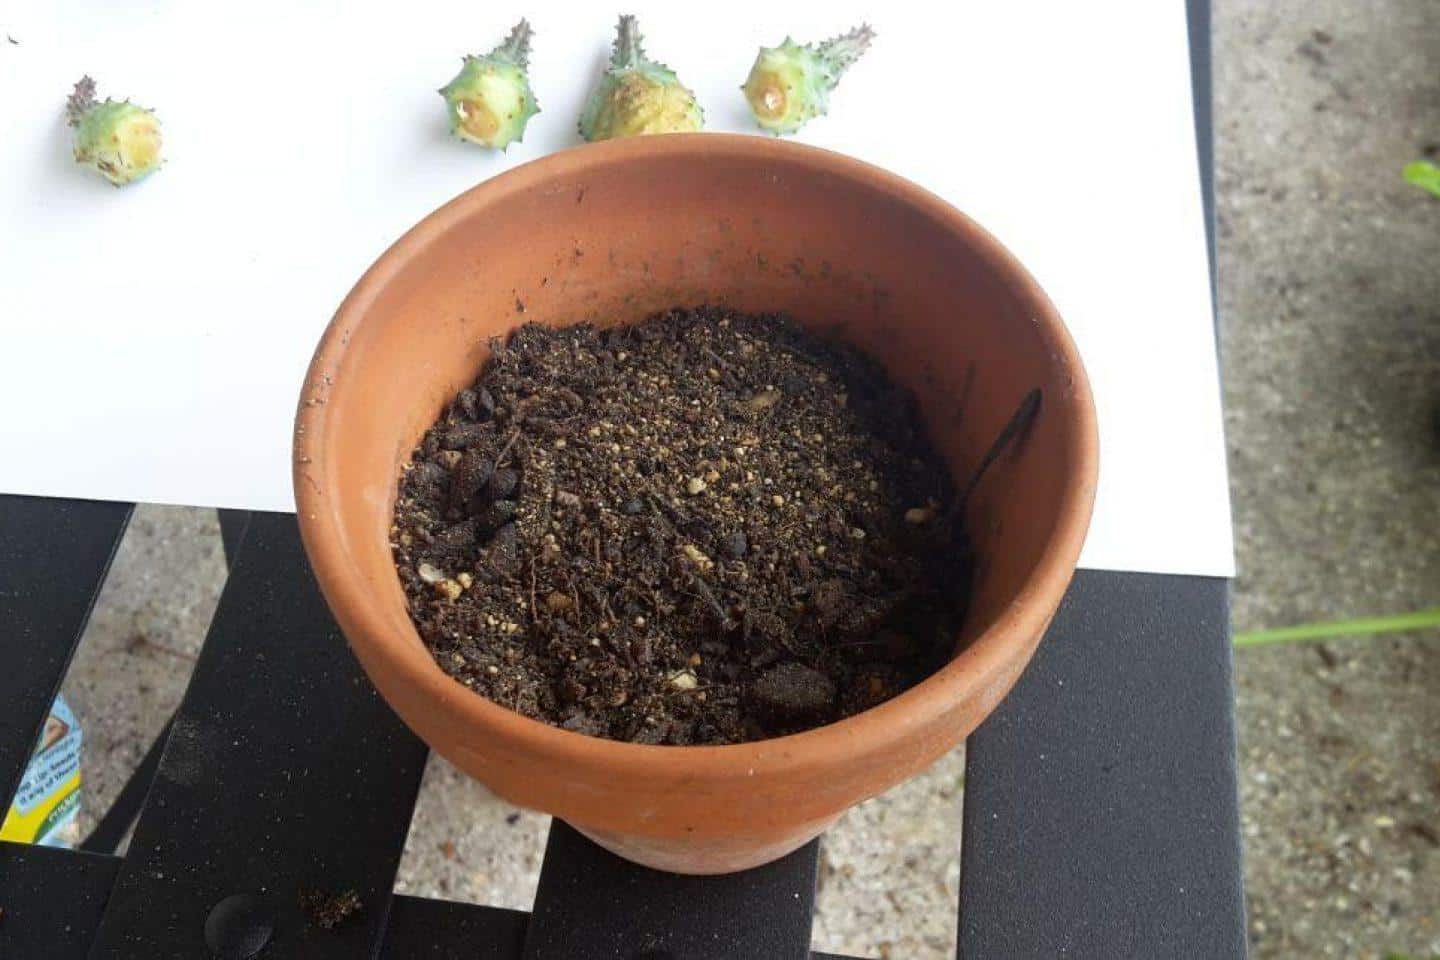
- Place the removed offset in a dry, shaded spot
- Let it sit for 2-3 days until the cut end dries and forms a callous
- This step helps prevent rot when you plant the offset
- Use a pot with drainage holes to prevent water buildup
- Fill the pot with well-draining succulent or cactus soil
- Mix in some perlite or coarse sand if the soil doesn’t drain well
Step 4: Plant the Offset
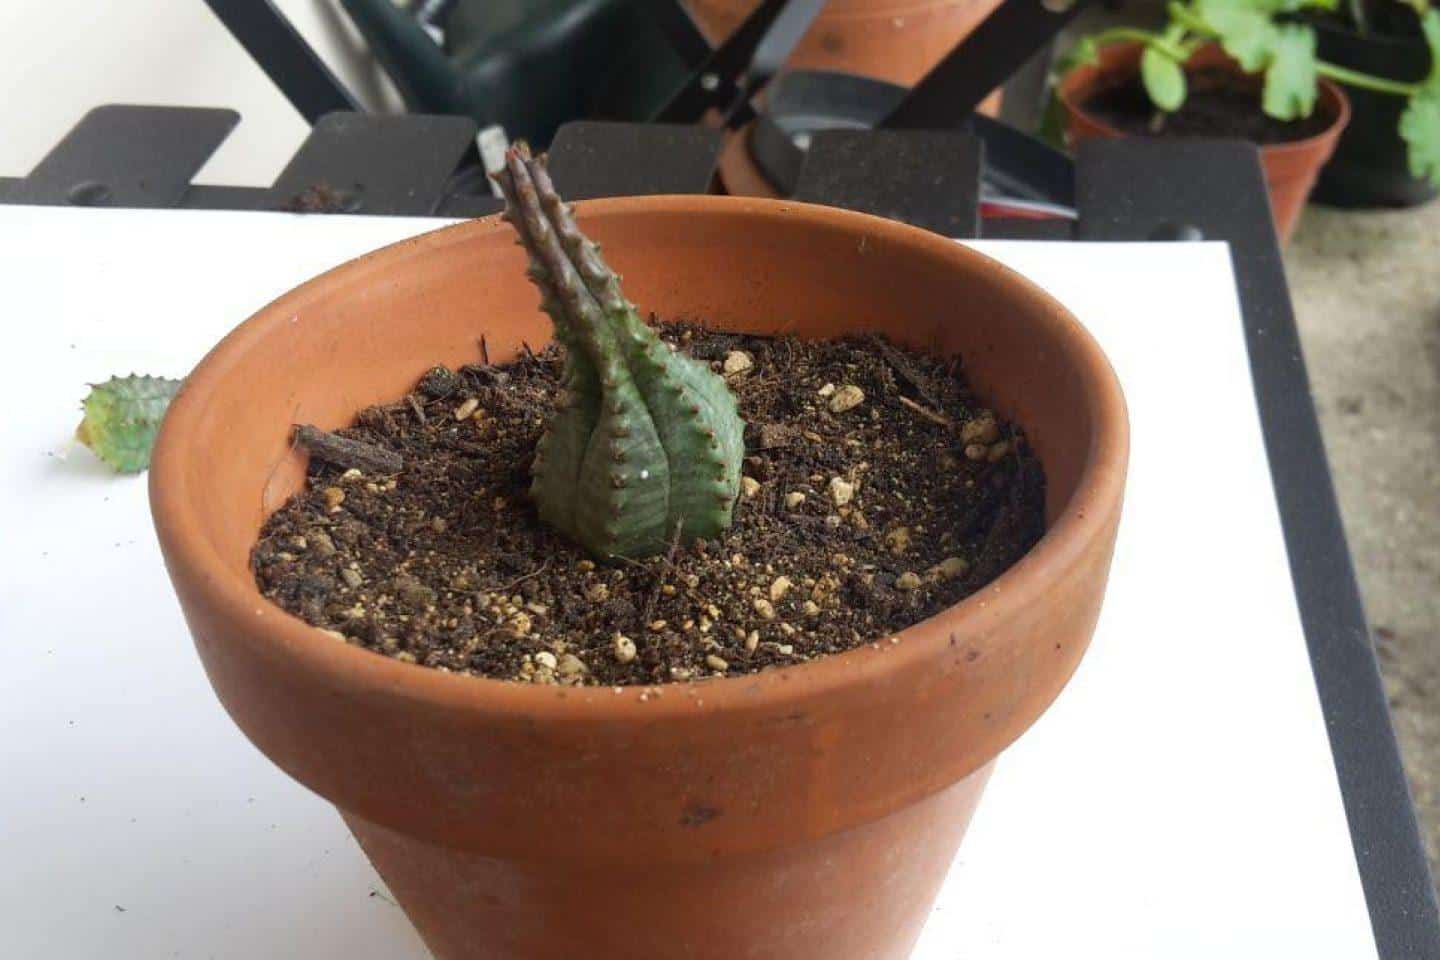
- Make a small hole in the soil and place the offset in it
- Cover the roots with soil, but don’t bury the leaves
- Press the soil gently around the plant to keep it steady
- Don’t water right away – wait a few days
- After 3-4 days, water the soil lightly
- Place the pot in a spot with bright, indirect light
Tips for Success
- Most succulents need 4-6 hours of indirect sunlight daily
- Water only when the soil is completely dry
- Use a small pot at first – succulents like snug spaces
- Watch for signs of growth, which may take a few weeks
- If an offset doesn’t grow, don’t worry – try again with another
Remember, each type of succulent might need slightly different care. Observe your plants and adjust your methods as needed. With patience and attention, you’ll soon have a collection of healthy new succulents.
For more detailed information visit here.
Propagating Succulents from Seeds
Growing succulents from seeds takes patience but can be rewarding. Here’s how to do it:
Step 1: Prepare the Seeds
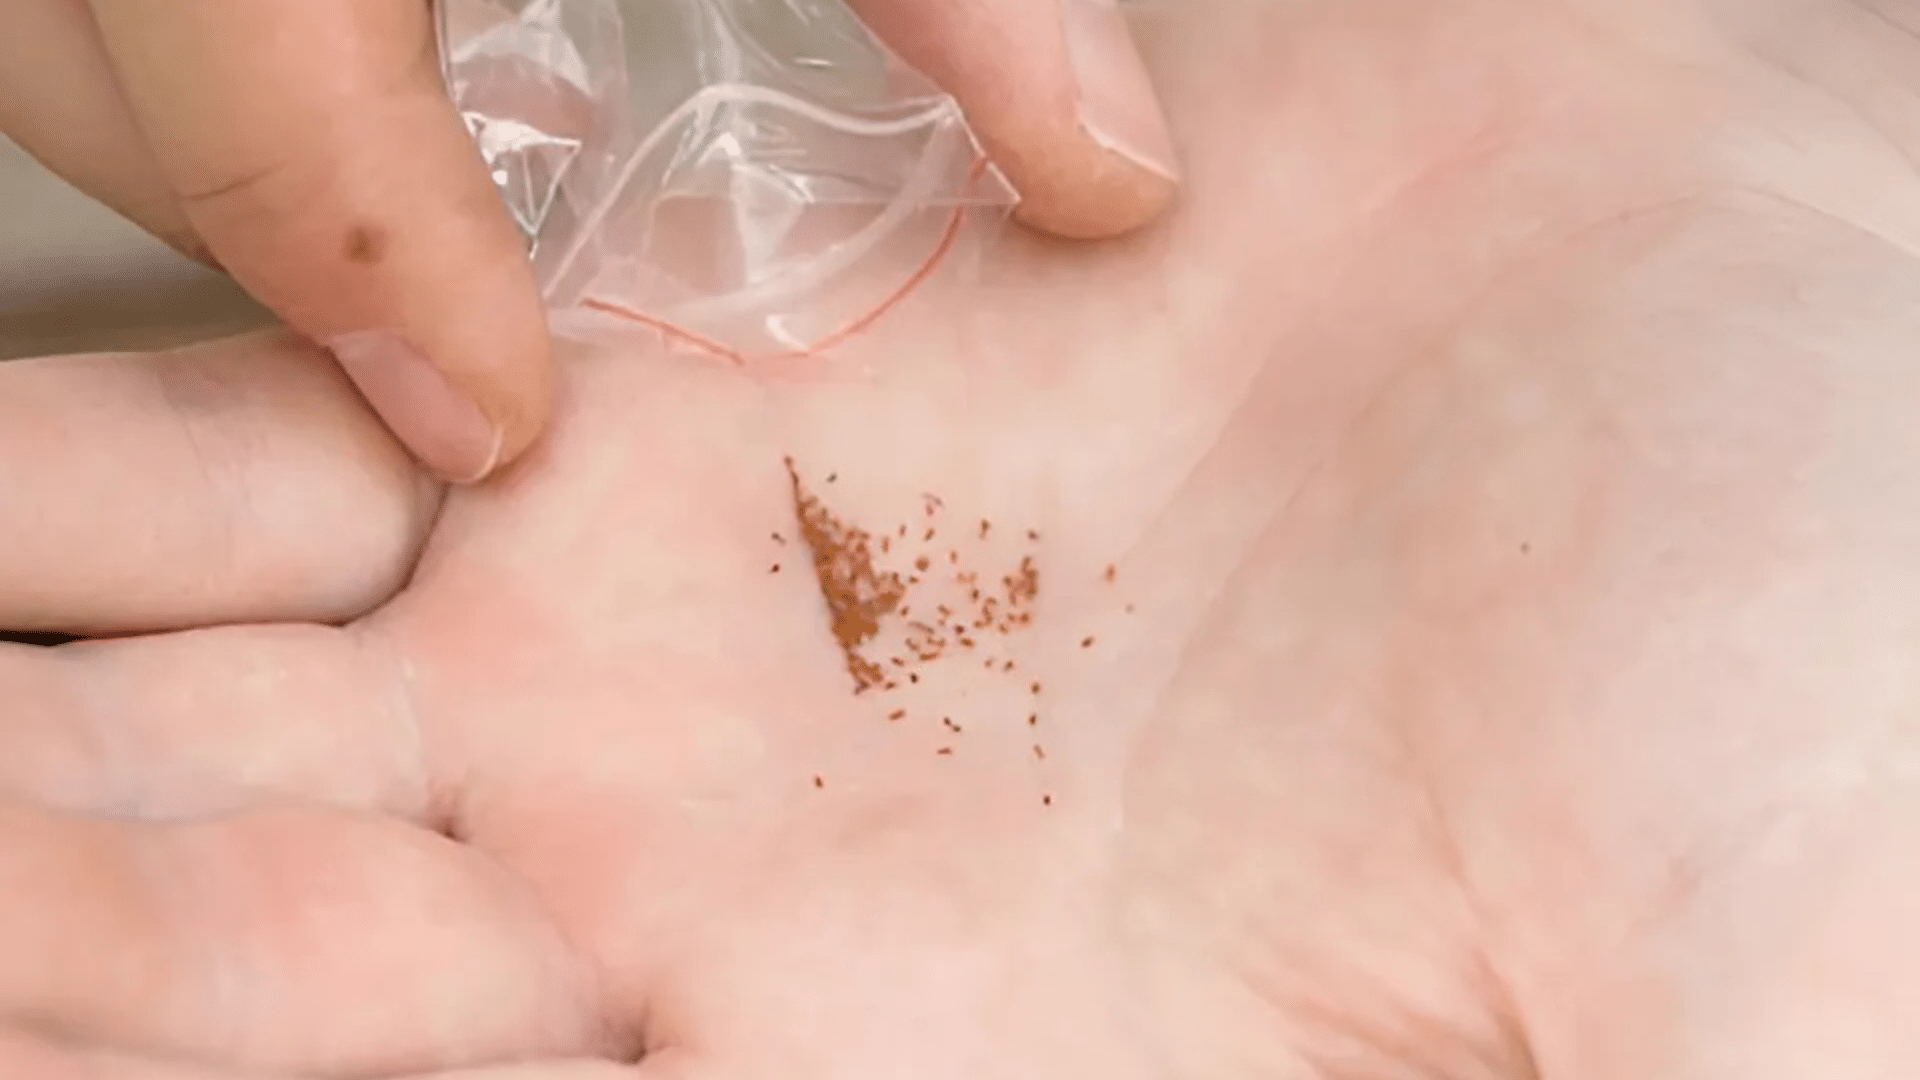
- Collect seeds from your succulents or buy them
- For small seeds, let them dry before using
- You can use bigger seeds right away
- Put seed pods in a paper bag to dry if needed
Step 2: Choose the Right Soil Mix
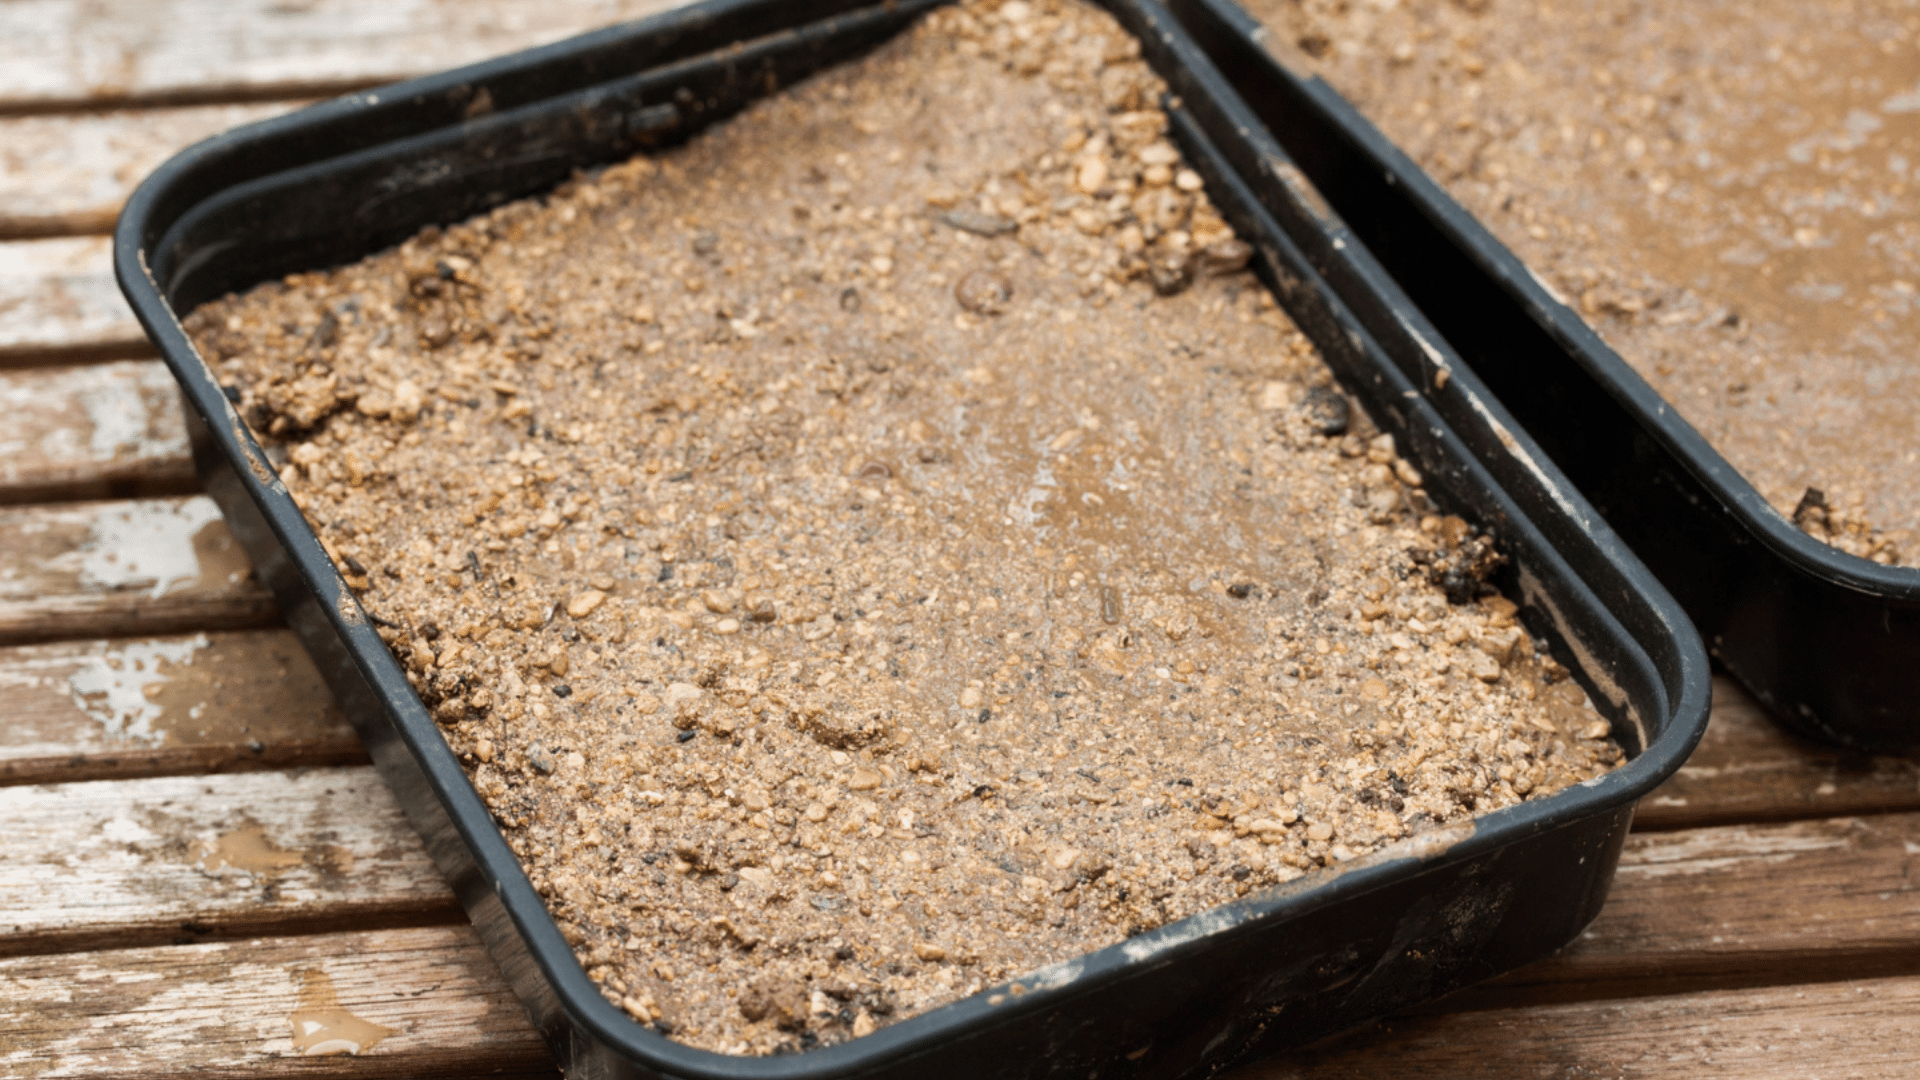
- Use fine seed-starting mix for small seeds
- Regular potting soil works for larger seeds
- Make sure the soil drains well
Step 3: Sowing the Seeds
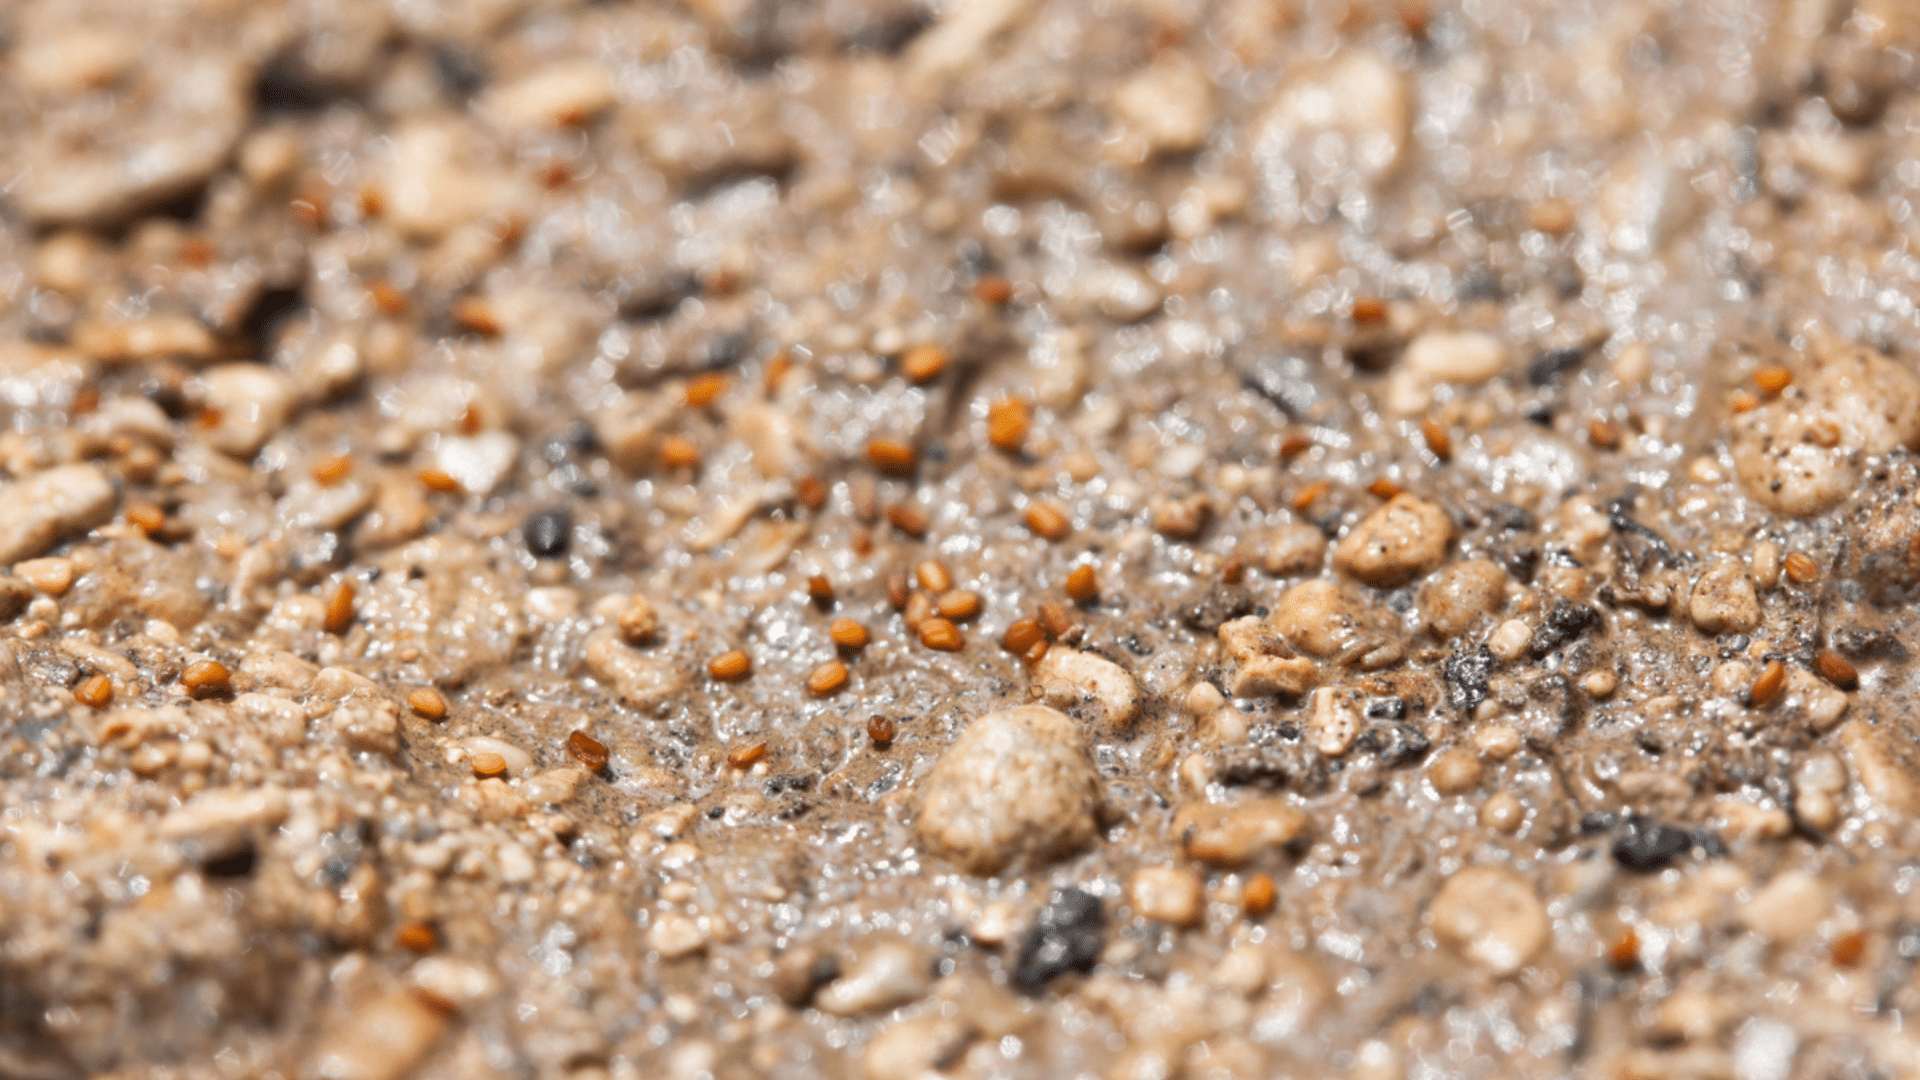
- Spread small seeds gently over the soil
- Use your fingers to scatter tiny seeds evenly
- Plant larger seeds one by one in the soil
- Add a thin layer of soil over the seeds
- Make sure you can’t see the seeds anymore
- This helps keep the seeds from drying out
- Use a spray bottle or fine watering can to water it
Step 4: Provide the Right Conditions
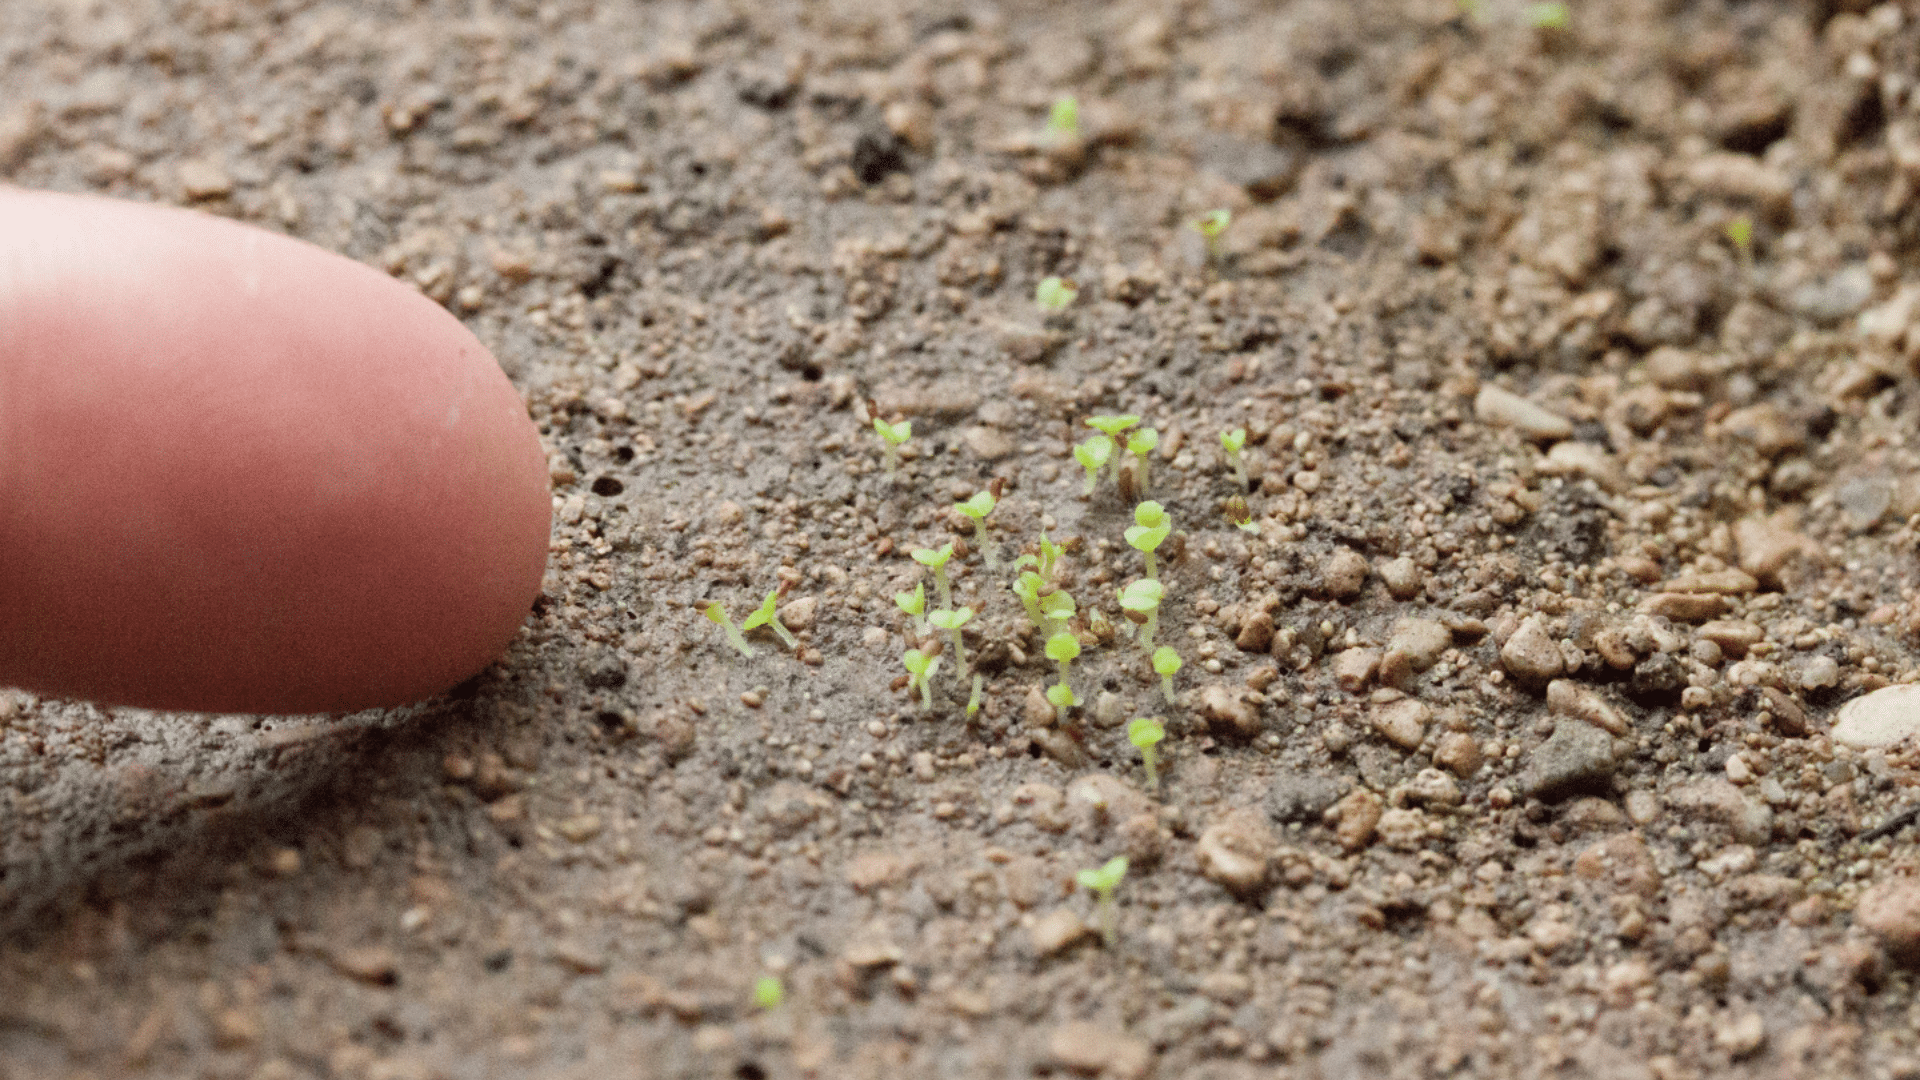
- Put the pot where it gets light but not direct sun
- Keep the area warm if you can
- Seeds might take days or months to grow, so be patient
Tips for Success
- Check the soil daily to make sure it stays slightly damp
- Use clear plastic wrap over the pot to keep moisture in
- Remove the wrap once seedlings appear
- Give seedlings more light as they grow, but avoid harsh sun
- Start feeding with weak fertilizer when seedlings are a few weeks old
- Be patient – succulent seeds grow slowly
Remember, not all seeds will grow into plants. Plant more seeds than you need, and you’ll have a better chance of success. With care and time, you’ll see tiny succulents starting to grow.
For more detailed information visit here.
Key Differences: Water vs. Soil Propagation
Growing new succulents can be done in water or soil. Each method has its good points and challenges. This section compares both ways to help you choose what’s best for your plants.
| Comparison | Water Propagation | Soil Propagation |
|---|---|---|
| Benefits |
|
|
| Drawbacks |
|
|
| Recommendations |
|
|
| Overall Considerations |
|
|
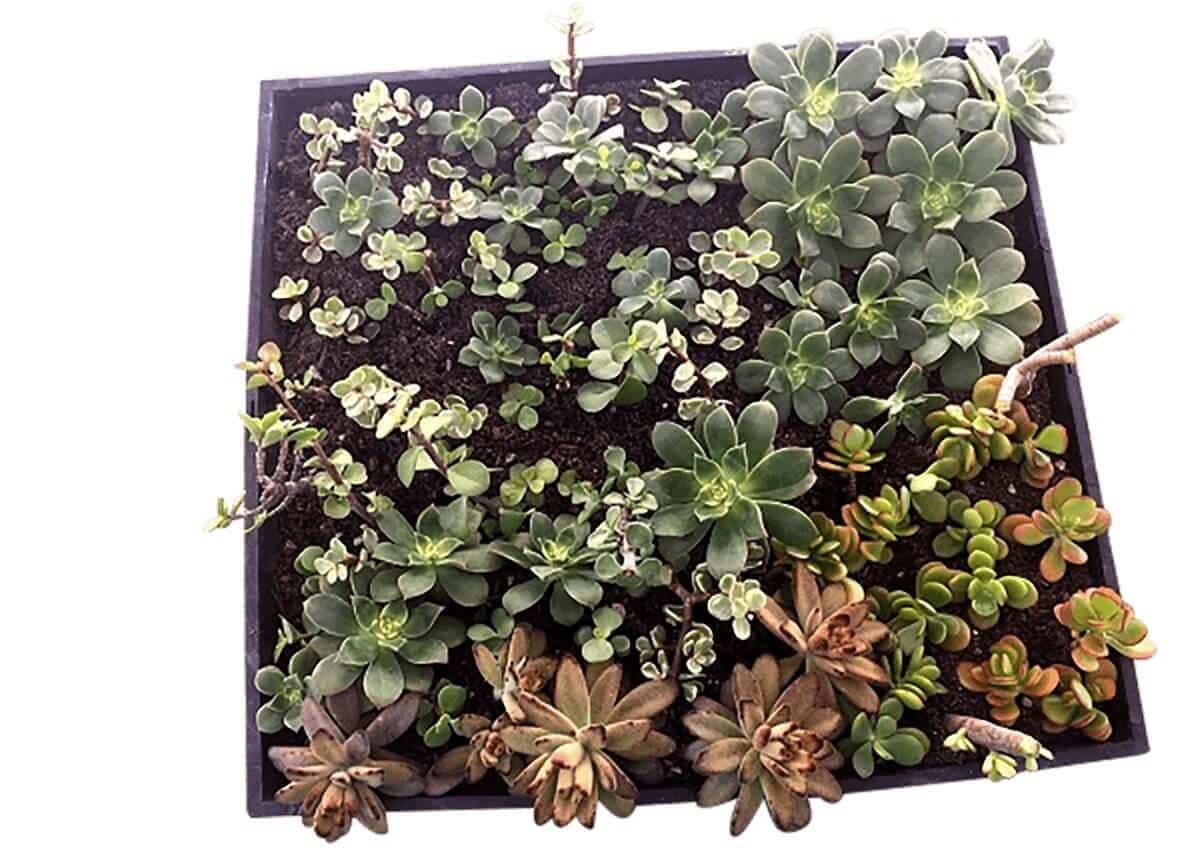
Caring for Newly Propagated Succulents
After you’ve grown new succulents, taking good care of them is key. This section covers how to help your young plants grow strong and healthy.
Overview: Newly grown succulents need special care. They’re more sensitive than mature plants, so you’ll need to pay extra attention to their light, water, and soil needs. With the right care, your small plants will grow into full-sized succulents over time.
Proper Aftercare
Light Conditions:
- Place new plants in bright, indirect light
- Avoid direct sunlight, which can harm young succulents
- Gradually increase light exposure as plants grow stronger
Watering:
- Water lightly and less often than mature plants
- Let the soil dry between waterings
- Use a spray bottle for gentle watering
Soil Conditions:
- Use well-draining soil made for succulents
- Make sure pots have drainage holes
- Avoid compacting the soil around young plants
Temperature:
- Keep new plants in a warm area, around 70-80°F (21-27°C)
- Protect from cold drafts and extreme heat
Fertilizing:
- Wait until plants show strong growth before feeding
- Use a diluted, balanced fertilizer made for succulents
- Feed sparingly, about once a month during growing season
Time to Mature
- Most propagated succulents take 3-6 months to reach a small plant size
- Full maturity can take 1-3 years, depending on the type of succulent
- Growth rate varies based on care and environmental conditions
Tips
- Be patient – succulents grow slowly
- Watch for signs of problems like yellowing leaves or soft stems
- Adjust care as needed based on how your plants respond
- Don’t rush to repot – young succulents prefer snug conditions
Common Mistakes to Avoid During Propagation
Growing new succulents can be tricky. Even experienced gardeners sometimes make mistakes. This section will help you spot common errors and learn how to avoid them, ensuring your new plants have the best chance to thrive.
| Mistake | Solution | Tip |
|---|---|---|
| Overwatering | Water sparingly and allow the soil to dry out between waterings. | Use a spray bottle for controlled, light watering. |
| Using the Wrong Soil | Use a well-draining soil mix designed for succulents and cacti. | Mix regular potting soil with sand or perlite for better drainage. |
| Not Giving Enough Light | Place succulents in bright, indirect light. | Gradually increase light exposure to prevent sunburn. |
| Planting Too Deep | Place cuttings on top of the soil or just barely in it. | Roots will grow from the bottom, seeking soil. |
| Not Being Patient | Propagation can take several weeks. Keep caring for your plants. | Consistently care for cuttings, even if no changes are visible. |
| Using Dirty Tools | Clean tools with rubbing alcohol before use. | Wash pots with soap and water, then rinse well before planting. |
| Propagating from Unhealthy Plants | Only propagate from healthy, well-established plants. | Look for plump leaves and stems with good color. |
Troubleshooting Propagation Issues
Even with care, you might face some problems when growing new succulents. This section will help you spot common issues and solve them. We’ll look at problems like rotting, slow root growth, and pests, and give you tips to keep your plants healthy.
Rotting Leaves or Stems
- Signs: Soft, mushy parts that may turn brown or black
- Causes: Too much water, poor drainage, or high humidity
- Solutions: Remove any rotting part immediately and let the cutting dry out completely before trying again. Use a well-draining soil to avoid water buildup, and water less frequently to prevent future rot.
Slow or No Root Growth
- Signs: No new roots after several weeks
- Causes: Not enough light, wrong temperature, or too much water
- Solutions: Move plants to a brighter location, avoiding direct sunlight to prevent burns. Keep the environment warm, ideally around 70°F (21°C), and water only when the soil is fully dry to prevent overwatering.
Pest Problems
- Signs: Tiny bugs on plants, sticky residue, or damaged leaves
- Common pests: Mealybugs, spider mites, or fungus gnats
- Solutions: Remove pests by hand or use a cotton swab dipped in rubbing alcohol to target small infestations. Spray the plants with a water and mild soap solution to manage pests naturally. Ensure the growing area stays clean by regularly removing dead plant parts to prevent future infestations
Leaf Shriveling
- Signs: Leaves look thin and wrinkled
- Causes: Not enough water or too much light
- Solutions: Water your plants more frequently, but allow the soil to dry out between waterings to avoid overwatering. Move the plants to a location with less direct sunlight to reduce stress from excessive heat or light.
Weak or Stretching Plants
- Signs: Plants grow tall with spaces between leaves
- Causes: Not enough light
- Solutions: Move your plants to a brighter area to ensure they get enough light for healthy growth. If natural light is insufficient, consider using grow lights to supplement the light and promote optimal plant development.
Conclusion
Growing new succulents through propagation is a rewarding and cost-effective way to expand your plant collection.
I’ve covered the basics of leaf and stem cutting methods, providing you with the knowledge to start your propagation journey.
Remember, patience is key in this process. Not every cutting will succeed, but with practice, you’ll soon have a thriving collection of new plants.
So, what’s next? Why not give it a try? Start with a healthy leaf or stem from one of your favorite succulents.
Follow my step-by-step guide, and in a few weeks, you might see tiny roots or leaves forming. It’s a fascinating process to witness and a great way to deepen your connection with these unique plants.
Have you tried propagating succulents before? Share your experiences in the comments below!
Frequently Asked Questions
Can you put succulent cuttings straight into soil?
Yes, you can put succulent cuttings directly into soil. However, it’s better to let the cut end dry and form a callus for 2-3 days first. This helps prevent rot when planted.
How long does it take for succulents to root?
Succulent cuttings usually start to root in 2-4 weeks. You might see tiny roots or new growth in this time. Full rooting can take 6-8 weeks, depending on the type of succulent and growing conditions.
What to do when a succulent gets too tall?
When a succulent gets too tall, you can trim it to manage its size. Cut the top off with clean scissors, remove lower leaves from the cut stem, and let both parts dry for a few days. Then, replant the top cutting and the base. You can also propagate the removed leaves to grow new plants.