How to Make Pressed Flower Lanterns at Home: Complete Guide
Have you ever saved a pretty flower and wished you could do more with it? I’ve felt the same way, and that’s what led me to pressed flower lanterns.
They’re a great way to turn something simple, like a jar and a few dried flowers, into something you’ll use or gift. In this post, I’ll walk you through exactly how to make one.
You’ll get tips on supplies, steps, decorating for the seasons, and what mistakes to avoid. By the end, you’ll be ready to create a lantern that’s both easy and personal.
What Are Pressed Flower Lanterns?
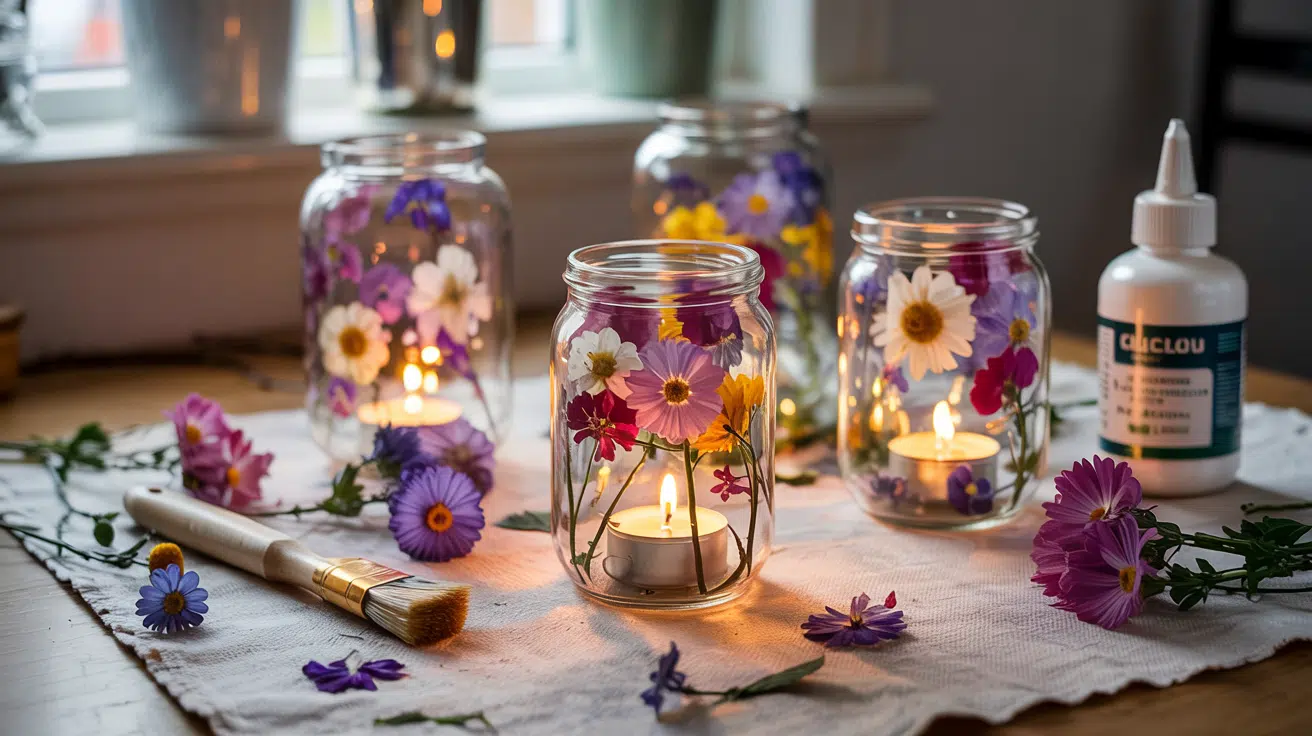
Pressed flower lanterns are glass containers decorated with dried, flattened flowers sealed to the surface using clear glue. When lit from within, they cast soft light through the natural patterns of petals and leaves.
Popularized through craft blogs and short-form videos, they’ve gained attention for their reuse of jars and local blooms. Their appeal lies in their handmade feel and connection to nature.
These lanterns are often used for spring table setups, backyard gatherings, weddings, or as thoughtful seasonal presents for family and friends.
Making a Pressed Flower Lantern: Step-by-Step Guide
Learn how to craft a pressed flower lantern using simple materials. Follow these clear steps to design, assemble, and finish your project beautifully:
Tools & Materials You’ll Need
To create beautiful flower jar lanterns, gather basic supplies like jars, glue, pressed flowers, brushes, and safe LED lighting options.
- Glass Jars: Mason jars, Oui yogurt jars, or any clear glass container with a smooth surface. Thrifted jars work great, too.
- Pressed Flowers: Use pre-pressed flowers from craft stores or press your own using books, irons, or microwave methods.
- Adhesive: Mod Podge (matte or gloss) or any clear-drying craft glue.
- Application Tools: Soft brushes, tweezers for placing flowers, and an optional sponge applicator for smoother layers.
- Lighting: LED tealights, small votive lights, or fairy string lights for safe illumination inside the jar.
- Pressing Materials: Wax paper or parchment paper; flower pressing kits can also be helpful for consistent results.
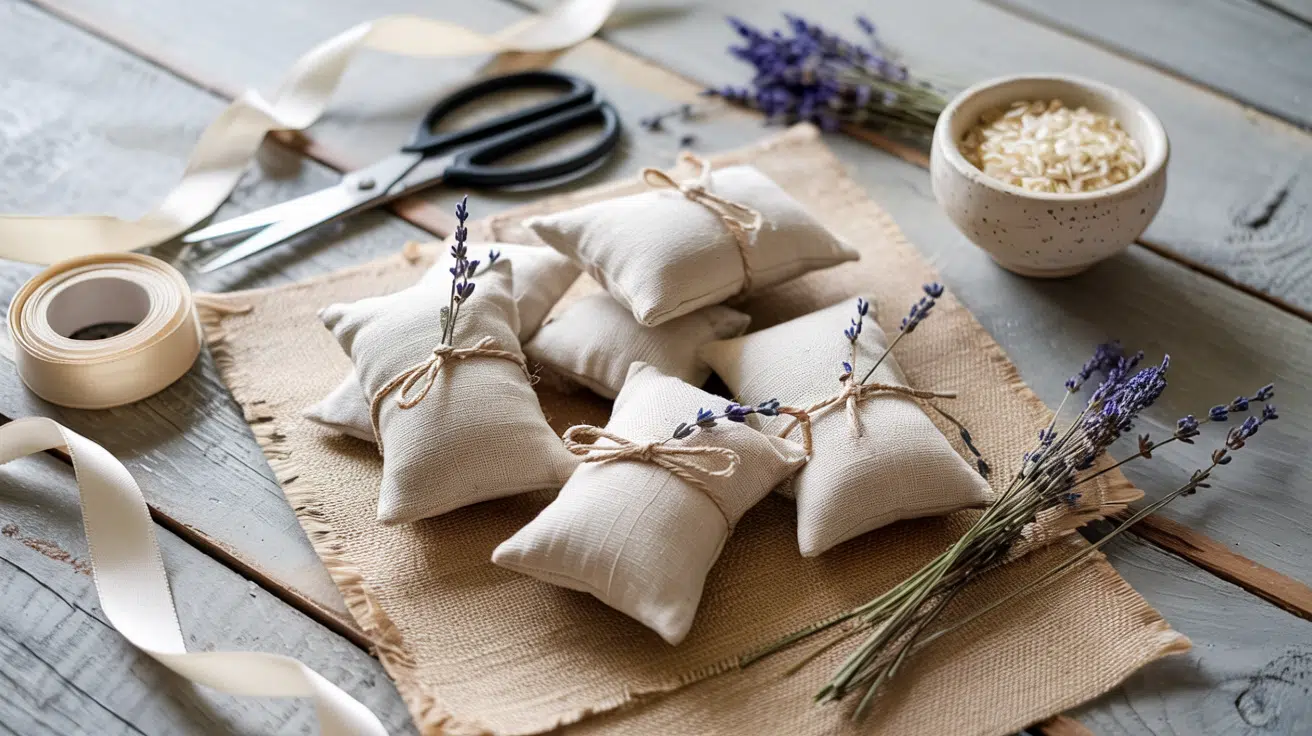
- Recommended Flowers: Flat, single-layer blooms like pansies, daisies, cosmos, and greenery like ferns or herbs.
Step 1: Prepare Your Jar

Start by choosing a small glass jar. Oui yogurt jars work well. Remove any labels and use a product like Goo Gone to take off sticky residue.
Wash the surface with soap and water, then wipe with rubbing alcohol to ensure it’s clean and smooth. Before applying anything, loosely plan your flower arrangement.
Lay them around the jar and test if they sit flat. This helps avoid surprises once you start gluing and keeps your design balanced.
Step 2: Apply the Flowers
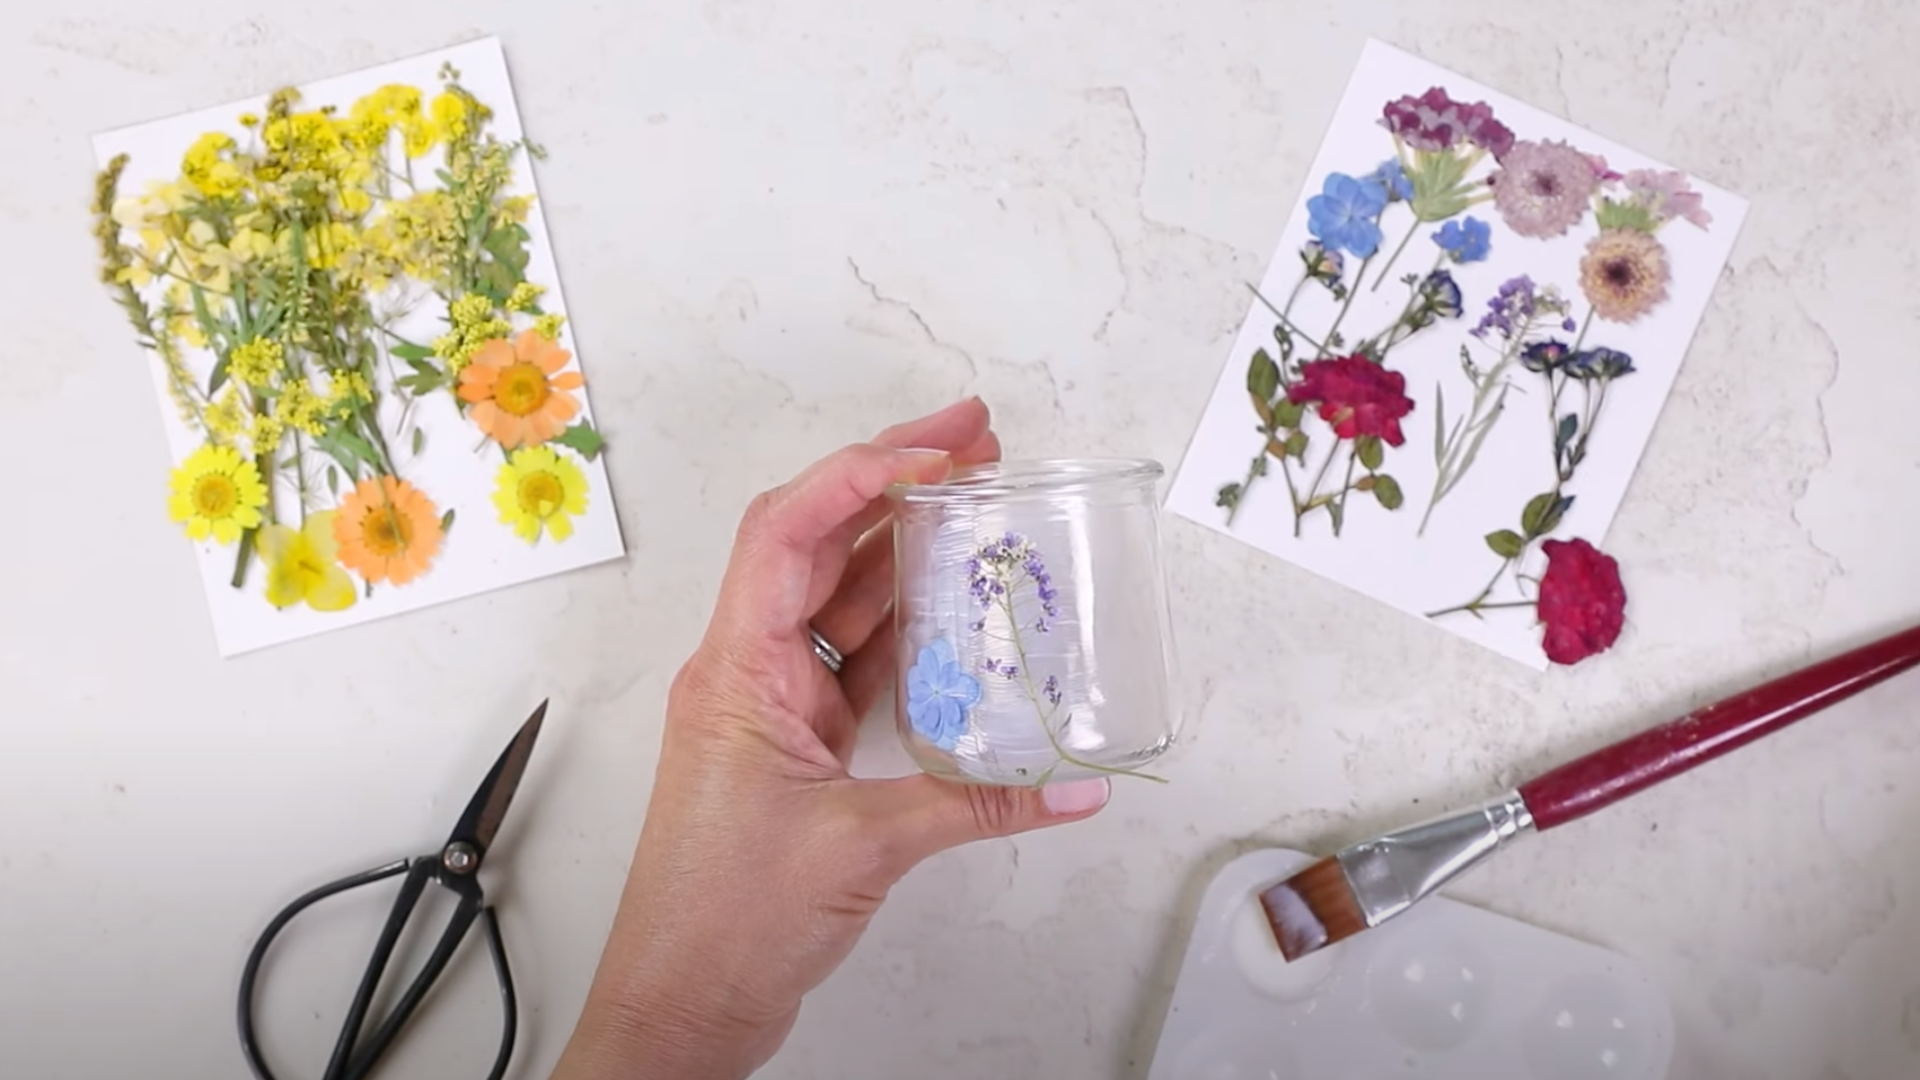
Begin with a light, even coat of Mod Podge or glue in a small area of the jar. Use tweezers to place a pressed flower onto the wet surface gently. Press it down carefully to avoid air pockets.
Continue this process around the jar, section by section. Work with thinner, flat flowers; those with single-layer petals are easiest to manage.
Trim stems as needed. Avoid thick or curled blooms, which may lift or peel after drying.
Step 3: Seal and Dry
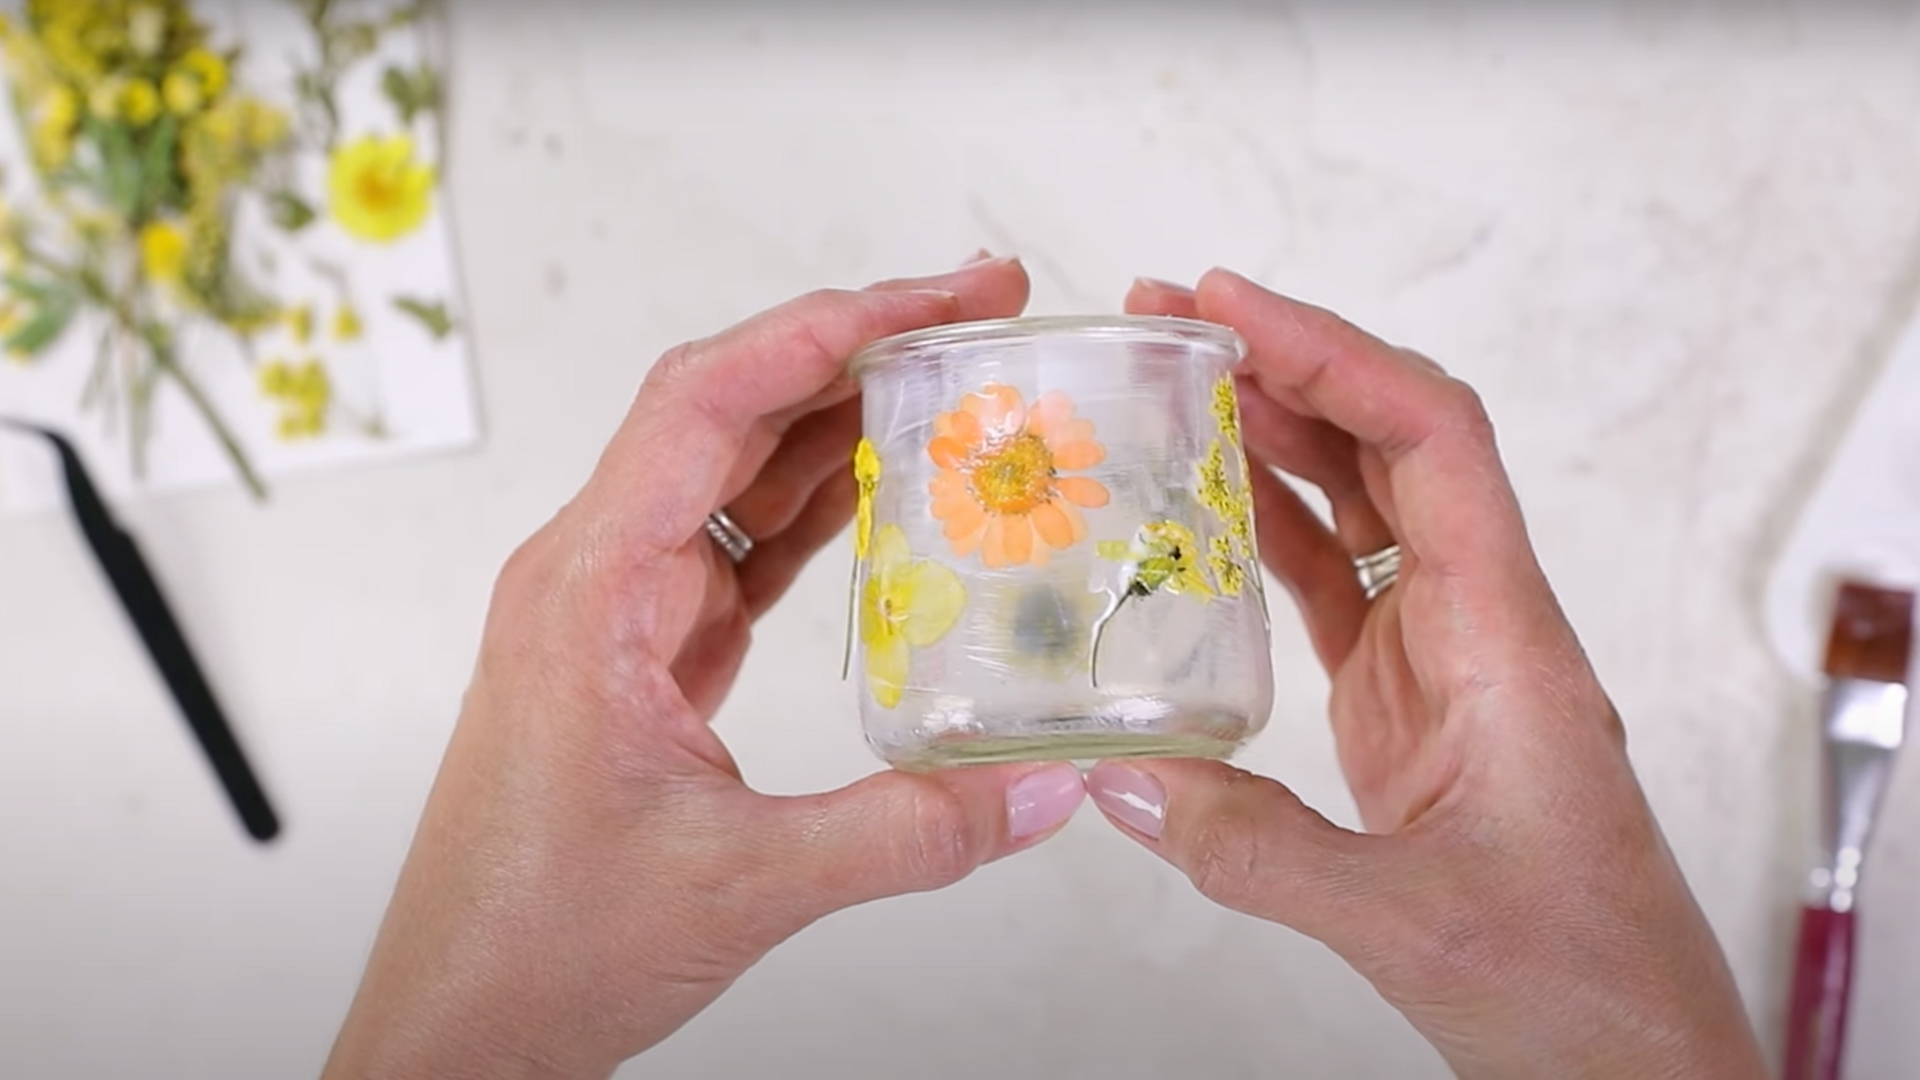
Once all flowers are placed and smoothed, brush a final layer of Mod Podge over each one to seal them. Use gentle strokes for a clean finish. Let the lantern air dry for 12 to 24 hours.
You’ll notice a difference between finishes: matte creates a soft frosted effect, while gloss offers a more transparent, more see-through surface.
Once dry, consider wrapping jute twine or ribbon around the rim for a simple accent. Place an LED tea light inside to complete it.
Step 4: Style and Display

Now that your lantern is finished and fully dry, it’s time to decide where and how to display it. Place it on a windowsill, shelf, or tabletop where light can shine through the petals.
You can use a single lantern as a subtle accent or group several together for a more striking effect. Add small touches like jute twine or a name tag if it’s being gifted.
Always use LED candles to keep the setup safe and long-lasting, especially if it’s part of a decorative arrangement.
For a more detailed walkthrough of the process, watch the full tutorial here:
Styling Ideas for Every Season
Pressed flower lanterns work beautifully year-round. Tailor the look to fit the season by using specific flowers, colors, and placements that enhance your home, event, or gift presentation.
1. Spring
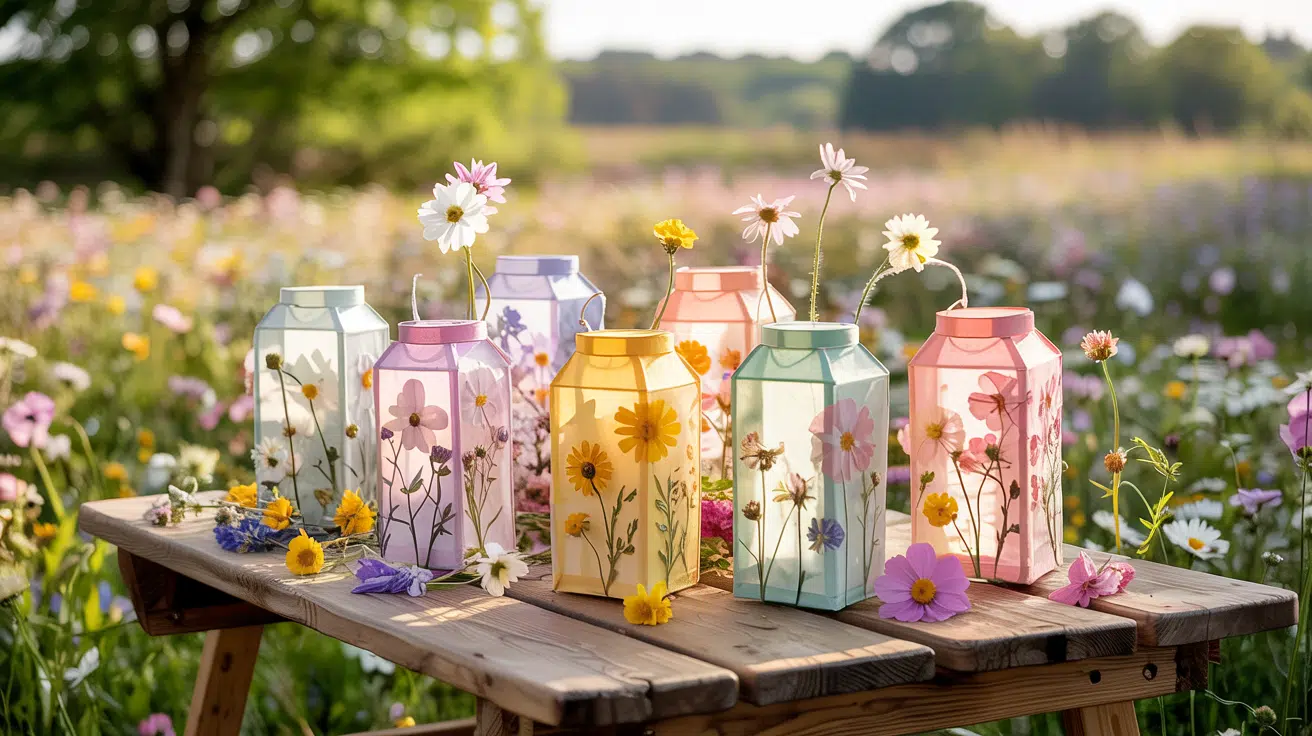
Pressed flower lanterns in spring bring a soft and cheerful touch to your space. Use pastel blooms, such as daisies, buttercups, and cosmos, for a fresh, seasonal look.
These lanterns make perfect additions to picnic table centerpieces, Easter displays, or spring weddings. Pair them with light fabrics, soft wood tones, or floral table runners for a cohesive look.
Place them along windowsills or entryways to let natural light filter through the petals. Their gentle glow perfectly complements the bright, welcoming energy of spring.
2. Summer
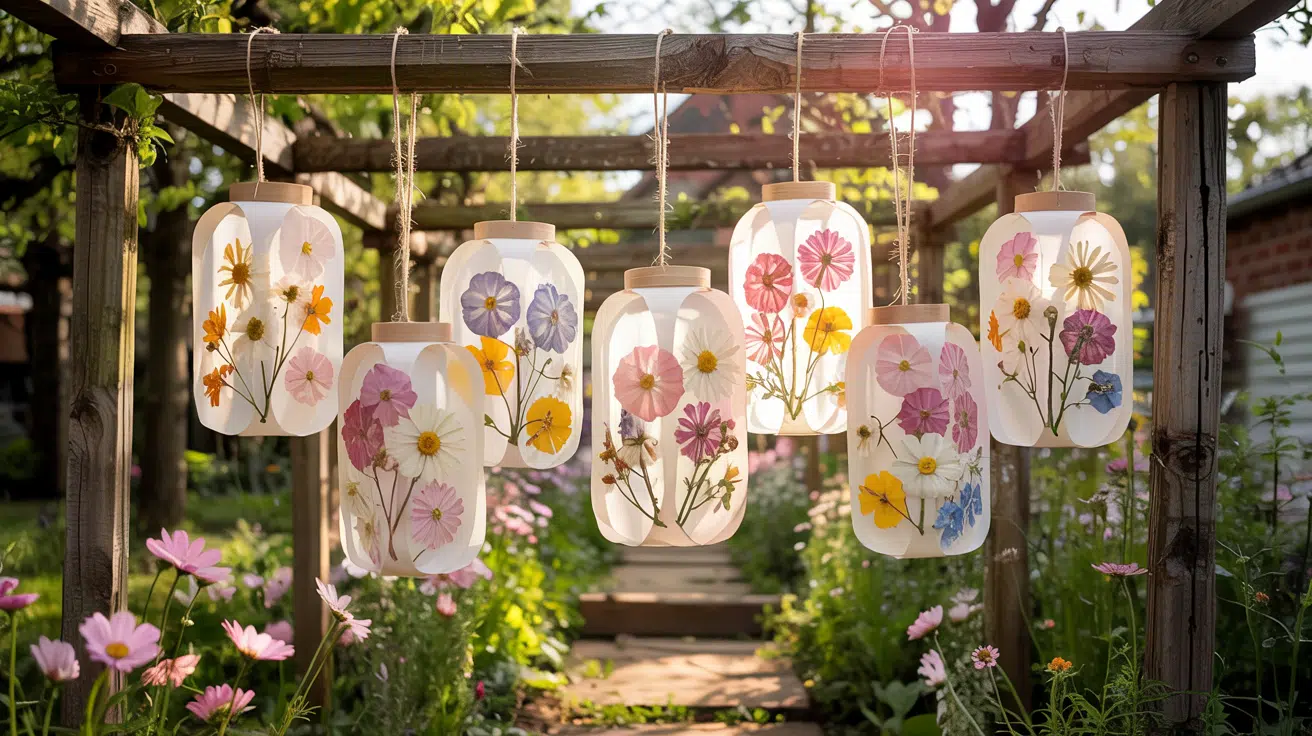
In the summer, lanterns can complement outdoor events such as garden parties, backyard dinners, or sunset gatherings. Use pressed wildflowers, lavender, or blooms with a yellow tone to capture the essence of the season.
Arrange them in groups on patio tables or hang them from pergolas using jute or wire. Pair with natural fibers and summery accents, such as woven placemats or fresh greenery.
As the sun sets, the soft interior light from each lantern adds a relaxed and inviting touch to the summer atmosphere.
3. Autumn
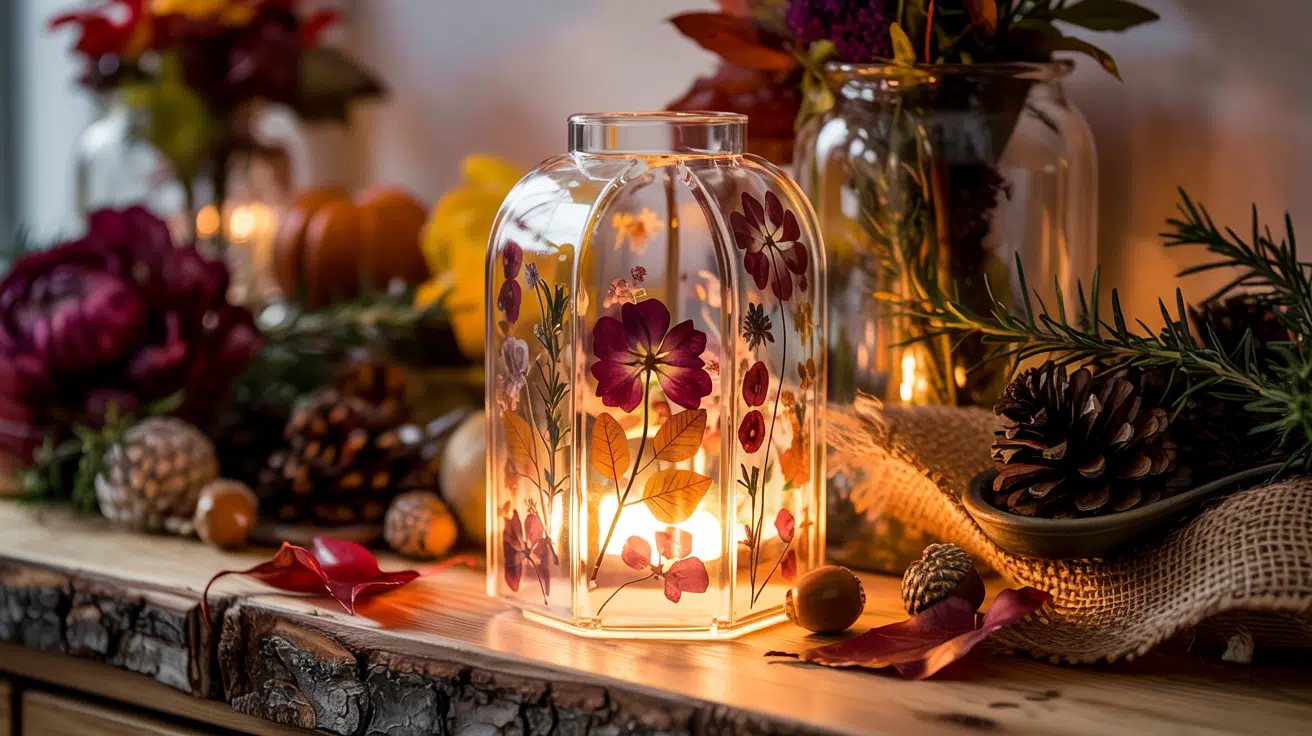
For fall, switch to deeper, earthy tones. Pressed flowers in shades of burgundy, burnt orange, and golden yellow create a warm seasonal look. Add in dried herbs or leaves for texture.
Display lanterns along a mantel, on a sideboard, or as part of a Thanksgiving centerpiece. They work well with rustic materials like burlap, acorns, or pinecones.
The cozy glow contrasts beautifully with the season’s natural elements, making the lanterns ideal for welcoming gatherings or quiet evenings at home.
4. Winter

Winter lanterns benefit from darker blooms or foliage in rich hues like cranberry, evergreen, or deep purple. You can also incorporate pressed winter greenery such as rosemary or holly leaves.
Place lanterns on window ledges, coffee tables, or around the fireplace to warm up indoor spaces. Pair with soft textiles, pine branches, or seasonal decor like snow-dusted pinecones.
These lanterns give off a subtle light that improves the calm and comfort of winter, especially during holiday meals or quiet nights in.
Maintenance Tips for Pressed Flower Lanterns
To keep your lanterns looking their best, a few simple maintenance steps go a long way. Gently dust the surface with a soft cloth or dry brush to avoid scratches.
Keep the lanterns away from moisture, as humidity can cause flowers to lift or discolor. When not in use, store them in a dry, shaded area.
Use LED lights to prevent heat damage over time. If the surface begins to dull or peel, reapply a light coat of clear glue to refresh the finish and extend the life of your lantern.
Common Mistakes to Avoid
Making pressed flower lanterns is simple, but even small mistakes can significantly impact the outcome. Watch for these issues during the process:
- Using Thick Flowers: Bulky blooms won’t press flat and may peel.
- Applying Too Much Glue: Excessive glue can cause smearing and an uneven texture.
- Skipping Layout Planning: Leads to an unbalanced or crowded look.
- Working Too Fast: Glue can dry before you finish placing flowers, causing them to lift.
- Skipping the Topcoat: Forgetting the final seal can reduce durability.
- Using Real Candles: Stick to LED lights to avoid heat risks, especially with jars sealed in glue.
Where to Buy Pressed Flower Lanterns & DIY Kits
You can find both finished pressed flower lanterns and DIY kits online. Ready-made lanterns are great for gifting or display, while kits allow you to personalize your own from scratch.
Top Ready-Made Lanterns
Pressed flower lanterns are available from several online stores, each offering a diverse range of styles and distinctive details. Etsy is a popular choice for handcrafted designs made by independent sellers.
For high-end decor, brands like Terrain, Havenly, and Jungle Relics offer ready-made pieces with polished finishes and distinctive looks.
These lanterns are ideal for gifting, seasonal decorating, or everyday display. Take time to compare materials, design styles, and color themes to find one that suits your space, purpose, or personal preferences.
Best DIY Kits
If you’d rather craft your own, several kits make the process easier by bundling all the basic materials.
Amazon carries popular options like Tinideya, Naturely Box, and the Flower DIY Set. These often feature pre-selected flowers, a jar, adhesive, and lighting accessories.
Some kits are simple enough for kids, while others are styled for more refined results, perfect for weddings or seasonal decor.
Conclusion
Pressed flower lanterns are a beautiful, personal way to turn simple jars into stunning, glowing decor. By following this guide, you’ve learned how to create lanterns for every season, using easy-to-find materials and clear steps.
I’ve seen how these lanterns can add a unique touch to any space, whether you’re crafting for yourself or making them as a thoughtful gift.
Keep in mind to avoid common mistakes, and remember, LED lights are the safest option for long-lasting beauty.
Now that you’re ready to make your own pressed flower lanterns, check out more creative ideas in other blogs on the website for more fun DIY projects!