How To Make Chalk Paint: Easy Instructions
Want to know a secret? I can turn any regular paint into chalk paint in just 15 minutes.
Like many DIY enthusiasts, I struggled with expensive store-bought chalk paint that often left my furniture looking uneven and patchy.
The high costs and mixed results made my projects feel like failures.
But here’s the good news – I found a simple way to make my own chalk paint that saved me money and gave better results than store-bought options.
Today, I’ll show you my tested method for creating perfect chalk paint at home. Plus, you’ll learn three different recipes that work with materials you probably already have in your kitchen.
What is Chalk Paint?
I remember my first time seeing chalk paint on a piece of old furniture – this soft, matte look made the piece stand out. Let me tell you what makes this paint special.
Chalk paint is a decorative paint that gives a smooth, matte finish. Annie Sloan created it in 1990 to help furniture painters skip the sanding and priming steps.
I can paint directly on most surfaces without prep work using chalk paint.
How is it different from regular paint?
I’ve worked with both types, and here’s what sets chalk paint apart:
- Texture: Chalk paint has a thick, creamy feel and dries to a soft, matte finish. Regular paint is thinner and often needs multiple coats.
- Surface Prep: With chalk paint, I can start painting right away. Regular paint usually needs sanding and priming first.
- Coverage: One or two coats of chalk paint usually do the job. Regular paint often needs three or more coats.
- Finish: Chalk paint creates a flat, matte look. Regular paint comes in various sheens from flat to high-gloss.
- Distressing: If I want an aged look, chalk paint sands down easily. Regular paint can be harder to distress and often looks less natural.
Benefits of Using Chalk Paint
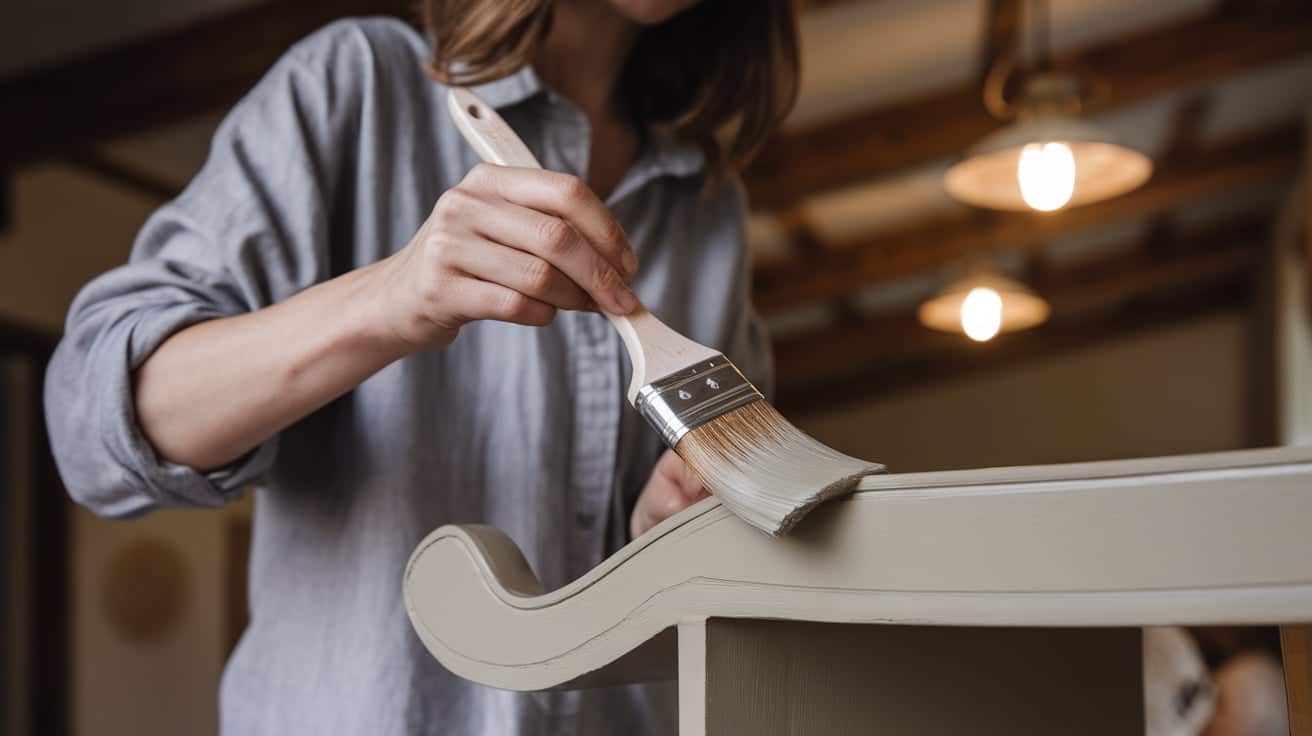
After using chalk paint on countless projects, I can tell you why it’s become my go-to choice. Here are the main benefits I’ve found:
Time-Saving
- I can skip sanding and priming on most surfaces
- It dries quickly – usually in less than an hour
- Most projects need only two coats at most
Easy to Use
- The paint sticks well to most materials
- I can paint wood, metal, glass, or plastic
- No special skills needed – perfect for beginners
- Brush marks blend away as it dries
Cost-Effective
- A little goes a long way
- I can make it at home with simple ingredients
- Less prep work means fewer supplies needed
- Fixes minor surface flaws without filling them first
Design Options
- Creates a classic matte finish
- Easy to sand for a worn, old-world look
- I can layer different colors for depth
- Works well with wax for a lasting finish
Environmentally Friendly
- Water-based formula
- Low chemical smell
- Safe to use indoors
- Easy cleanup with just soap and water
These benefits make chalk paint ideal for anyone who wants to update their furniture without the usual hassles of painting.
Ingredients Required to Make Chalk Paint
| Category | Items |
|---|---|
| Paint Supplies | Acrylic latex paint (flat, eggshell, or satin) |
| Plaster of Paris | |
| Mixing Tools | Mixing jar (wide mouth, sealable) |
| Bowl (optional) | |
| Measuring cups/spoons | |
| Immersion blender or whisk | |
| Application Tools | Paintbrush |
| Miscellaneous | Water |
Step-by-Step Guide to Making Chalk Paint
Step 1: Gather Materials
For a chalky effect, choose acrylic latex paint in a finish like flat, eggshell, or satin. Flat offers the best results. Avoid glossy paints, as they reduce the intended matte finish.
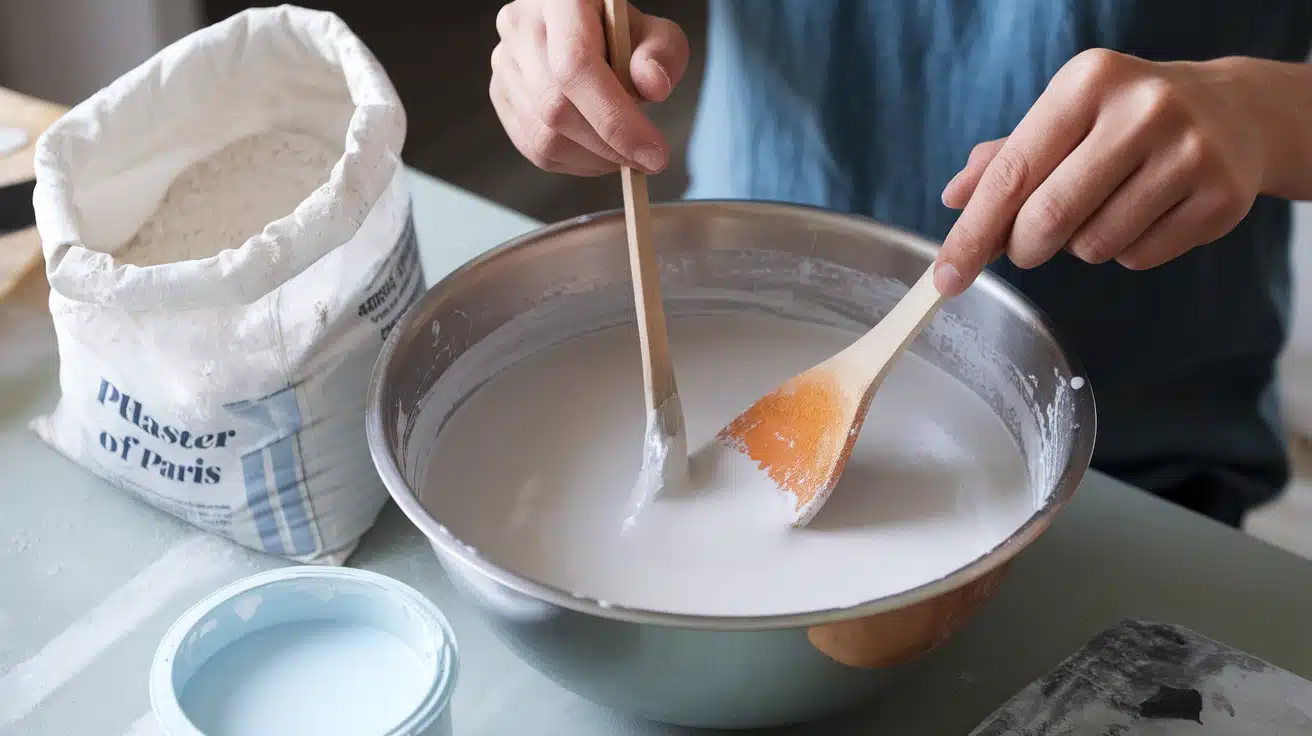
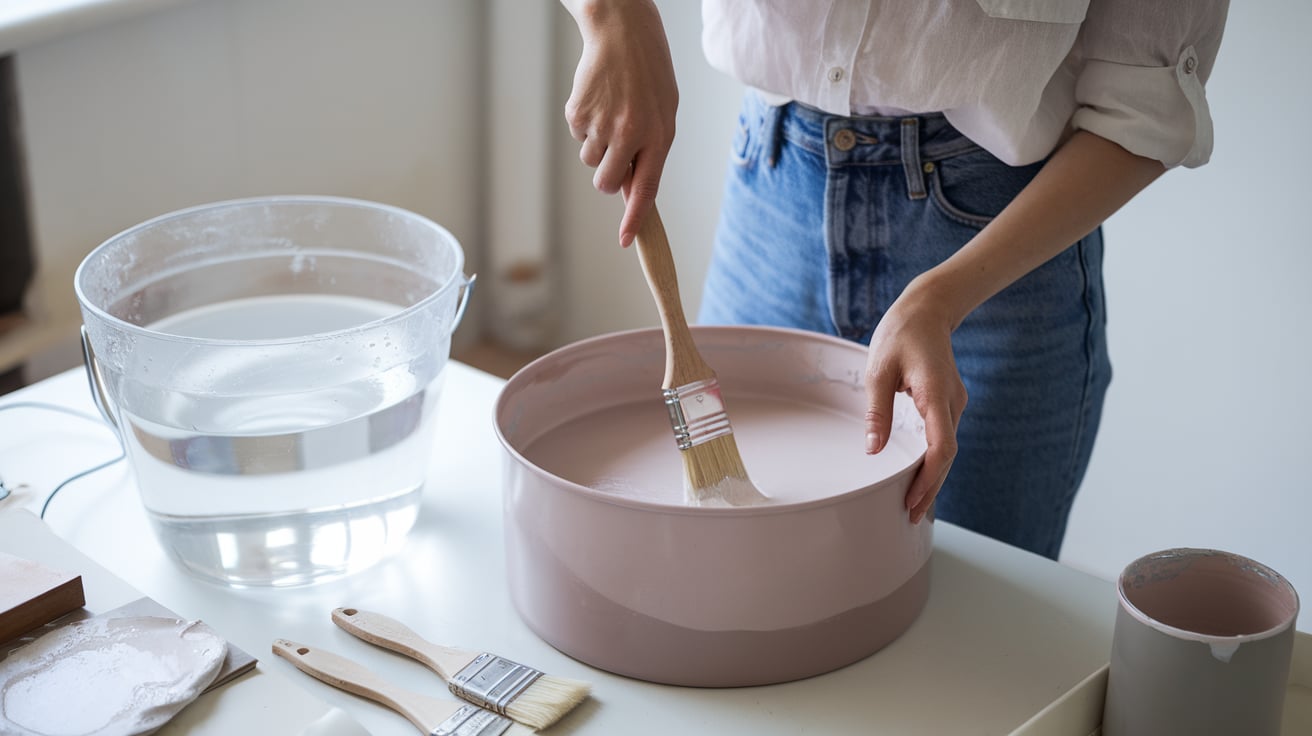
Step 2: Prepare the Plaster of Paris Paste
- Measure 1 part of Plaster of Paris (e.g., 1/3 cup).
- Gradually add water to the powder in a separate bowl, stirring constantly until it forms a smooth, runny paste.
Step 3: Combine Paint and Paste
- Pour 3 parts paint (e.g., 1 cup) into a mixing jar or bowl.
- Gradually add the Plaster of Paris paste to the paint, stirring continuously until the mixture is smooth and lump-free.
Step 4: Achieve Desired Consistency
Mix for about 2-3 minutes, aiming for a texture similar to mayonnaise—smooth but not overly thick. Use an immersion blender or whisk for best results.
Step 5: Store Properly
Transfer the chalk paint to a sealable jar. Ensure the lid is airtight to prevent the paint from drying. Store in a cool, dry place.
Step 6: Application Tips for Chalk Paint
Surface Preparation
- Clean the Surface: Use a damp rag to wipe the surface and remove any dirt, grease, or debris. Ensure the surface is dry before painting.
- For Glossy Surfaces: While sanding isn’t always necessary with chalk paint, lightly sanding glossy or high-shine surfaces can improve adhesion.
Painting Process
- Stir Paint Regularly: Chalk paint can settle over time. Stir it occasionally during application to maintain an even consistency and prevent lumps.
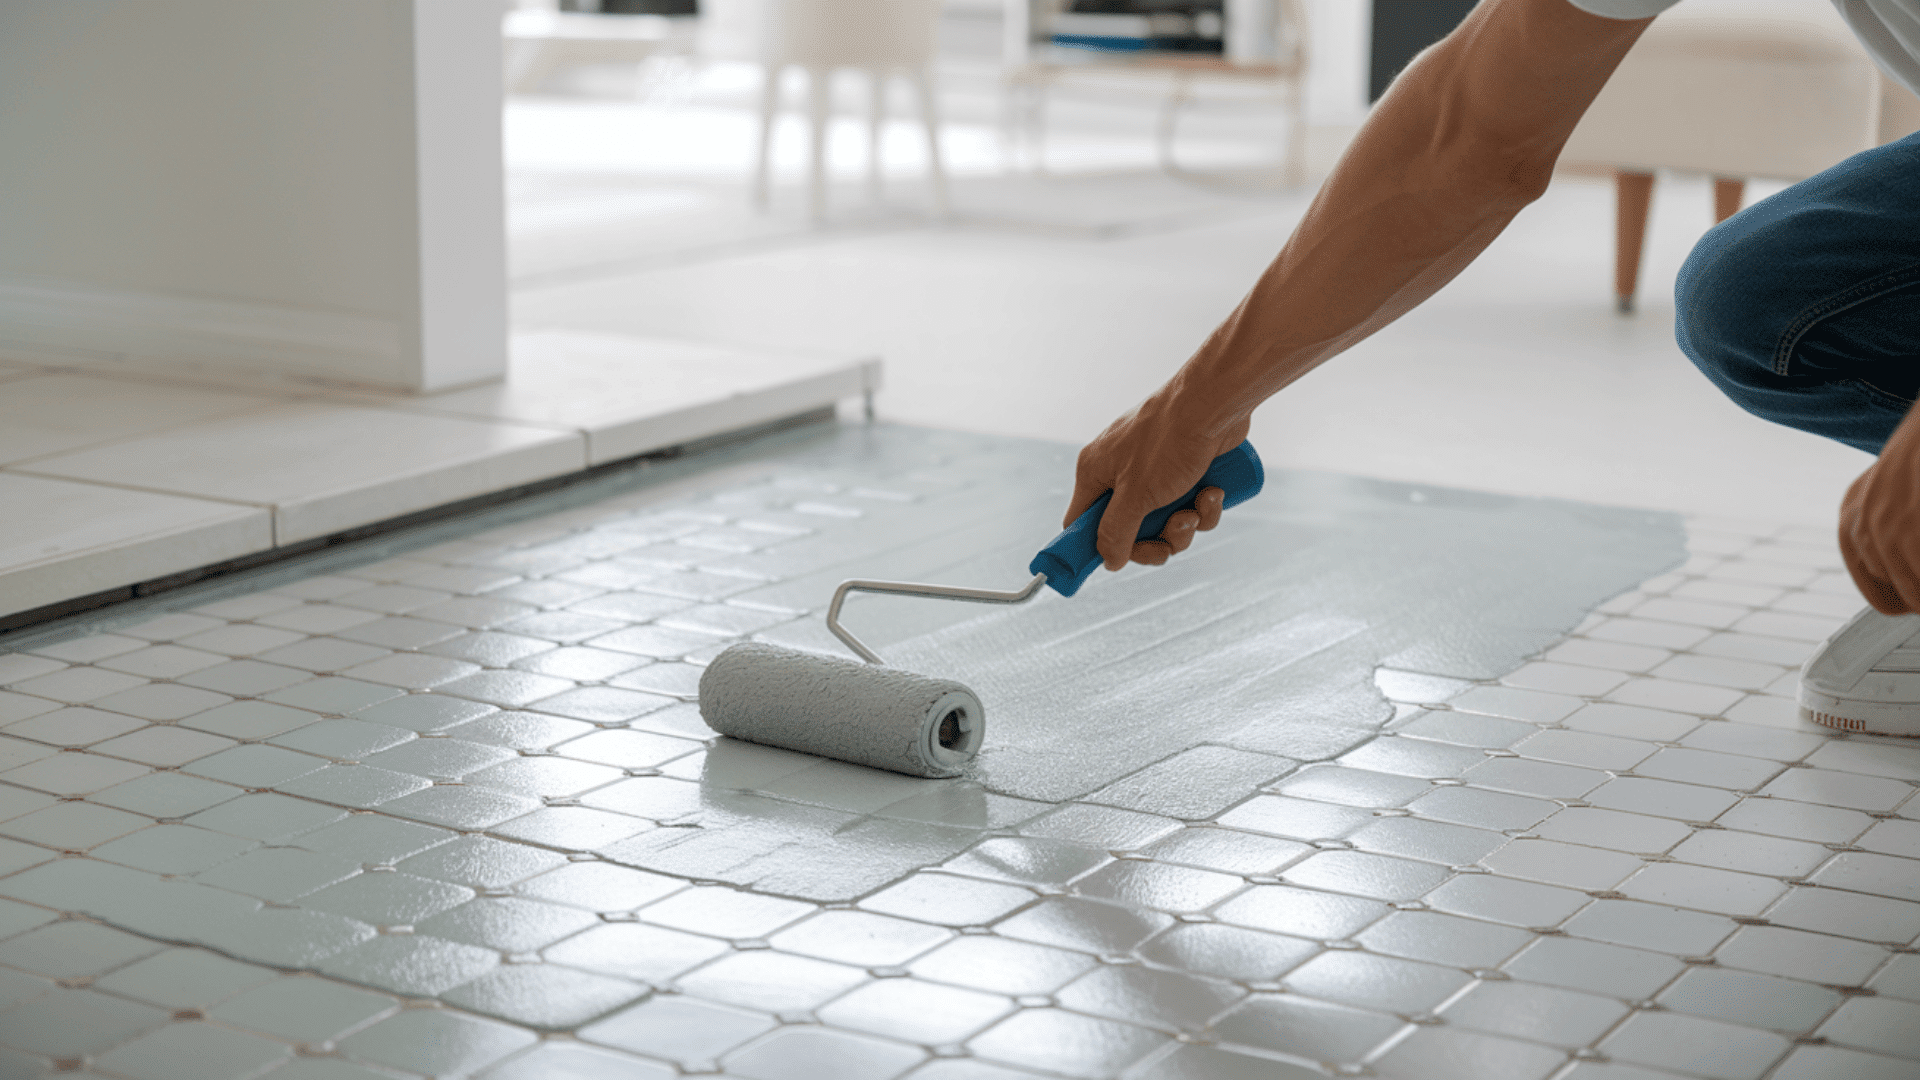
- Apply Thin Coats: Use a high-quality brush to apply a thin, even coat of paint. Avoid overloading the brush to prevent drips and uneven texture.
- Allow Drying Time: Let each coat dry completely before applying the next. Depending on room temperature and humidity, this typically takes 1-2 hours.
- Apply Multiple Coats: Depending on the surface and desired opacity, you may need 2-3 coats. Thin layers ensure better coverage and durability.
Finishing and Protection
- Distress for a Vintage Look: If desired, use a sanding block to distress edges or details after the paint dries completely.
- Seal the Finish: Chalk paint has a matte surface that can scuff easily. Use a matte or flat clear coat, such as polyacrylic, to protect the finish. Alternatively, use wax for a softer, vintage appearance.
- Prevent Paint Dry-Out: When not actively painting, close the jar lid tightly to prevent the paint from drying out. You can pour a small amount into a cup or dish for immediate use.
For a more detailed tutorial on how to make chalk paint at home, check out the video below:
Creative Uses for Homemade Chalk Paint
Here’s my list of simple ways I use chalk paint that might inspire your next project:
- Paint old kitchen chairs to match your dining room style
- Update metal filing cabinets for a fresh office look
- Give life to tired picture frames that need a new finish
- Make plain glass vases look like stone or ceramic pieces
- Turn a basic wooden mirror into a statement piece
- Update outdoor planters for a fresh garden look
- Paint mason jars for unique flower vases or storage
- Give new life to old candlesticks sitting in storage
- Make plain wooden signs for home signs or gifts
- Turn basic plastic pots into aged terra cotta lookalikes
- Add style to plain wooden boxes for storage
- Paint old lamps to match your room’s color scheme
Alternate DIY Chalk Paint Recipes
Recipe with Baking Soda
Mix 1 cup of latex paint with 1/3 cup of baking soda in a bowl. Stir until smooth – the mix should feel like pancake batter. If it’s too thick, I add water one spoon at a time.
This recipe works well for small projects, but I find it can be a bit grainy. Still, it’s my go-to when I need chalk paint quickly.
For a detailed tutorial on how to make chalk paint with baking soda, check out the video below:
Recipe with Calcium Carbonate
I mix 2 tablespoons of calcium carbonate powder with 1 cup of latex paint. The result feels smoother than baking soda paint.
This mix creates a harder finish that’s less likely to scratch. I use this recipe for furniture pieces that get daily use, like tables and chairs.
For a detailed tutorial on how to make chalk paint with calcium carbonate, check out the video below:
Sidewalk Chalk Paint for Kids
For safe outdoor fun, I combine 1 cup of water, 1 cup of cornstarch, and food coloring. The paint washes away with rain or a hose. I make several colors and put them in squeeze bottles.
This recipe keeps kids busy for hours, and cleanup is simple.
For a detailed tutorial on how to make sidewalk chalk paint, check out the video below:
How To Store Leftover Chalk Paint?
Let me share my tested tips for keeping chalk paint fresh and ready for your next project:
Basic Storage Steps
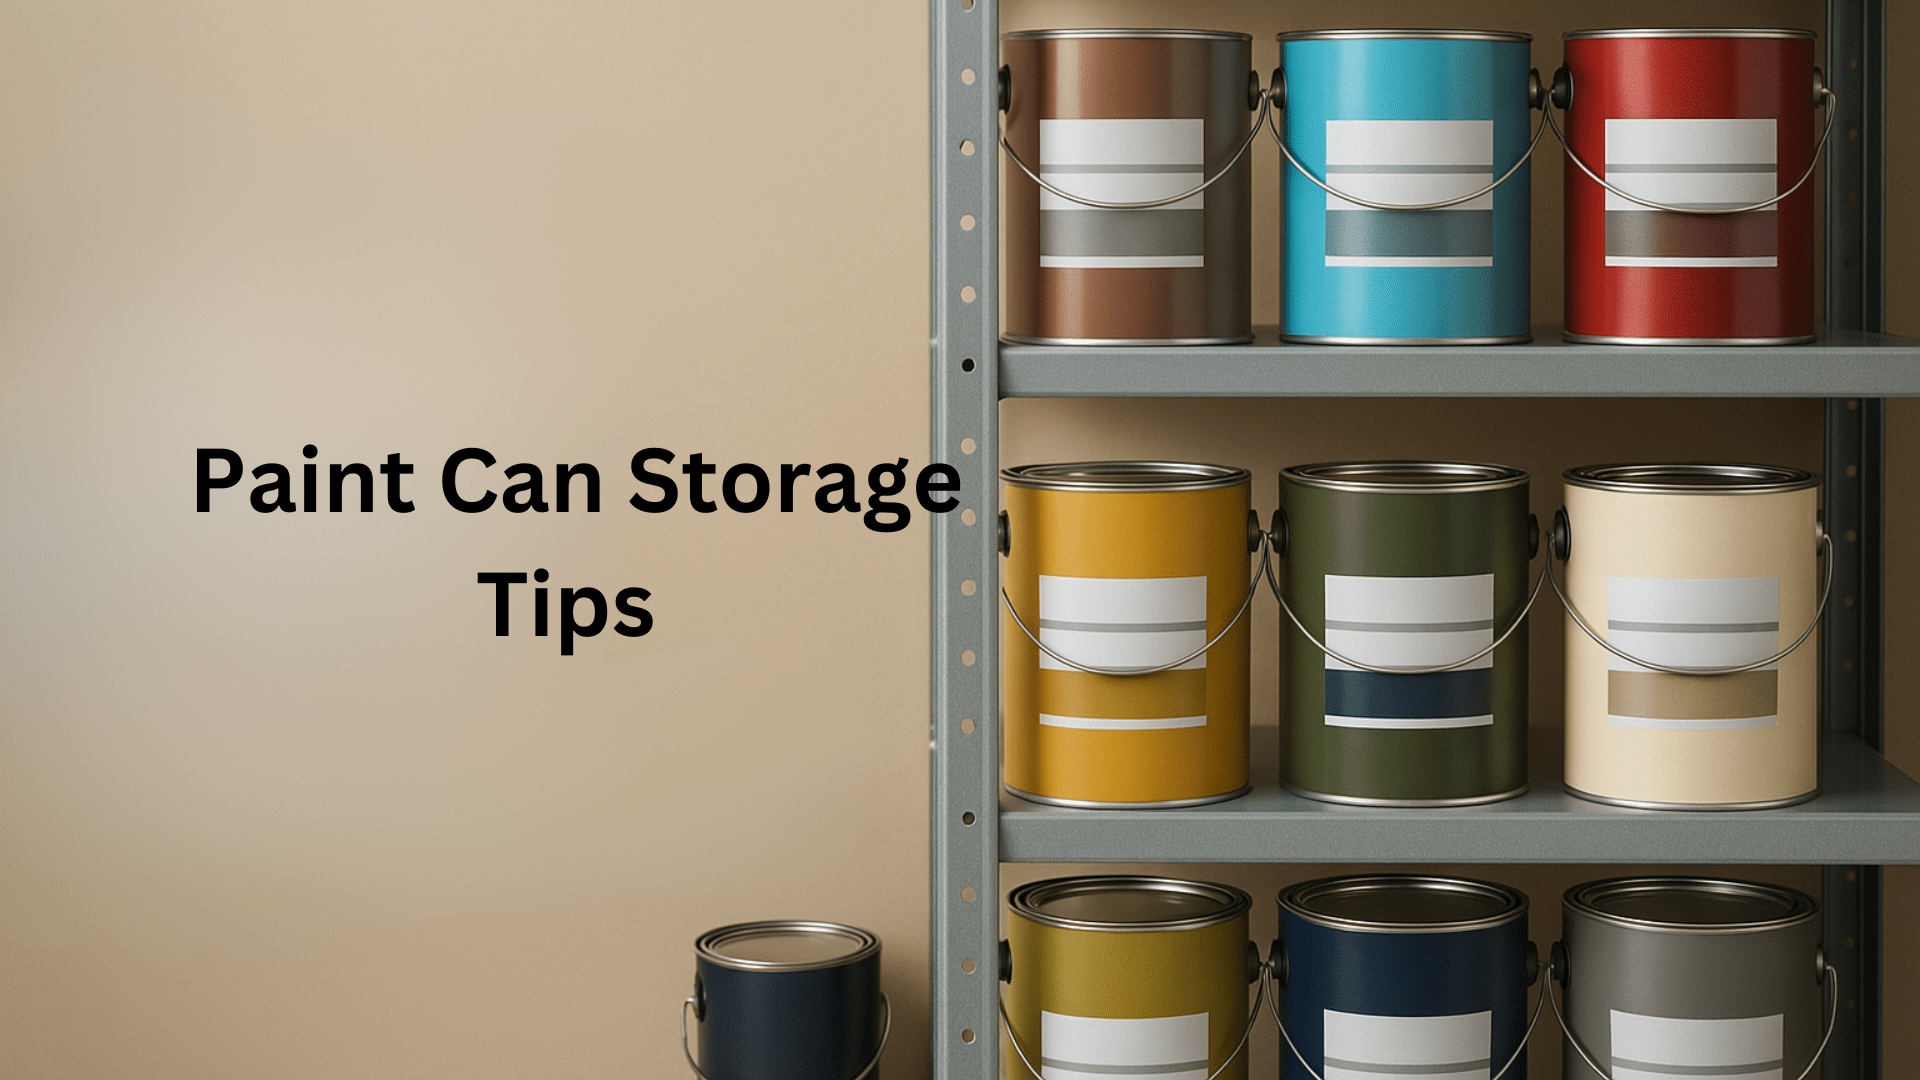
- Pour paint into clean glass jars with tight lids
- Remove air bubbles by tapping the jar gently
- Close the lid firmly – a good seal matters
- Label each jar with the date and color
- Store in a cool, dry place away from sunlight
Quick Storage Tips
- Keep the paint between 60-80°F (15-26°C)
- Never let it freeze – it ruins the texture
- Add a layer of plastic wrap under the lid
- Strain lumpy paint before storing
- Check for mold before using stored paint
Signs Paint Has Gone Bad
- Strong, odd smell
- Visible mold spots
- Paint stays lumpy after stirring
- Separation that won’t mix back together
- Changed color or texture
With proper storage, my homemade chalk paint usually lasts 3-6 months. Always test old paint on a hidden spot before using it on your project.
Safety Guidelines
Let me share some important safety tips I always follow when making and using chalk paint. Your well-being matters most during any DIY project.
Personal Protection
- Wear glasses to protect your eyes
- Put on rubber gloves to keep hands clean
- Use old clothes or an apron
- Wear a dust mask when mixing dry ingredients
- Keep long hair tied back
Work Area Safety
- Open windows for fresh air flow
- Use a fan if needed for better air movement
- Cover your work surface with old newspapers
- Keep water nearby for quick cleanup
- Work away from eating areas
- Store materials out of children’s reach
Material Handling Tips
- Read all paint labels before mixing
- Keep ingredients in original containers
- Never mix near food or drinks
- Clean spills right away
- Wash hands after handling materials
- Store supplies in a locked cabinet
Important Safety Rules
- No eating or drinking while working
- Keep pets away from work area
- Test for allergic reactions on a small area
- Stop if you feel dizzy or get a headache
- Have good lighting in your work space
- Keep a first aid kit nearby
Conclusion
Creating your own chalk paint isn’t just about saving money – it’s about bringing your creative ideas to life.
Through this guide, I’ve shared my tested methods for making and using chalk paint that I’ve learned over years of DIY projects.
Remember, the key to success lies in following the recipes carefully and taking proper safety steps. Start with a small project to build your confidence.
Maybe that old wooden frame or small side table you’ve been meaning to update?
Ready to start painting? I’d love to hear how your chalk paint projects turn out. Share your results in the comments below, or check out my other DIY guides for more home improvement ideas.
Your next masterpiece is just a paint mix away!

