How to Lacquer Furniture: Step-by-Step Guide
The perfect furniture finish requires skill and the right method. Many people struggle to achieve the smooth, glass-like surface they want, often ending up with drips, bubbles, or uneven spots.
You can create a beautiful, long-lasting finish on your furniture with lacquer. This finish guards against wear while adding a perfect shine to your pieces.
Plus, it dries quickly, letting you complete projects faster than other finishes.
This guide teaches you the exact steps to lacquer your furniture like a pro. We’ll cover everything from picking the right type and preparing your piece to applying and maintaining the finish.
Get ready to turn your old furniture into stunning showpieces.
What is Lacquer?
Lacquer creates a hard, shiny coat that bonds well with wood surfaces. It comes from a mix of solvents and resins that dry quickly when applied. The finish seeps into the wood’s surface, making a strong bond that lasts for years.
The basic mix includes special resins, solvents, and other ingredients that help it stick better to wood. These parts work together to make a pretty and tough finish. When it dries, lacquer forms a shell that protects furniture from scratches and water.
Types of Lacquer
You’ll find three main types of lacquer in stores. Each type works well for different projects:
Nitrocellulose lacquer gives the wood a warm, yellow tint that many people like. It’s been used on furniture since the 1920s. This type dries very fast but needs good air flow when used.
The acrylic lacquer stays clear and won’t turn yellow. It works well in places with lots of sun. This type costs more but lasts longer than others.
Water-based lacquer is safer to use and doesn’t smell as strong. It dries clear and cleans up with just water. This newer option helps keep the air in your workspace clean.
Lacquer vs. Other Finishes: Which One Should You Choose?
When picking a finish, consider what you need. Lacquer dries faster than varnish or polyurethane and makes a harder surface than shellac.
Varnish takes longer to dry but handles heat better. Polyurethane lasts longer but takes more time between coats. Shellac looks nice but doesn’t protect, and neither does lacquer.
Here’s why lacquer might work best for you:
- It dries in 30 minutes
- You can add many thin layers quickly
- It makes a very smooth surface
- Repairs are simple to do
But keep in mind:
- It would be best if you had good airflow
- It costs more than some other finishes
- You must work fast when applying it
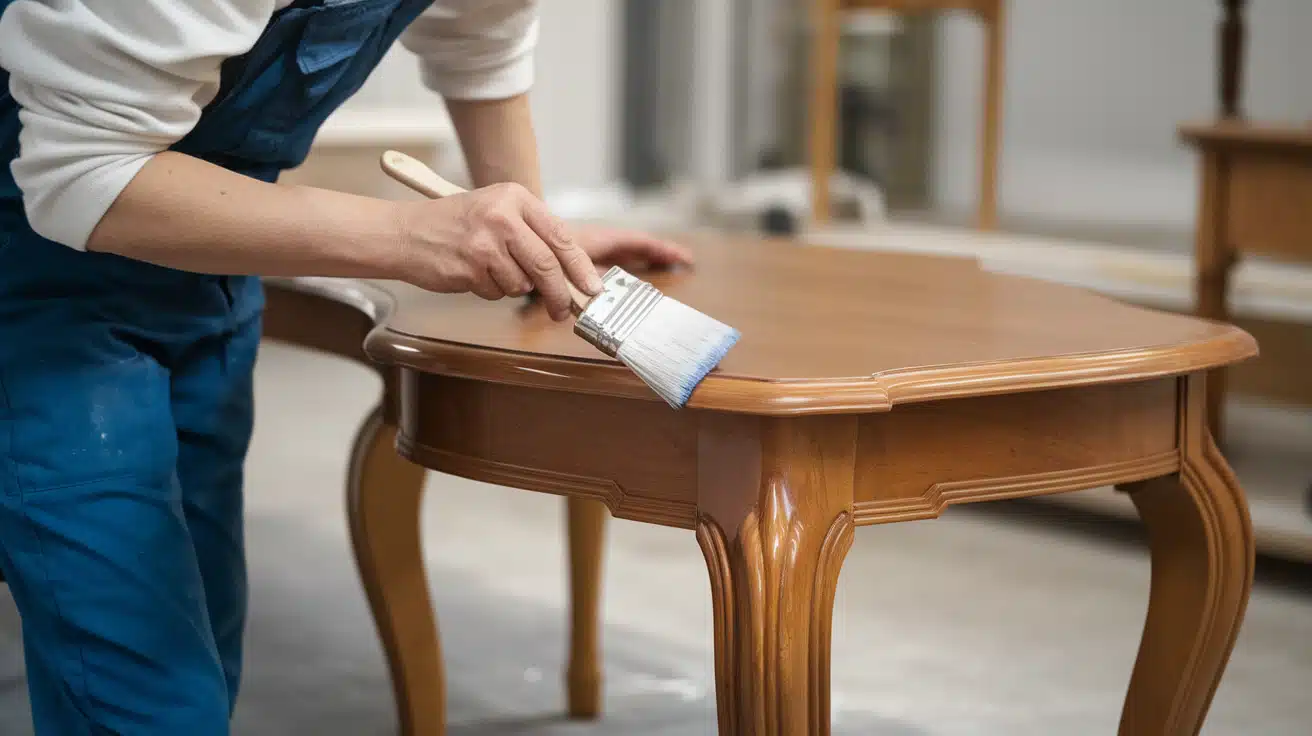
Step-by-Step Guide: How to Refurbish a Vintage Table with Lacquer
Step 1: Assess the Table
Start by looking at your table’s condition. Check for solid wood construction and good craftsmanship. A well-made piece will take lacquer better than poorly constructed furniture. Look for signs of wear that might need extra attention during prep work.
Step 2: Preparing the Table
Take time to prep your surface properly. Use 120-grit sandpaper to lightly sand the table. This step removes old finishes and creates a surface the lacquer can stick to well. You’ll know you’ve sanded enough when the old finish comes off easily.
Step 3: Applying the Primer
Get your lacquer primer ready. Hold the can about 8 inches from the table’s surface. Spray in steady, overlapping strokes to get full coverage. Let this first coat dry for 30 minutes. Once dry, sand with 320-grit paper and add a second coat for the best results.
Step 4: Preparing for Color Lacquer
Cover areas you don’t want to be painted with tape and plastic sheets. With the tape, make clean, straight lines. Press down all edges firmly to prevent paint from seeping under. This step takes time but makes a big difference in the final look.
Step 5: Applying the White Lacquer
If you’re doing a two-tone finish, start with the legs. Keep the can moving in smooth strokes about 8 inches from the surface. Work in one direction, ensuring each stroke overlaps slightly with the last. This creates an even coat without lines or runs.
Step 6: Applying the Black Lacquer
Remove the protective coverings from areas that need black lacquer. Use the same smooth, overlapping technique you used for the white sections. Keep your movements steady and even. Take breaks between sections to ensure you’re not rushing the process.
Step 7: Fixing Any Issues
After the lacquer dries, look for any spots that need fixing. Gently sand problem areas with 320-grit paper. Add another thin coat of lacquer to these spots. Small fixes now prevent bigger issues later.
Step 8: Adding the Final Coat
Apply a clear lacquer coat over everything. This adds extra protection and gives your piece a nice shine. Don’t sand this last coat – it needs to stay glossy. Let it dry completely in a dust-free space.
Step 9: Final Checks
Let your piece dry fully before using it. Check all surfaces in good light to ensure the finish looks even. Your table should now have a smooth, professional-looking finish that will last years.
Video Tutorial
Watch full YouTube video on how to use lacquer Amy Howard at Home.
Post-Application Care: Ensuring Longevity and Quality
Understanding the Curing Process: Lacquer vs. Drying
Your lacquered piece may feel dry to touch in 30 minutes. But don’t move it yet. True curing takes more time than simple drying. Give your furniture about three days to set fully.
The finish needs time to bond with the wood. During this time, keep the piece in a room between 65-75°F. Watch the humidity too – keep it near 50%. Too much moisture in the air slows down the process.
Cleaning Up After Lacquering
Clean your work area right after finishing. Put used rags in a metal can with water. Store leftover lacquer in sealed containers away from heat. Check local rules about getting rid of empty cans – many areas have special sites for this.
For your tools, use lacquer thinner to clean spray tips and nozzles. Soak metal parts for a few minutes, then wipe them clean. Store clean tools in a dry place for your next project.
How to Maintain and Care for Lacquered Furniture
Keep your lacquered pieces looking good with simple care. Use soft cloths for daily dusting. For deeper cleaning, mix mild soap with warm water. Never use harsh cleaners or rough materials.
Put coasters under drinks and hot items. Move items on the surface – don’t slide them. This keeps the finish from getting scratched. Keep lacquered furniture out of direct sun to prevent fading.
For small marks, try buffing with car polish. Bigger scratches need more work. You can spot-fix small areas by sanding lightly and adding new lacquer. Big damage might need full refinishing.
Store touch-up supplies in a cool, dry spot. Mark the date you bought them – lacquer has a shelf life. Replace old materials to ensure good results when fixing wear spots.
Common Mistakes to Avoid While Lacquering

Avoiding Over-Application
Many people put on thick coats of lacquer, hoping for faster results. This leads to runs and bubbles in your finish. Use thin coats instead. Three light coats work better than one heavy coat.
Watch for drips as you spray. If you see any forming, stop right there. Too much product makes the surface look cloudy. Keep your coats light and even for the best results.
Not Sanding Between Coats
Skipping the sanding step ruins good work. Each coat needs light sanding with fine paper. This helps the next coat stick better and smooth the surface.
Use 320-grit paper between coats. Press very softly when you sand. You just want to rough up the surface a bit. Wipe off all dust before adding the next coat.
Ignoring Drying Time
Rushing between coats causes big problems. Check that each coat feels completely dry. If the surface feels tacky, wait longer. It is better to wait an extra hour than to redo the whole project.
Temperature also affects drying time. Cold rooms slow things down, while hot rooms speed up drying but might trap bubbles. Follow the times on your product’s label.
Quick tips to remember:
- Stay patient with each step
- Keep coats thin and even
- Test the surface before adding more
- Sand gently between layers
- Let each coat dry fully
Conclusion
Lacquering furniture takes time and attention to detail, but the results make the effort worthwhile. When done right, lacquer creates a professional finish that lasts for years.
Each step, from preparing the surface to the final clear coat, plays a key role in the final look.
Remember that patience matters most when working with lacquer. Take time between coats, sand carefully, and let your piece cure fully. Good ventilation and the right temperature help ensure success.
Keep your coats light and even, and don’t rush the process.
With the tips and techniques from this guide, you can give your old furniture new life. A well-lacquered piece looks beautiful and stands up to daily use while keeping its shine.


