How to Install Box Trim on Walls Under Budget
Are you looking to make your walls stand out? Many homeowners think wall trim projects cost a lot. But I found a way to create beautiful box trim walls on a budget. After trying it myself, I can tell you it’s simpler than you might think.
In this guide, I’ll show you the steps I used to install box trim without breaking the bank. You’ll learn which materials work best, how to measure correctly, and the tricks that saved me money.
Plus, I’ll point out common mistakes to avoid based on my own experience.
Let’s start making your walls look better together!
An Overview of Box Trim Basics
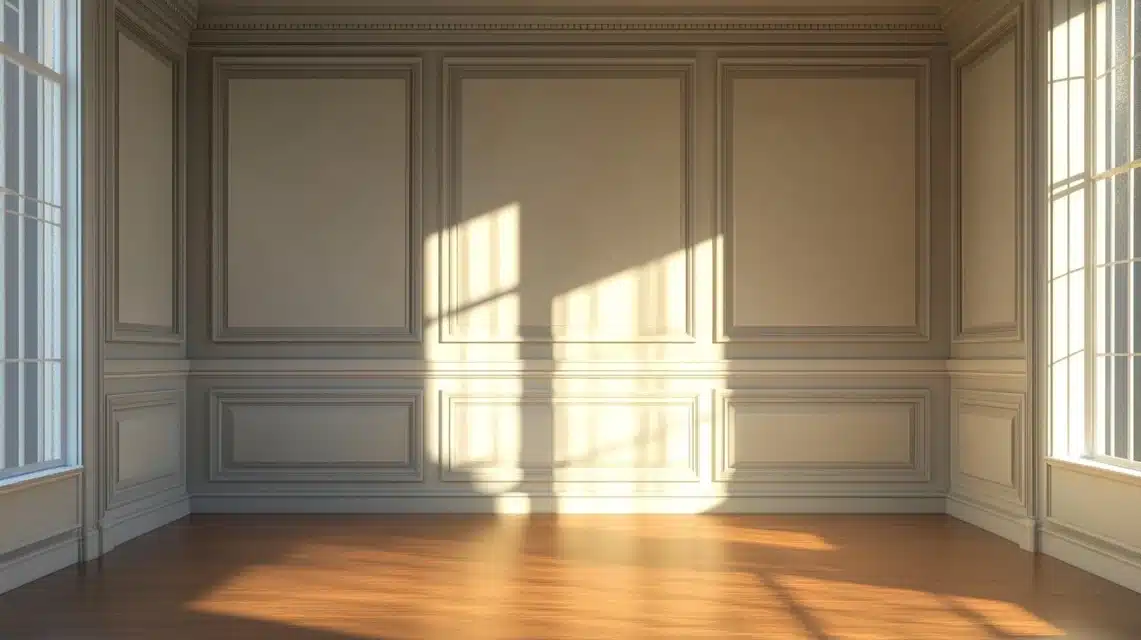
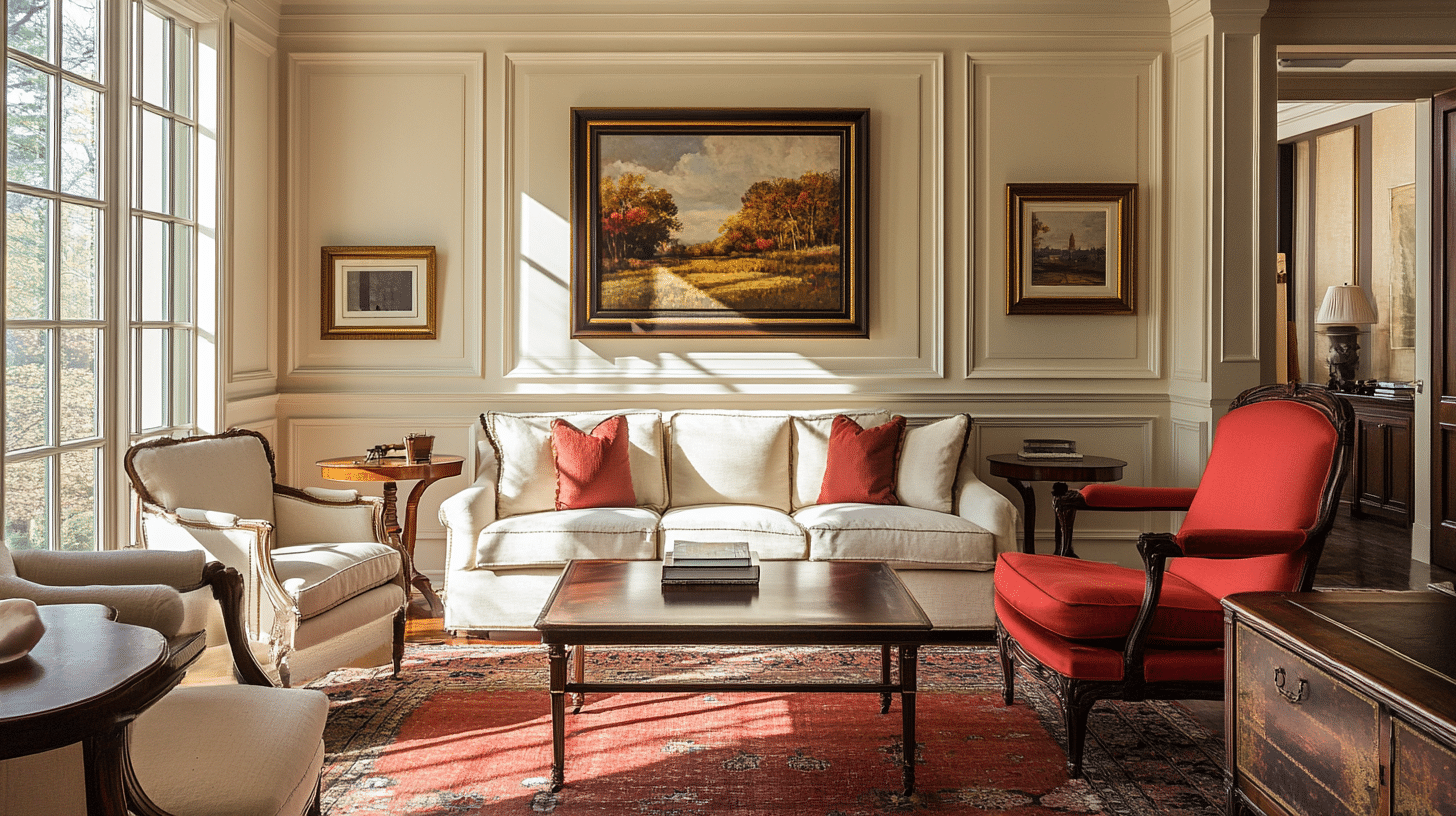
From my experience, box trim is a type of wall molding that creates squares or rectangles on your walls. I’ve found it adds a rich, layered look that can make any room feel more put together.
When I started looking into box trim, I learned there are different styles you can try. The most basic one, which I used in my first project, involves making simple geometric shapes with thin pieces of trim.
Some folks call this “picture frame molding,” too, and I can see why – it looks just like empty frames lined up on your wall.
The materials you’ll need are pretty basic. I usually work with MDF (Medium Density Fiberboard) trim because it’s light on the wallet but still looks great when painted.
You can also use pine or hardwood trim if you prefer, but I’ve noticed these cost quite a bit more.
One thing I want to point out about box trim is that it’s not just for show. From what I’ve seen in my own home, it can help protect your walls from scuffs and marks, especially in busy areas like hallways.
Plus, when I had a small crack in my wall, the box trim helped cover it up nicely – a handy bonus I hadn’t expected!
Before you start, though, it’s good to know that box trim works best on walls that are fairly smooth. When I tried installing it on a heavily textured wall, getting the trim to sit flat was trickier.
If your walls are textured, you might need to do some prep work first.
How to Plan & Prepare Your Project
From my hands-on experience, good planning makes a huge difference in getting the results you want without wasting materials.
- First, I always sketch my wall layout on paper. I like to measure my wall’s height and width, then draw squares and rectangles until I find a good pattern. I usually aim to keep the boxes similar in size—it just looks better to my eye. When I did my living room, I made boxes about 24 inches wide and 36 inches tall, which turned out perfect for my space.
Here’s what I’ve learned about measuring: Take your wall height and subtract the height of your baseboards and any crown molding if you have it. This gives you the actual space you have to work with. I also leave about 4 inches between boxes and the ceiling or floor – trust me, it looks much nicer this way.
For tools and materials, here’s what I gathered before starting:
- MDF trim pieces (I calculated the total length needed from my sketch)
- Miter saw (borrowed from my neighbor to save money)
- Level
- Measuring tape
- Pencil
- Stud finder
- Wood glue
- Nail gun with 2-inch nails
- Sandpaper
- Paint and primer
One money-saving tip I discovered: Buy longer pieces of trim rather than short ones. When I bought longer lengths, I saved about 20% compared to buying pre-cut pieces. I just cut them to size myself.
Before putting anything on the walls, I marked all my stud locations with light pencil marks. This really helps later when you’re securing the trim.
I also cleaned my walls thoroughly – just water and mild soap did the trick. Paint sticks are better for cleaning walls, and you’ll want your trim to look fresh when you’re done.
Tools & Materials Required
- Graph paper for planning
- Pencil
- Chalk line
- Painter’s tape
- Level
- Construction adhesive
- Brad Nailer (as backup)
- Caulk
- Paint and brush
- Corner pieces (pre-fabricated)
- Box frame molding pieces
- Measuring tape
Step-by-Step Installation Guide
1. Planning Phase
- Draw your design on graph paper
- Plan for artwork placement and wall fixtures
- Fix any wall blemishes
- Paint the wall your chosen color first
2. Wall Layout
- Transfer measurements to the wall using a pencil
- Make horizontal lines with a chalk line
- Place painter’s tape along the lines
- Check everything with a level
- Step back to check if the design looks balanced
- Adjust for obstacles like electrical outlets
3. Corner Installation
- Start with one box at a time
- Apply construction adhesive to corner pieces
- Align corners with your tape marks
- Use painter’s tape to hold corners while the adhesive dries
- Make sure everything stays level
4. Box Frame Assembly
- Measure between corner pieces
- Cut molding pieces to fit these measurements
- Apply construction adhesive to the back
- Secure with painter’s tape
- Use brad nailer if walls aren’t perfectly straight
- Complete one box before moving to the next
5. Finishing Touches
- Run a bead of caulk around each box
- Let the caulk dry completely
- Paint the molding to match your wall
- Touch up any spots as needed
When I did this myself, I found the process really straightforward. Starting with one box at a time helped me stay organized and make adjustments as needed.
DOWNLOAD THE ENTIRE BOX TRIM ON WALLS INSTALLATION GUIDE FROM THIS PDF
How to Give Finishing Touch to Your Project

First, let’s talk about caulking – it’s like magic for hiding those tiny gaps. I learned to apply a thin line of caulk where the trim meets the wall. I use my finger (wearing a disposable glove, of course) to smooth it out.
From my experience, working in small sections helps keep the caulk from drying before I can smooth it properly. I found that white paintable caulk works best since it blends right in with the trim.
Now for the painting part. I always start by cleaning the trim with a slightly damp cloth to remove any dust or fingerprints. Then, I use painter’s tape on the wall next to the trim – this gives me crisp, clean lines. I’ve learned that two thin coats of paint look much better than one thick coat.
My go-to choice is semi-gloss paint because it’s easy to clean and makes the trim stand out just enough.
Here’s a tip I wish I’d known earlier: let each coat dry completely before adding the next one. When I rushed this step once, the paint got gummy and didn’t look smooth at all.
I also found that a small foam roller works great for the flat parts, while a good quality brush helps get into the corners and edges.
After everything’s dry, I take one last look in different lighting. I keep a small brush and touch-up paint handy to fix any spots I might have missed.
This final check has saved me from noticing imperfections after I’ve packed everything away.
An Overall Investment Analysis
Here’s what I spent on my 12′ x 12′ room:
| Category | Item | Cost |
|---|---|---|
| Materials Cost | MDF trim (8 pieces at 8 feet each) | $80 |
| Construction adhesive (2 tubes) | $12 | |
| Painter’s tape (1 roll) | $6 | |
| Caulk (2 tubes) | $10 | |
| Paint (1 quart) | $20 | |
| Sandpaper pack | $5 | |
| Nails for Brad Nailer | $8 | |
| Tool Rentals/Borrowing | Brad nailer rental (weekend) | $30 |
| Borrowed miter saw from neighbor | $0 | |
| Basic tools I already had | $0 | |
| Money-Saving Tips Used | Bought MDF instead of hardwood trim | Saved $100 |
| Borrowed tools when possible | Saved more | |
| Bought materials during a home store sale | Saved more | |
| Used leftover wall paint for the trim | Saved more | |
| Total Investment | Approximate Total | $171 |
For comparison, I got quotes from professionals for this same job ranging from $600 to $900. By doing it myself, I saved roughly $430-$730.
Time Investment: I completed the project in one weekend (about 12-15 hours total).
Best Installation Ideas on Textured Walls
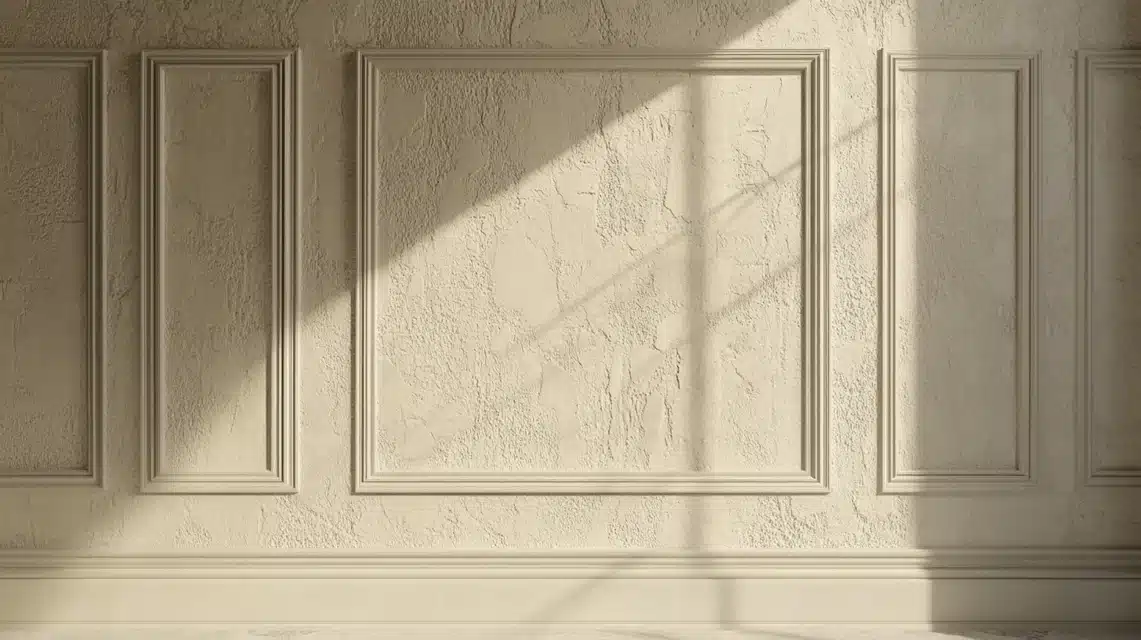
Let me tell you how I handled box trim on my textured walls and what I learned from the experience. It takes a bit more work, but the results can look just as good as on smooth walls.
Before Installing
I found that preparing textured walls needs extra steps. I started by using a drywall sander to smooth out just the areas where the trim would go. This created flat surfaces for better adhesion.
Some folks told me to skim-coat the whole wall, but I saved money by only smoothing the trim areas.
Extra Materials Needed for Textured Walls
- Drywall sanding blocks: $15
- Joint compound for patching: $12
- Extra construction adhesive: $12
- Wider trim pieces (they hide texture better): +$40
- Additional caulk: $10
My Method That Worked
I applied a thicker bead of construction adhesive than usual. The extra adhesive helped fill any small gaps caused by the texture. Then, I pressed the trim firmly against the wall and held it longer than on smooth walls – about 30 seconds per section.
Special Tricks I Used
- Added support brackets behind larger pieces
- Used liquid nails for extra hold
- Applied wider caulk lines to blend edges
- Added extra Brad nails for security
Total Extra Cost: The texture-specific materials added about $89 to my basic project cost. Still, doing it myself saved hundreds compared to hiring someone.
Important Note: After a few days, I noticed the trim on heavily textured walls needed checking. I went back and added a few more Brad nails where needed, just to be sure everything stayed secure.
Some Advanced Design Ideas to Consider
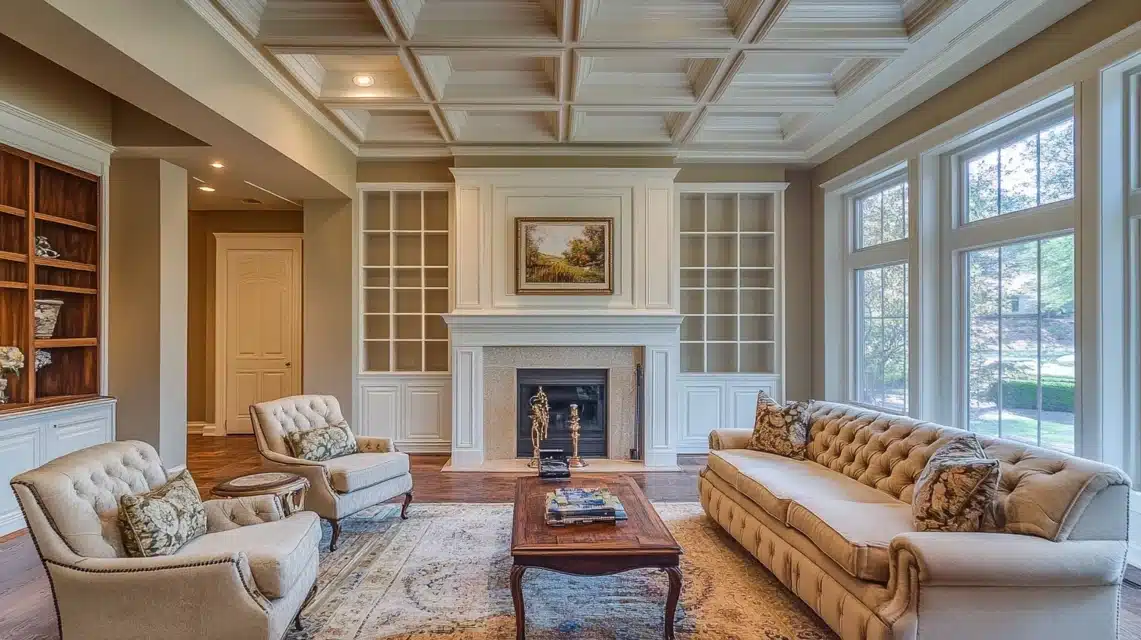
1. Double-Layer Design
I tried this in my dining room, and it looks fantastic. I placed a thinner trim piece inside the main box, creating a frame within a frame. This added about $40 to my material costs but made the walls look more detailed. The trick is keeping the inner and outer boxes evenly spaced.
2. Mixed Sizes Pattern
In my hallway, I used different-sized boxes to create visual interest. I put larger boxes in the middle of the wall and smaller ones on the sides. The key is keeping the spacing consistent between all boxes. This design costs the same as regular box trim but takes more planning time.
3. Wainscoting Blend
One of my favorite looks combines box trim with a chair rail. I installed the chair rail at 36 inches in height, then added boxes above and below it. The lower boxes are smaller than the upper ones. This style needs extra materials:
- Chair rail: $45
- Additional trim pieces: $60
- More paint and caulk: $30
4. Color Blocking
Here’s a fun idea that worked in my office – I painted the inside of each box a different shade than the wall. I used three paint colors in total. The extra paint cost me about $40, but it created a unique look.
5. Lighting Enhancement
I added small LED strips behind some of my box trim for indirect lighting. The supplies cost:
- LED strips: $35
- Power supply: $15
- Wire covers: $10
Conclusion
There you have it – my complete guide to installing box trim without spending too much money. I hope sharing my personal experience helps you tackle this project with confidence.
Remember, taking time with the planning and prep work makes a big difference in the final look.
If you found this helpful, check out my other home improvement guides: “Budget-Friendly Crown Molding Installation” and “DIY Wall Paneling Ideas.”
These projects pair beautifully with box trim to create a cohesive look throughout your home.
Want to see how your box trim project turns out? Leave a comment below with pictures! I’d love to hear about your experience and answer any questions you might have.
Let’s make our walls look better, one box at a time.
Ready to start? Grab that measuring tape, and let’s create something special!
Frequently Asked Questions
What are Some Common Mistakes to Avoid?
I’ve seen many people rush into box trim projects without measuring twice. Also, skipping wall preparation and using cheap materials often leads to poor results. My biggest mistake was not checking stud locations first.
Can I Install Box Trim Around Obstacles Like Doors and Windows?
In my experience, you can install box trim around doors and windows. I start by measuring three times and leave about 3 inches of space around frames. Corner blocks help create clean transitions in tight spots.
Are There Design Ideas or Inspiration for Different Room Types?
I find that large boxes work best in living rooms with high ceilings. For bedrooms, I prefer medium-sized boxes above the headboard. In bathrooms, smaller boxes look better and leave space for towel racks.

