How to Grow Mint Indoors: Step-by-Step Guide
Fresh mint is one of those small things that can make a big difference in your kitchen, but keeping it alive at home often feels harder than it should be.
The truth is, once you understand the basics, it becomes one of the easiest plants to manage indoors.
Learning how to grow mint indoors is less about gardening skill and more about setting up the right conditions from the start.
In this guide, you’ll learn how indoor mint behaves, the different ways to grow it, and how to keep it producing consistently without constant effort.
Let’s start with the basics.
What Growing Mint Indoors Means And Why People Do It
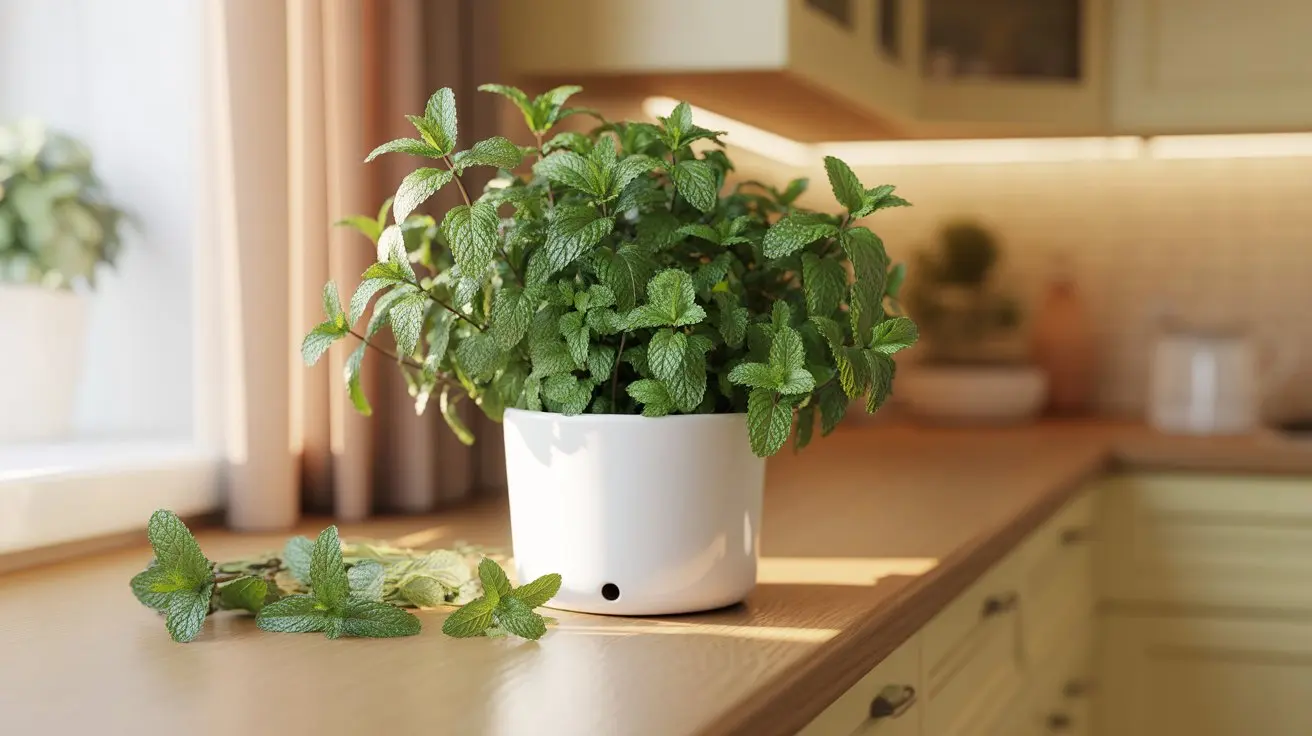
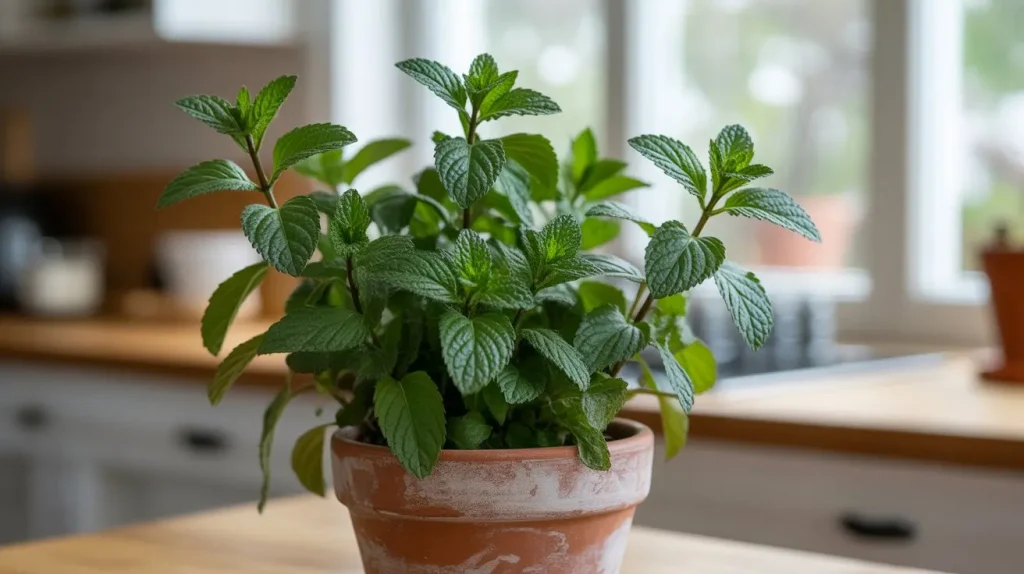
Growing mint indoors means keeping a live mint plant in a container inside your home, usually near a window or under a grow light. Instead of a garden bed, the plant lives in a pot on your countertop, shelf, or windowsill.
Outdoor mint grows in open ground where it spreads freely through its roots. Indoors, you manage that spread by containing it in a pot.
The plant still grows the same way, but you control its space, water, and light. Most people grow mint indoors because they want fresh leaves available without stepping outside.
It’s also one of the few herbs that produces new growth year-round when kept warm and lit.
Why Mint is One of the Easiest Herbs to Grow Indoors
Mint is tough. It grows fast, bounces back quickly, and doesn’t ask for much. Unlike basil or cilantro, mint keeps producing new leaves all year. And the best part is, it doesn’t die back in winter.
I’ve grown mint on a north-facing kitchen windowsill with just a small grow light, and it thrived. Here’s why it works so well indoors:
- It tolerates both dry and slightly wet soil
- It grows in a wide range of temperatures
- It rarely attracts pests inside the home
- It looks great as a small potted plant
If you’ve struggled with herbs indoors before, mint is a great place to start fresh.
How Indoor Conditions Affect Mint Growth Compared With Outdoor Plants
Outdoor mint has unlimited root space, natural rainfall, and direct sunlight for hours each day. It spreads aggressively and can take over a garden bed within one season.
Indoors, mint grows a little slower and stays more compact. The roots are limited by the pot size, light levels are usually lower, and humidity tends to be drier than outside.
That said, indoor mint often lives longer. It isn’t exposed to frost, heavy rain, or garden pests. With the right setup, it can produce fresh leaves for years without needing to be replaced.
How to Grow Mint Indoors: 3 Step-by-Step Methods
This is where it all comes together. There are three main ways to grow mint indoors, and each one has its own benefits.
I’ll walk you through each method so you can pick what works best for your space.
Method 1: How to Grow Mint in Soil
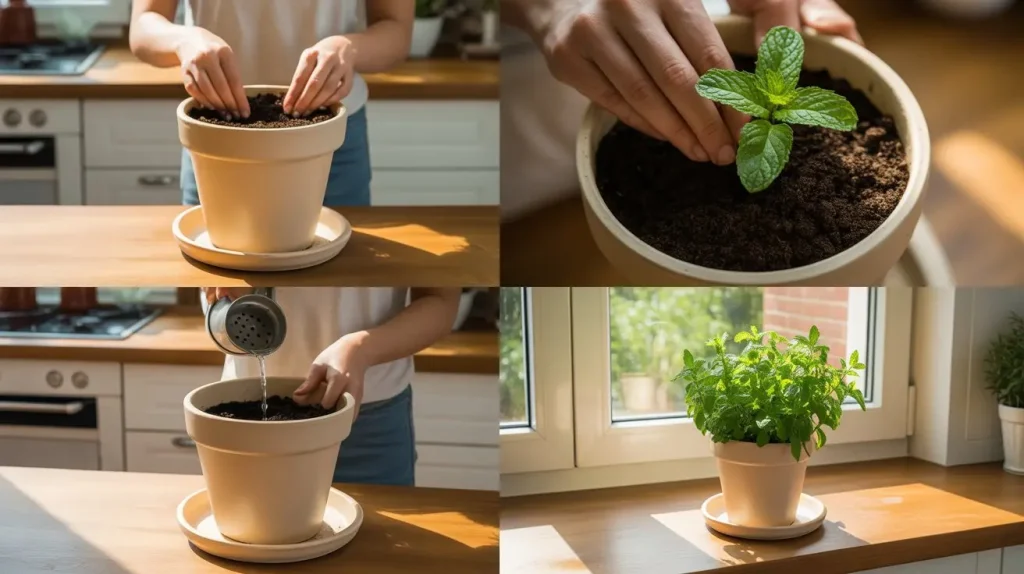
This is the most reliable method. It gives you the longest-lasting plant and the most consistent harvests.
What you’ll need:
- An 8-inch pot with a drainage hole
- Quality potting mix
- A starter plant, cutting, or root division
- A bright windowsill or grow light
Steps:
- Fill your pot with potting mix, leaving half an inch at the top
- Make a small hole in the center with your finger
- Place your plant, cutting, or division into the hole
- Gently press the soil around the base
- Water thoroughly, let it drain fully from the bottom
- Place the pot in your brightest window or under a grow light
- Check the soil every 2 to 3 days, water when the top feels dry
That’s it. Within a week or two, you’ll see new growth pushing up. A soil-grown mint plant can live for years with proper care.
Method 2: How to Grow Mint in Water
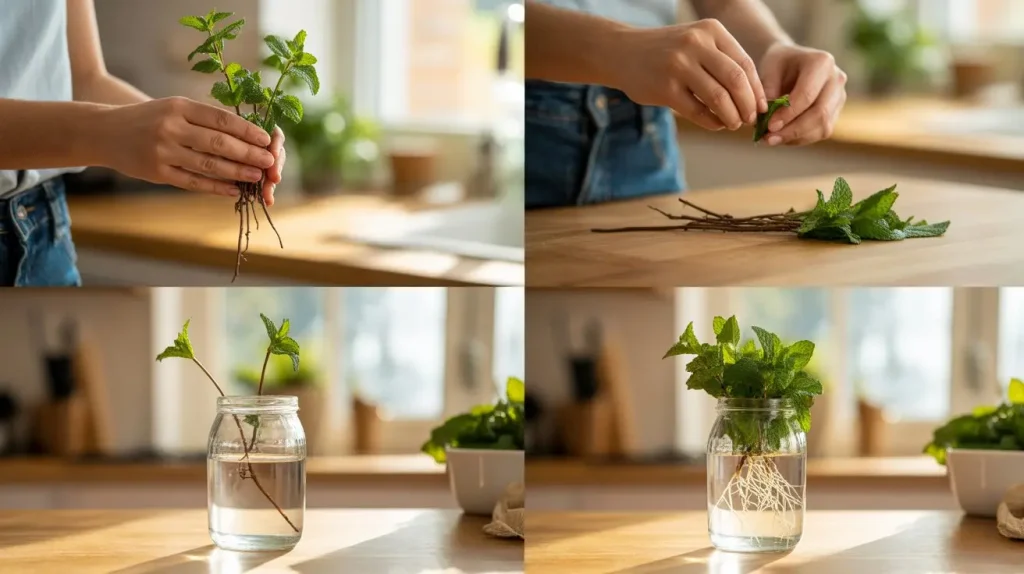
This is the cleanest, most low-maintenance option. No soil, no mess, and no watering schedule to track.
What you’ll need:
- A clear glass or jar
- Fresh mint cuttings (3 to 4 inches long)
- A bright windowsill
Steps:
- Take several mint cuttings, about 3 to 4 inches each
- Strip all leaves from the bottom half of each stem
- Place the bare ends in a glass filled with fresh water
- Set the glass on a sunny windowsill
- Change the water every 5 to 7 days, and rinse the glass too
- Within 1 to 2 weeks, you’ll see small white roots forming
- Snip leaves as needed, and replace cuttings every few months
Water-grown mint won’t last as long as soil-grown plants. The leaves may yellow after a few months. When that happens, simply take fresh cuttings and start again.
It’s a great option if you want mint on the kitchen counter with zero fuss.
Method 3: How to Grow Mint Hydroponically
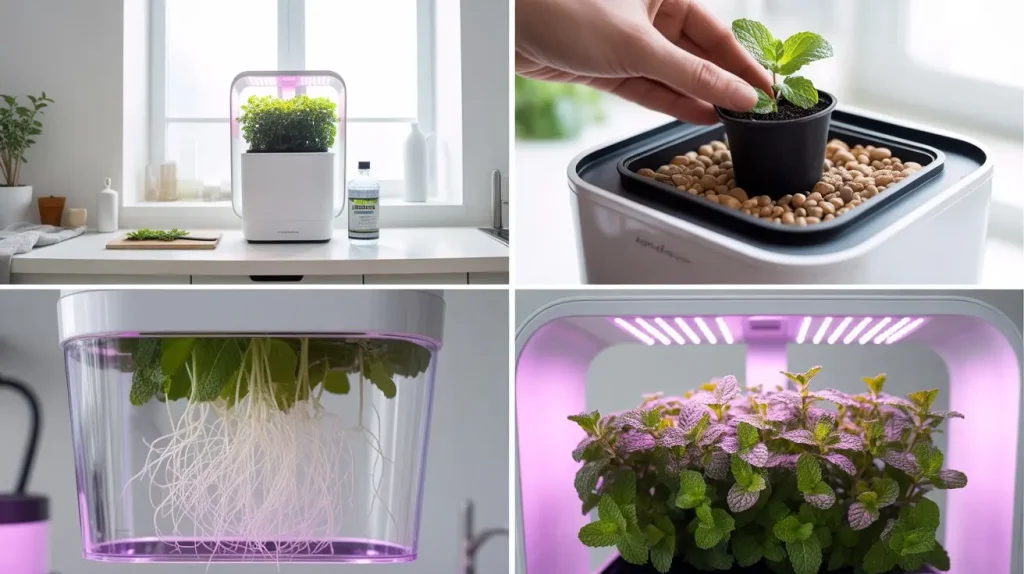
Hydroponics is the most advanced method, but also the most productive. If you want a large, consistent yield of mint without any soil at all, this is worth exploring.
What you’ll need:
- A hydroponic system (countertop units like AeroGarden work well)
- Nutrient solution designed for herbs
- Net pots and growing medium (such as clay pebbles or rockwool)
- Mint cuttings or seedlings
Steps:
- Set up your hydroponic system according to its instructions
- Mix the nutrient solution at the recommended strength
- Fill the reservoir with the nutrient solution
- Place mint cuttings or small plants into the net pots
- Make sure the roots reach the water or nutrient mist
- Set the grow light timer for 14 to 16 hours per day
- Check the nutrient level every few days and top up as needed
- Harvest regularly to keep the plant producing
Hydroponic mint grows faster than soil-grown mint. You’ll notice rapid root development and lush growth within weeks.
The cost is higher upfront, but the yield is hard to match. It’s a great choice if you use a lot of mint or want to grow multiple varieties at once.
What You Need to Grow Mint Indoors
Before you plant anything, it helps to get the basics in place. The right setup makes all the difference.
You don’t need expensive tools or a big space. Here’s what matters most.
1. The Right Pot
Choose a pot that’s at least 8 inches wide. Mint spreads through its roots, so it needs room to grow. Make sure the pot has a drainage hole at the bottom; this is non-negotiable. Without drainage, the roots will sit in water and rot.
- Ceramic and plastic pots both work well
- Avoid clay pots, they dry out too fast
- A wider, shallower pot works better than a tall, narrow one
Any of these pot types will do the job well. Just make sure drainage is always your top priority.
2. Best Soil Mix
Use a high-quality potting mix, not garden soil. Garden soil is too dense for containers and can compact around the roots. A good potting mix stays loose, drains well, and holds just enough moisture.
Fill the pot and leave about half an inch of space at the top. This small gap acts as a water reservoir and stops water from spilling over the sides when you water.
3. Light Setup
Mint needs bright light indoors. A south- or west-facing window is ideal. If your space doesn’t get much natural light, a small grow light works just as well.
- Run grow lights for 12 to 15 hours per day
- Keep the light about 6 inches above the plant
- Rotate the pot every few days for even growth
Without enough light, the stems will stretch out and look weak. More light means bushier, more flavorful leaves.
4. Temperature and Humidity
Mint is comfortable at room temperature, between 65°F and 75°F. It doesn’t like cold drafts or being placed near a heating vent.
Average indoor humidity is usually fine. If your home is very dry in winter, mist the leaves lightly a few times a week.
This keeps the leaves looking fresh and prevents brown tips.
How to Choose the Right Mint Variety to Grow Indoors
Not all mint tastes the same. Each variety brings its own flavor and style to the pot. Picking the right one depends on how you plan to use it. Here’s a breakdown of the most popular varieties worth growing at home:
1. Peppermint
Peppermint has that sharp, cool flavor most people picture when they think of mint. It’s the go-to for teas, hot drinks, and throat-soothing remedies. It grows upright with dark green leaves and spreads quickly.
I find it one of the most satisfying herbs to grow indoors; the scent fills the room with every trim.
2. Spearmint
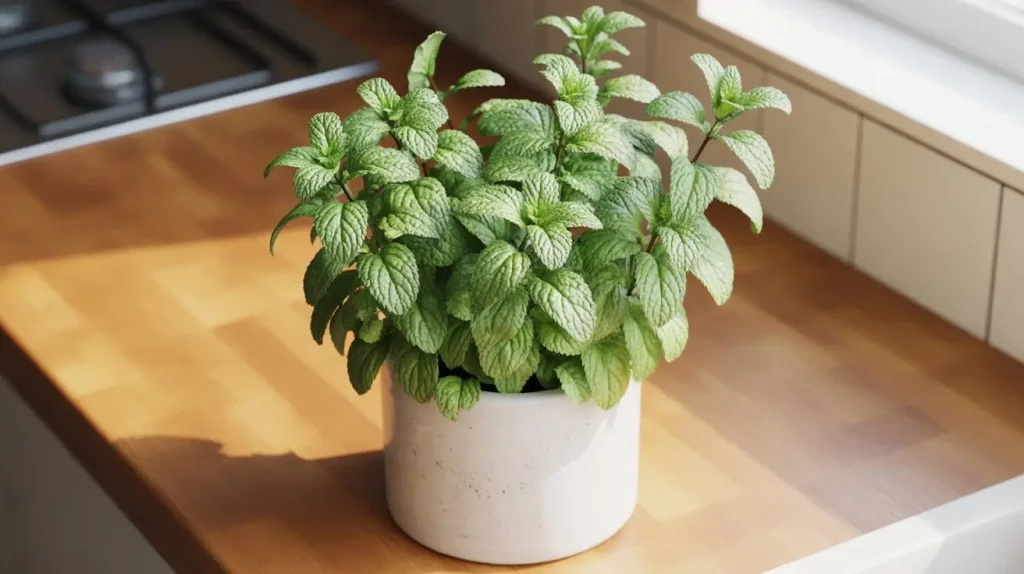
Spearmint is softer and sweeter than peppermint. It’s the classic mint used in cooking, think mint sauce, lamb dishes, and fresh salads.
The leaves are lighter green and slightly crinkled. It’s a gentle grower, which makes it easy to manage in a smaller pot.
3. Chocolate Mint
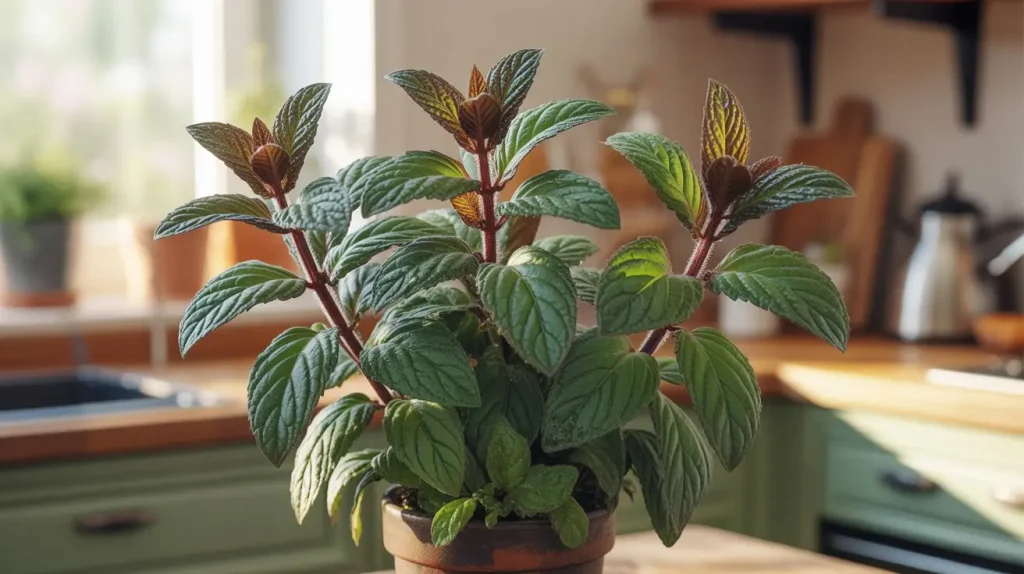
This one surprises people. It genuinely smells and tastes like a mix of mint and cocoa. It works beautifully in desserts, hot chocolate, and even cocktails.
The stems have a deep reddish-brown tint that makes them look beautiful on a shelf or countertop.
4. Apple Mint
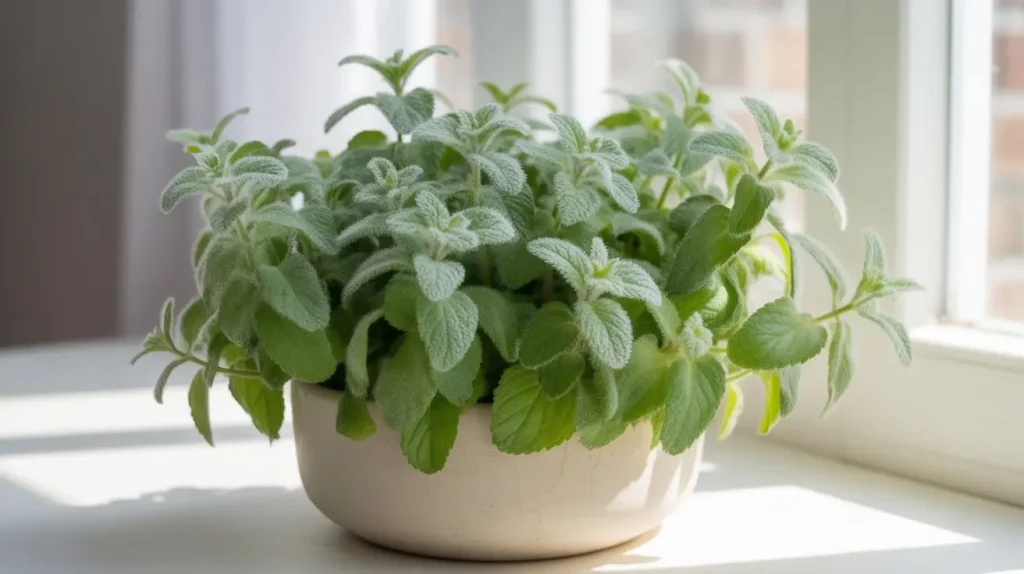
Apple mint has soft, fuzzy leaves and a mild, fruity flavor. It’s less intense than peppermint, which makes it great for those who find regular mint too strong.
It works well in fruit salads, infused water, and light teas.
5. Pineapple Mint
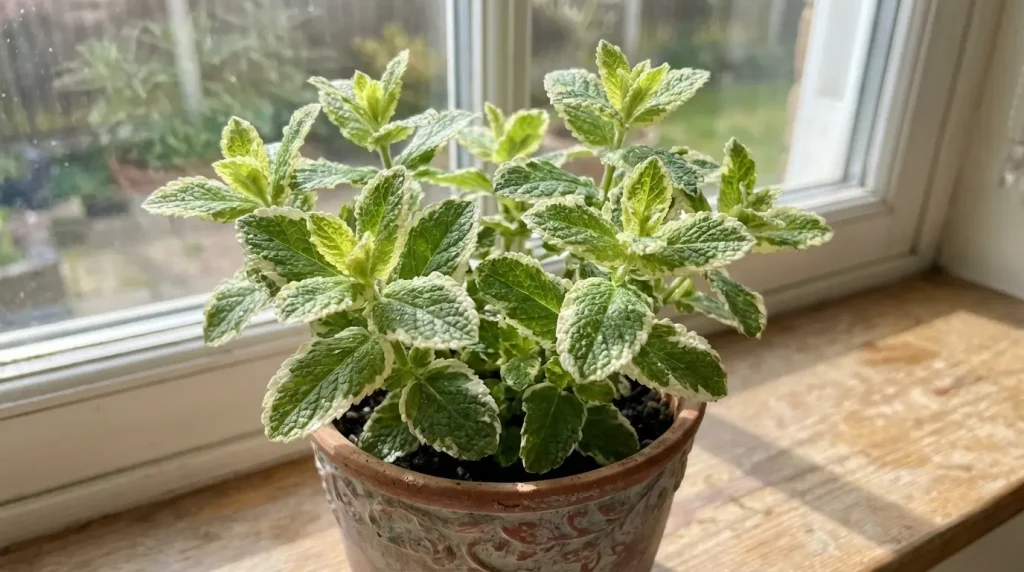
This is my personal favorite for looks. Pineapple mint has green and cream variegated leaves that look gorgeous in any pot.
The flavor is light and tropical. It’s not as strong as peppermint, but it adds a lovely freshness to drinks and desserts.
Any of these will grow well indoors. Pick the one that matches how you cook and what you love to drink.
Daily Care Routine For Healthy Indoor Mint Plants
Mint doesn’t need constant attention, but a few regular habits make a big difference. Consistent watering, occasional feeding, and basic upkeep are all it takes to keep your plant producing all year.
Once you get into a rhythm, it takes just a few minutes every couple of days.
1. How Often to Water Indoor Mint
Mint doesn’t like to sit in dry soil for too long, but it also doesn’t want to be waterlogged. Getting the frequency right is just as important as how you water.
As a general rule:
- Spring and summer: Water every 2 to 3 days, mint grows actively and dries out faster in warmer months
- Fall and winter: Water every 4 to 5 days, growth slows down, and the soil holds moisture longer
- After repotting: Water every 1 to 2 days for the first week to help the roots settle in
The best way to know when to water is to check the soil, not the calendar. Stick your finger about an inch into the soil. If it feels dry, it’s time to water. If it still feels slightly damp, wait another day and check again.
I check my plant every 2 days. It only takes a second and saves a lot of guesswork.
2. How to Water Indoor Mint Properly
Once you know it’s time to water, here’s how to do it right:
- Move the pot to the sink
- Water slowly and thoroughly
- Let water run out of the drainage hole
- Flush through the soil 2 to 3 times
- Let it drain fully before putting it back
Never let the pot sit in standing water. That’s the fastest way to cause root rot.
3. When and How to Fertilize Mint Plants
Mint growing indoors still needs nutrients, even in a quality potting mix. Feed it regularly to keep the leaves lush and flavorful.
- Spring through summer: Feed every 3 weeks with a liquid organic fertilizer.
- Fall through winter: Reduce to once every 6 weeks.
- Always mix fertilizer at the rate listed on the label, never stronger.
Over-fertilizing causes brown leaf tips. If you see that, flush the soil with plain water a few times and hold off on feeding for a few weeks.
4. Simple Maintenance Habits that Encourage Strong Growth
Beyond watering and feeding, a few small habits keep mint healthy long-term:
- Rotate the pot every few days so all sides get even light.
- Pinch off flower buds the moment you see them; flowering reduces leaf flavor.
- Wipe dust off the leaves occasionally to help the plant absorb more light.
- Check for pests once a week, especially under the leaves.
These small steps take just minutes and prevent bigger problems down the line.
How to Fix Common Indoor Mint Growing
Even a low-maintenance plant like mint can run into trouble. Most problems have a simple cause and an equally simple fix. Here’s what to look for and how to fix it quickly:
| Problem | Cause | Fix |
| Yellow Leaves | Overwatering or poor drainage | Let the soil dry out more between waterings. Check that the drainage hole is clear. If the soil smells sour, repot into a fresh mix. |
| Root Rot | Waterlogged soil over time | Remove plant, trim black or mushy roots with clean scissors, and repot into fresh dry mix. Water sparingly for the first two weeks. |
| Leggy or Weak growth | Not enough light | Move to a brighter window or add a grow light. Prune stretched stems back to encourage bushier regrowth. Run grow light 12 to 15 hours daily. |
| Brown Leaf Tips | Too much fertilizer or chlorinated tap water | Flush the soil with plain water several times. Let tap water sit for 24 hours before using. Hold off on fertilizing for a month. |
Healthy, well-lit plants with consistent watering are much less vulnerable to all of these problems.
How to Harvest and Prune Mint so It Keeps Growing
Harvesting and pruning aren’t separate tasks with mint. Every time you cut the plant, you’re also encouraging it to grow back stronger.
The more you trim, the bushier and more productive it becomes. Most people under-harvest their mint. Being generous with your cuts is actually better for the plant.
The Correct Way to Cut Mint Leaves
For small amounts, pinch off individual leaves at the stem. For larger harvests, cut whole stems 2 to 3 inches above the soil.
Always cut just above a leaf node, the spot where two leaves meet the stem. New growth will emerge from that exact point. Use clean scissors or small pruners to avoid tearing the stems.
The best time to harvest is in the morning after any dew dries. That’s when the essential oils are most concentrated, and the flavor is at its peak.
How Regular Pruning Encourages Bushier Growth
Every time you cut a stem just above a leaf node, two new stems grow from that point. That doubles the number of branches over time, which means more leaves for you to harvest.
Trim your mint every 2 to 3 weeks, even if you don’t need the leaves right away. Use what you trim in the kitchen, or dry it for later.
Once or twice a year, cut the whole plant back close to the soil. This might feel drastic, but it pushes out a flush of fresh, flavorful new growth within weeks.
I always do a full cut-back in mid-spring and again in early fall.
How Often You Can Harvest Indoor Mint
You can harvest small amounts of mint every few days once the plant is established. For larger cuts, every 2 to 3 weeks is ideal.
The golden rule: never remove more than one-third of the plant at one time. Taking too much at once stresses the plant and slows recovery.
If you keep up with regular harvesting, indoor mint can produce fresh leaves every week for years.
How to Dry and Store Your Homegrown Indoor Mint
If you harvest more mint than you can use fresh, drying it is the best way to preserve the flavor. The right drying method keeps the scent strong and the leaves usable for up to a year.
Here are ways to get it done at home.
Air Drying
Air drying is the gentlest method and works best when you have full stems to work with. It takes a little longer but preserves the most flavor.
- Tie 5 to 6 stems together with a rubber band
- Hang them upside down in a warm, dry spot with good airflow
- Keep them out of direct sunlight, as it fades the color and reduces flavor
- Check after one week and allow up to two weeks for stems to dry completely
Once the leaves crumble easily between your fingers, they are fully dry and ready to store.
Oven Drying
Oven drying works well when you have loose leaves and want results faster. It takes just a couple of hours from start to finish.
- Spread leaves in a single layer on a baking sheet
- Set the oven to its lowest setting, around 170°F
- Leave the oven door slightly open to let moisture escape
- Check every 30 minutes and remove when leaves crumble easily, usually within 1 to 2 hours
Avoid high heat, as it burns the leaves quickly and strips out most of the flavor.
Both methods work well. Air drying is better for large batches, while oven drying is quicker for smaller amounts.
Either way, properly dried and stored mint brings full flavor to your teas, meals, and recipes all year long.
Storage Tips
Once your mint is fully dry, storing it correctly keeps the flavor strong for months. Here’s what to keep in mind:
- Store dried mint in an airtight glass jar; plastic bags let air in and speed up flavor loss
- Keep the jar in a cool, dark cupboard away from heat, light, and moisture
- Keep whole dried leaves intact until you’re ready to use them; whole leaves hold flavor longer than crushed ones
- Crush or crumble only what you need, right before adding it to your tea, recipe, or drink
- Label the jar with the date so you know exactly how fresh it is
- Replace your stock after 12 months; beyond that, the flavor fades noticeably even in proper storage
Conclusion
Growing mint indoors is less about effort and more about consistency. Once you understand how light, water, and space affect the plant, everything becomes predictable.
A simple setup, regular trimming, and a bit of attention every few days are enough to keep it thriving. The best part is that the plant keeps rewarding you with fresh growth as long as you maintain the basics.
Now that you know how to grow mint indoors, you can keep a steady supply of fresh leaves right in your home.
Start with one pot, follow the process, and build from there. For more simple plant guides, explore other articles on the website.
Frequently Asked Questions
Can Indoor Mint Grow without Sunlight?
Mint needs bright light to thrive. It won’t survive in complete darkness, but a small LED grow light works well as a substitute. Run it 12 to 14 hours daily for healthy, productive growth.
Why Does My Indoor Mint Smell Weak?
Weak scent usually means too little light, overwatering, or an older plant past its prime. Move it to a brighter spot, cut back on watering, and prune regularly. Fresh new growth always smells strongest.
Can You Grow Mint Indoors in Winter?
Yes. Mint grows indoors year-round as long as it stays warm and gets enough light. Keep it away from cold drafts and windowsills that drop below 60°F. A grow light helps during shorter winter days.
How Do I Keep Mint from Dying Indoors?
The most common causes are overwatering, low light, and root-bound pots. Check the soil before watering, give it a bright spot, and repot every 6 to 12 months. Regular pruning also keeps the plant strong and productive.


