How to Get Rid of Popcorn Ceilings without Scraping
Want to update your popcorn ceiling but hate the idea of scraping? I get it – the traditional scraping method is messy and time-consuming.
After helping many homeowners tackle this project, I’ve found several effective ways to transform those dated popcorn ceilings without the hassle of scraping.
In this guide, I’ll show you practical methods that work well and save time. I’ll walk you through alternative approaches that create less mess and give better results than scraping.
By the time you finish reading, you’ll have clear, step-by-step options to update your ceiling while keeping your space clean.
Let’s look at some smart ways to handle those textured ceilings without reaching for a scraper.
An Overview of Popcorn Ceilings
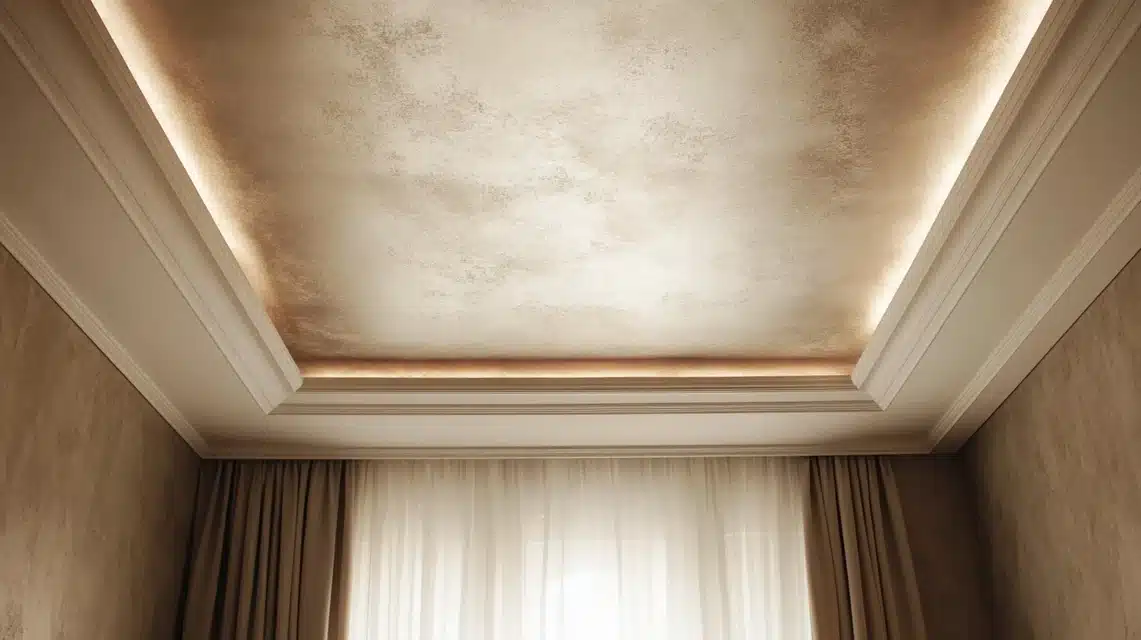
I often hear homeowners ask why popcorn ceilings were so popular. They became widespread in homes built between the 1950s and 1980s. They gained popularity because builders found them useful for hiding ceiling flaws.
I want you to know something important – if your home was built before 1980, your popcorn ceiling might contain asbestos. This is why I always tell my clients to get their ceilings tested before starting any removal project. It’s a simple step that helps keep everyone safe.
The good news? Not all popcorn ceilings are bad news. I’ve seen many homes where these textured ceilings work well for sound control. They can help reduce noise between floors, which is pretty helpful in busy households.
But here’s the catch – popcorn ceilings tend to collect dust and cobwebs. I’ve noticed they can look dirty faster than smooth ceilings. Plus, they’re harder to clean without damaging the texture. This is one reason why many of my clients want to get rid of them.
Some folks I work with also mention that these ceilings make their rooms feel outdated. I agree – modern home design usually goes for smoother, cleaner-looking ceilings. You might feel the same way about your space.
I think understanding these basics helps you make better choices about changing your ceiling. It’s like knowing the story behind something before deciding to change it.
How to Identify Asbestos in Popcorn Ceilings
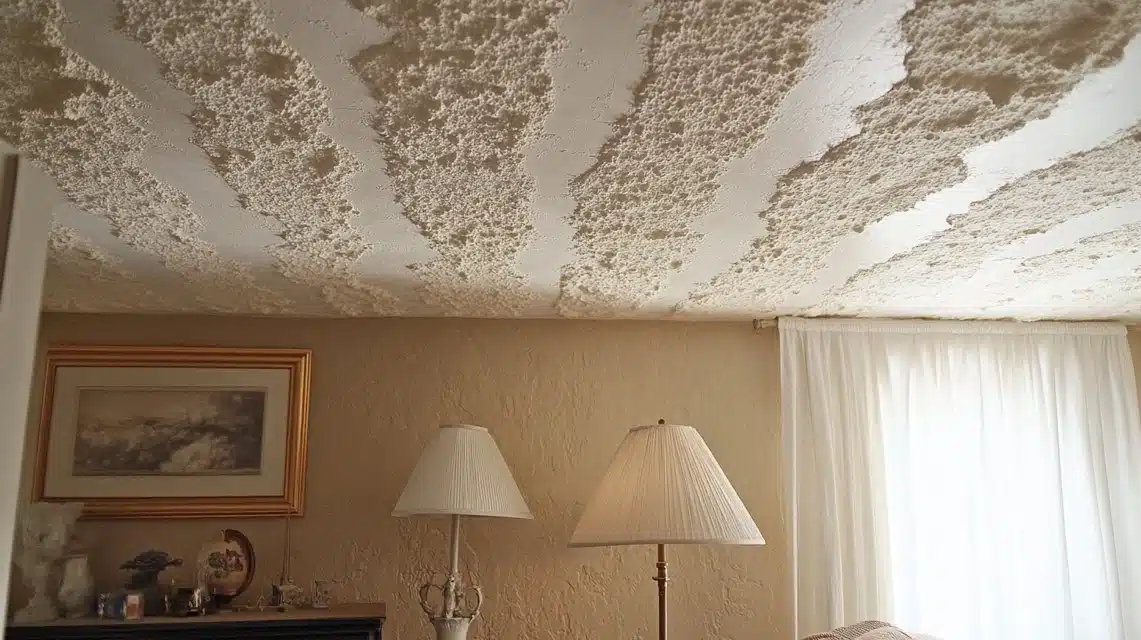
- First things first—I need to be straight with you. You can’t tell if your ceiling has asbestos just by looking at it. Many homeowners have asked me to guess, but that’s not a safe approach. The only way to know for sure is through proper testing.
- Here’s what I do when checking a ceiling. I start by looking at when the house was built. If your home’s construction date falls before 1980, you must take extra care. During my renovation projects, I’ve found that homes from this era often used asbestos in their ceiling materials.
Let me explain how to get your ceiling tested safely. I always recommend hiring a certified asbestos inspector. They’ll take small samples from your ceiling using special safety equipment.
The samples then go to a lab for testing. This whole process usually takes about a week.
When taking samples, the inspector will:
- Wear proper safety gear
- Spray the area with water to prevent fibers from floating
- Take several small samples from different spots
- Seal the sample areas afterward
Here’s what I tell my clients about cost: testing usually costs between $200 and $400. Yes, it costs money, but I believe it’s worth every penny for your safety.
Warning signs that should prompt testing include:
- Ceiling material that feels soft and crumbly
- Water damage or cracks in the ceiling
- Any areas where the texture is falling off
Remember something vital – if you think your ceiling might have asbestos, don’t touch it. I’ve seen too many DIY attempts go wrong.
Leave it alone until you get those test results back.
Top Safety Precautions to Take If Asbestos is Present
- Call a licensed asbestos removal company right away – don’t try to handle it yourself.
- Keep kids and pets out of rooms with damaged asbestos ceilings.
- Turn off your home’s heating and cooling systems to prevent fiber spread.
- Never sweep, dust, or vacuum any fallen ceiling material.
- Close off any vents in the room until professionals arrive.
- Stay out of that space and seal the doorway with plastic sheeting.
DIY Process to Get Rid of Popcorn Ceilings Without Scraping
Tools & Materials Required
- 14-inch drywall taping knife
- 16-inch drywall mud pan
- 6-inch drywall taping knife (for between coats)
- All-purpose joint compound
- Water (small amount for mixing)
- Drop cloths or plastic sheeting
- Mixing tool or paddle
- Safety gear (goggles, dust mask)
Stepwise Process to Get Rid Of
1. Mix the Joint Compound
- Keep it thicker than usual
- Add very little water
- Mix until creamy and free of bubbles
2. Apply the First Coat
- Put joint compound on one side of the knife
- Apply with steady pressure
- Work in sections to maintain control
- Keep layers consistent in thickness
3. Smooth the Surface
- Apply pressure on the right side of the knife
- Lift the left side to avoid lines
- Go in opposite directions to remove ridges
- Keep the leading edge raised to prevent marks
4. Let It Dry
- Wait 24 hours between coats
- Don’t sand between coats
- Use a 6-inch knife to scrape any high spots
5. Apply Second Coat
- Follow the same process as the first coat
- Focus on filling the remaining texture
- Keep strokes even and consistent
6. Final Touches
- Let dry completely
- Prepare for desired finish (like skip trowel texture)
- There is no need to sand if coats were applied properly
DOWNLOAD THE ENTIRE GUIDE ON GETTING RID OF POPCORN CEILINGS WITHOUT SCRAPING FROM THIS PDF
An Approximate Investment Required for Doing This
| Item/Service | Cost Range (DIY) | Cost Range (Professional) |
|---|---|---|
| Basic Tools | ||
| 14-inch drywall taping knife | $15-20 | |
| 16-inch mud pan | $12-15 | |
| 6-inch taping knife | $8-10 | |
| Mixing paddle | $10-15 | |
| Drop cloths | $5-10 | |
| Materials (for 12×12 room) | ||
| All-purpose joint compound (2 buckets) | $30-40 | |
| Safety gear (mask, goggles) | $20-25 | |
| Basic cleaning supplies | $10-15 | |
| Professional Service | ||
| Professional skim coating | $300-500 per room | |
| Full ceiling removal/replacement | $800-1200 per room | |
| Extra Costs to Consider | ||
| Ladder rental (if needed) | $20-30 per day | |
| Extra lighting | $15-25 | |
| Ceiling texture (if wanted) | $20-30 per bucket | |
| Total Investment | $120-150 | $300-1200 |
This table helps visualize the difference between DIY and professional service costs for ceiling work in a 12×12 room.
Some Minimal Mess Removal Techniques to Look After
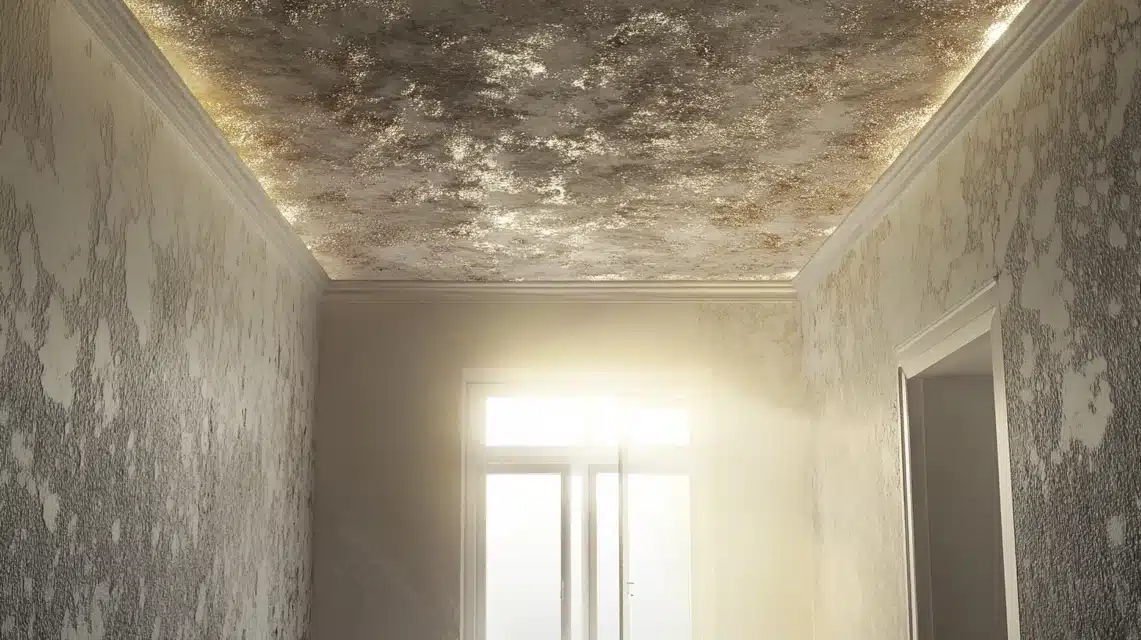
1. Start Before You Begin
I always tell my clients to remove everything possible from the room. Take out furniture, rugs, and wall decorations.
For items you can’t move, cover them fully with plastic sheets. I’ve learned that even tiny dust particles can find their way into the smallest spaces.
2. Seal Off the Work Area
In my experience, taping plastic sheets over doorways makes a huge difference. I use painter’s tape to secure plastic sheeting from ceiling to floor at every entrance.
This creates a barrier that keeps dust from spreading to other rooms.
3. Floor Protection Methods
I like to lay down multiple layers of protection. First, I put down canvas drop cloths – they’re better than plastic because you won’t slip on them.
Then, I overlap the edges by at least 12 inches. This extra step has saved me lots of cleanup time.
4. Ventilation Control
Here’s a trick I learned: Turn off your heating or cooling system before you start. This stops dust from traveling through your vents. I also cover all air vents with plastic. Just don’t forget to uncover them when you’re done!
5. Clean As You Go
I keep a shop vacuum close by while working. Every hour or so, I clean up fallen debris. This prevents dust from being tracked around. It might seem like extra work, but it saves time in the long run.
6. Final Cleanup Steps
After finishing the project, I:
- Let the dust settle for about 30 minutes
- Use damp cloths to wipe walls from top to bottom
- Clean window sills and door frames
- Vacuum the floor multiple times in different directions
- Mop hard floors with clean water
DIY Vs. Professional Services – Which One to Choose From
| Aspect | DIY Approach | Professional Services |
|---|---|---|
| Cost | $150-200 per room (materials) | $500-800 per room (everything included) |
| Time Investment | 2-3 full days per room | Usually, one day per room |
| Best for | Basic home improvement skills, saving money | High or vaulted ceilings, time constraints |
| Challenges | Physically demanding, mistakes can be costly, there is a long learning curve, weekends consumed | Guaranteed results, quicker turnaround |
| When to Consider | If you have the time and skill | If the ceiling has asbestos, multiple paint layers, or is too complex |
| Tool and Equipment Needs | Must buy or rent tools | Tools and equipment provided by the pros |
| Physical Demands | High (arms raised, long hours) | Low (professionals handle the work) |
Making Your Choice: Ask yourself these questions:
- Do you have the time?
- Are you comfortable on ladders?
- Can you handle overhead work?
- Is your ceiling in good condition?
- What’s your skill level with similar projects?
Certain Finishing Touches Post-Removal or Covering
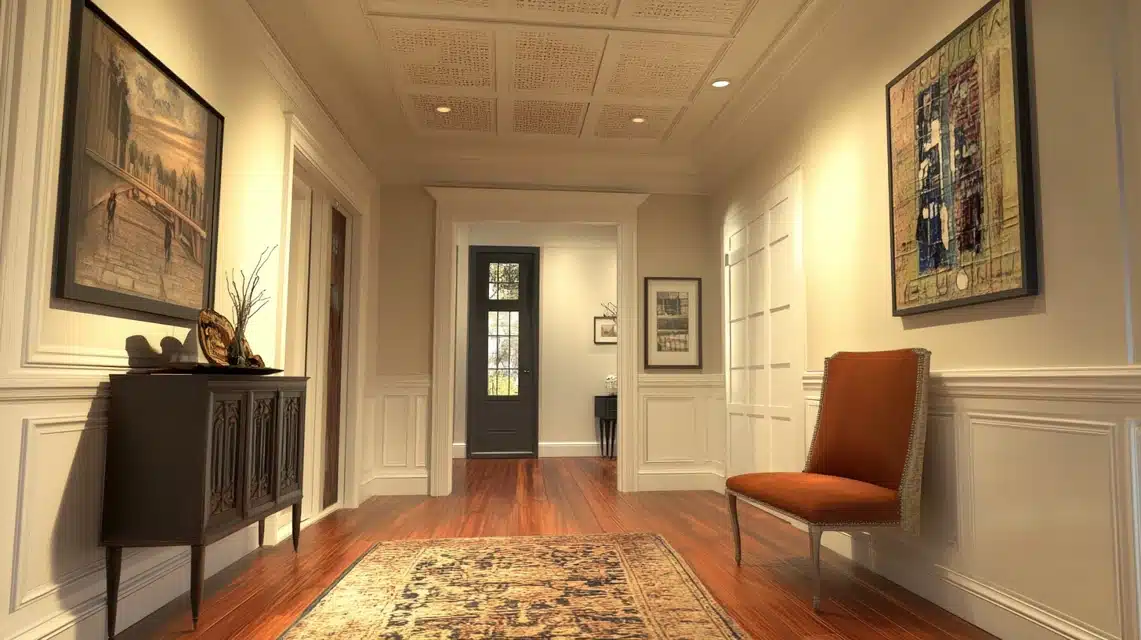
1. Paint Selection
I always suggest waiting 24-48 hours after your final coat dries. Pick a flat ceiling paint – it hides small flaws better than glossy ones.
I use white most often, but some of my clients love subtle cream tones. Two thin coats work better than one thick coat.
2. Lighting Adjustments
I’ve learned that ceiling lights can show every tiny flaw. Try this tip: hold a work light near the ceiling at an angle. This helps spot areas that need touch-ups.
Once you’re done, consider adding new light fixtures. They can really change how your ceiling looks.
3. Crown Molding
Here’s something that makes a big difference: adding simple crown molding. It creates a clean line where walls meet the ceiling.
I’ve seen basic crown molding turn an okay ceiling into something special. Plus, it covers any small gaps or uneven edges.
4. Texture Options
If you went with skim coating, you can:
- Leave it smooth for a modern look
- Add a light texture for the character
- Try a subtle knockdown finish
5. Final Inspection Tips
I always do this check:
- Look at the ceiling during daylight
- Check again with room lights on
- View from different angles
- Fix any spots that catch your eye
Conclusion
Thanks for sticking with me through this guide on tackling popcorn ceilings. I’ve covered several methods to transform your ceiling without the hassle of scraping.
Whether you choose the DIY path or hire professionals, you now have clear steps to move forward.
Remember, safety comes first – especially with older ceilings. Take time to test for asbestos before starting any work. Your health matters more than quick results.
Want to learn more about home improvements?
Check out my other guides on “Modern Ceiling Textures for Your Home,” “Budget-Friendly Home Updates,” and “Weekend Home Projects That Add Value.”
Ready to start your ceiling project? Begin with proper planning and safety checks.
And if you have questions along the way, drop them in the comments below!
Frequently Asked Questions
Are There Any Innovative Techniques to Simplify the Process?
Yes – apply joint compound with a paint roller with a thick nap. Work in small sections, and use a wide taping knife to smooth. This method reduces arm strain and creates even coverage.
How Can I Remove or Cover My Popcorn Ceiling without Scraping?
Install ceiling panels directly over the popcorn texture using furring strips. Or apply drywall straight over it. Both methods avoid disturbing the existing texture and create a clean, smooth surface.
Is There a Way to Update My Ceiling Without The Risk of Asbestos Exposure?
Cover your popcorn ceiling with drywall or decorative panels. These methods completely seal the existing ceiling, preventing asbestos fibers from becoming airborne during renovation work.

