How to Clean Cabinets Before Painting Easily
Are your kitchen cabinets looking dull? I know the feeling. I spent years staring at my worn-out cabinets before I learned the right way to clean them for painting.
Getting cabinets ready for paint isn’t hard when you know the steps. I’ll show you my tested method to clean your cabinets properly.
As someone who’s done this many times, I can tell you that good cleaning makes the difference between paint that lasts and paint that peels.
In this guide, I’ll walk you through each step to get spotless cabinets ready for their new paint job.
Let’s get your cabinets looking fresh with these simple cleaning tips.
Understanding Your Cabinet Material
Most homes have cabinets made of wood, but not all wood is the same. I’ve worked with many types, and I’ll help you spot what you have in your kitchen.
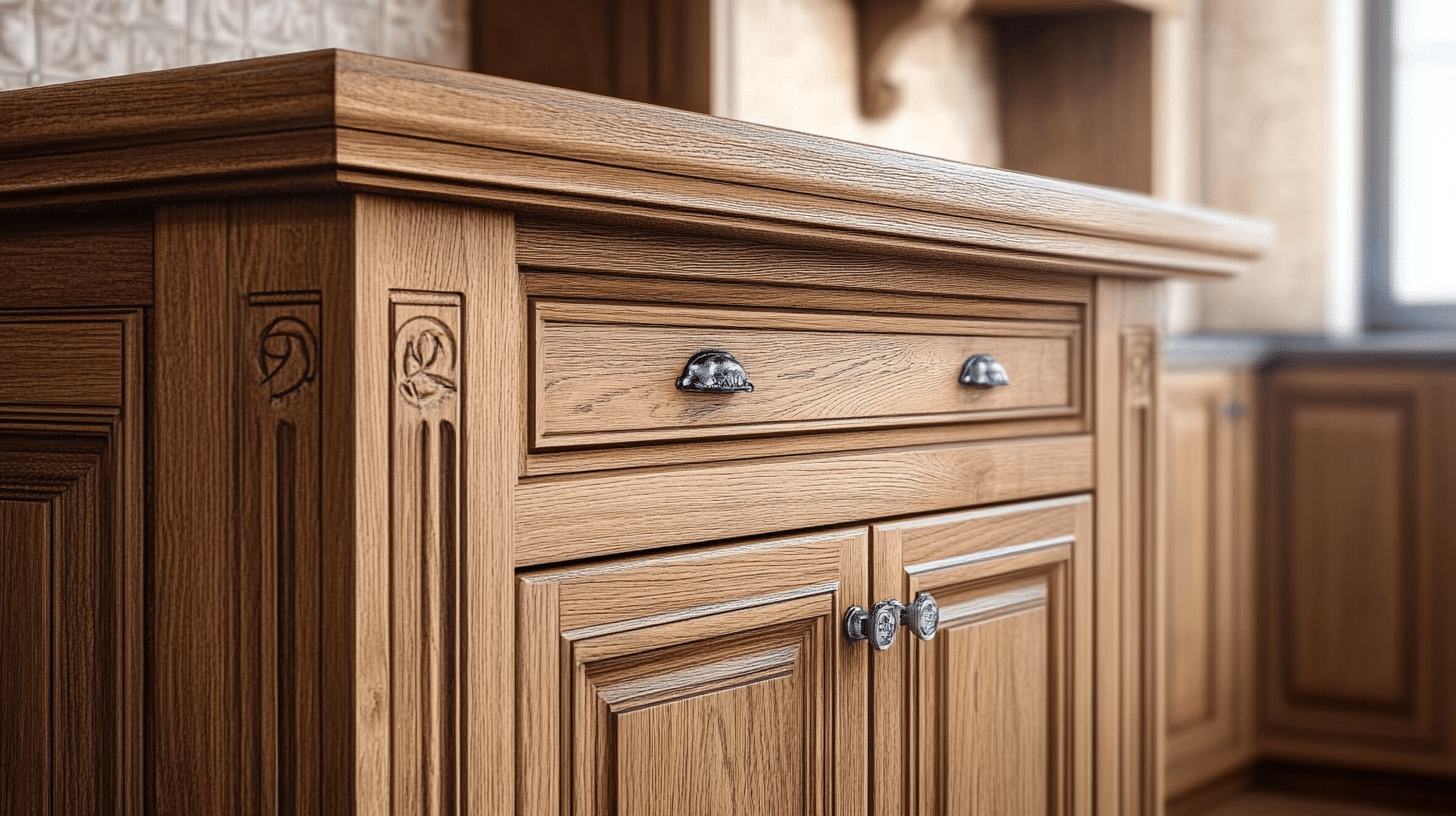
- Solid Wood Cabinets: I’ve seen that solid wood cabinets feel heavy when you tap them. They show real wood grain patterns if you look closely at the surface. Oak, maple, and cherry are common types I find in many homes.
- MDF (Medium-Density Fiberboard) Cabinets: These cabinets feel smooth to the touch. I can tell you that MDF doesn’t have any wood grain patterns. When I check MDF edges, they look very uniform, unlike real wood, which shows grain lines.
- Laminate Cabinets: I often spot laminate by its plastic-like finish. The surface has a thin layer that looks like wood but feels different. When I check the edges, I see clear layers – that’s a sure sign of laminate.
- Wood Veneer Cabinets: These trick many people. I can tell veneer cabinets by their thin wood layer on top. The sides often show a line where the veneer meets the base material.
- Why Knowing Your Cabinet Type Matters: I’ve learned that each material needs special care. Wood takes paint well, but MDF needs extra prep. Laminate needs special primers, and veneer requires gentle cleaning to avoid peeling.
Step-by-Step Process to Clean the Cabinets Before Painting
Tools & Materials Required
- Dawn liquid dish soap
- M1 liquid deglosser
- Crud Cutter cleaner
- Drill or impact driver brushes:
- White bristles (soft)
- Yellow bristles (medium)
- Red bristles (hard/coarse)
- Green Brillo pad
- Clean rags
- Water
- Bucket
Step-by-Step Process of Cleaning
- Starting Check: I look over the cabinets first. Even if they look clean, oils and grease are often hidden.
- Prepare Cleaning Solution: I pour the Crud Cutter into a small container. This is my top pick for cabinet cleaning.
- First Clean: I attach the brush to my drill. I start with medium bristles. I work the cleaner into the surface using the drill brush.
- Manual Cleaning Option: I use a green Brillo pad if I don’t have drill brushes. It works just as well with some extra effort.
- Rinse Phase: I take a clean rag with plain water. I wipe down all surfaces to remove cleaning products.
- Detail Check: I check all corners and grooves. I make sure no dirt stays hidden in small spaces.
- Final Review: I run my hands over the surface. I check for any spots I might have missed.
Self or Professional Cleaning – Which is the Best Option?
- Doing It Yourself: I know that cleaning cabinets by yourself saves money. From my work with cabinets, I spend about $50-100 on cleaning supplies. I can work at my own pace and take breaks when needed. But I need to set aside 1-2 full days for good cleaning.
- Time Factor: When I clean cabinets myself, I take longer than pros. I often need extra time to learn the right methods. I might miss spots that need a second cleaning. But I can clean when it fits my schedule.
- Cost Breakdown: I’ve found that buying my own supplies costs less than hiring help. My shopping list includes cleaners, brushes, rags, and safety gear. These items total much less than professional fees.
- Professional Service Benefits: Professional cleaners bring their own tools. They know which cleaners work best. They spot problems I might miss. They finish faster because they do this work often. But their service costs between $200-500 for a standard kitchen.
- Making Your Choice: I look at three things when choosing: my budget, my time, and my skill level. If money is tight, I clean myself. If time is short, I hire help. If I feel unsure about the process, the pros might be worth the cost.
- Quality Results: Pros give consistent results. However, I can get similar results if I follow the right steps. The key is being thorough, no matter who does the work.
How to Gather Your Cleaning Supplies
- Basic Cleaning Items: I make sure to get liquid dish soap for the first clean. I pick Dawn because it cuts through kitchen grease well. I also get Crud Cutter cleaner for tough spots. I buy white vinegar for old stains.
- Scrubbing Tools: I look for three types of drill brush attachments. I pick white brushes for light cleaning. I get yellow ones for normal dirt. I add red brushes for tough spots. I also buy green Brillo pads as backup tools.
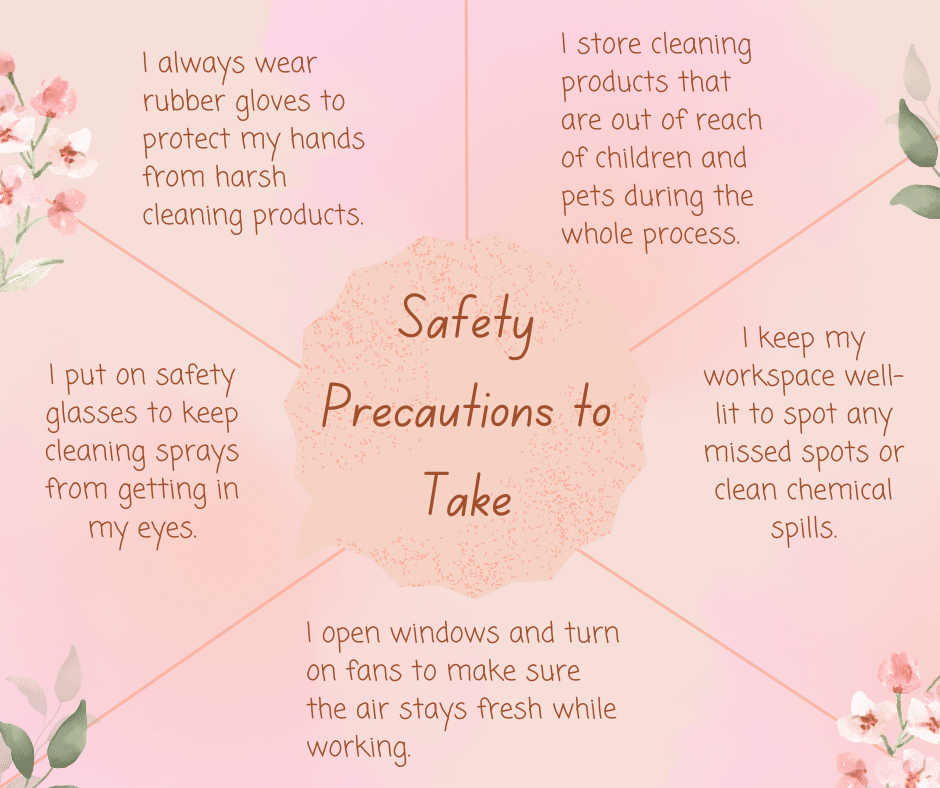
- Safety Supplies: I never skip safety items on my list. I get thick rubber gloves to guard my hands. I pick up safety glasses to protect my eyes. I buy a face mask to avoid breathing fumes.
- Wiping Materials: I stock up on lint-free cleaning cloths. I get microfiber towels for final wipes. I buy paper towels for small spills. I make sure to get enough to change them often.
- Storage Items: I pick up small plastic bags for hardware. I get markers to label cabinet doors. I buy masking tape to mark locations. I find a small toolbox to keep items together.
- Cleaning Buckets: I get two clean buckets for my work. I use one for soap and water. I keep the other for clean rinse water.
- Extra Items: I buy spray bottles to mix cleaners. I get measuring cups for proper mixing. I pick up sponges for detail work. I add old towels to protect my floors.
How to Deal with Stubborn Grease & Gream
| Step | Action | Tools/Materials | Duration |
|---|---|---|---|
| Finding Greasy Areas | Run hand over cabinet surfaces, check near handles, pulls, stove, and tops | Bare hand, attention to sticky/greasy spots | As needed |
| First Treatment | Mix warm water with dish soap, apply the mix to spots, let sit, and wipe clean | Warm water, dish soap, soft cloth, clean cloth | 5 minutes soaking |
| Tough Spot Solution | Spray Crud Cutter, let sit, and scrub gently with a drill brush | Crud Cutter, drill brush (yellow bristles) | 3 minutes soaking |
| Extra Stubborn Areas | Apply baking soda paste, let sit, scrub with green Brillo pad | Baking soda, water, Brillo pad | 10 minutes soaking |
| Steam Method | Hold a hot, damp cloth on a sticky spot, wipe it with soap, and mix | Hot damp cloth, soap mix | 30 seconds per sticky spot |
| Final Check | Inspect by touch and with light, mark uncleaned spots with tape | Bright light, blue tape | As needed |
| Rinse Step | Wash away cleaners with clean water, dry thoroughly | Clean water, fresh clothes | As needed |
Do You Need to Sand After Cleaning
- The Purpose of Sanding: I find that sanding helps paint stick better to cabinets. I check the surface by touching it after cleaning. I notice that some spots feel rough while others feel too slick.
- When Sanding is Needed: I sand when my cabinets have a glossy finish. I need to sand if I see small scratches or nicks. I always sand if the surface feels uneven to my touch.
- When You Can Skip Sanding: I skip sanding if my cabinets have a flat finish. I don’t sand if the surface feels smooth after cleaning. I pass on sanding when using special bonding primers.
- The Right Sanding Method: I use 120-grit sandpaper for the first pass. I switch to 220-grit for a final smooth finish. I sand in the direction of the wood grain. I wipe between sandings with a tack cloth.
- Testing Your Work: I run my palm over the surface to feel for smooth spots. I shine a light across the surface to spot rough areas. I look for any shiny spots that need more work.
- After Sanding Steps: I remove all dust with a vacuum. I wipe with a slightly damp cloth. I let the cabinets dry for two hours. I check again for any rough spots I missed.
- Special Cases: I take extra care with veneer cabinets. I sand very lightly to avoid damage. I watch for thin spots where veneer might wear through.
Why Priming is Essential After Cleaning and Sanding
1. Basic Role of Primer
I know that primer creates a strong base layer. I see how it fills small scratches on wood. I notice it helps paint stick well to smooth surfaces.
2. Types of Cabinet Primers
I use oil-based primers for most wood cabinets. I pick shellac primers for cabinets with stains. I choose bonding primers for laminate or melamine surfaces. I test a small spot first to check how it works.
3. Benefits of Using Primer
I get better paint coverage with a primer underneath. I use less paint when I prime first. I find that my paint color looks more even. I see that the final finish lasts longer.
4. Common Mistakes to Avoid
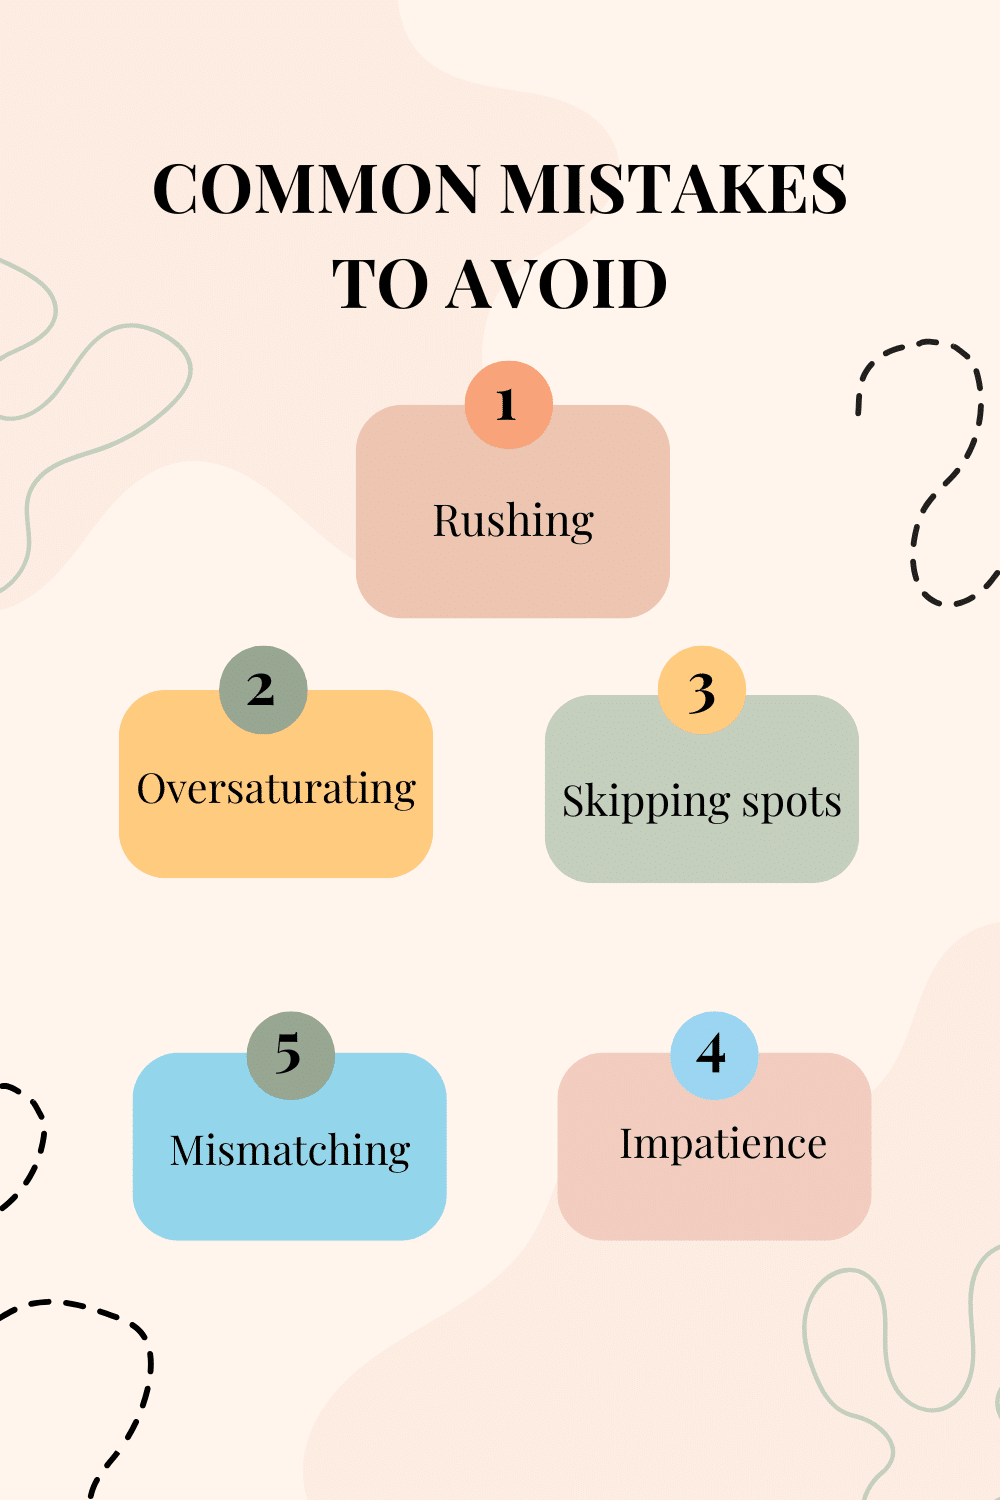
I never skip primer to save time. I don’t use wall primer on cabinets. I avoid rushing between primer coats. I make sure each coat dries fully.
5. Proper Application Steps
I stir my primer well before using it. I apply thin, even coats with a good brush. I wait 24 hours between coats. I sand lightly after the primer dries.
6. Signs of Good Priming
I look for full, even coverage. I check that no wood shows through. I feel for a smooth surface. I make sure edges get good coverage, too.
Conclusion
Now, you have all the steps to get your cabinets ready for paint. I’ve shared my tested cleaning methods, from basic soap washing to handling tough grease spots. Getting your cabinets clean takes time, but it’s worth the effort.
Remember, good cleaning is the key to paint that lasts. Take your time with each step. Check your work carefully. Keep safety in mind as you clean.
Want to make sure you’re on the right track? Start with one cabinet door. Clean it using these steps and see how it turns out. This test run will boost your confidence for the whole project.
Ready to start cleaning? Grab your supplies and give those cabinets the deep clean they need.
Frequently Asked Questions
What is the Fastest Way to Clean Cabinets Before Painting?
I use a drill brush with Crud Cutter cleaner for quick results. I work in small sections, clean with warm water, and dry right away. This method saves time without cutting corners.
How Long Should I Wait After Cleaning Before I Start Painting?
I always wait 24 hours after cleaning before I start painting. I use fans to help dry the cabinets. This waiting time lets all moisture leave the wood completely.
Can I Use Vinegar to Clean Cabinets Before Painting?
I mix equal parts white vinegar and warm water to clean the cabinets. I use this mix after soap cleaning to remove extra grease. But I never use full-strength vinegar.

