
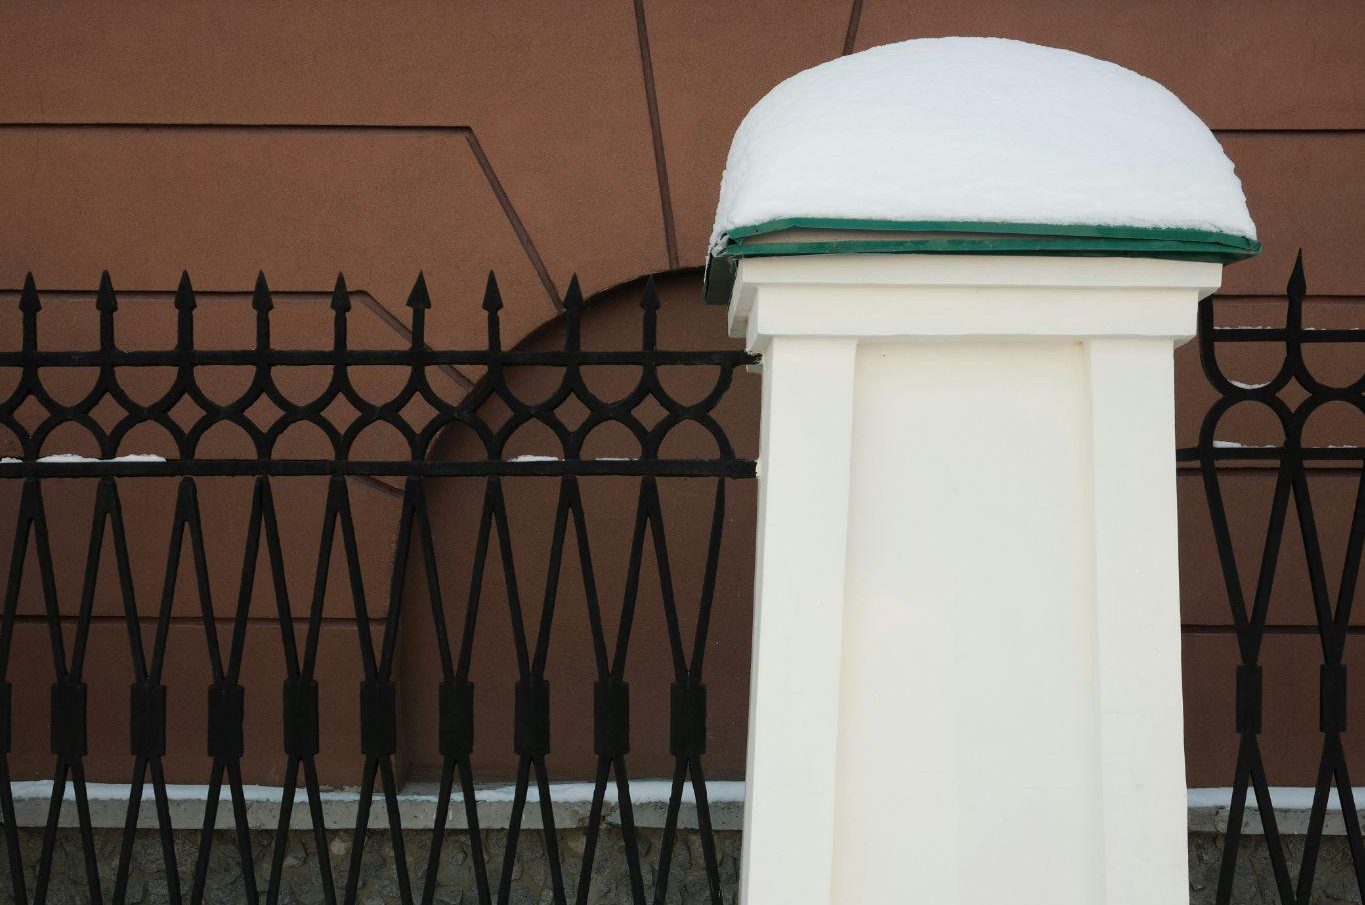
How to Build a Fence Gate: A Step-By-Step Guide for Homeowners
A sturdy, well-built fence gate is one of the most important parts of any fencing system. It’s the component you’ll use the most, and it also tends to be the first part of the fence to sag or fail if it isn’t constructed correctly. Fortunately, with the right materials and techniques, you can build a strong, long-lasting gate that looks great and operates smoothly for years.
This guide walks you through how to build a fence gate from start to finish — including planning, material selection, construction, installation, and common mistakes to avoid.
Step 1 — Plan and Measure Your Gate Correctly
Measure the Gate Opening Accurately
Use a tape measure to determine the width between your fence posts. Measure in three places — top, middle, and bottom — because posts can shift slightly over time. Use the smallest measurement to ensure your gate won’t bind or drag.
Leave room for:
• Hinges (typically ½–1 inch depending on the hardware)
• Latch clearance on the opposite side
Determine the Correct Width & Height
Gates can be built to match your fence height or slightly shorter. If your yard slopes, consider how the gate will swing to avoid dragging along the ground.
Check Post Stability
Your gate is only as strong as the post it hangs on. Make sure the hinge-side post is plumb, sturdy, and set deep enough in concrete to support weight without leaning.

Step 2 — Choose the Right Materials
Lumber Selection
Use pressure-treated lumber, cedar, or redwood for outdoor durability.
Typical sizes:
• 2×4s for the frame
• Fence boards or pickets for the face
Avoid thin or warped lumber, which leads to sagging.
Hardware Essentials
• Heavy-duty galvanized or stainless-steel hinges
• Exterior-grade screws
• A latch that matches your fence style
• Optional handle or drop rod for double gates
Structural Bracing Materials
A diagonal brace is mandatory for preventing sag. Choose a solid 2×4 or steel gate brace kit if you want added longevity.
Step 3 — Build the Gate Frame

Cut Boards to Size
Cut two horizontal and two vertical frame boards. The frame should be about 1 inch narrower than your opening to allow hardware clearance.
Assemble the Rectangular Frame
Lay the boards flat on a level surface. Pre-drill holes to avoid splitting wood, then secure with exterior screws. Use clamps to keep everything square during assembly.
Install the Diagonal Brace
The brace should run from the bottom hinge side to the top latch side to support weight effectively. This prevents sagging over time.
Step 4 — Add Pickets or Panels to the Gate
Attaching Pickets Evenly
If your fence uses vertical pickets, attach them to the frame with consistent spacing. Use spacers to create a uniform look.
Securing Solid Panels or Decorative Boards
Ensure heavy panels are evenly distributed so the gate doesn’t tilt.
Step 5 — Install the Hinges and Mount the Gate
Attach Hinges to the Gate Frame
Heavy-duty hinges work best. Place one hinge about 6 inches from the top and another 6 inches from the bottom. For larger gates, use three hinges for stability.
Mount the Gate to the Fence Post
Start with the top hinge. Use a level to align the gate before installing the bottom hinge. Tighten all screws only after alignment is confirmed.
Test Swing Clearance
Open and close the gate several times to ensure it swings freely without rubbing on the ground or hitting the latch post.
Step 6 — Install the Latch and Final Hardware
Choose the Right Latch
Options include gravity latches, bolt latches, and keyed latches. Choose one that matches your security needs and fence style.
Align Latch Components Properly
Mount the latch and catch at matching heights. Test several times before final tightening.
Optional Add-Ons
Handles, decorative brackets, or a drop rod for double gates can elevate functionality and appearance.
Step 7 — Weatherproof and Finish the Gate
Apply Wood Sealant or Stain
A water-repellent sealant protects wood from swelling, cracking, and rotting. Reapply every 1–2 years depending on climate.
Paint Options
If painting, use an exterior primer followed by weatherproof acrylic or latex paint.
Proper finishing significantly extends the life of your gate.
Common Mistakes to Avoid When Building a Fence Gate
1. Not Using a Diagonal Brace
This is the number one cause of sagging. Always include one.
2. Poor Measurements
An incorrectly sized frame can cause the gate to bind or swing unevenly.
3. Using Weak or Interior Hardware
Outdoor conditions require galvanized or stainless-steel hardware to prevent rust.
Ignoring Ground Slope
If your yard slopes, choose an outward or upward swing direction to avoid ground interference.
For homeowners who want a worry-free installation, working with professionals like Fantastic Fence ensures precise measurements, durable framing, and long-lasting hardware choices.
When to Hire a Professional Instead of DIY
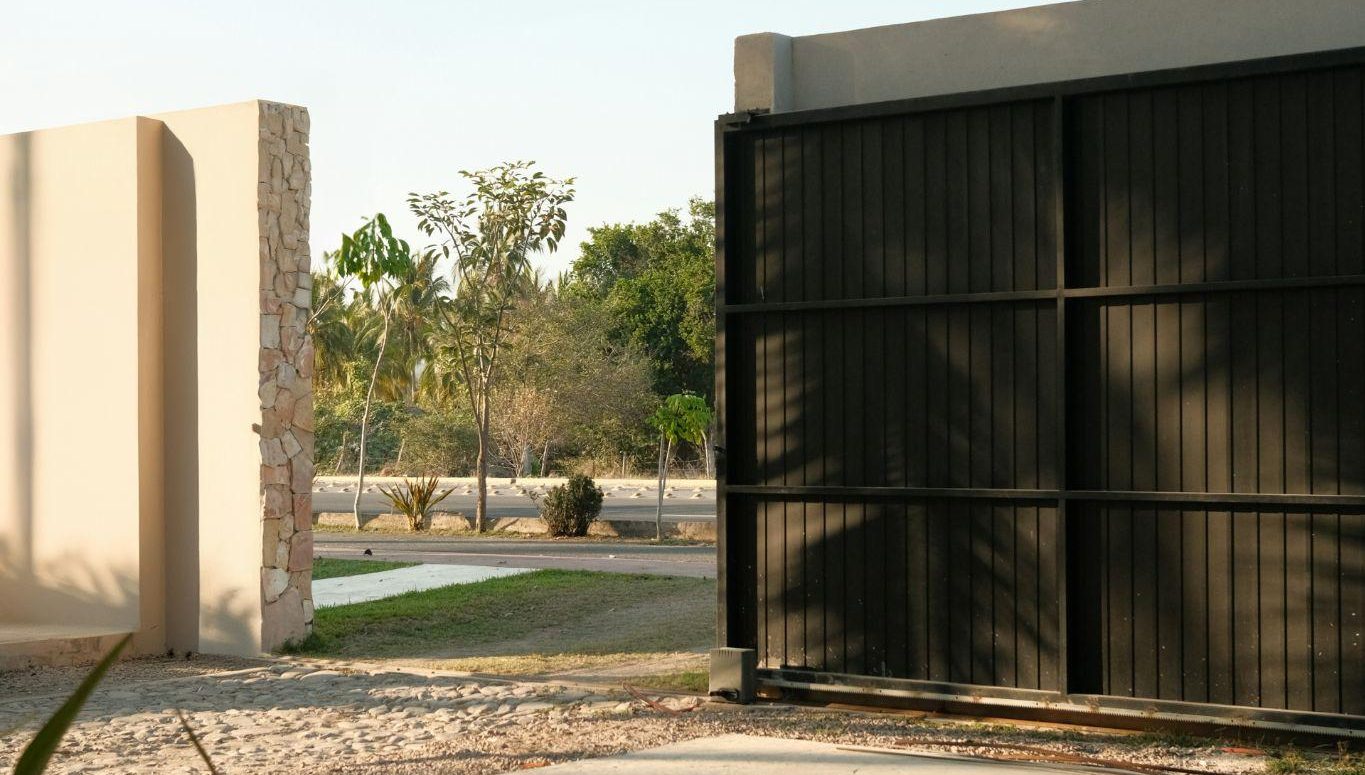
Large or Heavy Gates
Double gates, driveway gates, and metal-framed gates often require advanced construction techniques.
Gates Installed on Uneven or Steep Terrain
Professionals know how to adjust hinge placement and gate swing to accommodate challenging ground.
Gates Integrated With Security Features
Keypads, smart locks, and reinforced structures require specialized installation.
For custom designs, challenging installations, or long-lasting craftsmanship, many homeowners choose Fantastic Fence for expert fence and gate solutions that are built to withstand years of use.
Conclusion
Building a fence gate is a manageable DIY project when you have the right tools, materials, and guidance. Precise measurements, strong framing, proper bracing, and secure hardware are the keys to a gate that functions smoothly and resists sagging over time.
Whether you decide to build it yourself or hire experienced professionals for added durability, taking your time during the planning and construction phases will pay off for years to come.


