Home Staging: Before and After Tips
Selling a home? You must also know that first impressions matter. Many buyers decide how they feel about a house within minutes, and what they see can make or break the deal.
Let me tell you that home staging is an important part before selling a home. It’s a smart way to show your home in its best light.
In this blog, you’ll learn how small updates create big results, with clear before-and-after home staging examples.
From the living room to the front door, you’ll walk through room-by-room fixes, budget tips, and a step-by-step staging plan. If you’re ready to make your home stand out, this guide has what you need, fast, simple, and effective.
Why Home Staging Makes a Difference
Home staging means setting up your house to look its best before you sell it. The goal is to help buyers picture themselves living there.
It’s not about hiding flaws; it’s about making your home feel clean, welcoming, and move-in ready.
Key benefits that make a real difference:
- Faster Sale: Staged homes often sell quicker because they leave a strong first impression.
- Better Offers: Buyers may be willing to pay more for a home that looks stylish and well-kept.
- Emotional Appeal: Staging adds warmth and charm, helping buyers feel connected from the moment they walk in.
These small efforts can lead to big rewards. If you’re ready to take the next step, even a few simple changes can move you in the right direction.
Staging Modification: Room-by-Room Before and Afters
See how small changes in each room can make a big difference. These room-by-room updates show how to turn everyday spaces into clean, inviting areas that help your home sell faster.
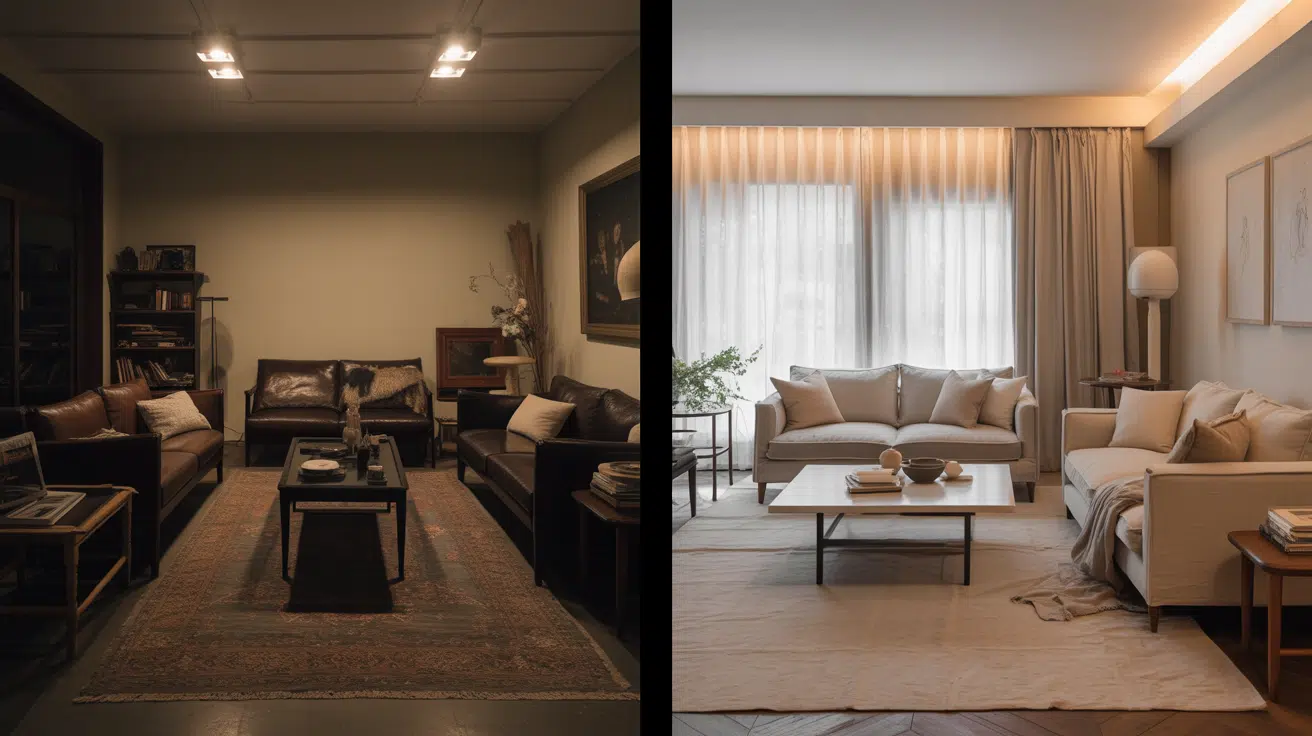
1. Living Room
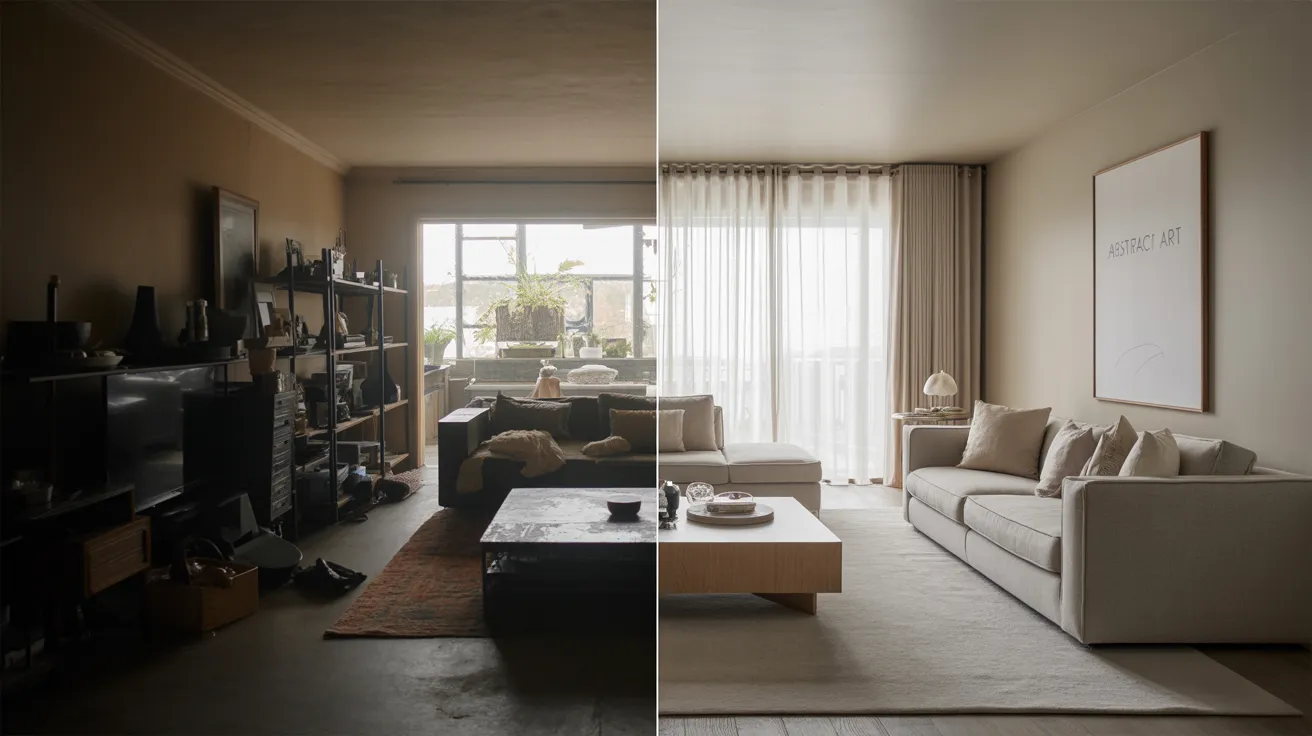
What Changed: Bulky furniture was removed, and personal items were cleared. Soft lighting and light-colored cushions were added, and furniture was rearranged to open up space. The result is a room that looks bigger, cleaner, and more welcoming to buyers
Why It Works: A clean and open living room helps buyers picture their own furniture in the space. Less stuff makes the room feel larger. Soft lighting and simple touches make it feel calm and easy to enjoy, which creates a strong impression.
2. Kitchen & Dining Area

What Changed: Clutter was cleared from the counters, small appliances were stored, and the fridge surface was left clean. A simple table setup with plates and a centerpiece was added to keep the space fresh, tidy, and easy to use.
Why It Works: People love a clean kitchen. When there’s less mess, it looks bigger and better cared for. A few small touches help it feel ready to use without making it feel personal. That helps buyers imagine cooking and eating there themselves.
3. Bedrooms

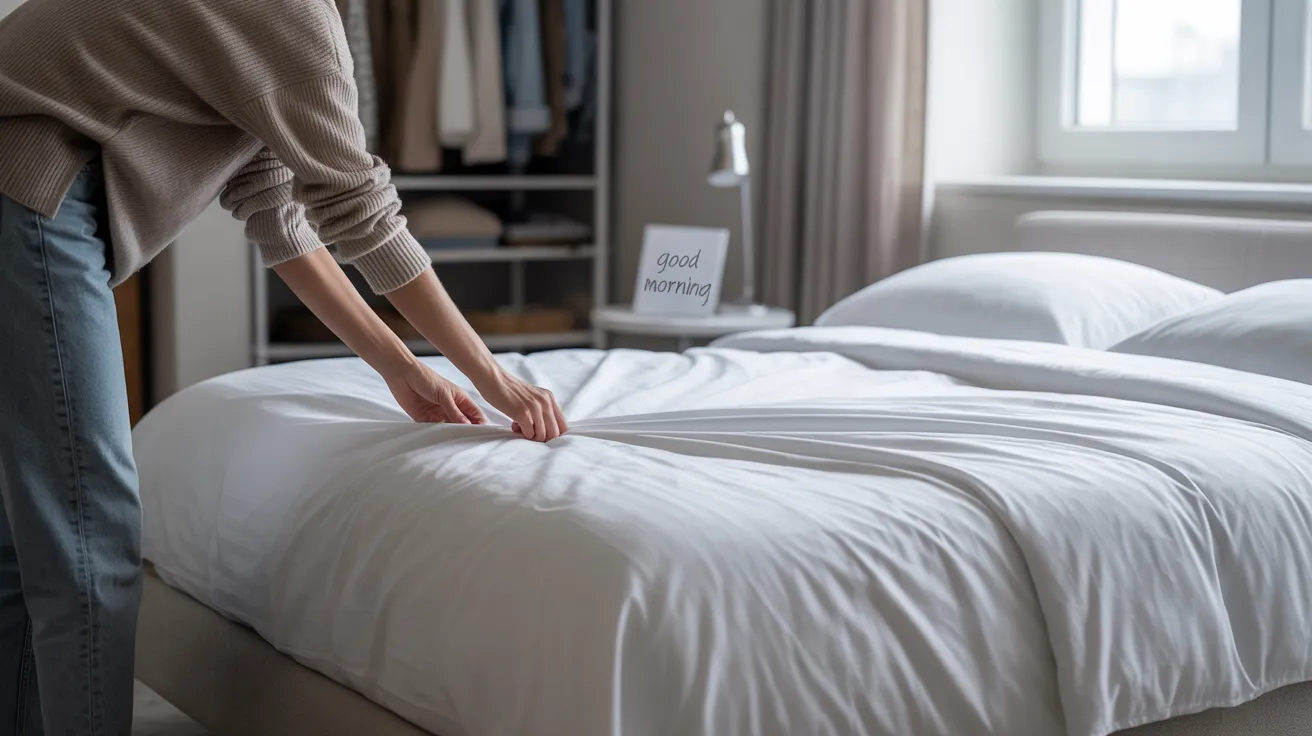
What Changed: Bold colors were replaced with soft, neutral ones. Personal items were taken out. Beds were neatly made with added pillows for a cozy look. Closets were half-emptied to highlight available space.
Why It Works: Bedrooms should feel calm. Soft colors and clean setups help buyers picture resting there. Without your personal style in the way, it’s easier for people to see themselves using the space. A cozy room can leave a good feeling.
4. Bathrooms
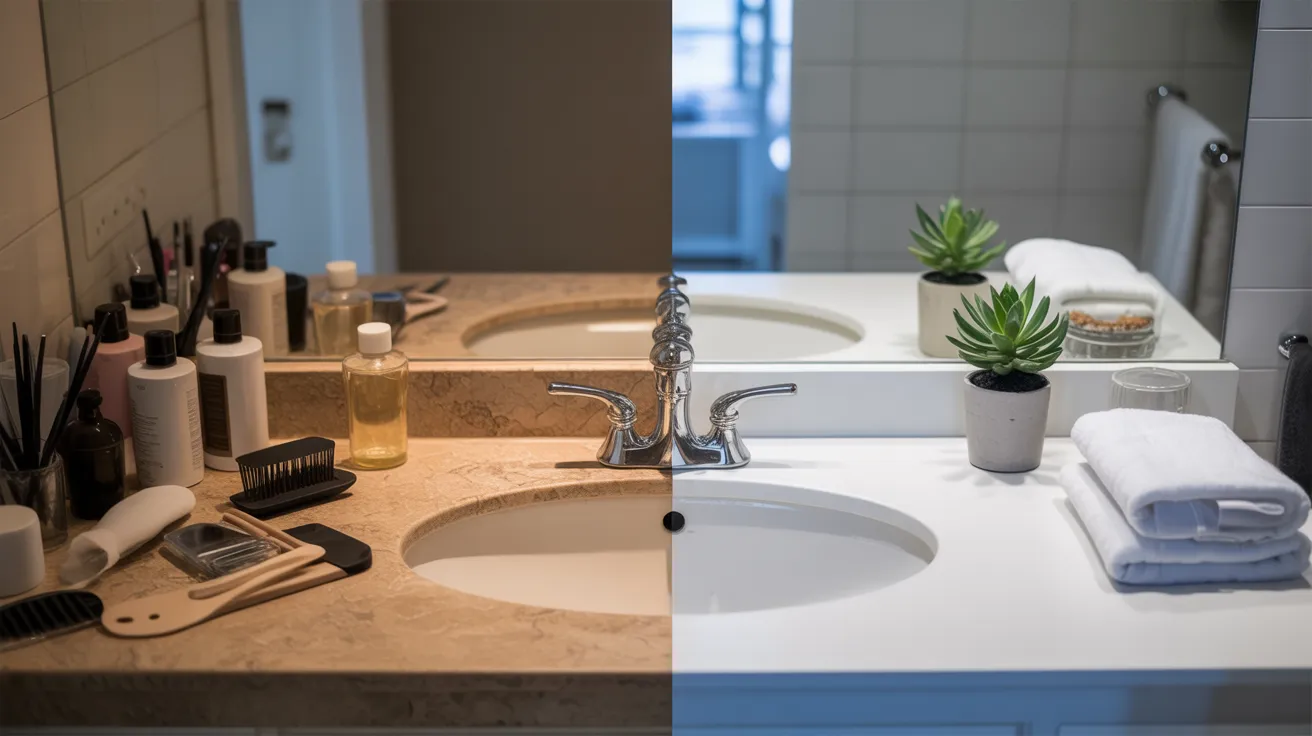
What Changed: Bottles, brushes, and extras were removed from the sink and shower. Towels were folded and arranged neatly. A small plant or candle was added for a clean, fresh look. All surfaces were polished.
Why It Works: Bathrooms should feel clean. Too many personal things can make the space feel messy. A few small touches, like folded towels or one plant, are enough to show care. Buyers want to see a space that feels fresh and neat.
5. Exterior & Entryway
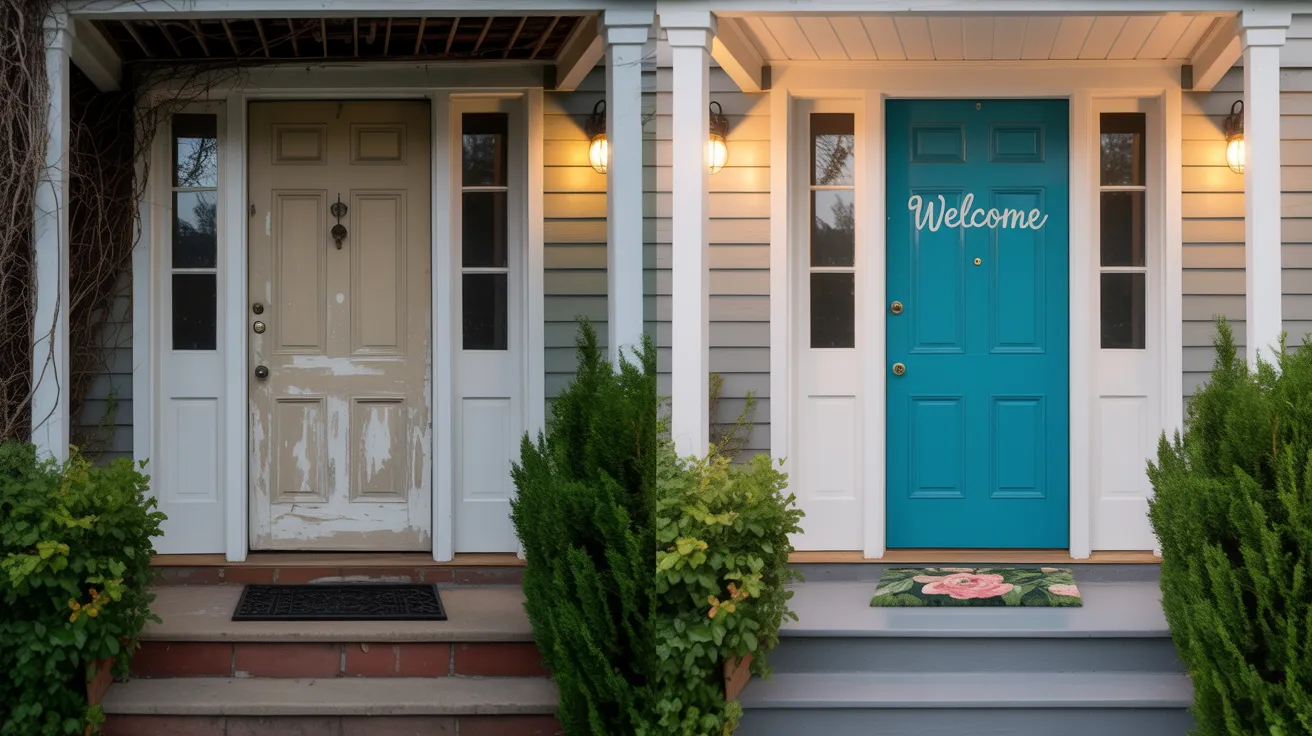
What Changed: The front door was painted a warm color. We cut overgrown plants and added new ones near the steps. A welcome mat and some outdoor lighting made it feel friendly. Everything was swept, trimmed, and cleaned up for a fresh look.
Why It Works: The outside is the first thing people see. A clean, neat front yard tells buyers that the home is well-maintained. Small changes like paint and plants can make a big difference in how people feel when they walk up.
Comparing Different Approaches to Home Staging
Vacant vs. Occupied Home Staging
Vacant homes look bigger and are easy to decorate from scratch, but can feel cold without furniture. Occupied homes have a lived-in charm but may feel cluttered.
For vacant spaces, show how each room can be used. For lived-in homes, clear personal stuff and keep things neat and open.
DIY Staging vs. Hiring a Pro
DIY staging works well if you have time, basic items, and a good eye. Clean up, move things around, and use light colors.
Hiring a pro helps if you’re short on time or need help with setup. They know what works and can bring in furniture if needed.
Low-Budget Staging Tips
Even with little money, you can make big changes. Buy pillows, fake plants, or a clean rug. Clean everything well. Paint a room, add curtains, or upgrade lights.
Stores like IKEA or Dollar Tree have great, low-cost items that help your home look fresh and cared for.
How to Prepare for Staging Before the Listing
Getting your home ready to sell doesn’t have to be stressful. Here’s a simple step-by-step plan to help you stage your home starting 30 days before the listing date.
1. 30 Days Before Listing
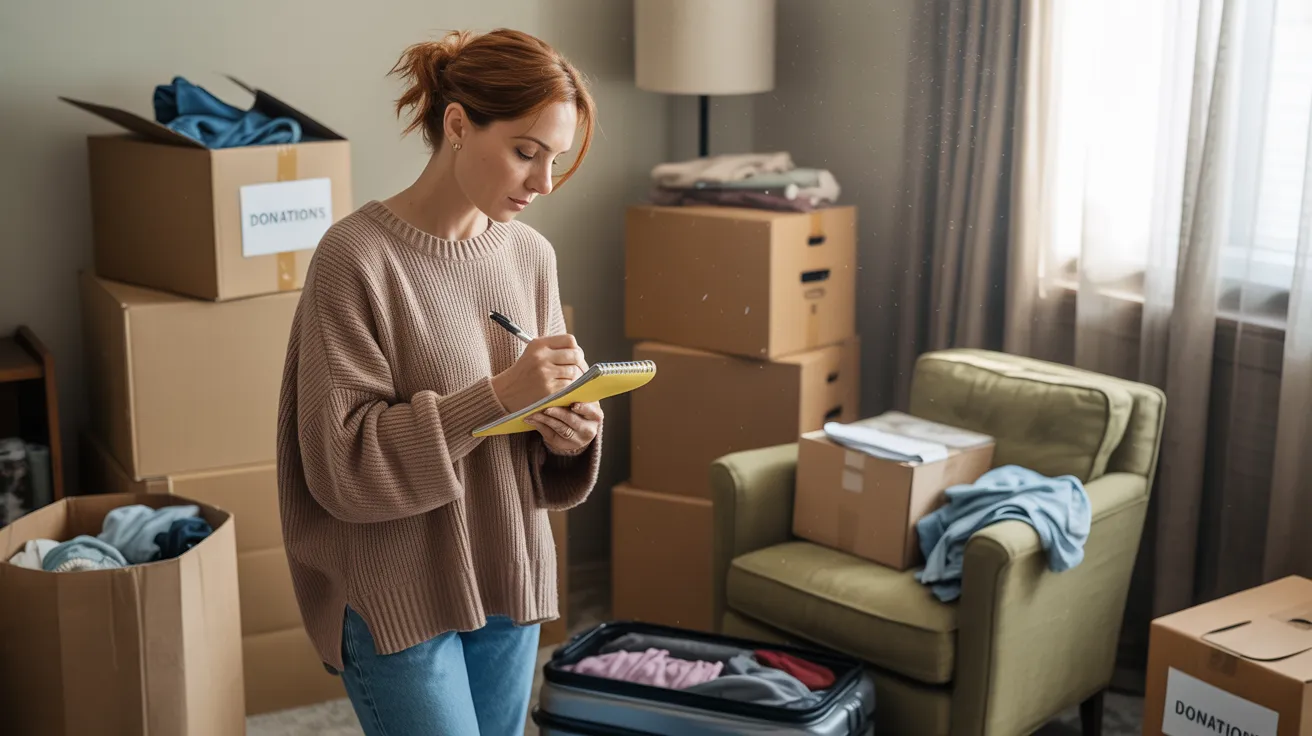
Start by walking through your home as if you’re a buyer. Notice what feels too full, too personal, or worn out. Make a list of small repairs.
Begin clearing out things you don’t need, pack, donate, or sell them. Less stuff makes staging easier.
2. 21 Days Before Listing

Now it’s time to clean deeply. Scrub every room from top to bottom. Fix anything small like loose knobs or squeaky doors.
If the paint is dark or chipped, freshen it up with light, neutral colors. These shades help make the space look bigger and cleaner.
3. 14 Days Before Listing
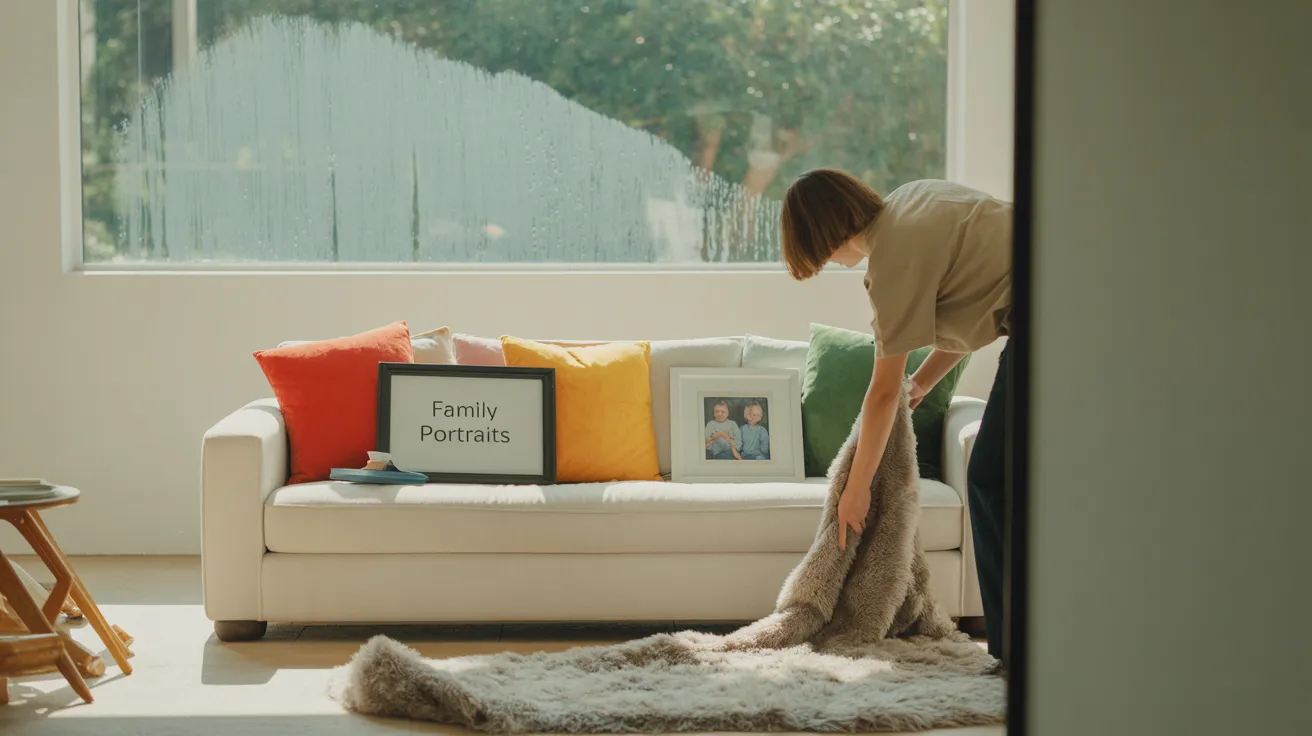
Take down personal photos, trophies, or bright art. Pack up extra furniture and items that make rooms feel crowded.
Clean windows inside and out. Start placing simple items like clean rugs, throw pillows, and fake plants to add comfort without clutter.
4. 7 Days Before Listing
Set up each room to show its purpose, make bedrooms look cozy, and offices feel useful. Add small things like fresh towels in the bathroom, clean sheets, and a soft lamp for warmth.
Organize closets and leave space so they don’t look overstuffed.
5. 1 Day Before Listing

Give your home one final cleaning. Sweep, vacuum, wipe surfaces, and take out trash. Open all blinds or curtains to let in natural light.
Turn on the lights in dark corners. Place a small plant or air freshener near the door to welcome visitors with a clean, fresh scent.
Wrapping Up
You’ve seen how simple changes can shift the feel of each room from lighting to layout, from empty to lived-in. Staging isn’t about making things perfect.
It’s about helping people feel at home the moment they walk in.
This post walked you through each space with real examples, easy steps, and honest tips you can use right away. If you’re selling now or thinking about it later, these ideas help you think like a buyer and act with purpose.
Now is a good time to walk through your home and look with fresh eyes. Need more help with prepping your space? Check out my other blogs for more room-by-room tips, checklists, and simple before-and-after ideas.


