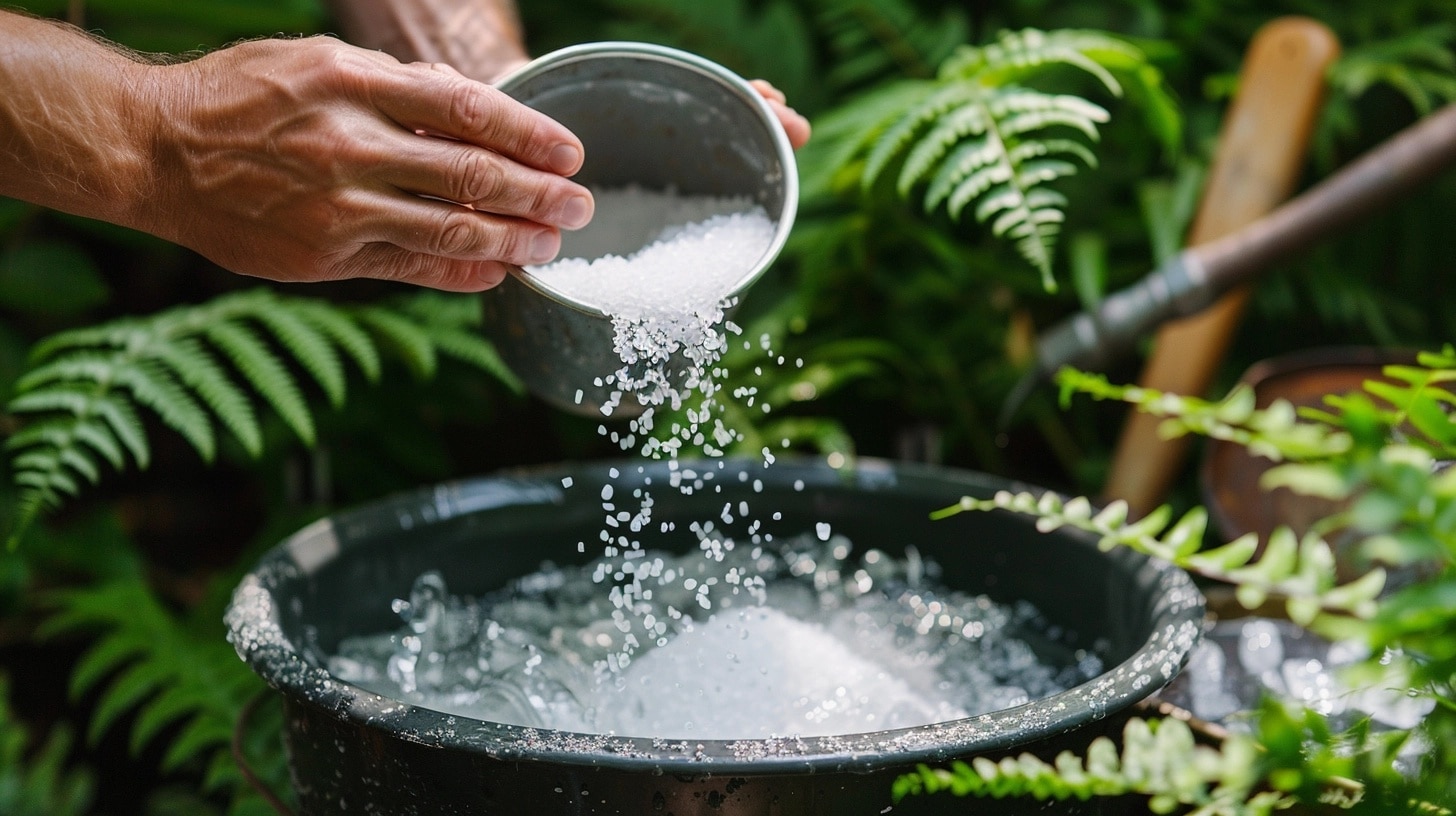
Epsom Salt for Ferns: Guide for Use and Benefits
Epsom salt for ferns? Looking at my beautiful front porch lined with ferns, I’m excited to share something that’s made a real difference in keeping them fresh and lively.
As a mom who loves plants but needs practical solutions, I found that Epsom salt treatments work wonders for my ferns, especially during those scorching summer months.
These green beauties are worth protecting at $12-15 per fern.
I’ll tell you exactly how I use Epsom salt to keep my ferns healthy, plus share my simple maintenance tricks that work even when temperatures soar above 100 degrees.
Why Use Epsom Salt for Ferns?
Even in hot summer weather, when temperatures climb above 100 degrees, Epsom salt treatments can help keep your ferns healthy and fresh.
This simple, budget-friendly solution works well to restore ferns that are showing signs of stress from heat and sun exposure.
Process of Using Epsom Salt
The process is straightforward:
- First, remove any brown or dead leaves from your fern
- Then, prepare an Epsom salt solution
- Let your ferns soak in the mixture
Soaking Methods
You can choose between two soaking methods:
- Quick treatment: 2-3 hours of soaking
- Deep treatment: Overnight soaking (better for very hot conditions)
When is Soaking Ferns in Epsom Salt Useful?
This method is particularly useful when:
- Your ferns show signs of heat damage
- The weather has been extremely hot
- You haven’t had much rain
- The leaves are starting to look unhealthy
Step-by-Step Guide to Using Epsom Salt for Ferns
Step 1: Trimming Damaged Foliage
Start by Cleaning up Your Fern. Look For:
- Brown leaves
- Sun-damaged parts
- Dead sections: Cut these away with clean gardening shears to prepare your fern for treatment.
Step 2: Preparing the Epsom Salt Bath
You’ll Need:
- A bucket or container
- Epsom salt
- Water
Keep it basic – you don’t need special tools or extra supplies. Mix the Epsom salt with water until it dissolves completely.
Step 3: Soaking Methods for Ferns
Choose what works best for your situation:
- Quick refresh: Soak for 2-3 hours
- Deep treatment: Leave overnight
The overnight method works better for very hot weather or multiple days of high temperatures. If you have several ferns but limited buckets, the shorter soak still helps.
Step 4: Containers and Placement
Smart Container Tips:
- Keep ferns in their original plastic pots
- Place these inside galvanized buckets
- No need to transfer to new soil
- Easy to move and maintain
Benefits of This Method:
- Simple to manage
- No extra dirt is needed
- Easy seasonal cleanup
- Option to move indoors when weather changes
- Can add to compost when the season ends
Maintenance Tips for Ferns During Summer

1. Hot Weather Care
- Place ferns in covered porch areas for protection
- Keep them away from direct sun exposure
- Monitor them during triple-digit temperatures
- Check soil moisture more often in hot weather
- Give extra water during heat waves
2. Smart Placement Makes a Difference
- Put ferns under your porch roof
- Choose spots with good airflow
- Please keep them in shaded areas
- Shield them from the afternoon sun
- Use spots that catch morning light only
3. Simple Upkeep Steps
- Check leaves daily in extreme heat
- Water when the soil feels dry
- Remove any brown pieces promptly
- Watch for signs of heat stress
- Keep them away from hot walls
4. Money-Saving Benefits
- It costs about $12-15 per fern
- It lasts all season with basic care
- No need to buy new soil
- A simple container setup saves money
- Low-maintenance plant choice
End-of-Season Care: When Summer Ends
Indoor Transfer Method
- Keep ferns in their plastic containers
- Move them inside before the cold weather starts
- See how long they stay healthy indoors
- Try spots with good indoor light
- Watch their response to the new setting
If Plants Stop Growing
- Add them to your compost pile
- Simple removal from buckets
- Quick cleanup process
- No mess with soil
- Good for garden recycling
Easy Cleanup Steps
- Lift the plastic pot from the bucket
- Check for any needed trimming
- Remove dead sections
- Empty old soil if needed
- Clean containers for next year
Summing Up
These simple Epsom salt treatments and basic care tips allow you to enjoy full, healthy ferns throughout the summer.
I love how these plants make my porch look put together without requiring work hours.
Whether you bring them inside when summer ends or add them to your compost pile, these budget-friendly plants give back so much for such little effort.
Try these methods, and I’m sure you’ll see the same wonderful results I’ve experienced with my ferns.
Frequently Asked Questions
How Much Epsom Salt Should I Use, and How Often?
Use about 1-2 tablespoons of Epsom salt per gallon of water every 4-6 weeks, adjusting the frequency based on the plant’s response.
Can Overuse of Epsom Salt Harm My Fern?
Yes, overuse can lead to magnesium buildup, potentially damaging roots and causing leaf yellowing. Stick to recommended amounts to avoid harming the fern.
Can I Just Sprinkle Epsom Salt on Plants?
It’s best to dissolve Epsom salt in water for even absorption. Sprinkling directly may cause uneven distribution and potential salt buildup in soil.
Are There Natural Alternatives to Epsom Salt?
Yes, compost, fish emulsion, or kelp are great natural alternatives. They enrich the soil with essential nutrients without the risk of salt buildup.


