DIY Tile Floor Installation: A Step-by-Step Guide
Laying new tile floors can make a big difference in your home. However, getting professional tile work done can cost a lot, and many homeowners wonder if they should try it themselves. I know this feeling – I’ve been there too.
Here’s the good news: With the right tools and knowledge, you can install tile floors yourself. This guide will show you everything you need, from picking supplies to adding finishing touches.
In this step-by-step guide, you’ll learn:
- How to prepare your floor properly
- Ways to lay tile that will last for years
- Simple techniques for even grout lines
- Tips to avoid common mistakes
- Methods to protect your new floor
Let’s look at how you can create a beautiful tile floor that you’ll be proud to show off.
Step-by-Step Guide for Diy Tile Floor
Tools and Material
| Category | Item | Purpose |
|---|---|---|
| Tools | Tape Measure | To measure dimensions and plan layout. |
| Trowel (Notched) | To spread mortar evenly on the floor. | |
| Tile Cutter/Wet Saw | To cut tiles precisely for edges and fixtures. | |
| Grout Float | To press grout into tile joints. | |
| Sponge | To clean excess grout and smooth joints. | |
| Bucket | For mixing mortar and grout. | |
| Rubber Mallet | To gently press tiles into mortar. | |
| Oscillating Tool/Crowbar | For removing old flooring materials. | |
| Level/Straight Edge | To ensure tiles are laid evenly. | |
| Safety Gear (Gloves, Goggles) | For personal protection while working. | |
| Knee Pads | To reduce strain while working on the floor. | |
| Chalk Line/Marker | To mark guidelines for tile placement. | |
| Tile Spacers | To maintain consistent grout lines. | |
| Materials | Tiles | The main flooring material. Choose based on size, style, and durability. |
| Thinset Mortar | Adhesive to bond tiles to the underlayment. | |
| Grout | To fill the gaps between tiles. | |
| Grout Sealer | To protect grout lines from moisture and stains. | |
| Underlayment (e.g., Ditra) | To create a smooth, stable, and waterproof base for tiles. | |
| Kerdi-Wrap (Optional) | To waterproof seams in the underlayment. | |
| Clean Water | For mixing mortar and grout, and cleaning tools. |
Step 1: Floor Preparation
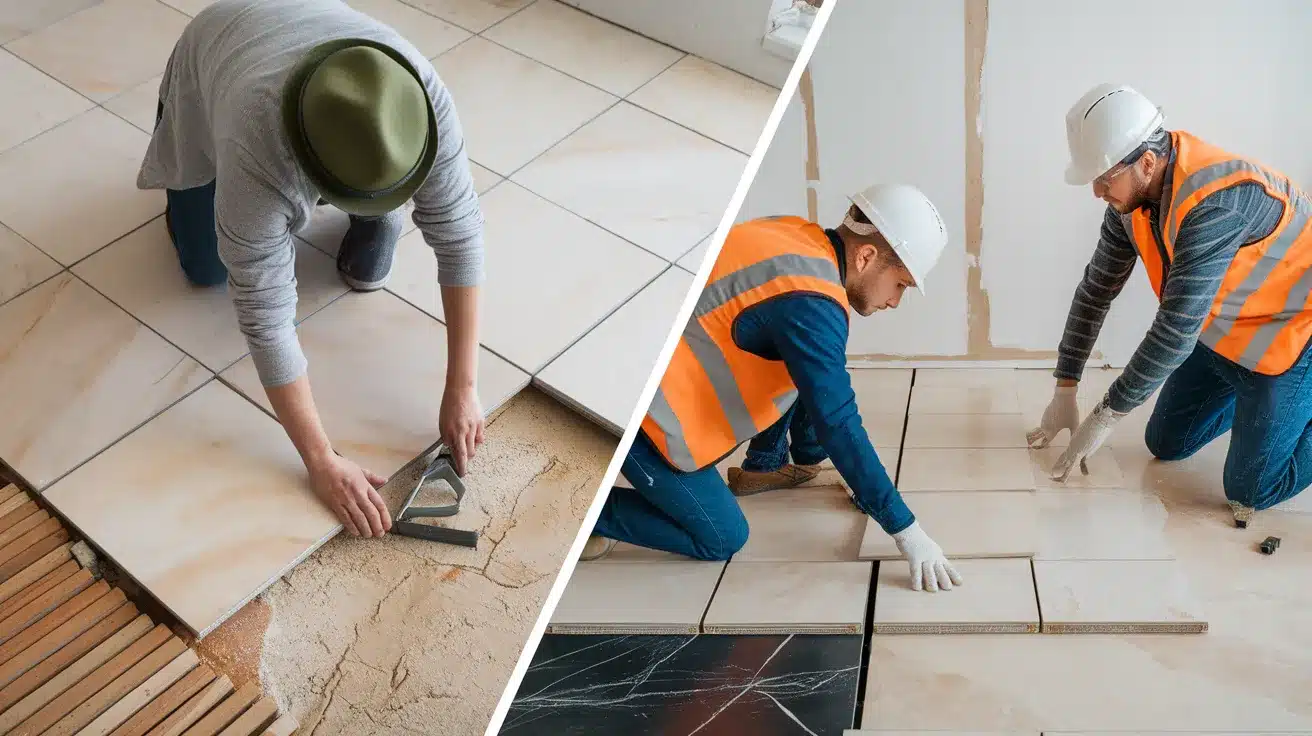
The first task is to remove the existing trim. Use a cutting tool along the wall’s edge to protect your wallpaper during removal. Next, remove the old flooring—in this case, a sheet of linoleum attached to thin plywood. An oscillating tool paired with a crowbar works well for this task.
Step 2: Subfloor Work
After removing the old materials, check your subfloor carefully. Look for any protruding nails and remove them. Run a straight edge across the surface to find uneven spots.
If you notice large bumps, sand them down with a belt sander until smooth. The goal is to create a flat, clean surface.
Step 3: Adding the Underlayment
Ditra underlayment comes next. Start by lightly wetting the subfloor – this helps the mortar stick better. Mix Schluter All-Set mortar to a thin consistency. Spread it using a 3/16-inch notched trowel.
Place the Ditra on top and press it down with a float. Check corners to ensure good contact. For extra protection, add Kerdi-wrap with mortar over the seams.
Step 4: Planning Your Layout
Mark clear lines on your floor as guides. Use a measuring tape to ensure equal spacing from walls. Plan your cuts around items like toilet flanges for rooms with existing fixtures. When cutting tiles for these spots, a wet saw often works better than a carbide tip cutter.
Step 5: Setting the Tiles
Mix your mortar using warm water – it’s easier to work with and might last longer before setting. Apply mortar to both the floor and tile backs for tiles larger than 6×24 inches. Start laying tiles from your marked lines. Press each tile firmly into place.
Step 6: Making Clean Cuts
For edges and corners, measure twice and cut once. Put factory edges where they show and cut edges against the walls. Leave small gaps around the room’s edges – tiles need space to move slightly.
Step 7: Adding Grout
Mix grout until it feels like dry cookie dough. Push it into the lines between tiles. Wait 15 minutes, then clean with a damp sponge. Move the sponge diagonally across lines, using clean sides as you go.
Step 8: Protecting Your Work
After the grout dries (about two days), add sealer. Use a bottle with a roller applicator to put sealer in the grout lines. One quart can cover up to 300 square feet of tile work.
Step 9: Final Steps
Clean any remaining marks or dust from your tiles. This step turns good work into great work. The result should look much better than the old floor you removed.
Video Tutorial
Watch the full YouTube tutorial on DIY tile floor by DIYTyler.
Post-Installation Care

Your new tile floor needs time to set properly. Let me share what I’ve learned about caring for fresh tile work.
Waiting Period for Your New Floor
Your floor needs rest after installation. Stay off the tiles for at least 24 hours. For rooms with big items like sofas or cabinets, give the floor 48-72 hours. This time, the mortar and grout form strong bonds.
Keeping Your Floor Clean and Fresh
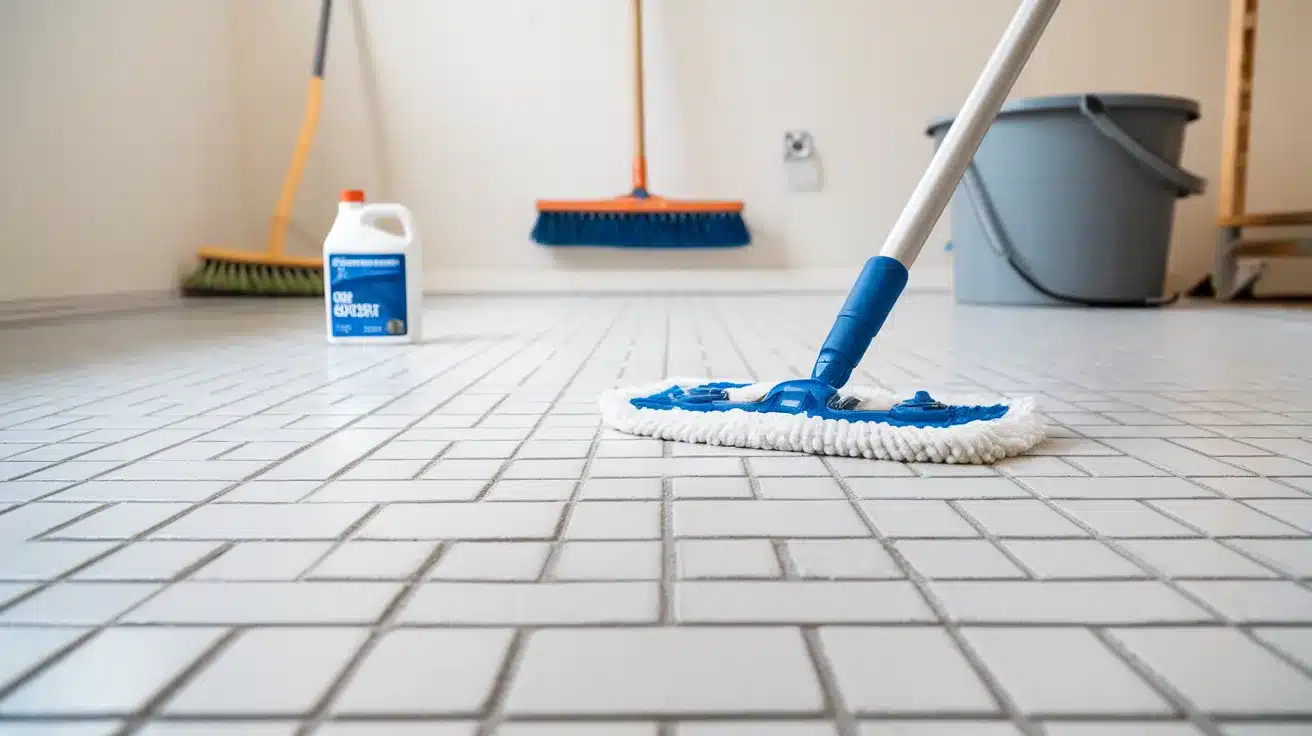
Good cleaning habits make your floor last longer. Use a soft mop with mild soap or cleaners made for tile. Strong cleaners can harm your tiles and grout, so use gentle options. When spills happen, clean them up right away.
Making Your Floor Last
Put rugs at your doors and in busy spots. They catch dirt before it spreads across your floor. Keep an eye on your grout – it needs sealing about once a year. This helps stop water from getting in and keeps the color fresh.
Watch for signs your floor needs help. Look for tiles that feel loose when you walk on them. Check the grout lines for tiny cracks. Fix small issues quickly to stop bigger problems.
Clean spills fast – don’t let water sit on your floor. Use felt pads under furniture legs to stop scratches. These small steps help your floor stay beautiful for years.
Protect your investment with regular care. Set a schedule for cleaning and checking your floor. Good habits now mean fewer repairs later. Your tile floor can stay beautiful with the right care.
Should You DIY or Hire a Pro?

| Factors | DIY Installation | Professional Installation |
|---|---|---|
| Cost | Materials only ($3-7 per sq ft) | Materials + Labor ($10-20 per sq ft) |
| Time Required | 3-7 days for average room | 1-2 days for average room |
| Best For | Simple layouts, square rooms, basic patterns | Complex cuts, large spaces, special patterns |
| Tools Needed | Must buy or rent tile cutter, trowels, spacers | Professionals bring all needed tools |
| Risk Level | Higher risk of mistakes and waste | Lower risk often includes warranty |
Conclusion
Putting down a tile floor takes time and dedication. Success comes from careful planning and attention to detail at each step. Every stage matters in creating lasting results, from preparing your subfloor to protecting the finished surface.
While the process might seem complex initially, breaking it into smaller tasks makes it manageable. A well-laid tile floor can serve your home for many years. The satisfaction of completing this project yourself adds value beyond the money saved.
Remember that proper care after installation ensures your floor stays beautiful. Regular cleaning, quick attention to spills, and yearly grout sealing will maintain your work.
Whether you tackled this project yourself or hired a professional, your new tile floor will bring lasting value to your home.
Take pride in your choice to improve your living space.
Frequently Asked Questions
What is the 3/4/5 Rule for Tiling?
The 3/4/5 rule ensures your tiles are square: measure 3 feet along one wall and 4 feet along the other, and the diagonal between these points should be 5 feet exactly.
Can You Tile Directly on a Subfloor?
No, don’t tile directly on a subfloor. Use proper underlayments, such as cement board or Ditra, to prevent cracks and ensure your tiles last longer.
What is the Easiest Tile Flooring to Install?
Peel-and-stick vinyl tiles are the easiest to install. They need minimal tools, can cover most clean surfaces, and don’t require mortar, grout, or special cutting tools.


