DIY Strawberry Tower: Budget Builds and Tips for Small Gardens
I wanted to grow strawberries, but space was tight. So I built a strawberry tower. It didn’t take fancy tools or a lot of money. I used simple stuff I already had or picked up cheap, and it worked great.
In this guide, I’ll walk you through exactly what I did. I’ll also share different tower styles, tips for tight budgets, and how to keep your strawberries happy.
If you’ve got a small balcony, patio, or even just a little garden strip like I do, there’s a way to make this work.
Let’s determine the best setup for your space: just a few simple steps and real results.
DIY a Strawberry Tower: A Step-by-Step Guide
Once your tools and materials are ready, all that’s left is to pick a design, drill, plant, and water. Just take it one layer at a time.
What You’ll Need to Build a DIY Strawberry Tower
You won’t need fancy tools, just the basics. Here’s what you’ll need:
- Gloves and safety glasses: Keep your hands and eyes protected while drilling
- Bucket or tray for mixing soil: Makes prep cleaner and faster
- Optional mesh or liner: Helps hold soil inside the tower
- Watering can or hose with gentle spray: Keeps soil in place while watering
- Labels or plant markers: Helps track varieties if you plant more than one type
- Screws or anchor base: Adds stability if your tower is tall or placed in a windy spot
Step 1: Pick a Design That Matches Your Tools and Space
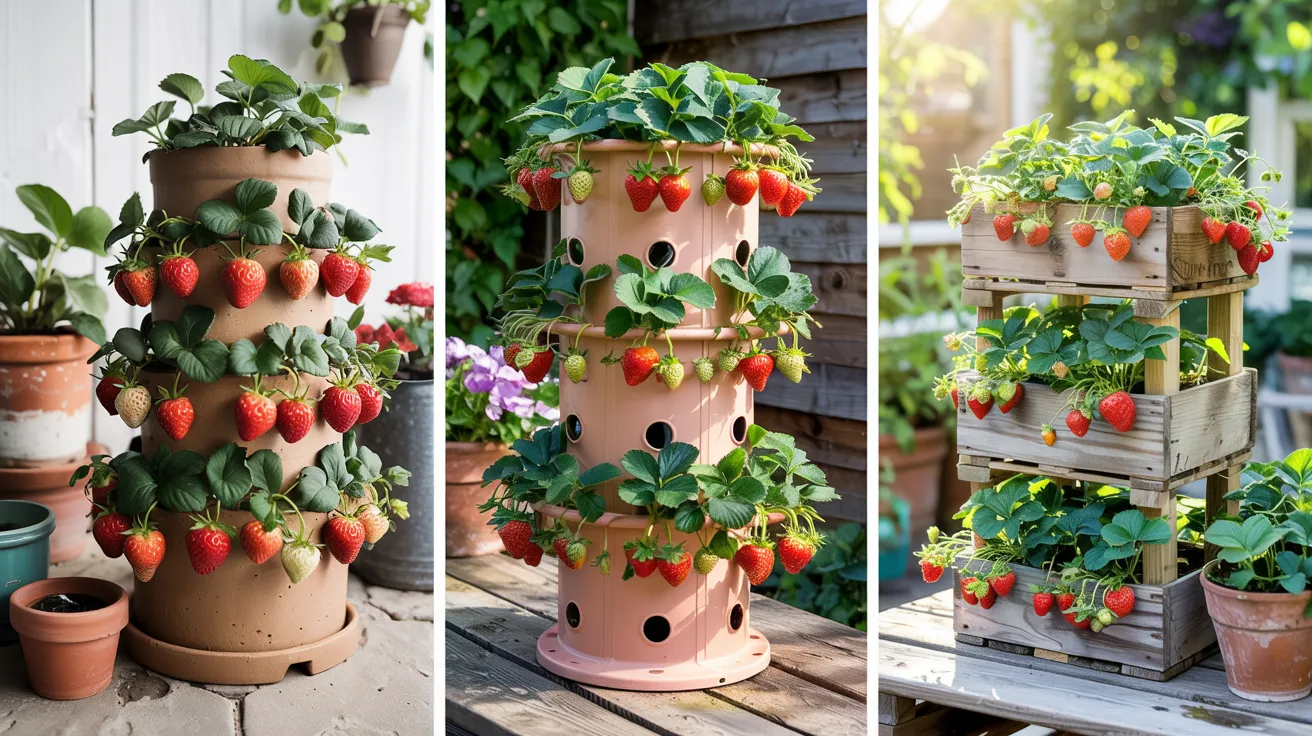
Select a design that suits your tools and space. If you’re working with a patio or balcony, stackable pots or vertical pipes are easy and light.
Larger yards can accommodate crates or wooden frames. Think about how much sun the spot gets, how easy it is to water, and how steady the tower will stay over time.
Choose something that feels achievable based on what you already have. You don’t need to overbuild, just something that holds soil well and gives your plants room to grow.
Step 2: Mark and Drill Planting Holes the Right Way
Use a marker and tape measure to plan your planting holes. Space them evenly so that each plant receives light and has room to spread. Keep at least 4 inches between holes.
A drill with a hole saw bit makes the job faster. If you’re working with round pipes, lean them against a wall or hold them steady with a firm object.
Wear gloves and keep your hands clear while drilling to prevent injury. Clean up sharp edges to prevent the roots from rubbing or getting damaged once planted.
Step 3: Add Soil and Plants Layer by Layer
Start filling the tower with soil from the bottom up. Use small scoops, pressing gently to remove gaps. After adding a layer of soil, place the strawberry plant in its hole and cover the roots well.
Keep going with soil and plants, one row at a time. Use a soil mix that drains well while retaining sufficient moisture to support healthy growth.
If you’re using stackable pots or buckets, it helps to plant as you stack so nothing gets missed or crushed at the bottom.
Step 4: Place and Support Your Tower Safely
Pick a flat, sunny spot to place your tower. Set the base in a stable pot or on solid ground to prevent it from tipping. If it feels shaky, use bricks or weights to steady it.
You can also tie it to a railing or wall if needed. Wind, pets, or uneven ground can cause trouble if the base isn’t solid.
Make sure it’s easy to reach and gets at least 6 hours of sun. Once it’s firm and settled, your tower is ready to grow.
Step 5: Water it to Keep it All Growing
Water from the top and let it flow down slowly. That way, all layers stay moist without getting soaked. If the top dries faster than the bottom, touch the soil to check before adding more.
A small pipe with holes or a watering wand helps spread the water evenly. Stick to mornings, so plants dry by night. If the tower receives full sun or wind, you may need to water more frequently.
Keeping the soil damp but not soggy makes a big difference.
What To Do After Building Your DIY Strawberry Tower
Once your tower is planted, that’s when things really get going. With just a little care each week, your strawberries can stay strong and productive. You don’t need to spend hours—just a few minutes here and there can do the job.
- Watering: I usually check the soil with my fingers instead of relying on guesswork. You can water from the top so it flows through each layer. On hot days, once a day works well. In cooler weather, every few days is enough.
- Feeding: A slow-release fertilizer applied once a month is sufficient. Or you can use a gentle liquid feed every two weeks. Just don’t overdo it—too much feed gives you leaves, not berries.
- Sunlight and placement: Aim for at least 6 hours of sunlight daily. If one side receives more light, rotate your tower periodically to ensure even illumination. I do this to help everything grow evenly.
- Pests and mold: Peek under the leaves and near the base. If you see slugs or mushy fruit, clear it fast. Keeping things clean goes a long way in stopping problems before they spread.
- Winter care: If frost is common in your area, wrap your tower in cloth or move it to a sheltered spot. I usually add mulch when it’s just cool to protect the roots.
Once this becomes part of your routine, it’s easy to keep up with and the berries will show you it’s worth it.
DIY Strawberry Tower Ideas That Fit Any Budget or Space
Your strawberry tower doesn’t have to be plain or store-bought. You can make it match your style and space using items you already have or can acquire on a limited budget.
If you’re keeping it simple or adding something extra, these ideas help you grow strawberries your way.
Dollar Tree Hacks with Bins, Lights, and Labels
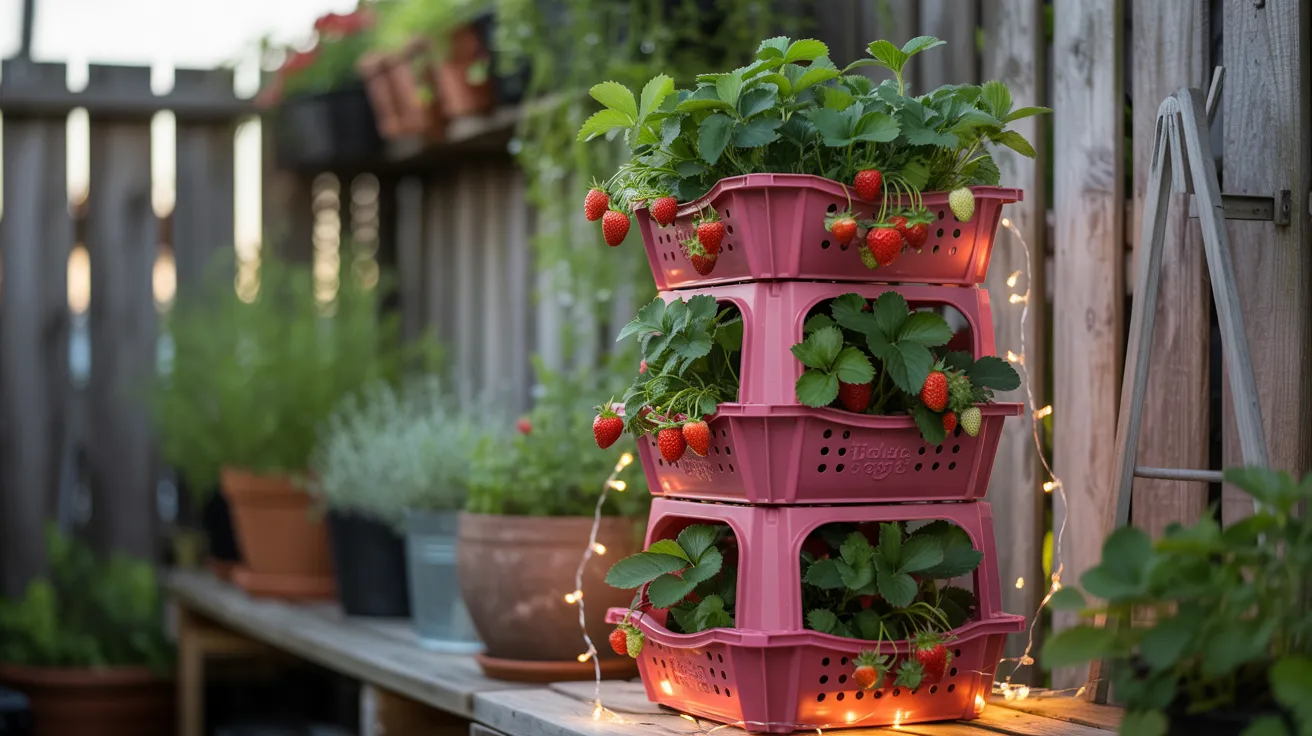
You can make a full tower using just items from the dollar store. Stack bins or baskets, cut holes for planting, and drop in some soil and starts. Use puck lights for a subtle glow at night.
These setups cost very little but still yield a substantial return. If you’re working on a tight budget or want a fun weekend project, this one gives fast results with just a few basic tools.
Recycled Bucket Towers with Built-In Drainage
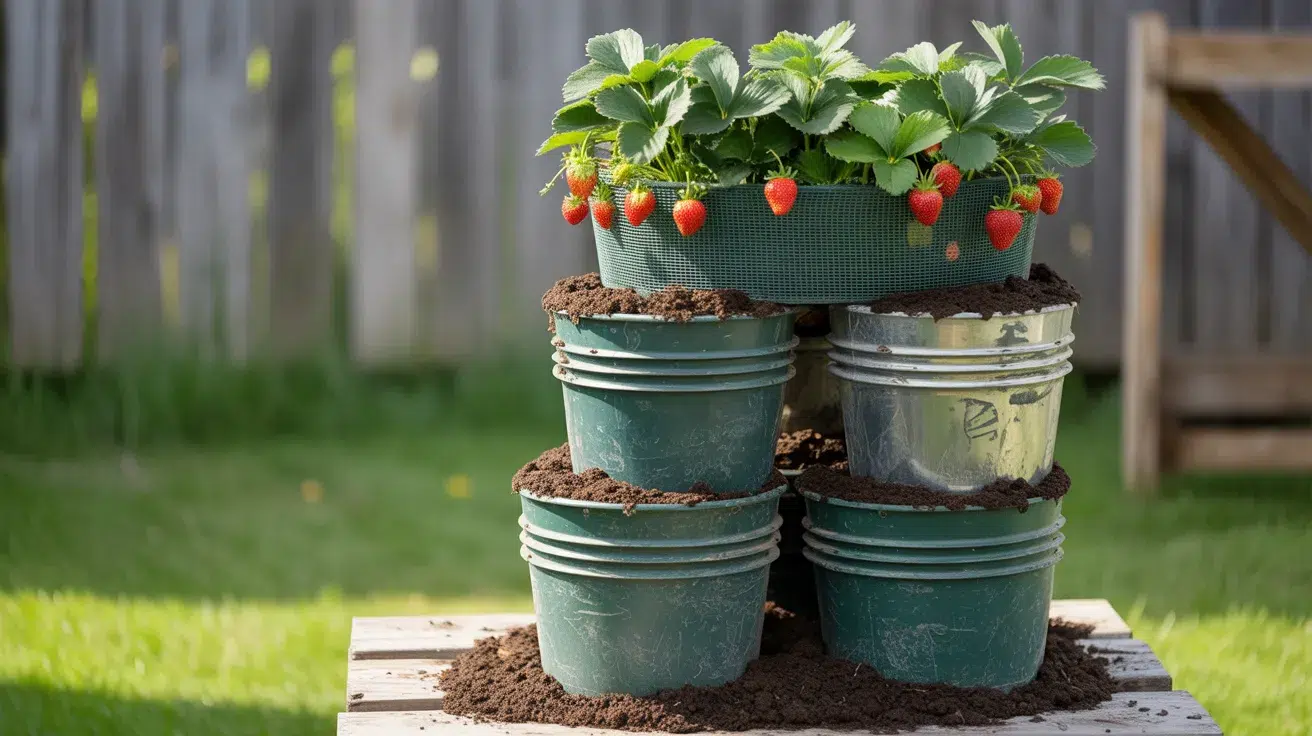
If you’ve got old buckets, don’t toss them—turn them into a sturdy strawberry tower. Stack two or three, drill holes along the sides for planting, and a few at the bottom for drainage.
Line the inside with mesh, if needed, to keep the soil in place. This setup works well in yards, patios, or even corners near a fence. You get more space for plants without spending any extra money.
It’s a smart way to reuse things and grow a plentiful supply of fresh berries.
Hanging Towers Using Mesh or Pouches
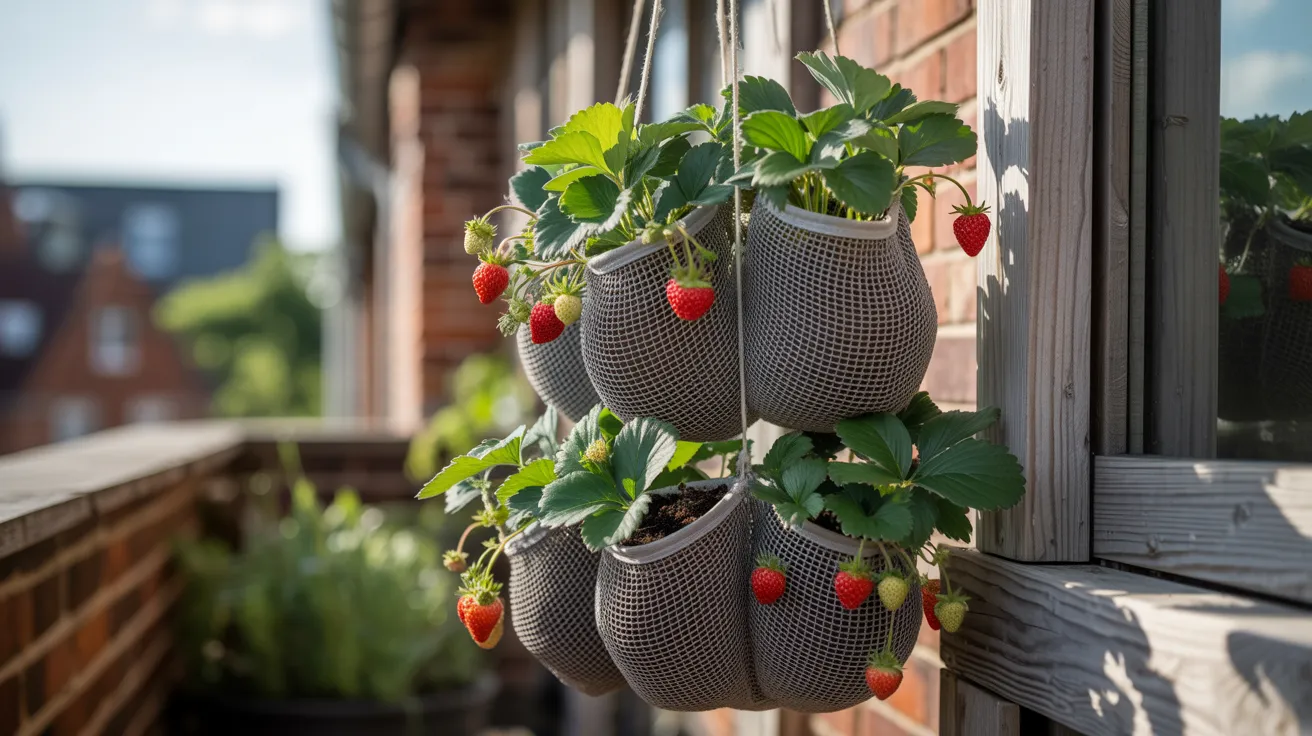
Hanging towers save space and look great, especially in small areas. Use mesh planters, grow bags, or even strong fabric pouches. Fill each pocket with soil, then insert a strawberry plant.
Hang your setup from a fence, railing, or hook where it receives direct sunlight. You’ll keep the ground clear and still enjoy a good harvest.
If you’re renting or need something easy to move, this option is light, flexible, and doesn’t take up much room.
Add-On Features Like Water Pipes or Plant Markers

Want to make your tower even better? Add a thin pipe with holes inside the center to water all layers evenly. It saves time and keeps plants healthier. You can also use wooden sticks, spoons, or rocks as markers for plants.
These small extras don’t take much effort but make your setup easier to manage. If you like staying organized and want to keep track of plant types, these add-ons can really help without adding much work.
Common Problems With Strawberry Towers and How to Fix Them
Even well-built strawberry towers can run into a few issues. Most are easy to handle once you know what to look for. Here are some of the most common problems and their solutions.
1. Dry Soil or Wilting Leaves
If your plants appear limp or dry, the soil may not be retaining enough water. Towers dry out faster than regular beds, especially in direct sunlight or strong winds. Feel the soil with your fingers, not just the surface, but a few inches down.
Water from the top and let it soak through slowly. If water runs right out, mix in some compost to help it hold moisture. You can also mulch the top layer to keep water from drying out too fast.
2. Mold or Rot Near the Base
Too much moisture at the bottom of your tower can lead to rot or mold. If berries or leaves look soft or black, that’s a sign something’s wrong. Ensure you have sufficient drainage holes at the base.
Avoid letting water pool by using a lighter soil mix and watering slowly. Pick off any soft berries right away. Keep the area around the base dry and clear of old leaves. That will help stop mold from spreading.
3. Bugs Eating Your Plants or Fruit
If you notice holes in leaves or missing berries, you’re probably dealing with bugs. Slugs, ants, or beetles love strawberries. Check under the leaves and around the soil for signs.
Try adding crushed eggshells or a small barrier around the base to stop crawling pests. You can also use mesh covers to keep flying bugs away.
Picking off damaged leaves helps, too. Keep the area clean and remove any fruit that starts to spoil.
4. Plants Getting Too Little Sun
Strawberries need at least 6 hours of direct sunlight each day. If your tower is in a corner or shaded spot, some plants won’t grow as well. You might notice fewer berries or pale leaves.
Move the tower to a sunnier area if possible. If one side always gets less light, rotate the tower every few days. It doesn’t take long, and it helps keep all sides growing evenly. Sunlight makes a big difference in how well your plants produce.
5. Tower Leaning or Falling Over
A tower that leans or tips over is frustrating and risky for your plants. This usually happens when the base isn’t wide enough or the ground isn’t flat. Make sure the bottom is secure before planting.
Use bricks or a wide pot for balance. If you’re in a windy area, try tying it to a fence or post. Keeping the weight even also helps. Water slowly, so the tower doesn’t shift or sink as it gets heavier.
Harvesting and Replanting Tips
Once your berries start growing, it’s time to pick and prep for the next round. Here’s what I do—and you can too:
- Pick when fully red and a little soft. Don’t grab them too soon. You either pinch near the stem or use scissors.
- Harvest in the morning. That’s when the berries are cool and sweet. Just make sure they’re dry.
- Trim dead leaves. After harvest, just cut off any brown or damaged ones. You’ll see fewer bugs and healthier plants.
- Swap out old plants. After a couple of seasons, I just replaced mine. You can use runners or start fresh with new ones.
These small steps make a big difference. Stick with them, and your tower will keep producing better berries every year.
Final Thought
A DIY strawberry tower makes it easy to grow your fruit without needing a full garden. You now have all the steps, care tips, and creative ideas to get started.
If you opt for a simple stack or a custom build, your tower can provide you with fresh berries throughout the entire season. The key is to pick the design that works for you, care for it consistently, and enjoy the process.
Keep learning, try new setups, and see what works best in your space. Want more tips like these? Check out other home and garden blogs to keep growing smarter.
Frequently Asked Questions
Can I grow strawberries in a tower indoors?
Yes, but it takes some effort. You’ll need a sunny window (6+ hours of light) or grow lights. Ensure the tower is lightweight and features a tray to catch excess water. Indoor towers are great for avoiding pests, but pollination may require your assistance; gently shake the flowers or use a soft brush.
How many strawberry plants can I fit in a single tower?
It depends on the tower size and the number of planting holes. A small PVC or stackable tower usually fits 10–20 plants. Larger wood or bucket setups can hold up to 30. Just be sure each plant gets enough light, air, and root space.
Can I reuse soil from last year’s strawberry tower?
It’s better not to. Old soil may carry diseases or lack nutrients. If you must reuse it, mix in fresh compost and sterilize the mixture by baking it at a low temperature (around 180°F) for 30 minutes. Still, fresh soil gives your new plants the best start.
Do I need to rotate my strawberry tower regularly?
Yes, especially if one side gets more sun than the other. Turning your tower every few days helps all plants grow evenly and avoids weak, leggy growth on the shady side.
Can I plant herbs or flowers in the same tower as strawberries?
Yes, but stick with companion plants like basil, chives, or marigolds. These help repel pests and won’t compete heavily for space. Avoid aggressive herbs like mint that can overtake the strawberries.