DIY Shower Curtain: A Complete Tutorial
Getting nice shower curtains can cost over $100.
I know the struggle of searching for the perfect shower curtain that fits my bathroom’s style. The options in stores are either too expensive or just don’t match what I want.
Trust me, I’ve spent hours looking through catalogs only to feel disappointed.
But here’s something fun – I found a way to create my own shower curtain at half the cost.
In this tutorial, I’ll show you my simple method to make a custom shower curtain. I’ll share all my tips from picking the right fabric to adding those final touches that make it look store-bought.
Benefits of Making Your Own DIY Shower Curtain
Making your own shower curtain comes with several perks that I’ve discovered through my DIY projects:
1. Save Money on Your Budget: Store-bought designer shower curtains often cost between $50 to $150. I’ve found that making one myself typically costs $20 to $40, including all materials. This means I can put the extra money toward other bathroom items.
2. Get the Perfect Size: I can make a curtain that fits my shower perfectly. Standard curtains sometimes leave gaps or bunch up awkwardly. With my own measurements, the curtain hangs just right.
3. Match Your Style: I pick fabrics that go well with my bathroom’s colors and style. No more settling for “almost right” patterns or shades. Plus, I can switch up the look whenever I want by making a new one.
4. Better Quality Control: I choose the fabric thickness and finishing details. This means no more flimsy curtains that let water leak through.
Choosing Your Fabric Wisely: What Are Your Options?
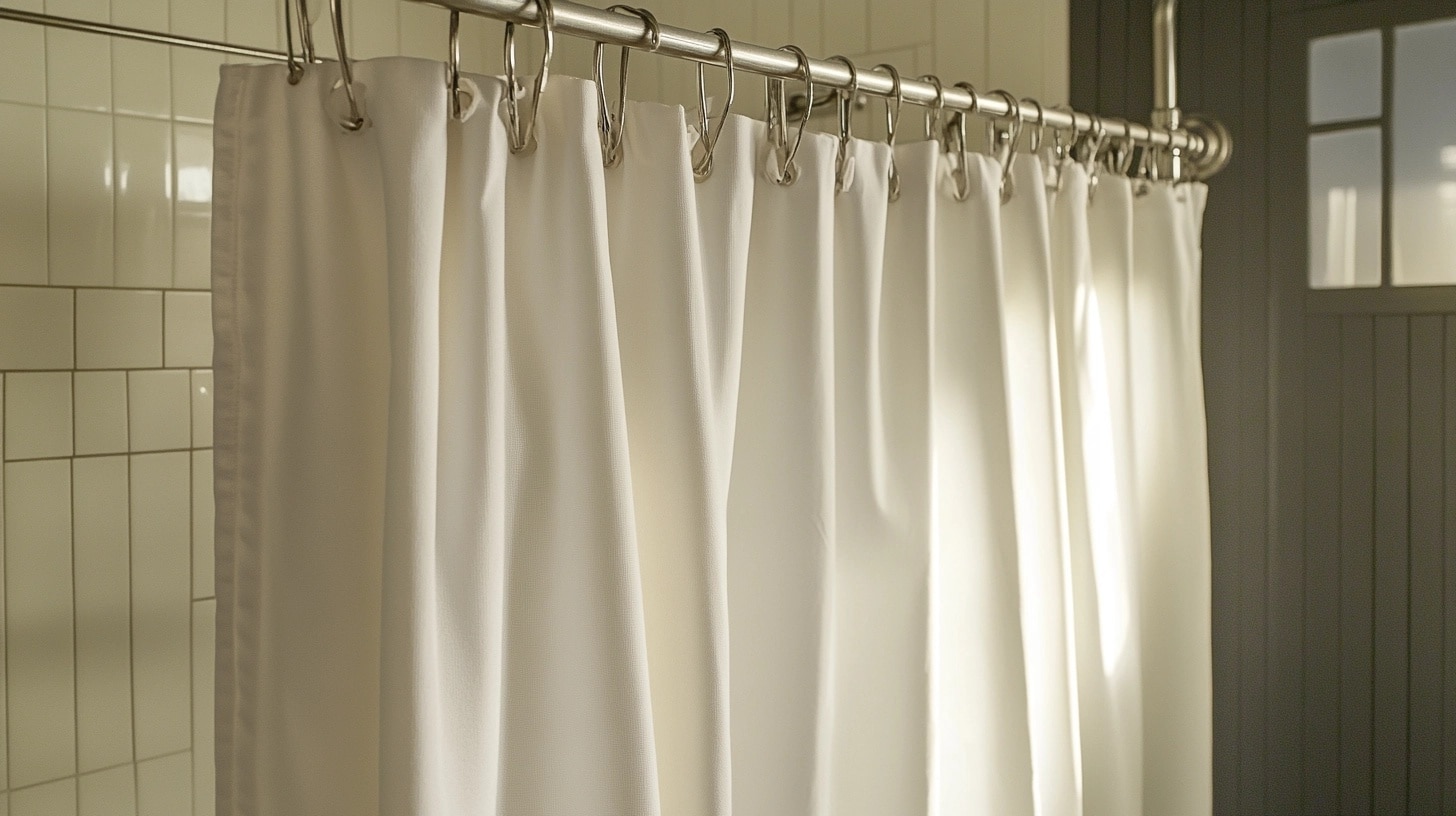
Let me share what I’ve learned about picking the right fabric for shower curtains after trying various materials in my own bathroom.
Waterproof and Water-Resistant Fabrics
I always start with polyester or nylon blends for my shower curtains. They’ve never let me down! These fabrics dry quickly and keep water where it belongs – in the shower.
My top pick is polyester duck cloth because it’s thick enough to hang well and repels water like a champ.
Mold and Mildew-Resistant Materials
I once made the mistake of using regular cotton – what a mess! Now I stick to synthetic fabrics with built-in resistance to mold. Cotton-polyester blends treated with antimicrobial finish work great too.
Eco-Friendly and Sustainable Choices
Hemp fabric has become my recent favorite. Yes, it’s pricier, but it naturally fights bacteria and gets better with each wash. Organic cotton with beeswax coating is another option I’ve tried. It works well and makes me feel good about my environmental impact.
Alternative Materials and Options
Here’s a money-saving tip I love: I’ve turned old bed sheets into shower curtains! Just add a water-resistant coating, and they work perfectly.
Last month, I transformed a pretty tablecloth into a shower curtain – my guests keep asking where I bought it!
A Personal Note: When picking your fabric, always get a sample first. I like to spray it with water to see how it behaves. This simple test has saved me from many fabric fails!
Materials You Need for A DIY Shower Curtain
| Category | Items |
|---|---|
| Fabric & Accessories | Main fabric (2.5 yards minimum), Shower curtain liner, 12 shower curtain hooks |
| Sewing Tools | Sewing machine (basic stitching ability), Buttonhole foot for sewing machine |
| Measuring Tools | Measuring tape, Fabric marker or pencil |
| Cutting Tools | Sharp fabric scissors |
| Assembly Tools | Straight pins |
| Pressing Tools | Iron and ironing board |
| Thread | Thread that matches your fabric |
| Work Surface | Large flat work surface |
How to Measure Your Shower Space Correctly (don’t skip)
Let’s talk about measuring your shower space! I’ve flooded my bathroom floor once by getting these numbers wrong, so I’ll help you avoid my mistakes.
Start by grabbing your measuring tape and stretch it across your shower rod. Here’s what you need:
- Measure the full rod length
- Add 12 extra inches (6 inches for each side)
- Add 2 more inches if you’re using shower rings
- Write down this number immediately!
I’ve found the ideal way to measure height is from top to bottom:
- Start at your shower rod
- Measure down to about 3 inches above the floor
- Add 10 inches for hems and rod pocket
- Double-check this measurement – floors aren’t always level!
My Quick Tips for Perfect Measurements:
- Always measure twice at different times of day
- Use the larger number if measurements differ
- Keep notes of all your numbers
- Test your measurements with newspaper before cutting fabric
Step-by-Step Instructions to Crafting a Shower Curtain (it’s easy)
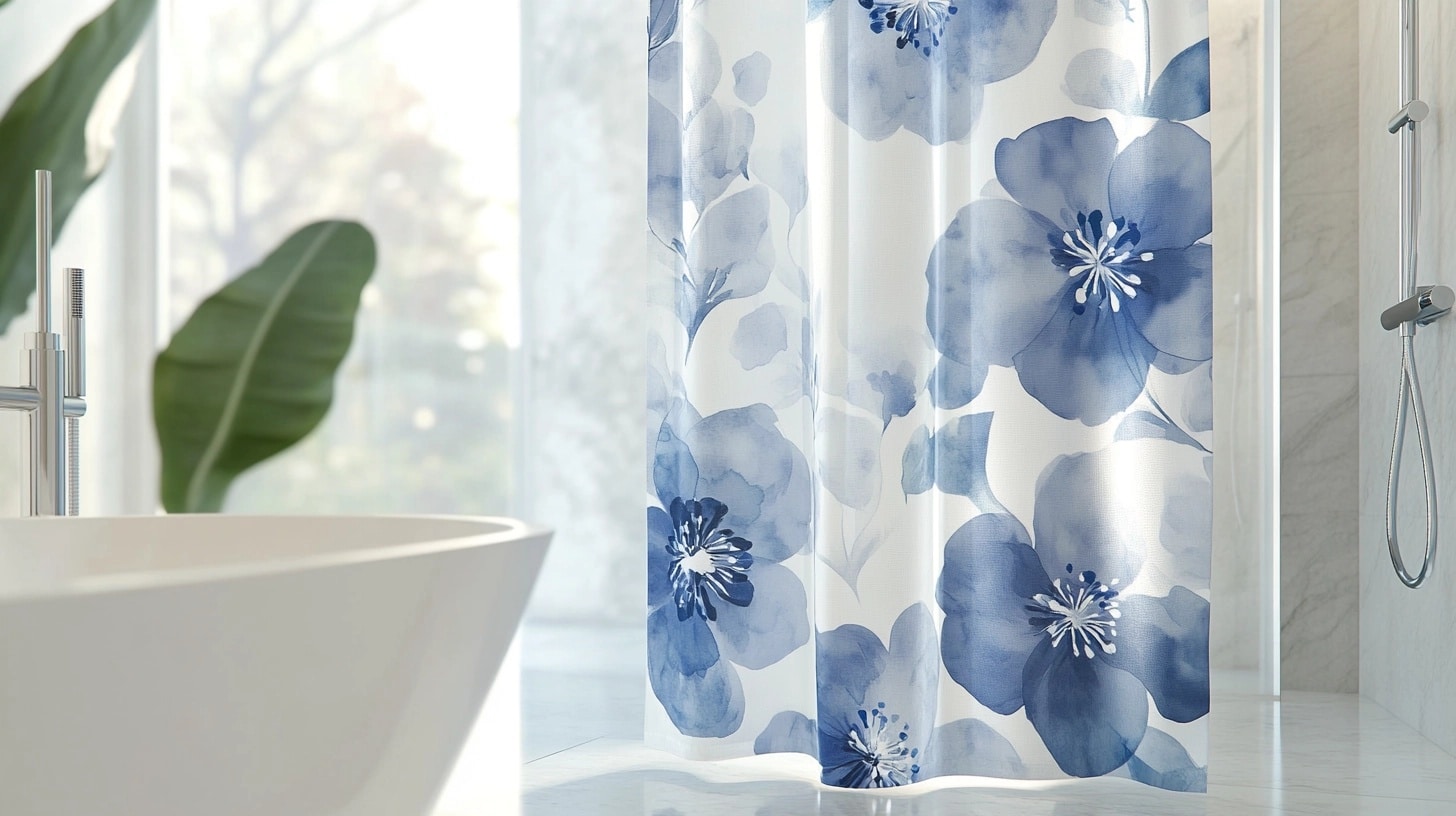
1. Cut and Prepare Your Fabric
Start by getting your fabric ready on a flat surface. You’ll need two panels, one 44 inches wide and the other 32 inches wide.
- Measure and mark the fabric to 2.5 yards each.
- Cut along the lines carefully.
- Trim off any frayed edges with scissors.
- Pre-wash the fabric if you haven’t done it yet.
2. Join the Panels Together
This step connects the two panels with a neat and sturdy seam.
- Lay the panels wrong sides together.
- Pin along the edge where they join.
- Sew with a 5/8-inch seam allowance.
- Trim one side of the seam to 1/4 inch.
- Iron the seam flat, folding the longer side over the trimmed edge.
- Press again and sew a top stitch for a clean finish.
3. Create the Side Hems
Hemming gives the edges a clean, polished look.
- Fold one side of the fabric over 1/2 inch and press it down with an iron.
- Fold it again by 1/2 inch to create a double fold.
- Pin the fold every few inches to keep it in place.
- Sew a straight stitch close to the inner edge of the fold.
- Repeat the same steps for the other side.
4. Make the Top Hem and Buttonholes
The top needs to be sturdy and have spaces for the hooks.
- Fold and press the top edge under by 1.5 inches.
- For clean corners, fold them diagonally and press.
- Pin the hem in place.
- Mark 12 buttonhole spots evenly across the top:
- Start 1/2 inch from the edges.
- Space them evenly across the top edge.
- Use your sewing machine to sew the buttonholes.
5. Sew the Bottom Hem
The bottom hem keeps the curtain in shape.
- Fold the bottom edge up by 1/2 inch and press it.
- Fold it again by 1 inch and press to make it sturdy.
- Pin the hem to hold it in place.
- Sew close to the inner edge of the fold.
- Press the final hem for a neat finish.
6. Final Fitting and Hanging
Now it’s time to hang your curtain!
- Test the buttonholes to make sure the hooks fit.
- Thread the hooks through the buttonholes.
- Hang the curtain with the liner behind it.
- Check the length — it should hang about 3 inches above the floor.
- Adjust if needed and iron out any wrinkles.
And you’re done! Your custom shower curtain is ready to use.
For a more detailed tutorial on DIY shower curtains, check out the below tutorial by Rachel Stewart:
Maintenance and Care Tips You Don’t Want to Miss out On
Let me share some simple tips to help your shower curtain last longer. Here’s what I’ve learned from making my own!
Daily Habits That Help:
- Give your curtain a quick shake after showers
- Run the bathroom fan – your curtain will thank you
- Pull the curtain using the rings, not the fabric
- Keep the bottom off the tub floor
Washing Your Curtain: I wash mine every few weeks, and here’s what works best:
- Warm water, gentle cycle
- Skip the fancy stuff – regular detergent does the job
- No fabric softener (makes the fabric hold water)
- Air dry if you can
- Quick iron if it looks wrinkly
Keeping It Fresh:
- Look for loose threads when you clean
- Fix small tears before they get bigger
- Wipe down the rod and hooks when they get grimy
- Let wet curtains hang straight to dry
When You’re Not Using It:
- Make sure it’s totally dry before storing
- Roll it up instead of folding
- Keep it somewhere cool and dry
- Pop in a dryer sheet if you want it smelling nice
Quick Fixes I Use (and recommend):
- Swipe with a lint roller for pet hair and dust
- Dab spots with plain soap and water
- Let a hot shower steam out the wrinkles
- Fix loose button holes before they tear
Expert Tips and Tricks on DIY Shower Curtains
Creating your own shower curtain isn’t just about sewing fabric together. After making dozens of these, I’ve picked up some handy tricks that can take your project from basic to beautiful.
Selecting the Best Fabrics for Durability
I’ve found that cotton-polyester blends are perfect for shower curtains. They hold up well to moisture and frequent washing. Look for fabric weights between 7-10 ounces – anything lighter might not drape well.
I always test my fabric with water to see how it behaves. Heavy cotton duck and canvas are my go-to choices.
Incorporating Eco-Friendly Practices
When I make shower curtains, I try to reduce waste by carefully planning my cuts. I save larger scraps for small projects like washcloths or makeup removers. Natural fabrics like hemp or organic cotton work great. I also reuse old curtain rings and hooks when possible.
Every small choice helps our planet!
Maximizing Aesthetics While Maintaining Functionality
I balance looks with practicality by choosing patterns that hide water spots. Vertical patterns make the bathroom look taller, while horizontal ones add width. I love adding a band of contrast fabric at the bottom – it looks fancy but hides any water stains that might develop over time.
Customizing for Unusual Shower Sizes or Shapes
For odd-sized showers, I measure three times before cutting. If you have a curved rod, add extra width to allow proper movement.
For extra-tall showers, consider a double hem at the bottom – it adds weight and helps the curtain hang better.
I always make my curtains slightly wider than the standard for better coverage.
Wrapping It Up
Making your own shower curtain opens up a world of creative possibilities for your bathroom.
Through this guide, I’ve shared my hands-on experience to help you create something unique and lasting. Remember, the key is in the details – from fabric choice to precise measurements.
Want to keep improving your space? Check out my other curtain guides:
- DIY Ceiling Mount Shower Curtain Rod: Perfect for adding height
- DIY Cafe Curtains: For charming window treatments
- How to Pleat Curtains: Add professional-looking folds
- Shower Curtain Size Chart: Find your perfect fit now
Ready to start your project? Take your time with measurements and enjoy the process. Soon you’ll have a custom shower curtain that fits your style perfectly.
Share your creation with me in the comments – I’d love to see what you make!


