DIY Pantry Cabinets Made Easy: Tips You Need
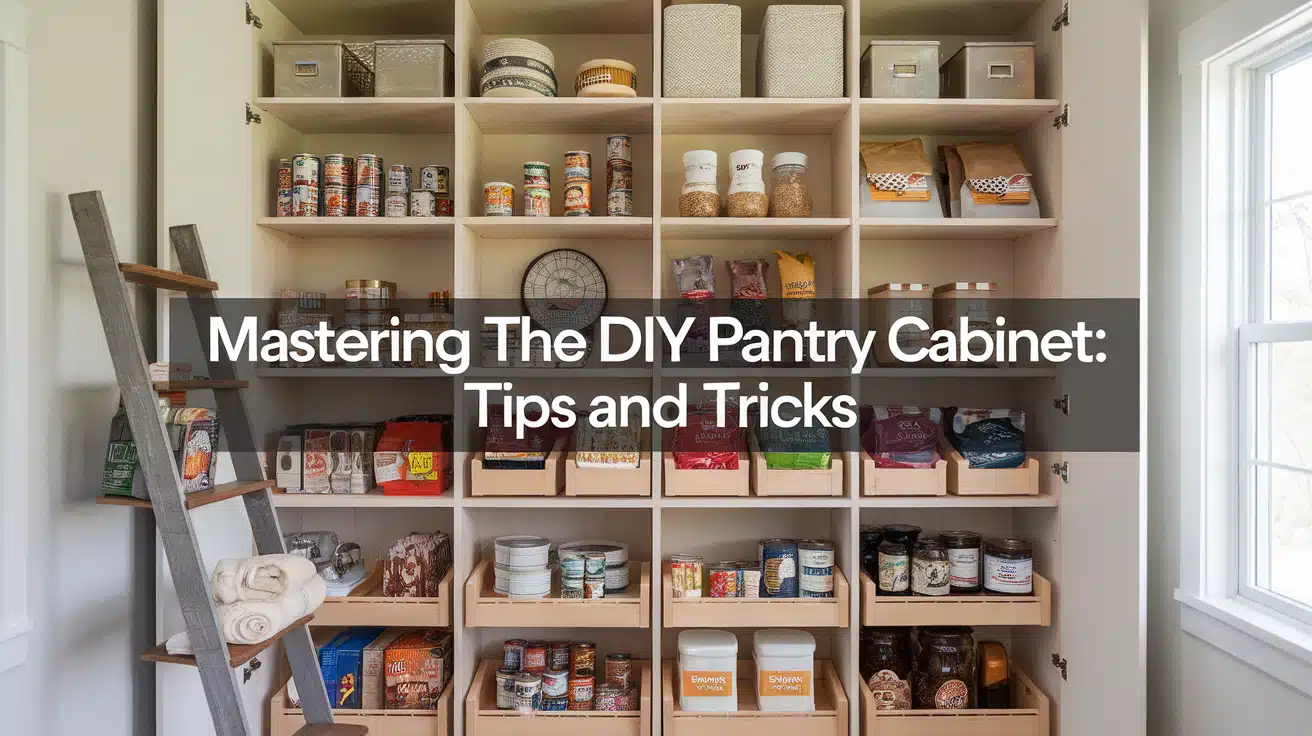
Looking to bring order to your kitchen chaos? A DIY pantry cabinet offers the perfect mix of custom storage and personal style. This project puts you in control of every detail, from size to shelf layout.
Building your pantry cabinet might sound tricky, but don’t worry. With basic tools and patience, you can create a storage solution that fits your space perfectly. Plus, making it yourself costs less than buying pre-made units.
This guide walks you through each step of building a sturdy, useful pantry cabinet. You’ll learn how to make it happen whether you want simple shelves or fancy pull-out drawers.
We’ll cover everything from picking materials to adding those final touches that make your cabinet special.
Ready to start your DIY pantry cabinet project? Let’s get building!
Building Your Perfect DIY Pantry Cabinet: A Complete Guide
Are you looking to add more storage to your home? A custom DIY pantry cabinet offers the perfect solution. This guide shows you how to build a cabinet that fits your exact needs.
1. Preparation of Materials
| Materials | Description | Estimated Cost |
|---|---|---|
| Plywood Sheets | For side panels, top, bottom, middle panels, and back panel. | $50-$100 per sheet |
| Pre-primed Pine (1×2, 1×3) | For the face frame, depending on the desired width. | $5-$15 per board |
| Quarter-inch Plywood | For the back panel. | $20-$50 per sheet |
| Half-inch Plywood | For door construction. | $30-$70 per sheet |
| Edge Banding | To cover exposed plywood edges on doors. | $10-$25 per roll |
| Paint | Preferred color for finishing the cabinet. | $15-$50 per gallon |
| Wood Glue | For assembling frame and attaching trim. | $5-$20 per bottle |
| Wood Filler | To fill any gaps or imperfections. | $5-$15 per tube |
| Shelf Pins | For adjustable shelving inside the cabinet. | $5-$10 per pack |
| Cabinet Knobs and Pulls | For doors and pull-out drawers. | $2-$10 each |
| Hinges | Concealed hinges for attaching doors. | $3-$10 per hinge |
| Gas Struts (optional) | For lift-up doors if desired. | $10-$25 each |
| Tools | Description | Estimated Cost |
|---|---|---|
| Circular Saw | For cutting plywood sheets and panels. | $50-$200 |
| Jigsaw | For cutting toe kicks and intricate cuts. | $30-$100 |
| Sander | For smoothing all wooden surfaces. | $30-$100 |
| Drill | For making holes and driving screws. | $50-$200 |
| Pocket Hole Jig | For making pocket holes in panels for assembly. | $40-$120 |
| Staple Gun | For attaching the back panel. | $20-$50 |
| Screwdriver | For assembling and installing hardware. | $10-$50 |
| Tape Measure and Square | For accurate measuring and alignment. | $10-$30 |
| Paintbrush and Roller | For applying primer and paint. | $5-$20 each |
| Shelf Pin Jig | For drilling accurate shelf pin holes. | $20-$50 |
2. Optional Toe Kick
Want your pantry cabinet to match your kitchen setup? Add a toe kick. Take your jigsaw and carefully cut the bottom front corners of both side panels. This small detail makes a big difference in how your cabinet fits with other kitchen units.
3. Sanding and Drilling
Quality matters in every step. Sand each piece until smooth – this step ensures a professional finish. Then, drill your ¾-inch pocket holes. Place these at the ends of your top, bottom, and middle panels. Don’t forget the support strips – they need holes too.
4. Assembly of Cabinet Body
Time to bring your DIY pantry cabinet to life. Use pocket hole screws to join your pieces. Pay special attention to the bottom panel’s placement – it needs to line up with your face frame. The middle panel’s position affects your storage space, so place it based on what you plan to store.
5. Adding the Face Frame
Your face frame needs pre-primed pine. Make it wider on sides that will touch walls – this gives your doors proper clearance. Once built, attach it with wood glue and nails. This step makes your cabinet look finished and professional.
6. Back Panel Installation
Cut your ¼-inch plywood to fit the back perfectly. Staple it in place carefully. This panel does more than close the back – it keeps your cabinet strong and square. Take your time with this step.
7. Doors
Your doors need ½-inch plywood for the right balance of strength and weight. Add trim to create an appealing frame look. Glue these pieces carefully. Cover any exposed edges with banding – this small detail makes a big difference in the final look.
8. Interior Customization
Make your DIY pantry cabinet work for you. Choose between fixed shelves, adjustable ones, or pull-out drawers. If you pick pull-outs, install your slides first. Build sturdy drawer boxes that can hold your items safely.
9. Finishing Touches
Paint brings your project together. Work on doors and cabinet body separately for better results. Add shelf pin holes if you want adjustable shelves. Install your hinges, knobs, and pulls with care. Place your cabinet where you want it, securing it properly.
10. Final Setup
Put in your shelves or drawers. Test each door and drawer – they should move smoothly. Make small adjustments until everything works just right. Your DIY pantry cabinet is now ready to serve your storage needs.
Video Tutorial
Watch full YouTube video below!
Enhancing Functionality with Pull-Out Shelves and Drawers
Designing for Convenience
Smart planning makes your DIY pantry cabinet work better for you. Start by measuring your most-used items. Leave extra space – about 2 inches above items for easy access. Mark spots for pull-outs based on your daily needs.
Planning tips:
- Space pull-outs 14 inches apart for standard items
- Add an extra 2 inches of height for clearance
- Keep heavier items in lower sections
Selecting the Right Hardware
Quality hardware makes your DIY pantry cabinet last longer. Choose ball-bearing slides rated for your expected weight loads. Full-extension slides offer complete access to stored items.
Key hardware picks:
- 20-inch drawer slides for standard depth cabinets
- Side-mount brackets for proper support
- Soft-close features prevent slamming
Installation Tips
Carefully install your pull-out components. Start by adding spacer blocks to mount your slides. Make them level—this step matters for smooth operation.
Installation steps:
- Mark slide positions carefully
- Add spacer blocks for proper spacing
- Mount slides level and parallel
- Test movement before adding shelves
Incorporating Built-In Organizers
Custom Spice Racks
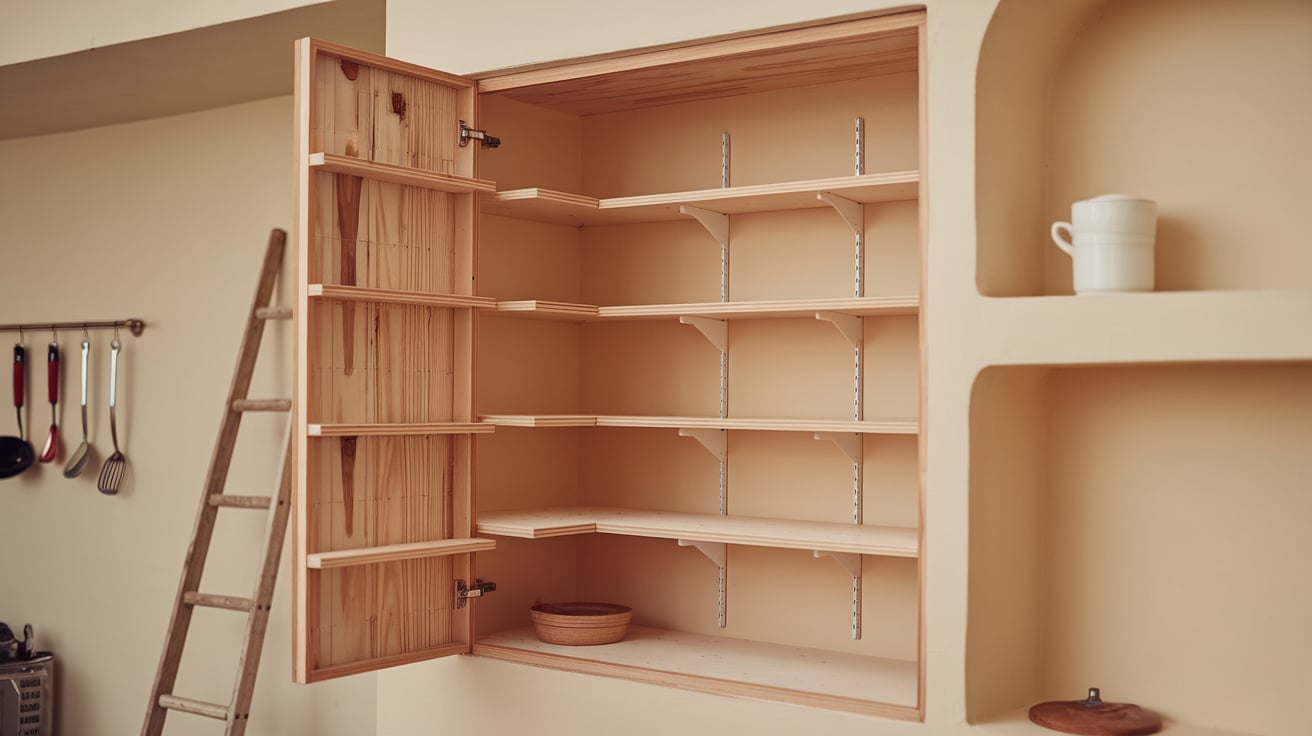
Make spice storage work in your DIY pantry cabinet. Build slim racks that use vertical space well. Add small lips to keep bottles secure.
Building basics:
- Cut thin plywood strips for shelves
- Space shelves 4 inches apart
- Add front barriers 1/2 inch high
Wine Holders and Utensil Organizers
Create spots for special items in your pantry. Make slots sized for wine bottles. Add dividers for utensils that keep things tidy.
Design tips:
- Angle wine slots at 15 degrees
- Make utensil slots 2-3 inches wide
- Add removable dividers for flexibility
Vertical Storage Solutions
Use height to your advantage in your DIY pantry cabinet. Add hooks for hanging items. Make pull-out vertical dividers for baking sheets.
Smart solutions:
- Install hook strips between shelves
- Add vertical dividers every 3 inches
- Create slots for cutting boards
Creative Lighting Options
Choosing Your Lighting
Good light helps you see everything in your pantry. LED strips work well and use little power. Pick cool white bulbs to show true colors.
Light options:
- Puck lights for shelves
- Strip lights for an overall glow
- Motion sensors for hands-free use
Installation Tips for Interior Lighting
Add lights that make sense for your space. Battery lights offer easy installation. Wired options last longer but need proper setup.
Basic steps:
- Plan wire routes carefully
- Hide connections behind the trim
- Test before final mounting
Exploring Door Alternatives
Glass-Paneled Doors
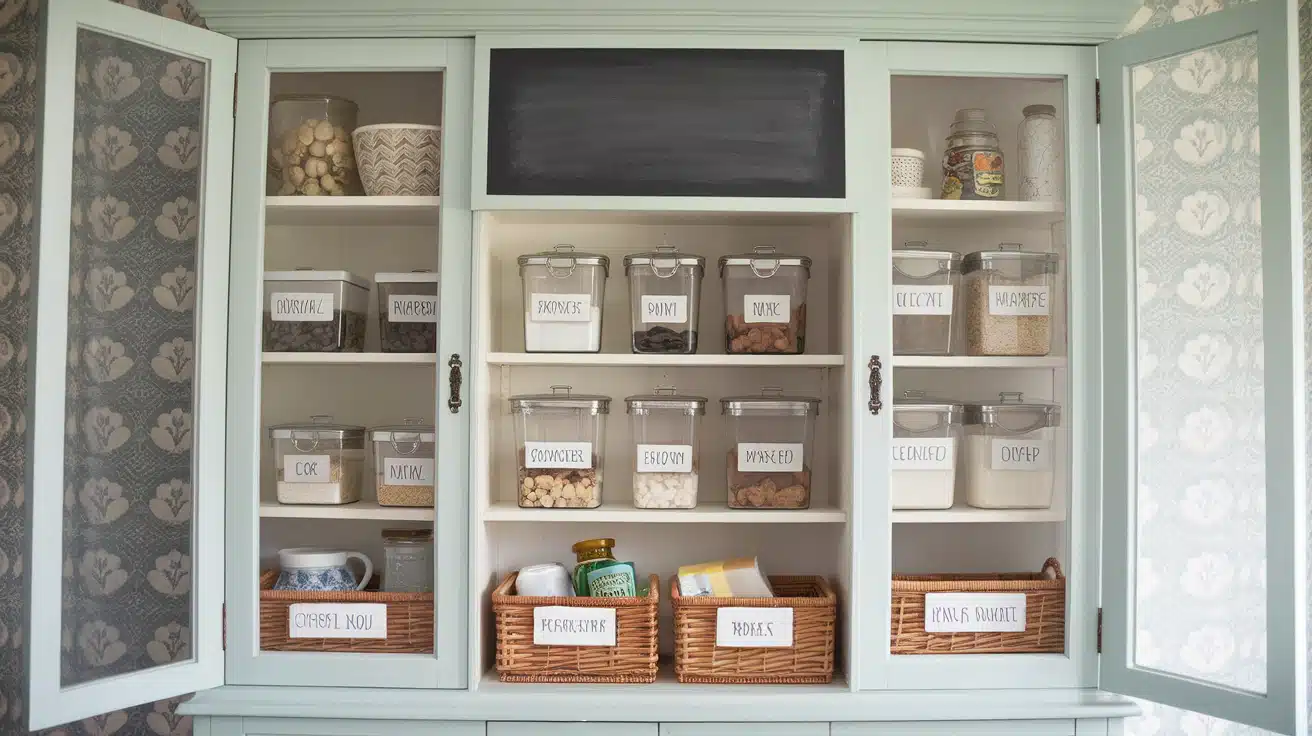
Glass adds style to your DIY pantry cabinet. Choose tempered glass for safety, and frame it properly for a clean look.
Installation guide:
- Cut door frame pieces
- Route spaces for glass
- Secure with silicone and stops
Chalkboard or Corkboard Fronts
Make doors work harder. Add surfaces for notes or lists. Paint with chalkboard paint or attach cork sheets.
Quick steps:
- Sand door surfaces
- Apply special materials
- Add trim for clean edges
Personalizing Your Pantry Cabinet
Make your DIY pantry cabinet yours by painting it in the colors you love, adding labels that make sense to you, and changing the handles to match your style.
Personal touches:
- Custom paint colors
- Special hardware
- Labeled containers
- Matching baskets
Conclusion
Making your pantry cabinet brings more than just extra storage to your home. It teaches valuable woodworking skills and gives you practical knowledge about cabinet construction. Each part you build adds to your DIY experience.
When you put the final touch on your cabinet—that last coat of paint or the final shelf adjustment—you’ll see more than a simple storage unit. You’ll see a custom piece that perfectly matches your needs.
Your pantry cabinet will serve you well, keeping items within easy reach and your space properly organized.
The skills you’ve learned here apply to many other home projects. These basics form the foundation for future DIY tasks, from measuring and cutting to installing hardware.
Your new pantry cabinet is proof of what you can create with your hands.

