DIY Home Hacks: Master Drawer Rail Installation for Ultimate Storage
When it comes to maximizing storage in your home, installing drawer rails can be a game-changer. Not only do they provide smooth and efficient access to your belongings, but they also enhance the overall functionality of your storage solutions.
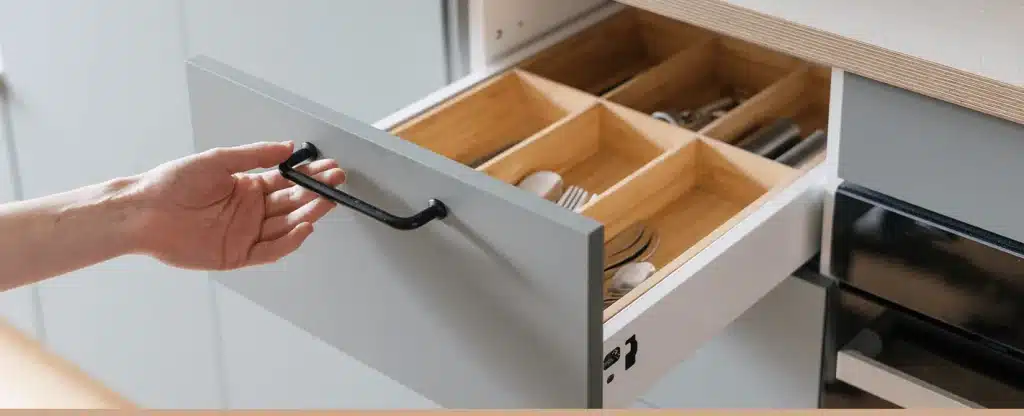
Whether you’re upgrading kitchen cabinets, bathroom vanities, or custom storage units, drawer rails ensure your drawers open and close smoothly, providing easy access to your stored items. Installing drawer rails is a straightforward yet impactful DIY project that can significantly enhance your home’s organization and functionality.
Step 1: Measure and Plan Your Installation
Before you begin installing drawer rails, precise measurements are essential. Measure the interior dimensions of the drawer and the cabinet to ensure the rails fit perfectly. Planning includes deciding the type of rails you need, whether side-mount, under-mount, or center-mount, depending on your drawer and cabinet design.
Accurate planning also involves marking the positions where the rails will be installed. Use a pencil and a level to ensure your markings are straight and aligned. This initial step sets the foundation for a successful installation, preventing any misalignment that could affect the drawer’s functionality.
Step 2: Prepare Your Tools and Materials

The right tools and materials are crucial for a smooth installation process. Basic tools include a screwdriver, drill, measuring tape, level, and drawer rails. Additionally, you may need screws and a template for accurate placement.
Preparation also involves organizing your workspace. Clear the area around your cabinet or drawer to provide ample room for maneuvering and avoid any obstructions that could hinder the installation process.
Step 3: Install the Drawer Rails
Begin by attaching the rails to the drawer. Most drawer rails come with a set of instructions, which you should follow meticulously. Generally, this involves aligning the rails with the pre-marked positions on the drawer sides and securing them with screws. Ensure the rails are flush with the drawer edges to avoid any gaps or misalignment.
Next, install the corresponding rails inside the cabinet. Align these rails with the markings made during the planning stage and secure them with screws. Use a level to ensure the rails are perfectly horizontal, as any tilt can cause the drawer to slide improperly.
Step 4: Test the Drawer Alignment
Once the rails are installed, it’s time to test the drawer alignment. Slide the drawer into the cabinet to check if it moves smoothly along the rails. If you encounter resistance or uneven sliding, it may indicate that the rails are misaligned or not securely fastened.
Make any necessary adjustments to the rails, ensuring they are tightly screwed and properly aligned. Testing and adjusting at this stage will save you from potential issues and ensure the drawer operates seamlessly.
Step 5: Finishing Touches and Maintenance
After successful installation and alignment, add finishing touches to enhance the drawer’s functionality and aesthetics. This might include adding handles or knobs to the drawer front for easier access and a polished look.
Regular maintenance of drawer rails is also important to ensure their longevity. Periodically check the screws and rails for any signs of loosening or wear and tear. Lubricating the rails can also help maintain smooth operation over time.
Connecting Your Home Storage Solutions
Implementing drawer rails in various areas of your home can create a cohesive and efficient storage system. For instance, upgrading kitchen cabinets with drawer rails can make accessing cookware and utensils more convenient. Similarly, installing drawer rails in your bathroom vanity can help organize toiletries and other essentials. By mastering the installation of drawer rails, you can enhance the functionality and organization of your home, creating a more efficient and enjoyable living space.
Conclusion
Mastering drawer rail installation is a valuable DIY skill that can significantly improve your home’s storage solutions. By following these five essential steps—measuring and planning, preparing tools and materials, installing the rails, testing alignment, and adding finishing touches—you can ensure a successful installation process. Drawer rails offer a practical and efficient way to enhance your home’s functionality, making it easier to access and organize your belongings. Start your DIY project today and experience the benefits of well-installed drawer rails in your home.