
DIY Epoxy Garage Floor: Simple Steps and Pro Tips
Are you tired of looking at your plain, cracked garage floor? A DIY epoxy garage floor might be just what you need to bring new life to your space.
This easy-to-apply solution not only improves the appearance of your garage but also adds long-lasting durability.
In this blog, we’ll explain everything you need to know, from gathering materials to applying your epoxy floor step by step. We’ll also compare the costs and maintenance needs to help you make the best choice.
Keep reading to learn how a DIY epoxy garage floor can transform your garage, protect your concrete, and save you money.
Why Choose Epoxy Garage Floors?
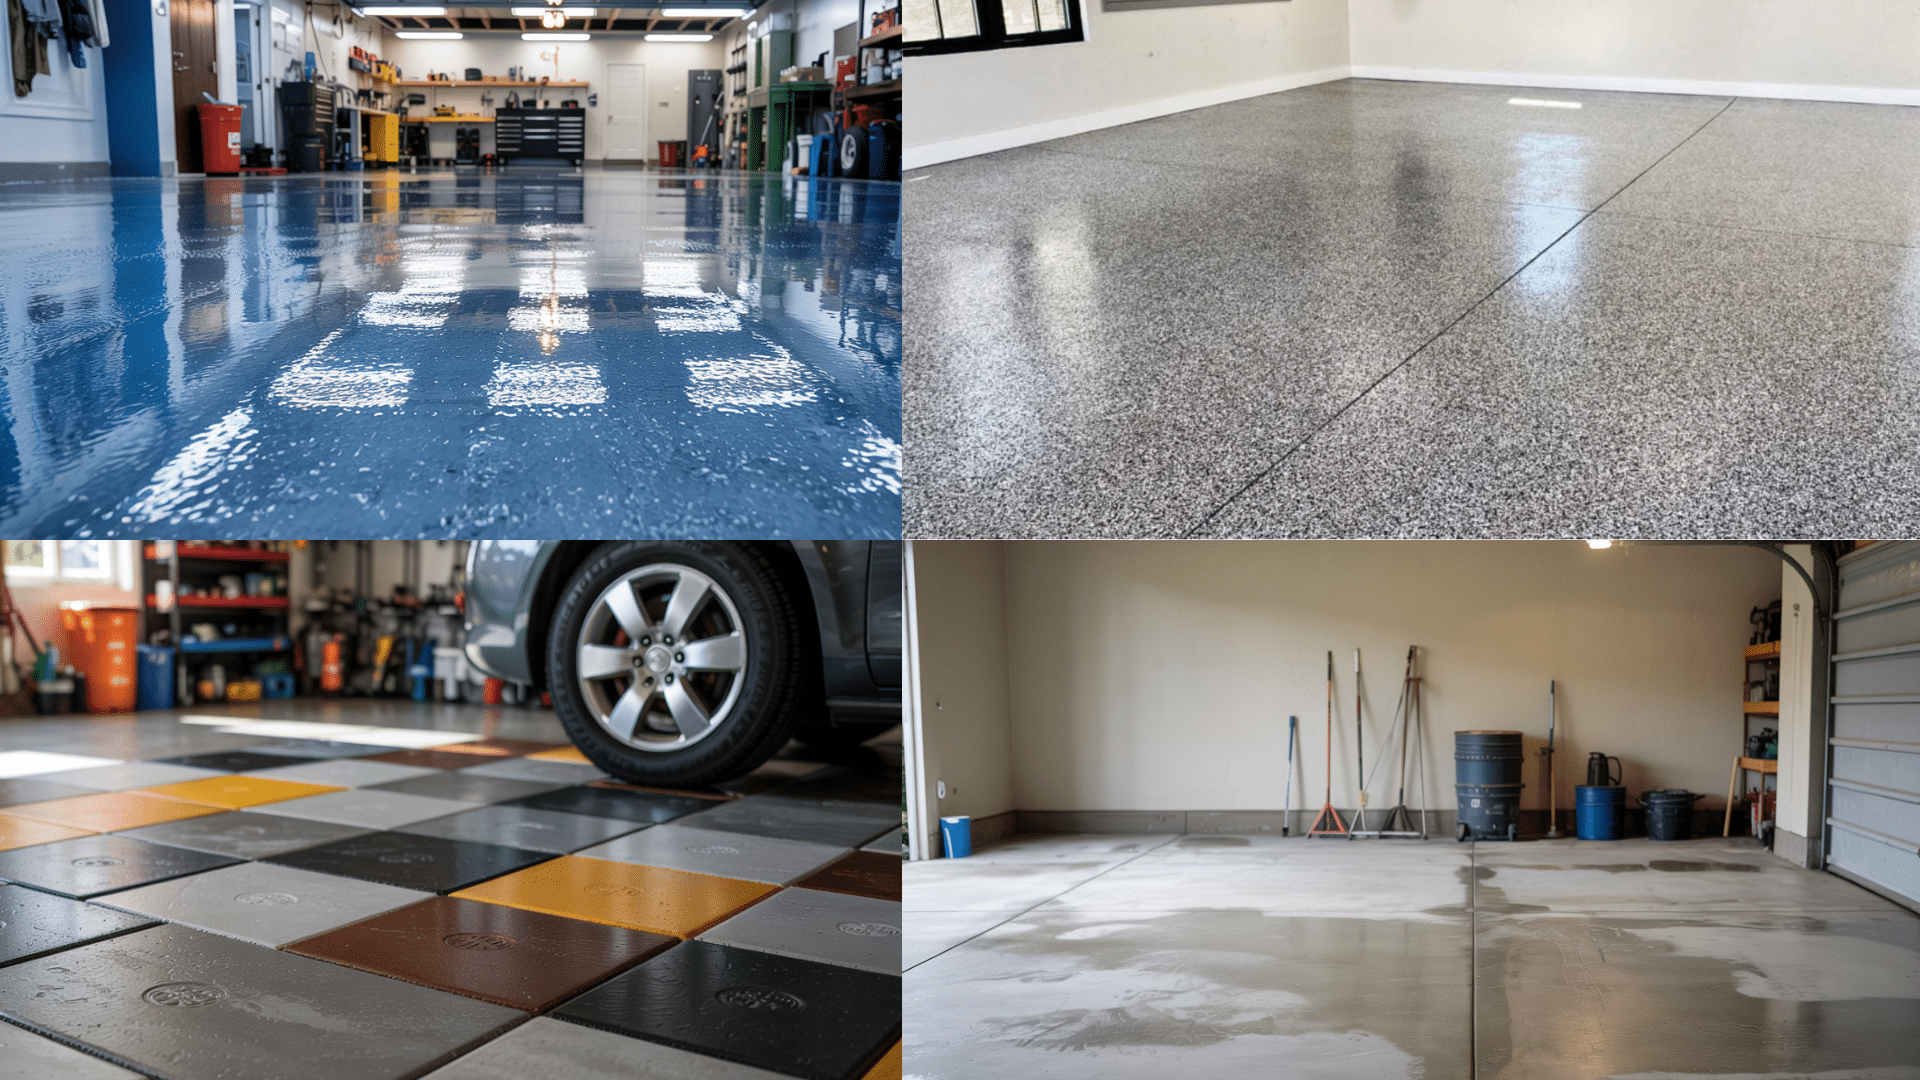
Epoxy garage floors are a popular choice because they offer both strength and beauty. They are easy to clean and can handle heavy use, making them perfect for garages. Plus, they come in many designs and finishes to suit your style.
These floors resist oil stains, gas spills, and tire marks that would damage other floors. Epoxy creates a seal that stops concrete dust and makes the floor last longer. The smooth surface makes it easier to sweep up dirt and wipe away spills.
Many homeowners pick epoxy floors to upgrade their garages while keeping costs lower than other options.
Comparing Epoxy Flooring with Other Options
Epoxy flooring is a popular choice for garages, but there are several other flooring options to consider. Here’s how it compares to other common garage flooring choices:
| Flooring Type | Durability | Aesthetic | Cost ($ per sq ft) | Maintenance |
|---|---|---|---|---|
| Epoxy Flooring | Highly resistant to stains, chemicals, and heavy traffic | Sleek, shiny finish with customization options like color and decorative flakes | $2-$5 for DIY, $5-$12 for professional installation | Easy to clean with regular sweeping and mopping |
| Polyurea Flooring | Extremely durable, more resistant to cracks and UV damage than epoxy | Similar to epoxy but more flexible in finish | $8-$12 for professional installation | Similar maintenance to epoxy, but with better performance in extreme temperatures |
| Interlocking Tiles | Good resistance to stains and damage but may not withstand heavy equipment | Various colors and patterns but lacks the glossy finish of epoxy | $3-$8 depending on material | Requires regular cleaning of seams and tiles can be replaced if damaged |
| Concrete Sealer | Provides basic protection but is more vulnerable to stains, scratches, and chemicals | Matte finish with minimal customization | $1-$3 | Requires reapplication over time and harder to clean |
In summary, epoxy flooring is a solid choice if you’re looking for durability and aesthetic appeal at a moderate price.
However, if you’re after more flexibility or higher durability under extreme conditions, polyurea or interlocking tiles may be better options.
Step-by-Step Application Process
Now, let’s review the steps for applying your epoxy garage floor. Before starting, gather all your materials and tools so you’re ready to go.
Tools and Materials You’ll Need
Here are the essential materials for applying a DIY epoxy garage floor:
- Epoxy Kit: Includes resin and hardener.
- Rollers: For smooth application of the epoxy.
- Brushes: For edges and corners.
- Concrete Cleaner: To remove dirt and grease.
- Concrete Patch: To fill in cracks or holes.
- Concrete Etching Solution: Helps prepare the surface.
- Painter’s Tape: To mask off areas you don’t want coated.
- Protective Gloves: To keep your hands safe from chemicals.
- Respirator Mask: For safety from fumes.
- Plastic Sheeting: To protect walls and baseboards.
Now, let’s begin with the steps.
1. Prepare the Garage Floor
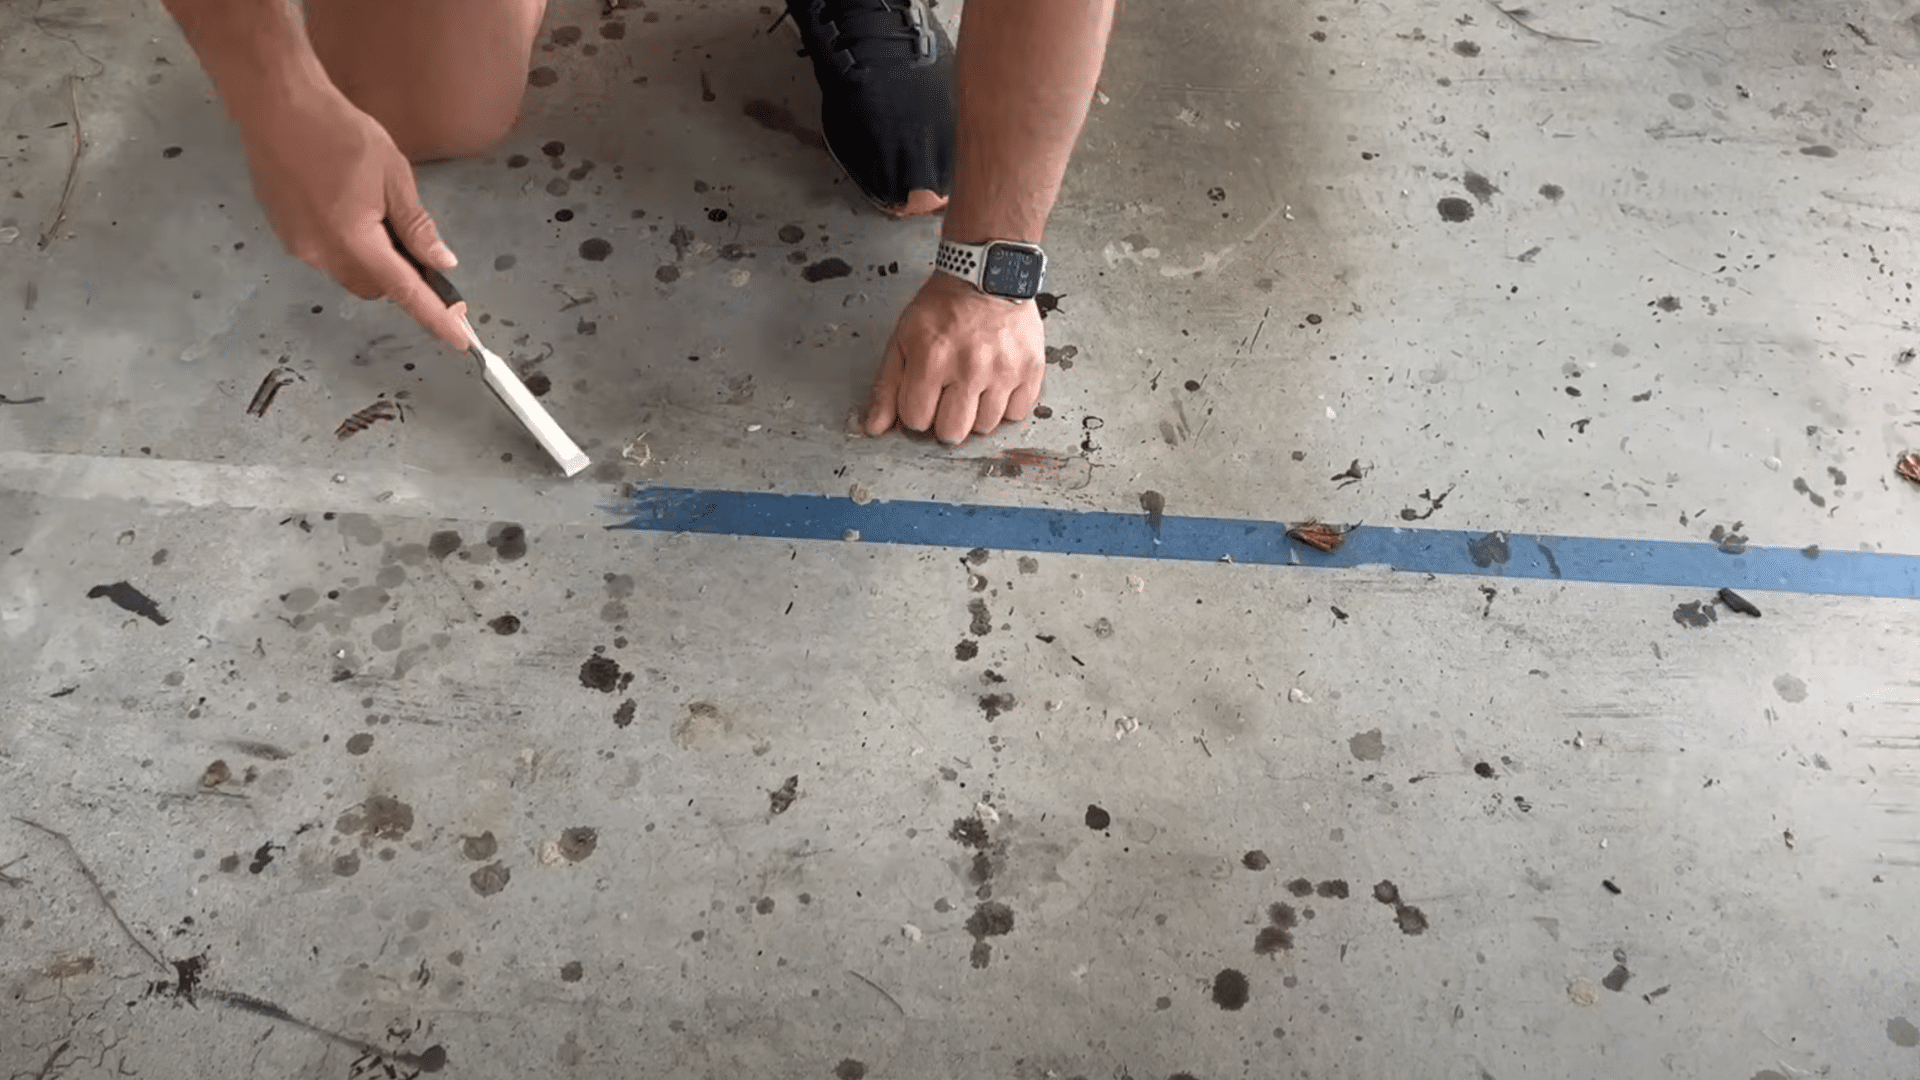
The first step is to clear everything out of your garage, including all items that touch the floor. If any materials, such as tape, glue, or old adhesives, are stuck to the surface, make sure to remove them.
It’s essential to perform a moisture test by taping plastic sheeting to the floor and leaving it for 24 hours.
If condensation or moisture is beneath the plastic, a moisture barrier must be applied to avoid peeling and ensure the epoxy sticks properly.
2. Clean the Floor
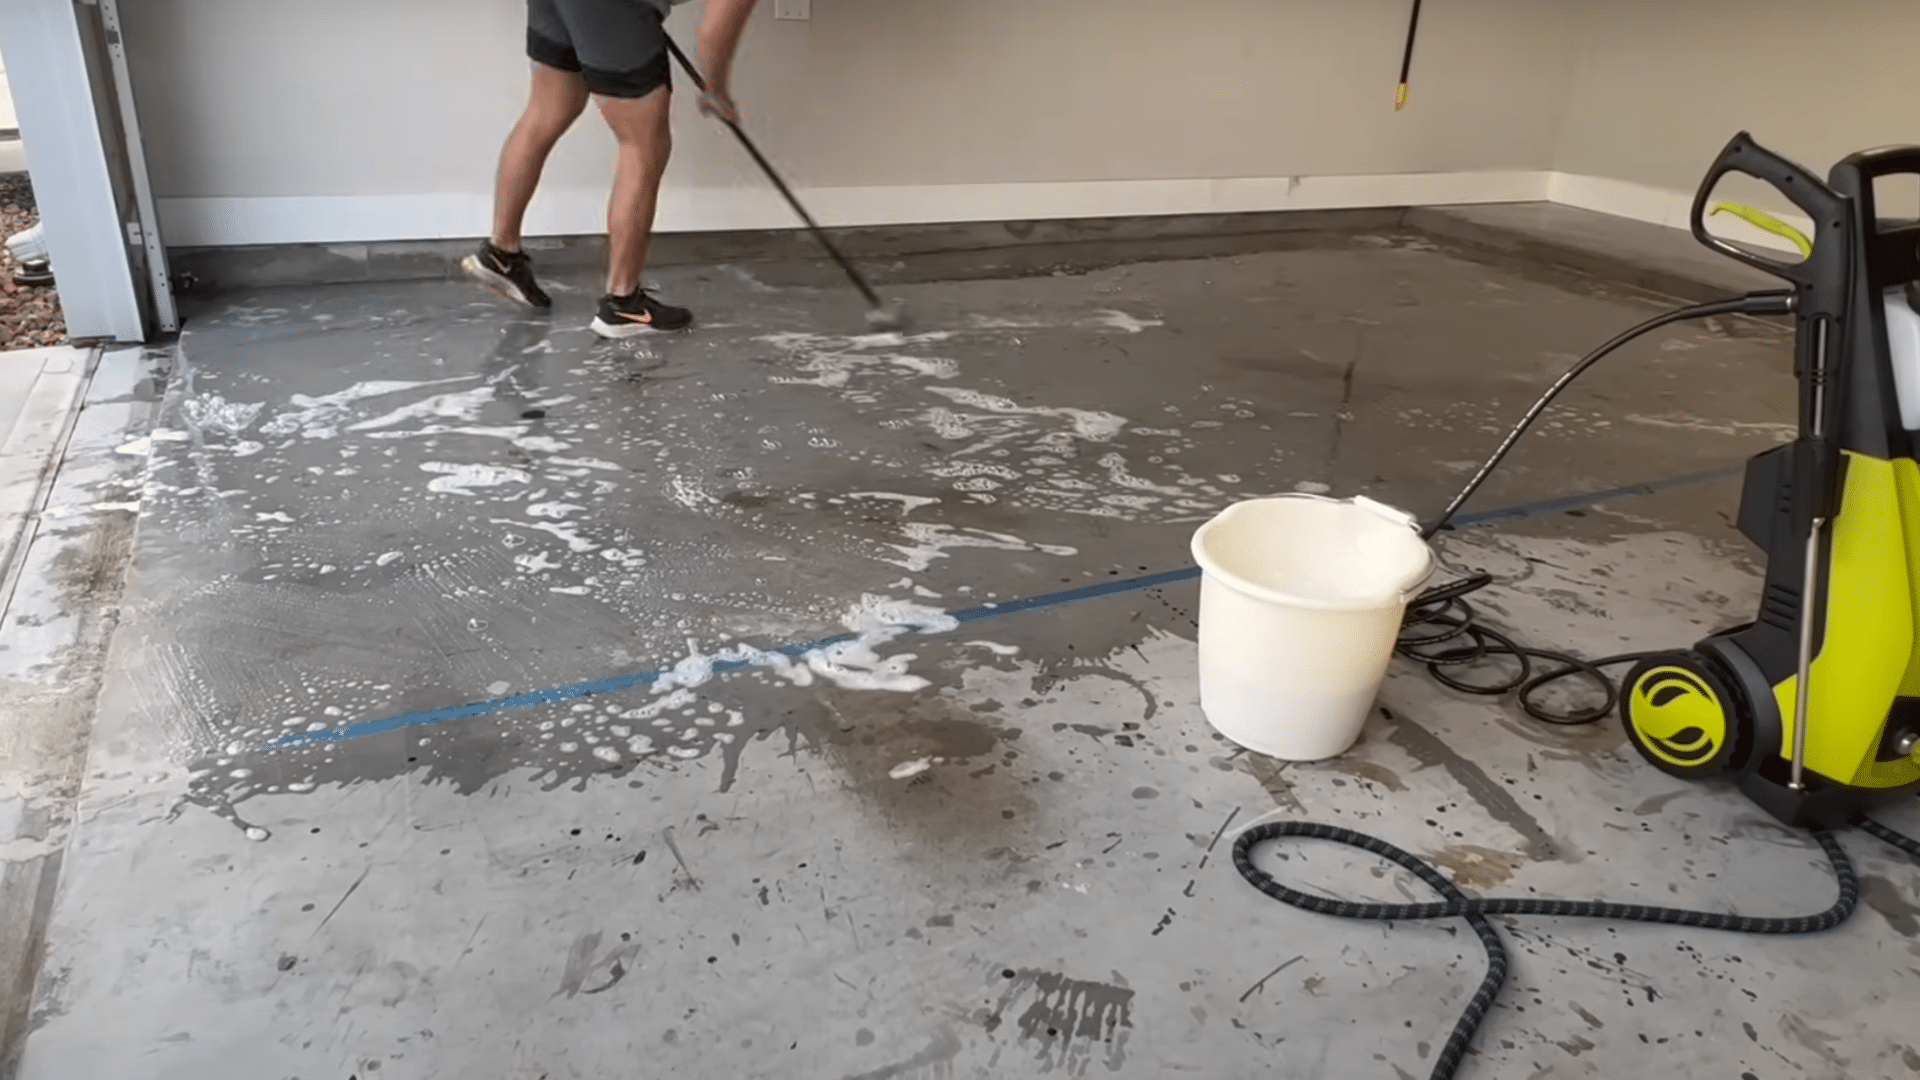
Before applying the epoxy, thoroughly clean the entire floor to ensure proper adhesion. Use a degreaser to scrub the garage floor, especially if it’s older or has built-up grease.
Pay close attention to areas where oil or dirt may have accumulated over time. After cleaning, power wash the floor to remove any residue from the degreaser and rinse off any leftover grime.
Before proceeding to the next step, the floor must be completely dry, so allow it time to air dry.
3. Choose a Concrete Prep Method
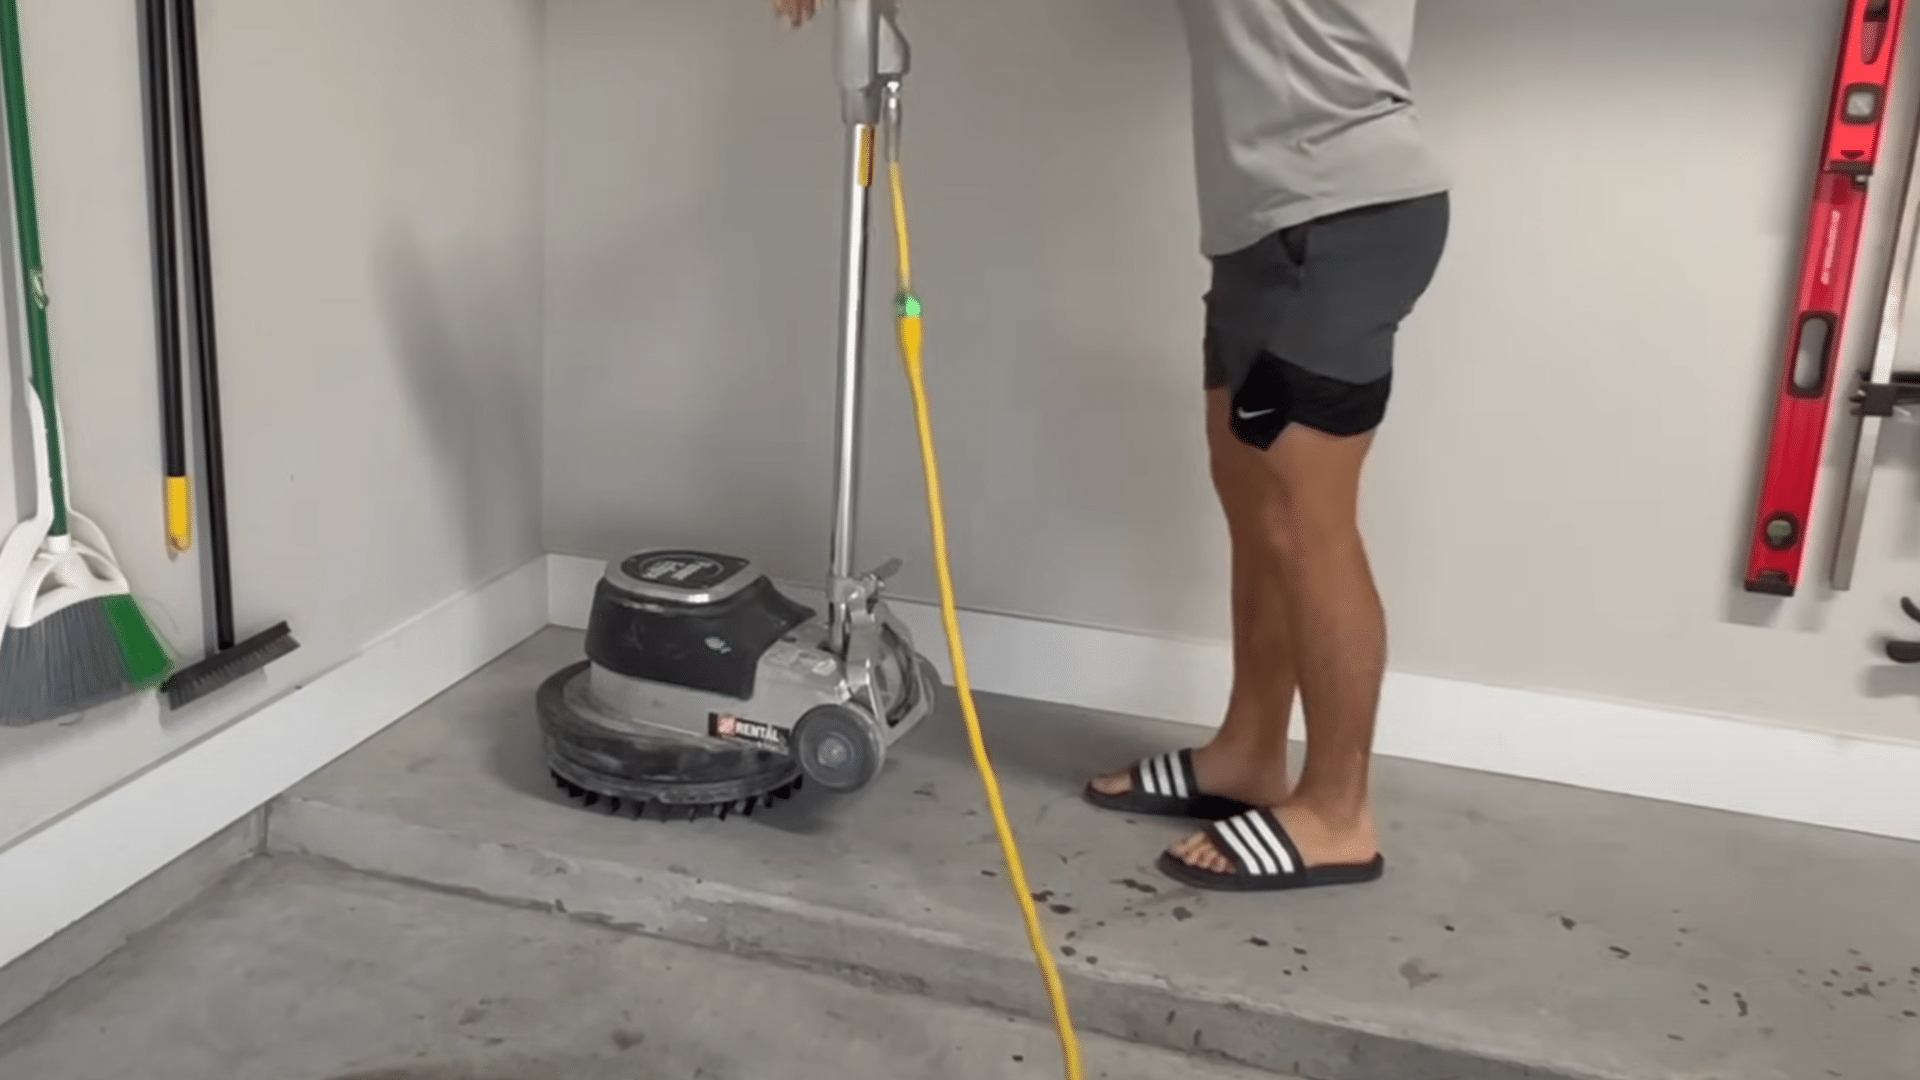
There are two common methods for preparing the surface: concrete grinding and acid etching. Grinding, although more labor-intensive, is the most effective method as it exposes fresh concrete for the epoxy to bond better.
This method provides a more durable finish, especially in older, rougher garages. Acid etching is a faster and easier option.
While acid etching is less expensive and quicker, it may not provide as strong a bond as grinding, so choose the method that best fits your needs.
4. Mix the Epoxy
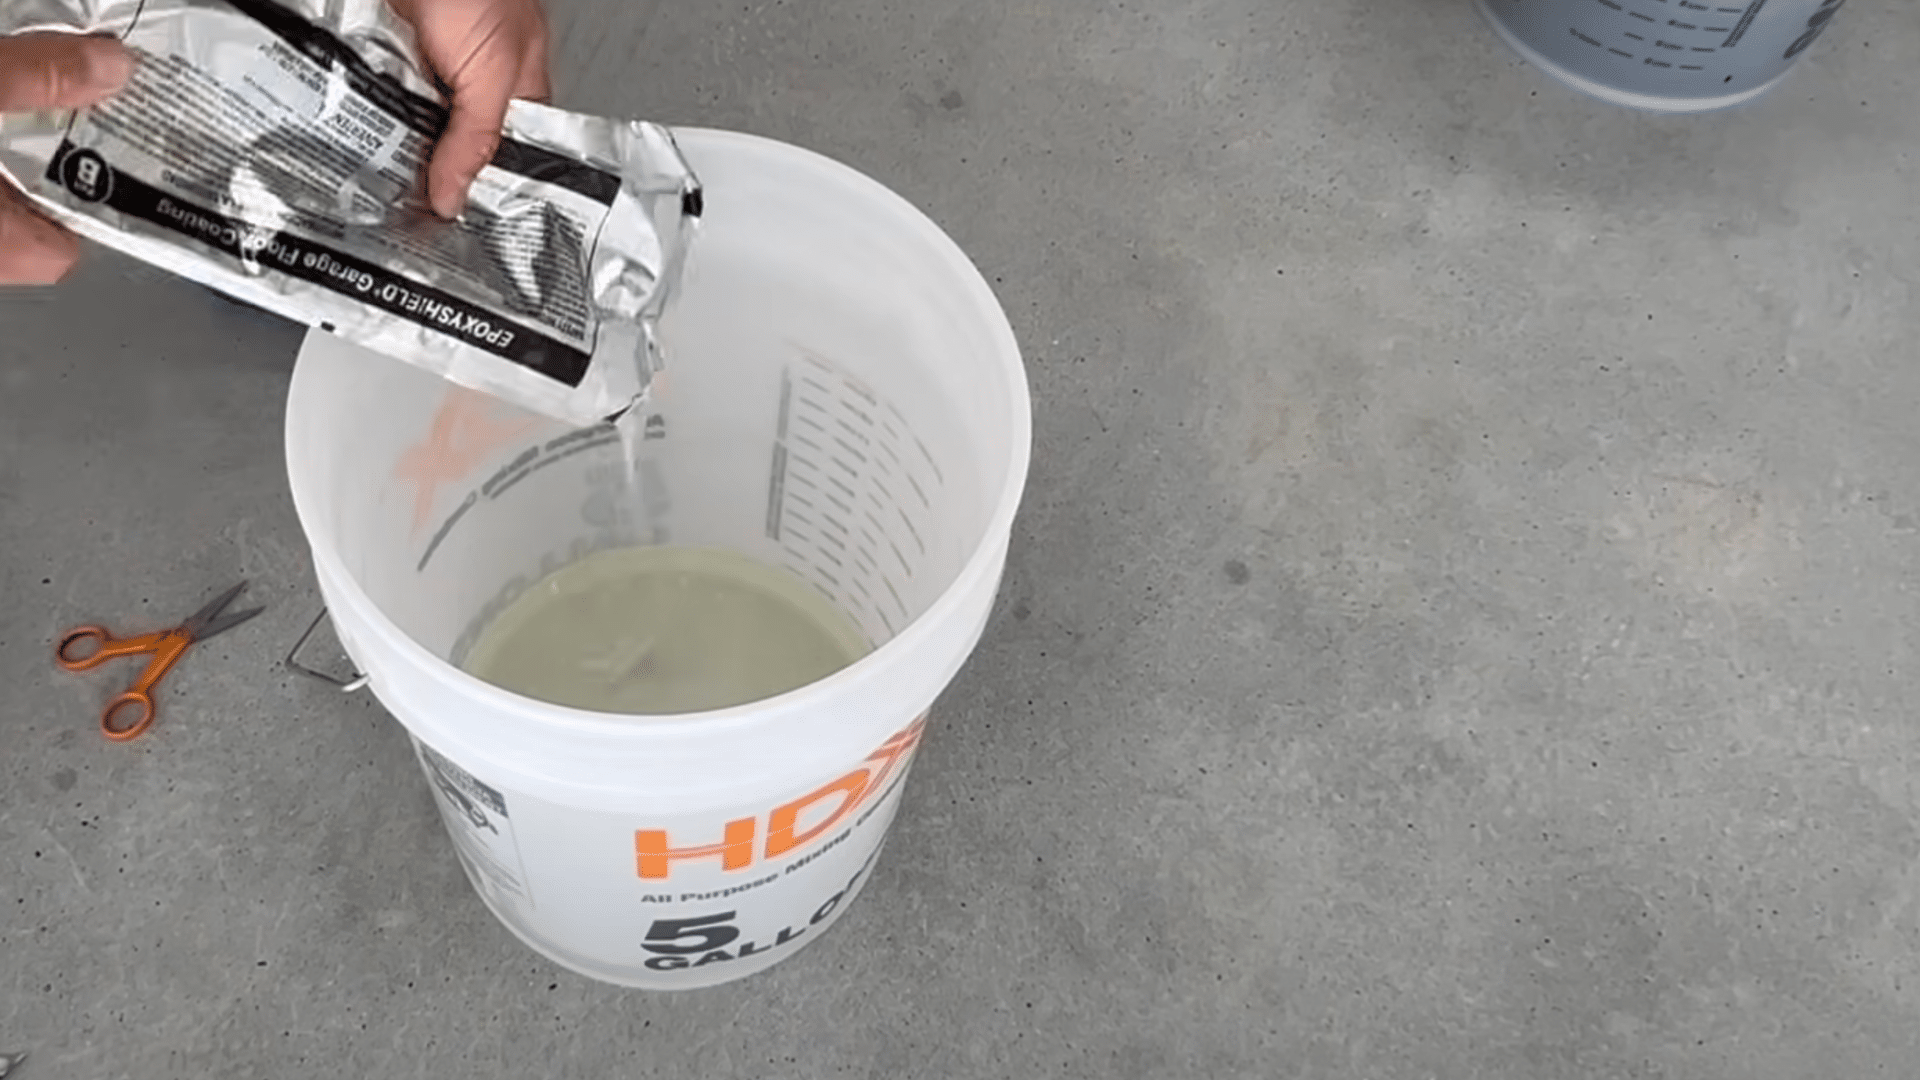
Carefully follow the manufacturer’s instructions to mix the two components of the epoxy kit. Part A and Part B must be thoroughly mixed to ensure a consistent color and texture.
If you’re adding any decorative flakes or an anti-skid additive for extra grip, mix these into the epoxy now.
For the best results, use a mixing stick or a drill with a mixing attachment, ensuring both parts of the epoxy are well-combined and ready for use.
5. Apply the Epoxy
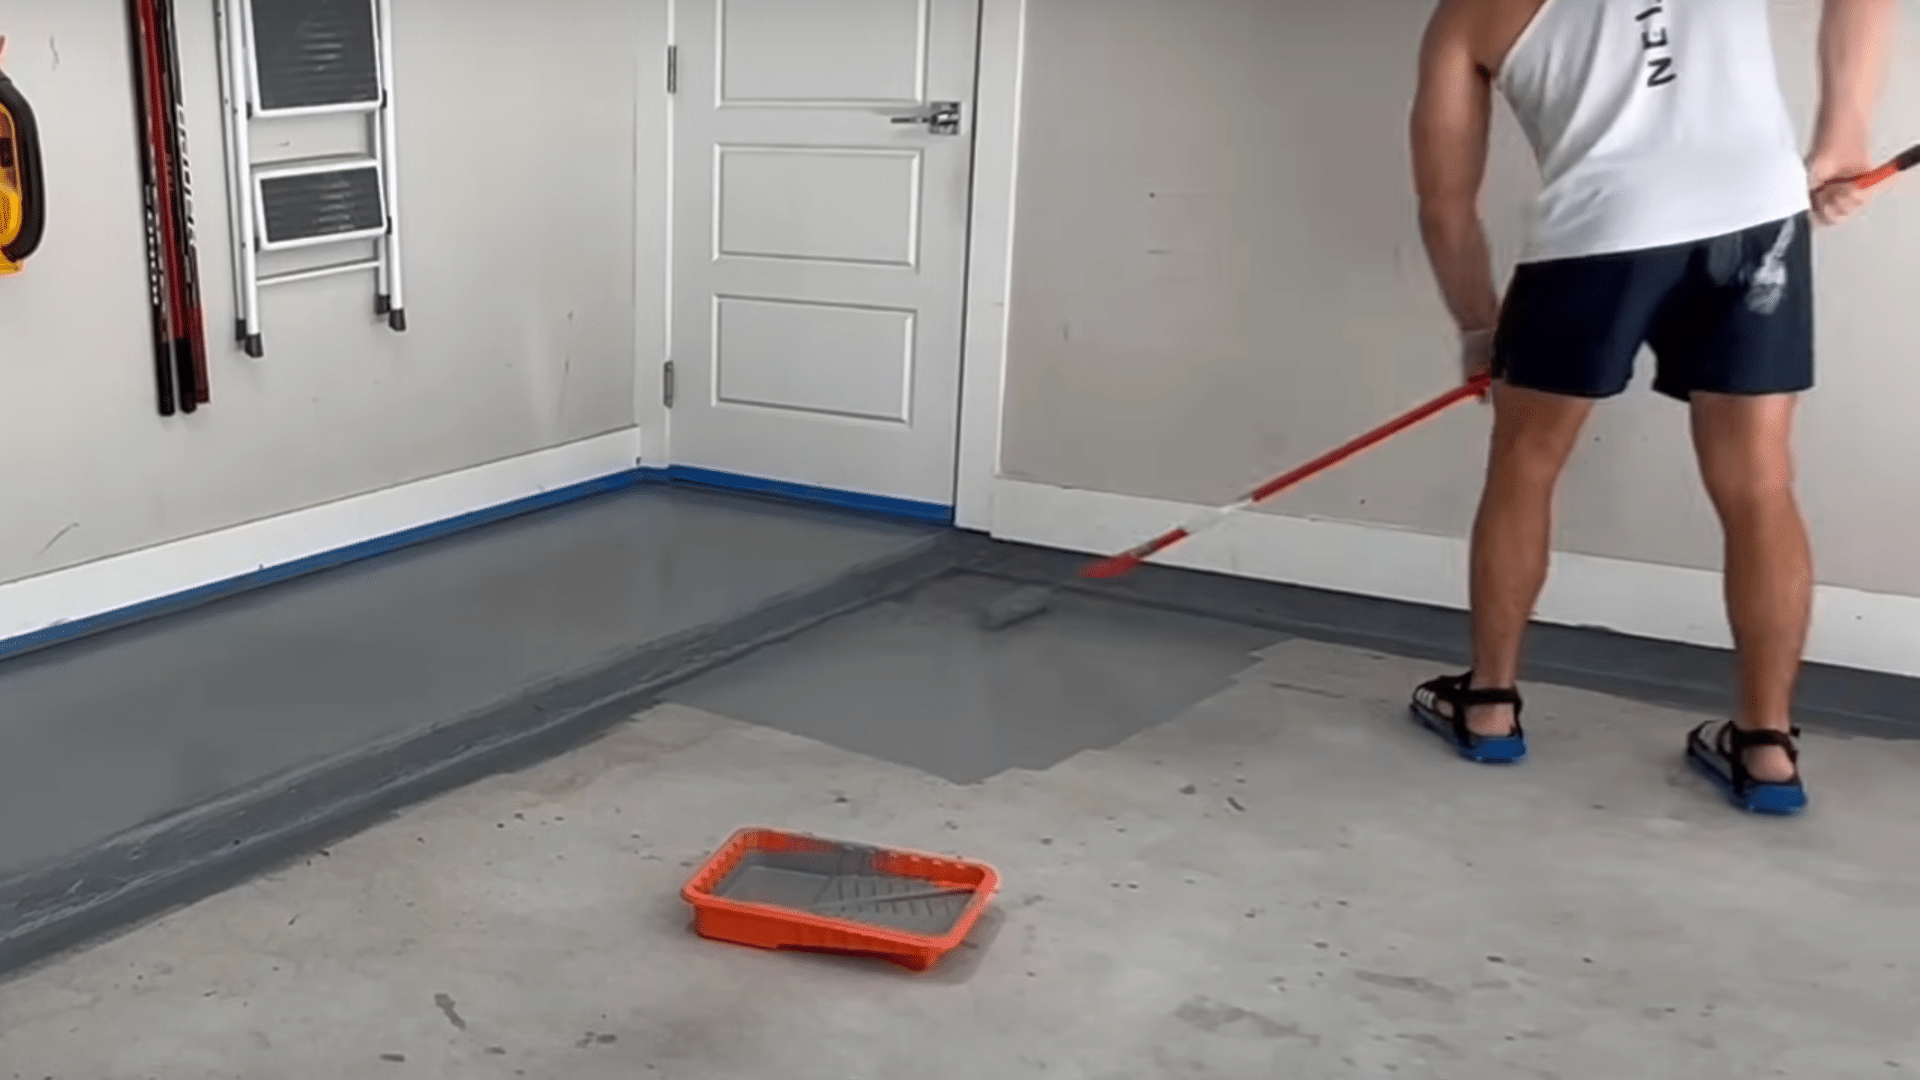
Once the epoxy is mixed, start by brushing the garage edges and any vertical surfaces. Afterward, use a roller to apply the epoxy in sections.
Apply the coating in a “W” or “M” pattern, slightly overlapping each section to maintain a wet edge. This ensures even coverage and prevents streaks.
If you are using decorative flakes, sprinkle them onto the wet epoxy while working in small sections, ensuring they are evenly distributed.
6. Let it Cure and Clean Up
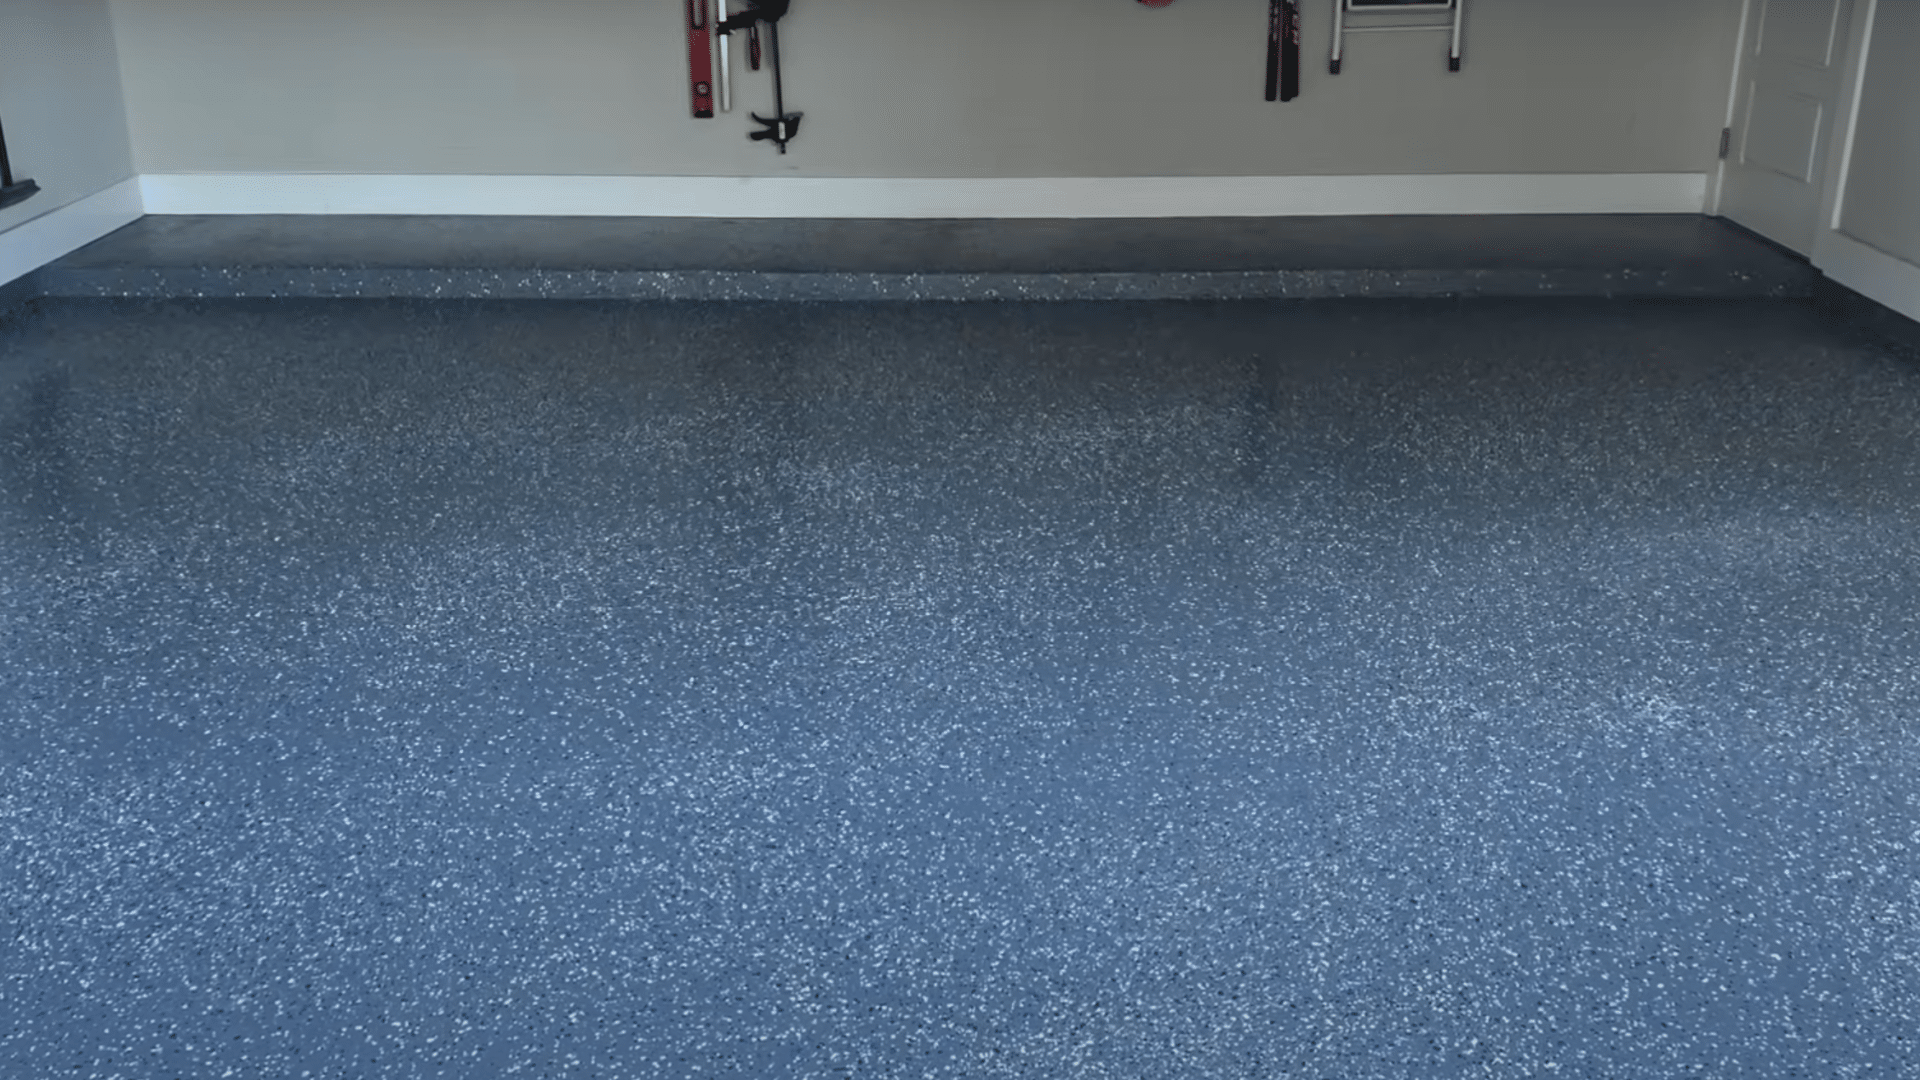
Once the epoxy is applied, allow the floor to dry for at least 24 hours before walking on it. However, you should wait a full 3 days before moving your car back into the garage to give the epoxy time to cure and harden fully.
After the floor has cured, vacuum or sweep away any loose decorative chips and remove the masking tape to reveal a smooth, flawless finish.
Your garage floor is now ready for use with a long-lasting, durable coating.
To understand the process in detail, you can refer to the YouTube video below.
Cost Breakdown for Epoxy Flooring
The cost of epoxy flooring varies based on factors like resin type, square footage, and whether you opt for DIY or professional installation. On average, you can expect to pay around $2 to $12 per square foot, including materials and labor.
For DIY epoxy installation, costs are typically between $2 to $5 per square foot, though additional costs may arise from renting tools or equipment for surface preparation.
For professional installation, contractors charge around $5 to $12 per square foot, with more elaborate finishes, such as metallic or glitter designs, raising the price.
DIY projects may cost $1,000 to $2,500 for a 500-square-foot garage, while professional installation can range from $2,500 to $7,000, depending on complexity and labor rates.
Common Mistakes to Avoid
Proper preparation, accurate mixing, and allowing sufficient curing time are key to a successful epoxy garage floor project. Skipping any of these steps can lead to poor adhesion, uneven coverage, and potential floor damage.
Here are some common mistakes to avoid:
- Skipping Prep Work: Failing to properly clean, repair, and etch the concrete can result in poor adhesion and peeling over time.
- Incorrect Mixing: Not following the manufacturer’s instructions for mixing the resin and hardener can cause the epoxy to cure improperly, affecting both appearance and durability.
- Not Allowing Full Cure Time: Using the garage too soon before the epoxy has fully cured can lead to smudging, surface damage, or improper hardening.
- Using Low-Quality Materials: Choosing inexpensive, low-quality epoxy kits can result in a finish that chips, cracks, or stains more easily.
- Overapplying Epoxy: Applying too much epoxy at once can cause uneven coverage and slow drying times, leading to bubbles and imperfections on the surface.
Post-Application Care and Maintenance
Maintaining your epoxy garage floor is essential for its longevity and appearance. Regular cleaning and prompt stain removal help preserve its beauty and functionality. Proper care ensures your floor stays durable and looks fresh for years to come.
Here are some of the tips to care for the floor.
- Regular Cleaning: Sweep and mop the floor regularly to prevent dirt and debris buildup. Use a mild detergent to avoid damaging the surface.
- Handle Spills Quickly: Clean spills immediately, especially oils or chemicals, using a damp cloth or sponge. This helps prevent stains from setting.
- Avoid Harsh Chemicals: Don’t use harsh cleaning chemicals that could damage the epoxy coating. Stick to gentle cleaners and avoid abrasive tools.
- Inspect for Wear: Check the floor regularly for signs of damage or wear, especially in high-traffic areas. Touch up any small areas as needed.
- Protect from Heavy Impacts: Use protective mats or rugs under heavy equipment or sharp objects to prevent scratches or dents on the epoxy surface.
Wrapping Up
A DIY epoxy garage floor is a great way to upgrade your space with minimal effort and cost. By following the steps we covered, you can achieve a durable, attractive surface that lasts.
Whether you choose DIY or professional installation, proper preparation and maintenance will ensure the best results.
Ready to get started? Consider gathering your materials and giving your garage a fresh, new look today.
It’s an easy, affordable project that will leave your garage looking great and standing up to wear and tear.


