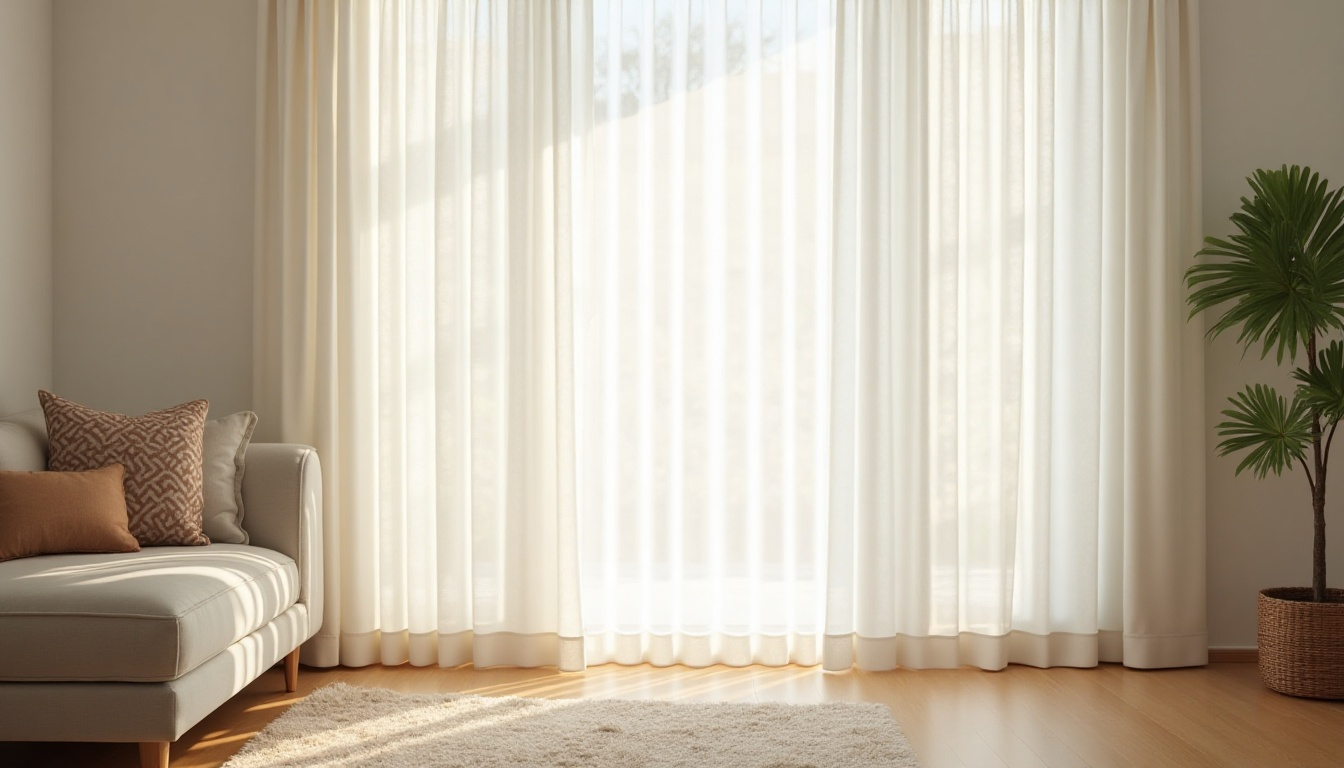
DIY: Convert Dresser Drawers into Stylish Shelving
Old furniture can feel like a burden in your home. I know the feeling – that worn-out dresser sitting in your garage seems useless, but throwing it away feels wasteful.
I’ve found a budget-friendly solution to give your old dresser a new life. Turning those dusty drawers into wall shelves will create useful storage that looks like it came from a high-end store.
In this guide, I’ll show you my step-by-step process to transform dresser drawers into beautiful wall shelves.
You’ll learn which tools you need, how to prep the drawers and the best ways to mount them safely. I’ll also share my favorite tips for painting and finishing touches.
Benefits of Upcycling Dresser Drawers
Environmental Impact of Repurposing
You’ve noticed how much furniture is in landfills these days. When I turn old dresser drawers into shelves, I do my part to reduce waste.
By reusing what we already have, we reduce the need for new manufacturing, which means fewer trees are cut down, and less energy is used.
Cost-Saving Advantages
Let’s talk money—because who doesn’t love saving money? Store-bought shelving units can cost hundreds of dollars.
But when I work with old dresser drawers, my biggest expenses are usually just paint and brackets, keeping my total cost under $30.
Unique, Personalized Home Decor
Here’s what I love about turning drawers into shelves – no two pieces look exactly alike! I can paint them to match my room’s style, add different finishes, or leave some of the original wood showing.
The best part? When friends visit, they’re always surprised to learn these shelves used to be dresser drawers.
Essential Tools Needed for Converting Drawers into Shelves
| Tools | Materials |
|---|---|
| Screwdriver | Dresser |
| Saw (hand or electric) | Dresser drawers (for shelves) |
| Measuring tape | Plywood or back panel material |
| Sandpaper (medium and fine grit) | Paint, primer, or wood stain |
| Sanding block or electric sander | Wood screws or nails |
| Drill | Metal brackets or wood blocks |
| Paintbrush or roller | Clear sealant |
| Level | Felt pads (for the bottom of the dresser) |
| Crowbar (optional) | Protective sheet (to cover workspace) |
How to Turn Dresser Drawers Into Shelves: Easy Steps

Step 1: Clean and Disassemble the Dresser
- Start by cleaning the dresser thoroughly with a damp cloth to remove dust, grime, or old residue.
- Carefully remove all the drawers and set them aside. Inspect the dresser for any broken or loose components.
- Use a screwdriver to remove any hardware, such as handles or knobs, from the drawers and dresser. Store these if they will be reused later.
- If the dresser top or trim is damaged, use a crowbar or similar tool to detach these parts for repair or replacement.
Step 2: Determine and Mark Shelf Dimensions
- Measure the space where the new shelves will go, considering your project’s desired height and depth. Use a measuring tape to mark the points where the dresser will be cut.
- Decide the number of shelves you want and calculate the spacing between them. Use a ruler or straight edge to draw cutting guides on the dresser for uniformity.
- Ensure that the cuts will align with the structural integrity of the dresser frame to prevent weakening the unit.
Step 3: Cut the Dresser to Size
- Carefully cut the dresser along the marked lines using a hand or electric saw. Focus on keeping the cuts clean and straight.
- Remove any leftover internal dividers or supports not part of the final design.
- Sand the freshly cut edges to eliminate splinters or rough surfaces. Use medium-grit sandpaper for shaping and fine-grit sandpaper for smoothing.
Step 4: Install the Shelves
- If necessary, detach the drawer fronts and repurpose the dresser drawers as shelves. If the dimensions require adjustments, cut the drawer bases to fit inside the dresser frame.
- Position the shelves at the pre-measured intervals inside the dresser. Use a level to ensure they are straight.
- Secure the shelves with metal brackets, wood screws, or nails. For added support, reinforce the corners with small wooden blocks.
Step 5: Refinish and Paint
- Sand all dresser surfaces and shelves to remove old paint, scratches, or stains. Pay special attention to corners and edges for a smooth finish.
- If you plan to paint the dresser, apply a primer coat. Once dry, use your chosen paint or stain to achieve the desired look. Apply multiple thin coats for even coverage, allowing sufficient drying time between layers.
- Finish with a clear sealant to protect the surfaces and add a polished look.
Step 6: Attach Back Panel and Add Final Details
- Cut a back panel from plywood or leftover paneling to fit the dresser’s rear. Sand the edges and paint or stain the panel to match the dresser.
- Attach the back panel securely with screws or nails, ensuring it is flush with the frame.
- Add felt pads or protective stickers to the bottom of the dresser to prevent floor scratches.
- Reattach any original hardware if reused, or install new handles or knobs to enhance the design.
- Move the finished shelves into position, decorate them, and enjoy your new piece of furniture!
For a detailed tutorial on how to turn dresser drawers into shelves, check out the video below:
Tips for Styling Your New Shelves
- Space your items in groups of three for a balanced look
- Mix heights by stacking books with shorter decorative pieces
- Add small plants to bring natural warmth to your shelves
- Place heavier items closer to the brackets for better support
- Leave some open space to avoid a crowded feel
- Use bookends to keep reading materials tidy and upright
- Include a mix of textures – smooth, rough, and patterned items
- Put frequently used items at eye level for easy access
- Add a small framed photo or art piece as a focal point
- Layer items slightly to create visual depth
- Place taller items toward the back of each shelf
Creative Ways to Use Dresser Drawers as Shelves
1. Kitchen Spice Racks
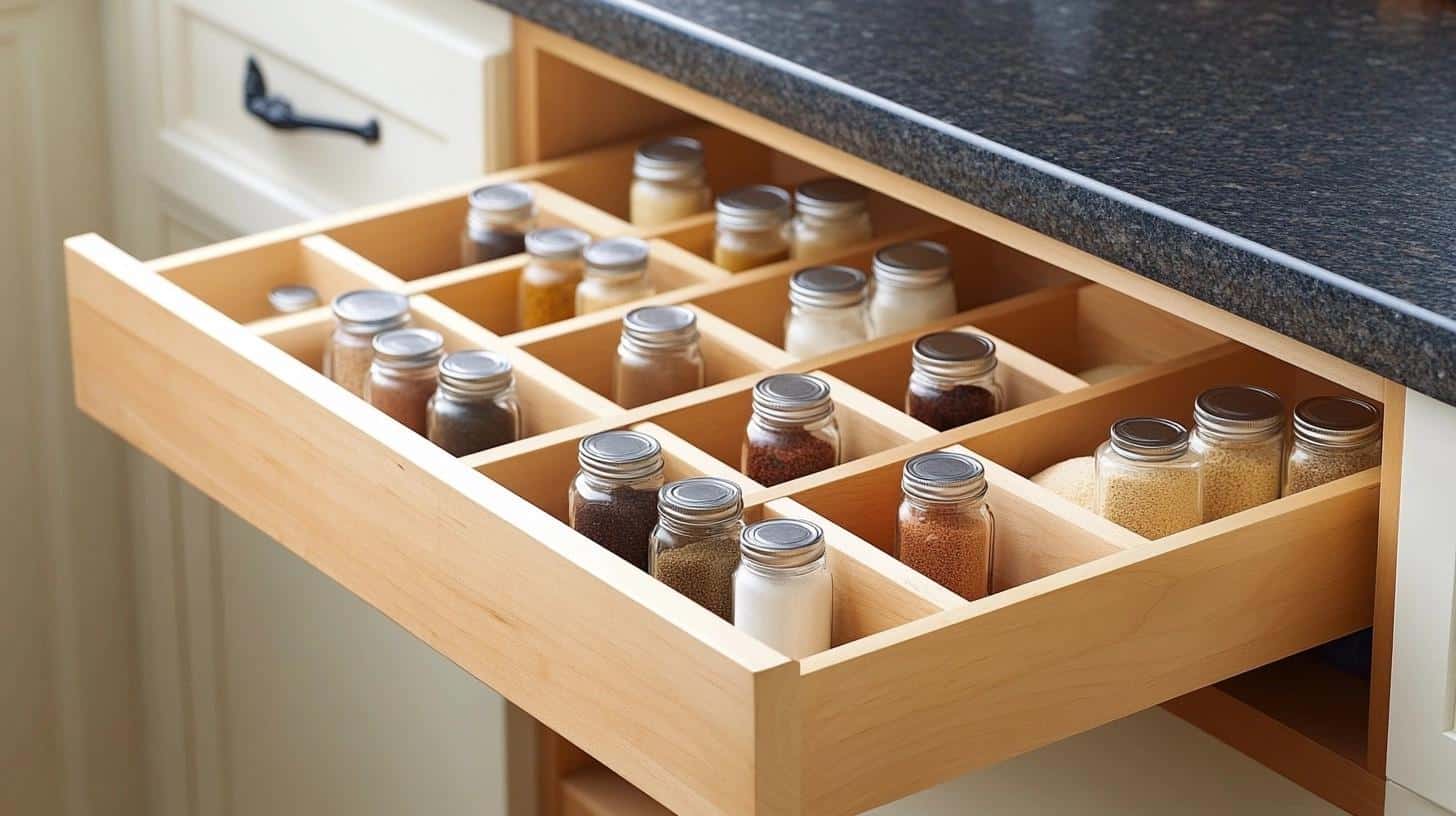
Repurpose a drawer into a spice rack with small jars or dividers. Mount it on the wall or keep it on the counter for organized, easy access to spices.
- DIY Difficulty Level: Medium
2. Jewelry Organizer
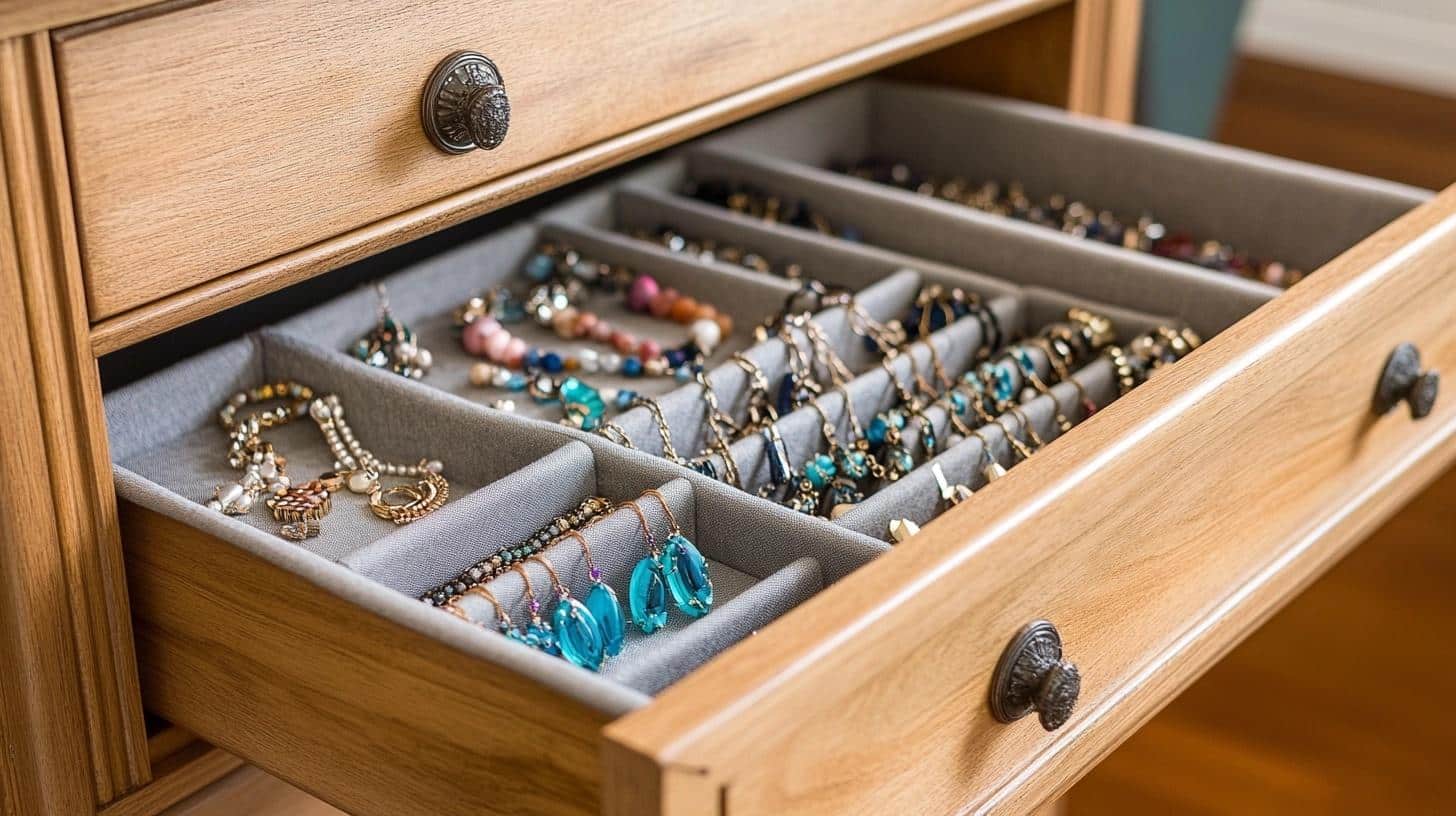
Line the drawer with fabric and add hooks to hang necklaces and bracelets. This stylish wall-mounted organizer for jewelry can also be used.
- DIY Difficulty Level: Medium
3. Entryway Organizer
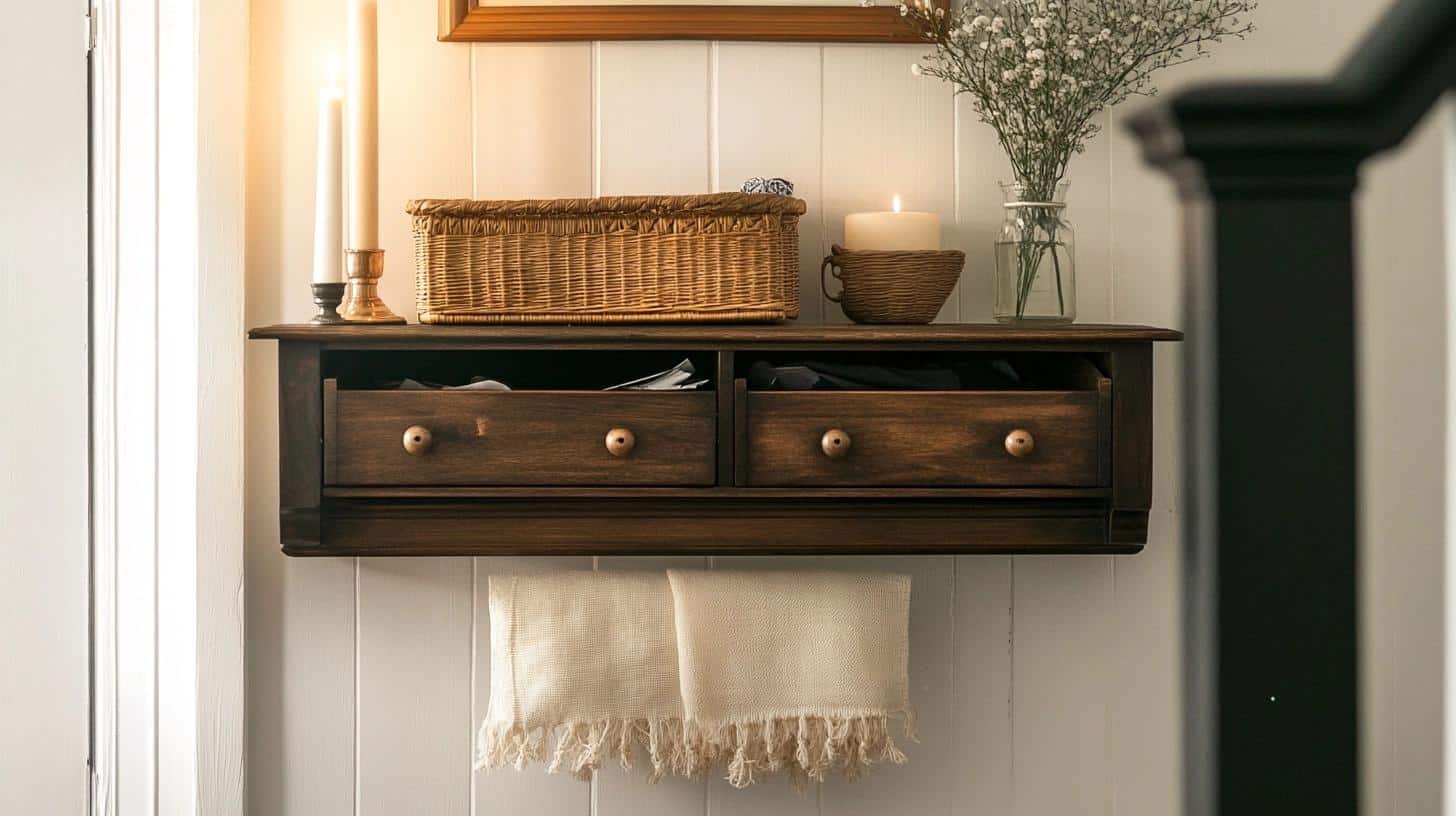
Place a drawer shelf near the door to hold keys, wallets, or mail. Add a decorative basket or candle for a warm, welcoming touch.
- DIY Difficulty Level: Easy
4. Music Corner
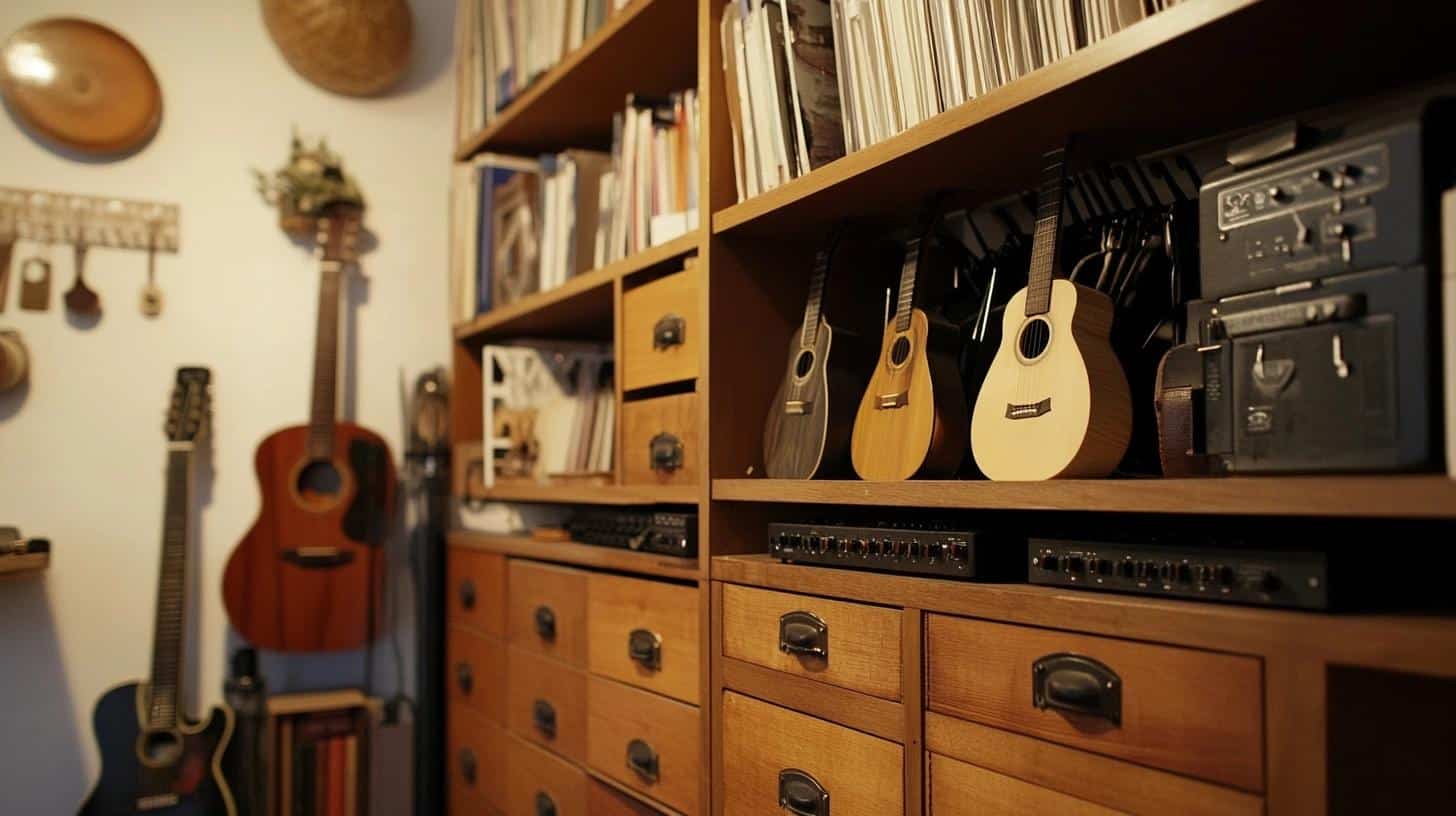
Create a music corner using dresser drawers to display and organize sheet music. Use the shelves to store small instruments like ukuleles or tambourines, and attach hooks beneath the drawers for hanging headphones or cables, keeping everything tidy and accessible.
- DIY Difficulty Level: Medium
5. Craft Supplies Holder
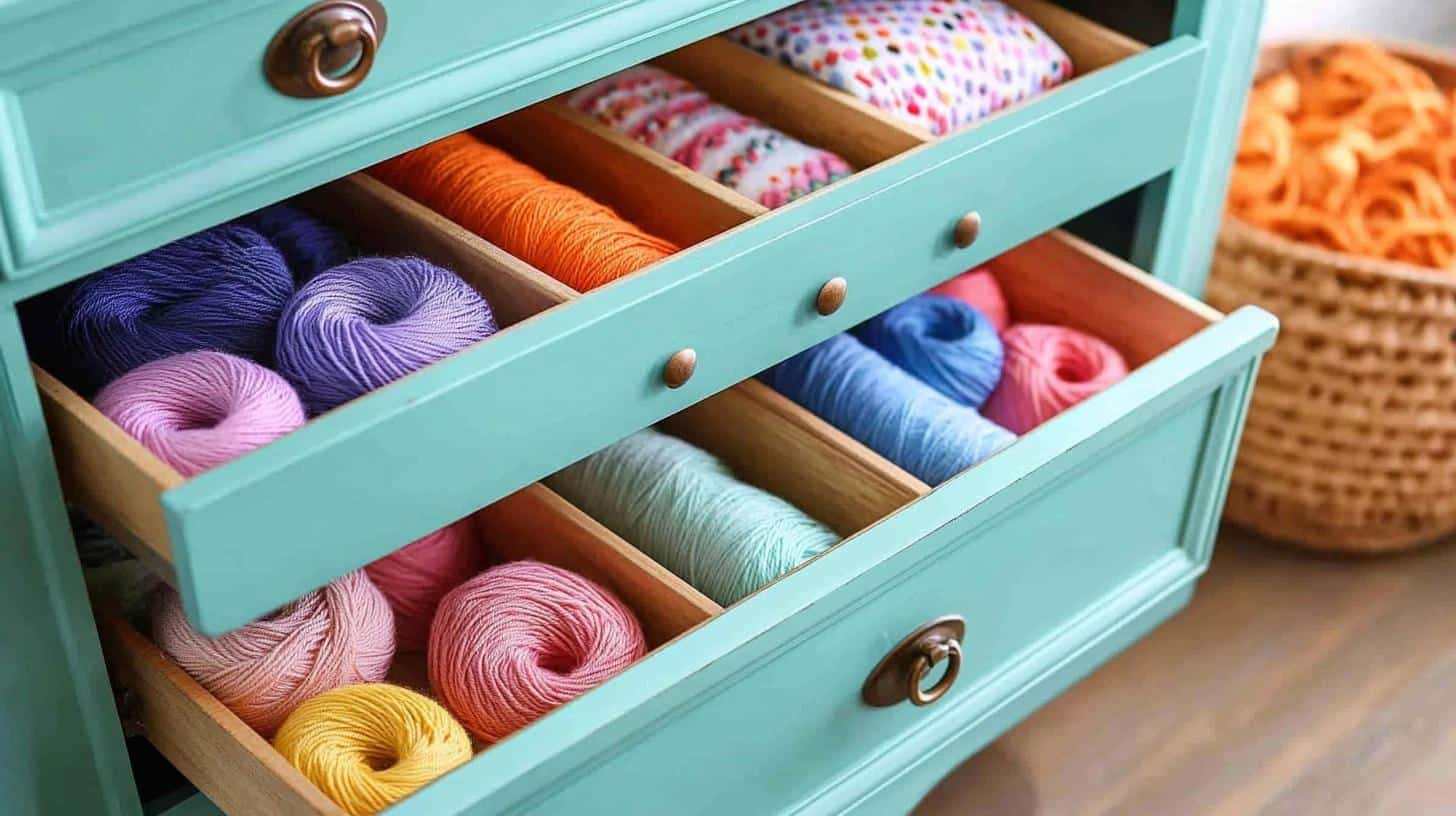
Decorate a drawer and use it to store yarn, sewing kits, or other supplies. To make it more functional, attach hooks underneath for ribbons or scissors.
- DIY Difficulty Level: Medium
6. Bathroom Towel Rack
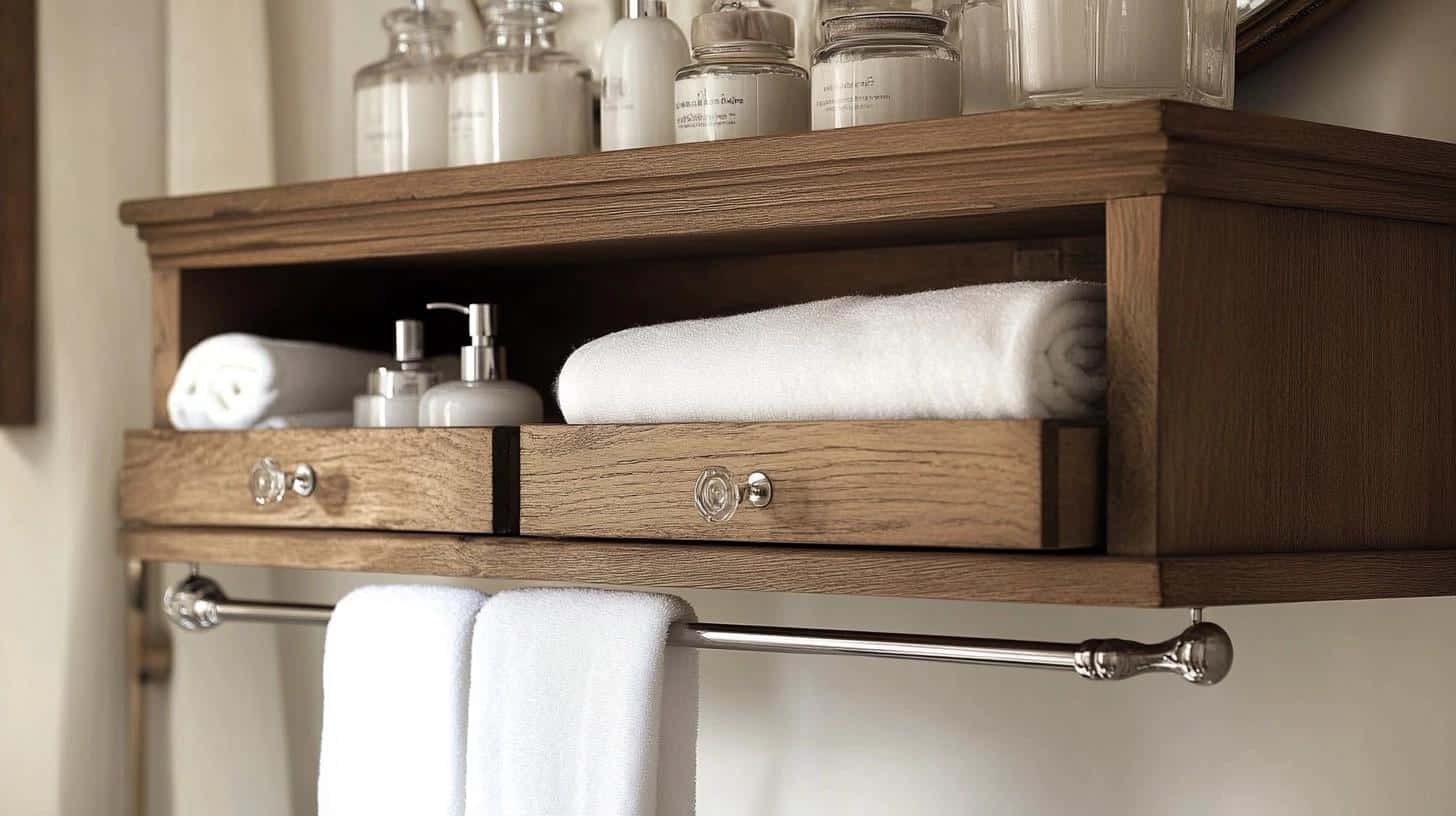
Attach a bar under a mounted drawer to hold hand towels, while the top holds lotions, soaps, or candles. It’s functional and stylish.
- DIY Difficulty Level: Medium
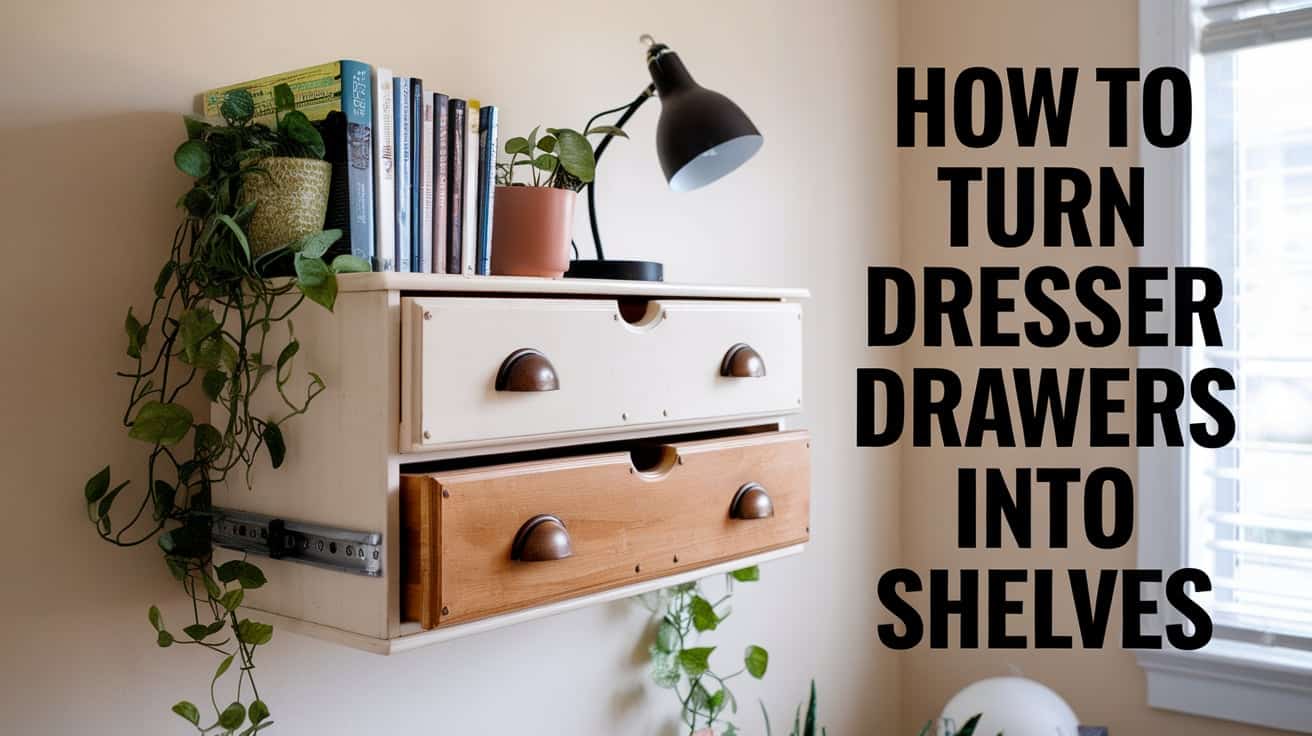
7. Floating Wall Shelves
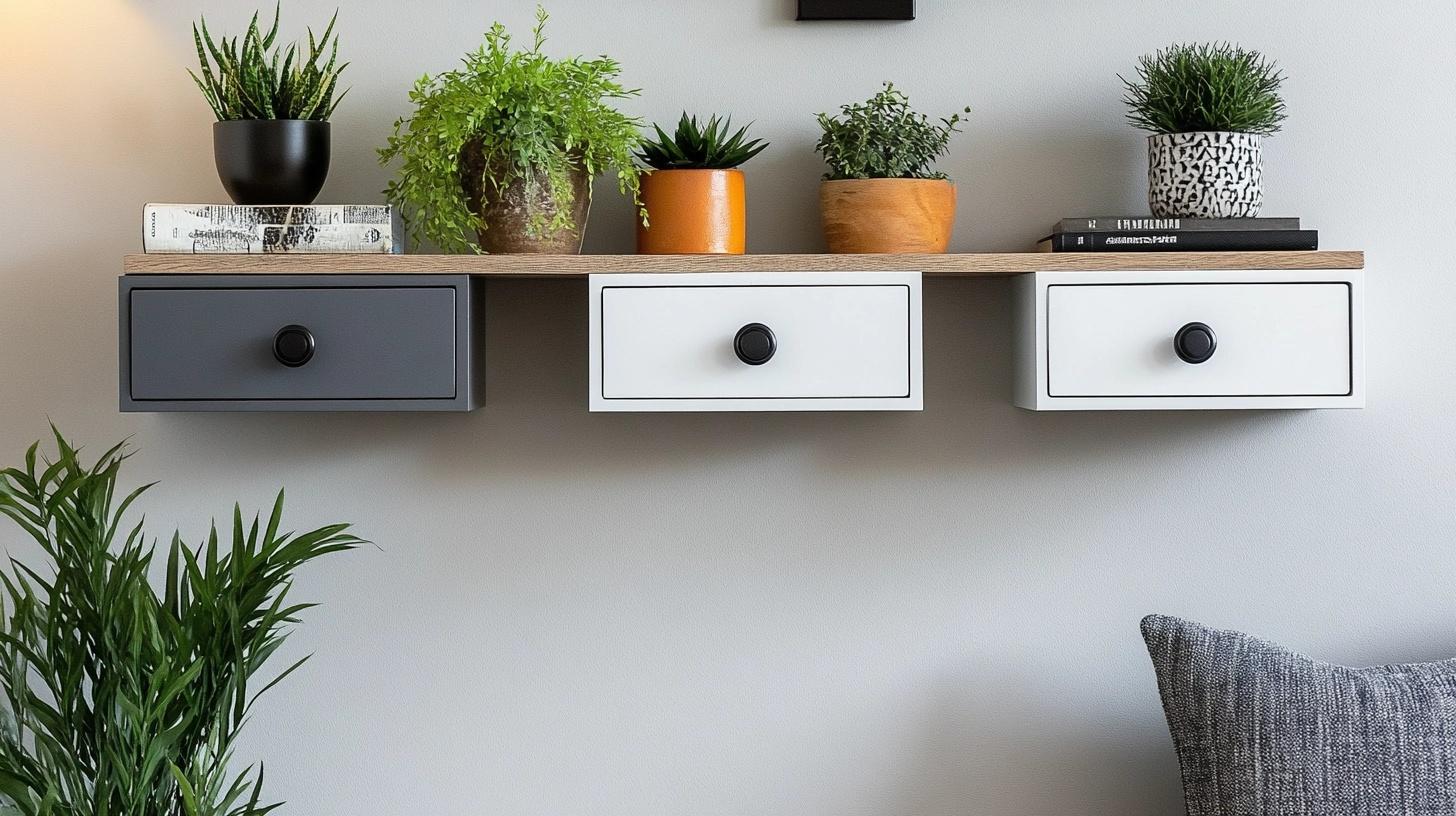
Mount drawers to the wall horizontally to create simple floating shelves. These shelves are perfect for displaying books, small plants, or decorative items. Use bold paint or patterns for a unique look.
- DIY Difficulty Level: Easy
8. Shoe Display
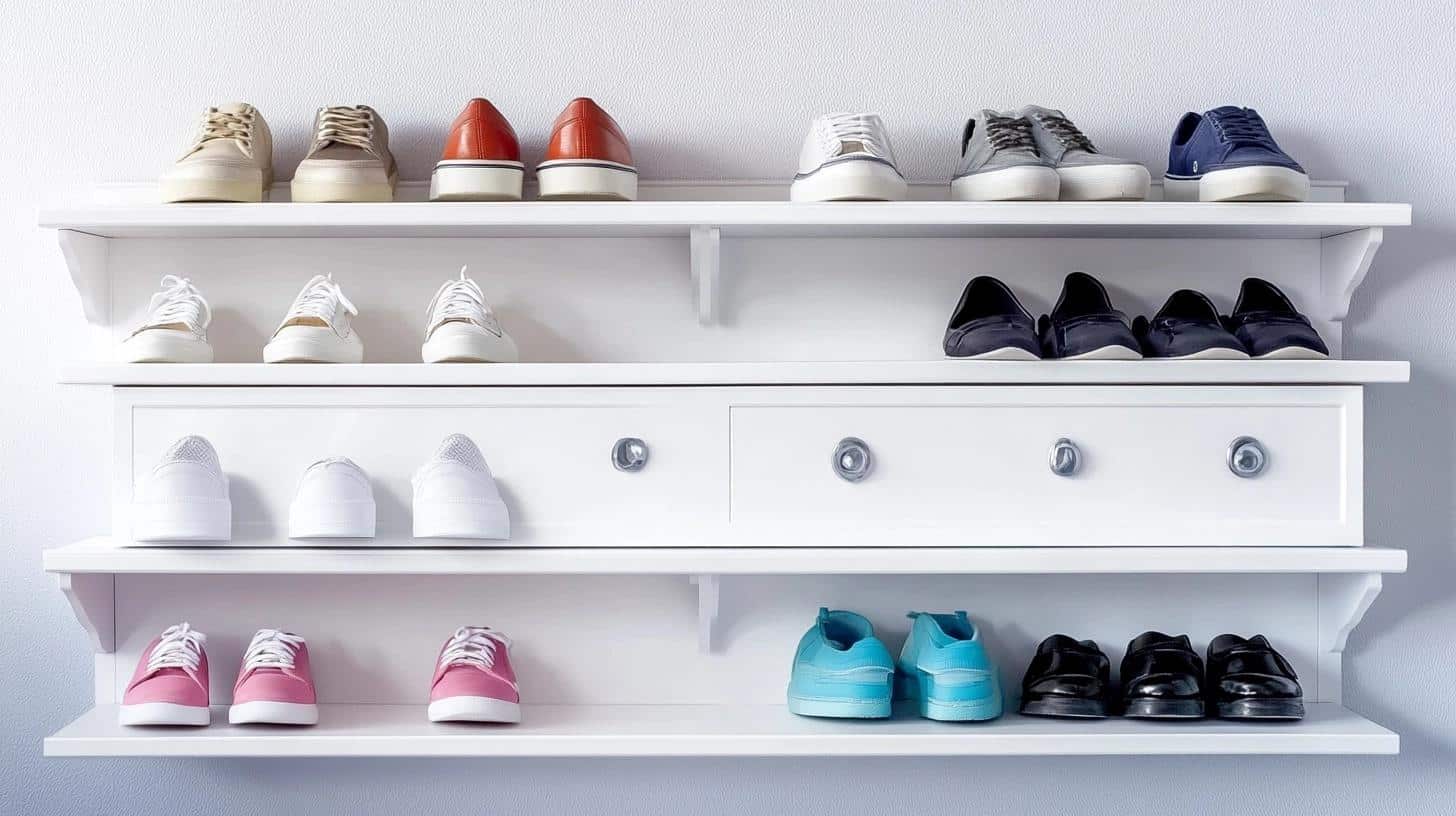
Mount dresser drawers on the wall to transform them into chic shoe display shelves. Line the base with grip liners to keep shoes stable and secure. This setup is perfect for small spaces and lets you showcase your favorite pairs stylishly.
- DIY Difficulty Level: Easy
Wrapping It Up
I’ve turned old dresser drawers from trash to treasure, and you can too! With just a few basic tools and some creativity, those forgotten drawers can become stunning wall shelves that everyone will notice.
Remember, the key points we covered aren’t just about saving money—though that’s a great bonus. They’re about giving new life to old pieces while helping our environment. Each drawer you save from the landfill becomes a unique piece of your home’s story.
Ready to start your project? Take those dresser drawers out of storage and get going!
Share photos of your finished shelves in the comments below—I’d love to see how you style them. If you found these tips helpful, check out my other furniture upcycling guides.
Let’s keep good furniture out of landfills, one drawer at a time!

