DIY Boot Rack: A Comprehensive Tutorial
I keep tripping over boots scattered near my front door. Sound familiar?
After trying several store-bought racks that broke within months, I built my boot rack for under $30.
My simple wooden rack has lasted three years, holds six pairs of boots, and keeps my entryway clean. Since I chose the stain color, it perfectly matches my home’s style.
In this guide, I’ll show you exactly how to build this sturdy boot rack in one afternoon. You’ll need basic tools, some wood, and a can-do spirit. Ready to clear up your entryway?
Let’s start building!
Benefits of a DIY Boot Rack
When I first made my boot rack, I discovered several advantages that make it better than store-bought options:
1. Cost-Effective Storage
- Materials cost less than $30 in total
- There is no need to buy replacements when it breaks
- Built to last with basic materials
2. Perfect Size Control
- I chose the exact width to fit my space
- I made it tall enough for my longest boots
- Added extra slots based on my needs
3. Style Matching
- I selected a wood stain to match my furniture
- I picked hardware that fits my home’s look
- Created clean lines that work with my decor
4. Better Build Quality
- Used solid wood instead of cheap materials
- Added extra support where needed
- Built it stronger than store options
5. Easy Maintenance
- Simple to clean with a damp cloth
- I can fix any damage myself
- Quick to update with new paint or stain
How Much Does It Cost to Make a DIY Boot Rack?
Building my own boot rack saved me a lot of money. I spent under $30 on everything I needed.
Cost of basic materials:
- Pine boards (1×6): $12
- Wood screws: $3
- Wood stain: $8
- Sandpaper: $2
Optional items you might need:
- Clear coat finish: $5
- Felt pads: $2
- Corner brackets: $3
Most of the tools needed are common household items like a screwdriver, measuring tape, pencil, saw, and sanding block.
Prices may vary depending on your local stores, but it’s still much cheaper than buying pre-made racks.
Assessing Your Space
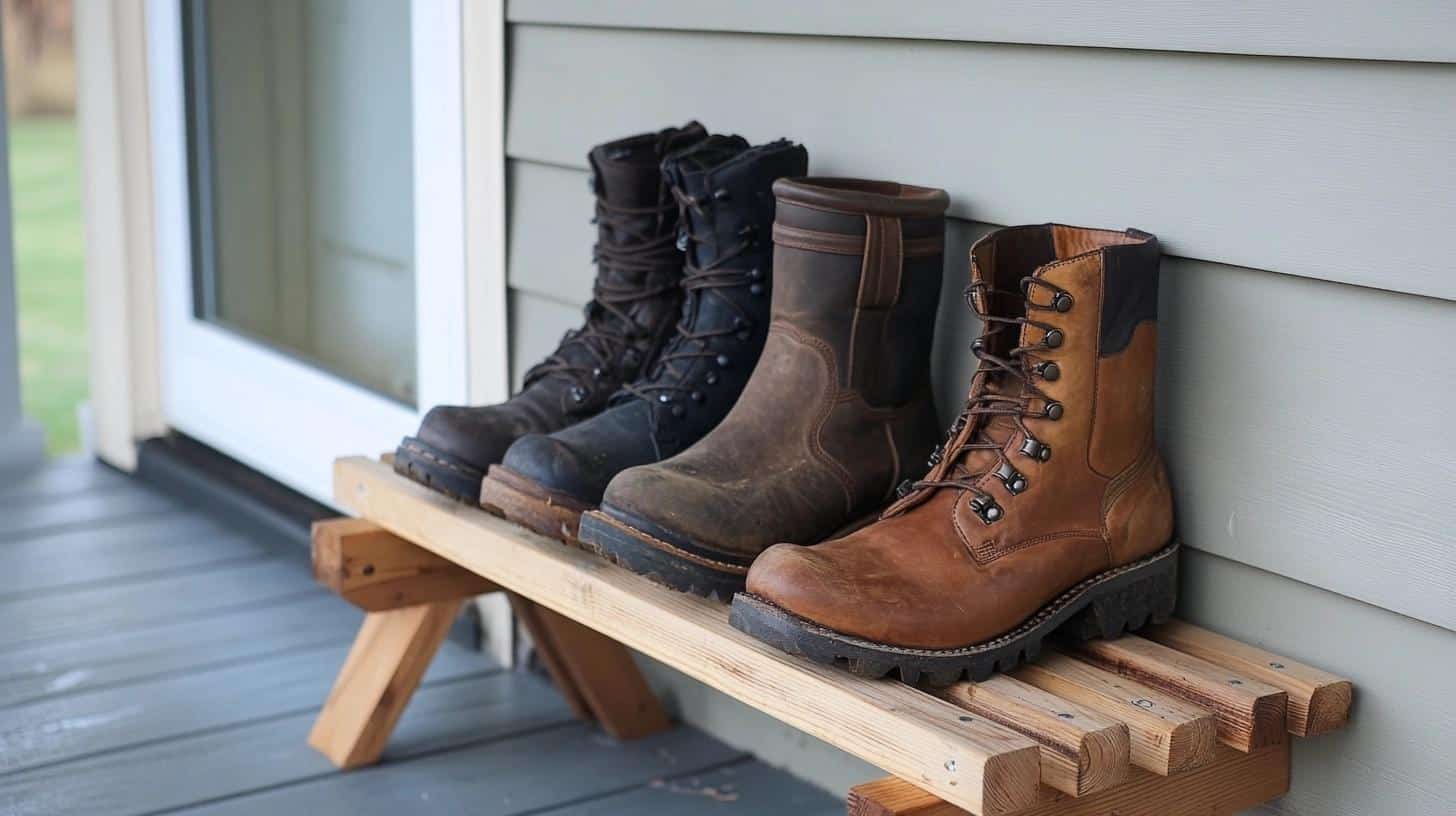
Proper measurements saved me from costly mistakes. Let me guide you through this first step of the boot rack project.
1. Getting the Right Measurements
I started by marking the spot where I wanted my boot rack. A measuring tape helped me find the exact width of my space – both at floor level and a foot up.
This step matters since walls aren’t always straight. I wrote down:
- Width of the space
- Height needed for my tallest boots
- Depth that wouldn’t block walking paths
2. Indoor vs Outdoor Placement
I picked a spot near the door for my indoor rack, but not right against it. This keeps boots handy but out of the way. If you’re placing yours outside:
- Choose a spot under the cover
- Keep it off the wet ground
- Make sure it won’t block paths
- Avoid areas where rain might hit
Tip: Adding an extra inch of space on each side made cleaning behind the rack much easier.
Essential Tools for Your DIY Boot Rack Project
| Tools Required | Materials Required |
|---|---|
| Tape Measure | Timber (scaffold board) |
| Chop Saw or Circular Saw | Dowels |
| Orbital Sander | Wood Screws |
| Bradawl | Optional: Casters (4) |
| Drill with Spade Bit | Wood Glue (optional) |
| Screwdriver | Wood Stain/Paint (optional) |
| Sandpaper | Wood Treatment (for outdoor use) |
Step-by-Step Guide to Creating a DIY Boot Rack
1. Measure and Plan
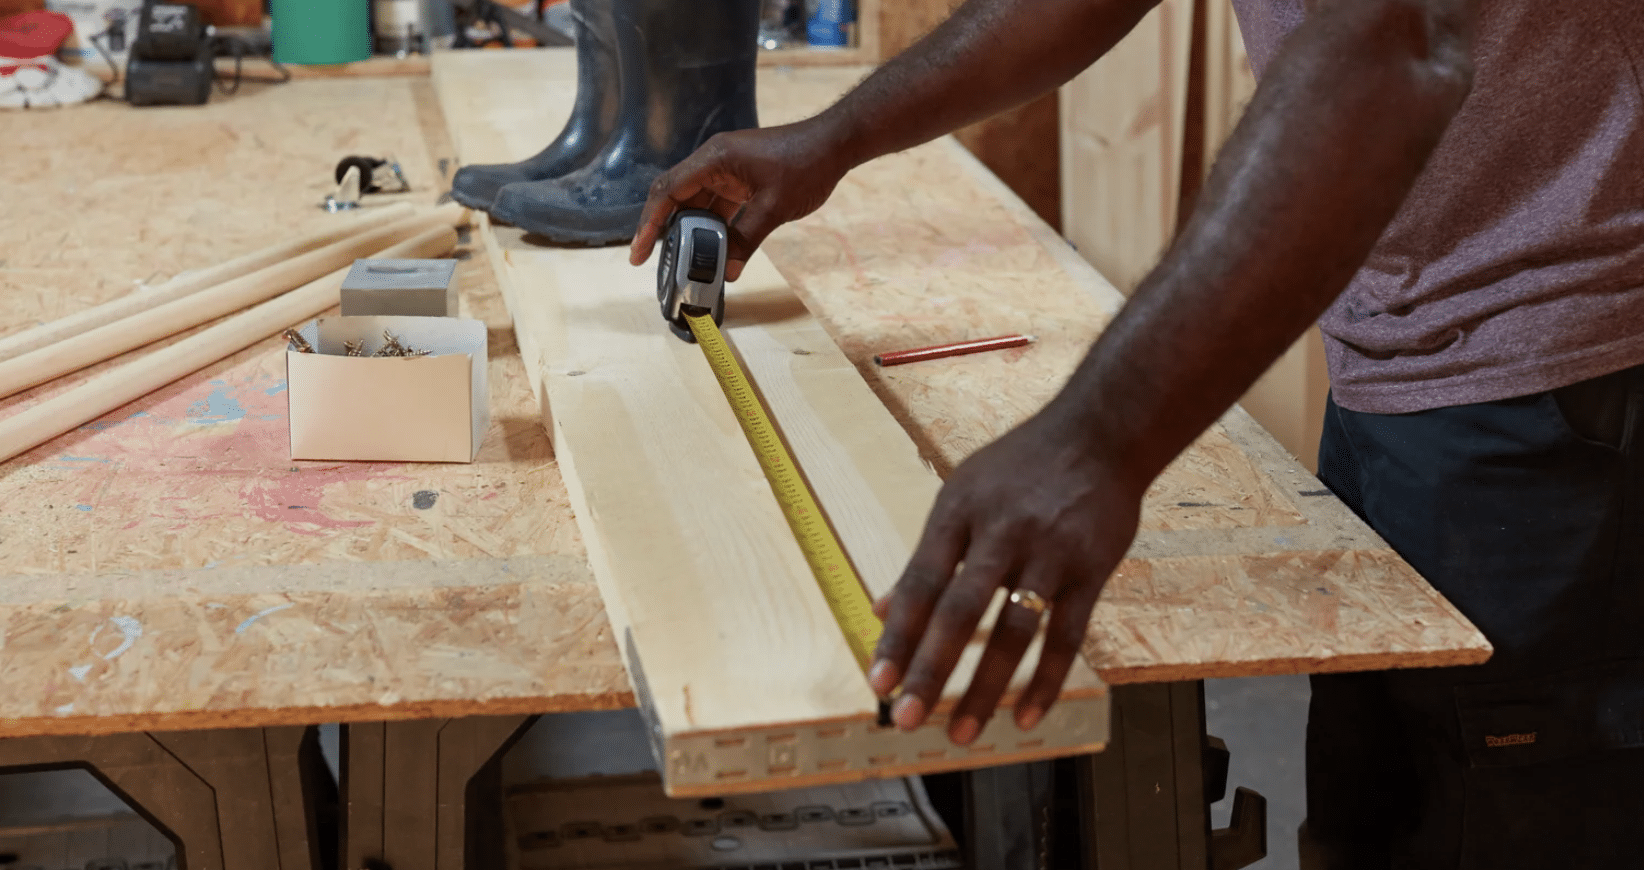
- Measure the area where the rack will be placed and note the height and size of your largest boots.
- Determine the rack’s size based on the number of boots it needs to hold. Pre-mark the dimensions on your chosen timber, allowing for adjustments in dowel placement if your boots vary in size.
2. Prepare and Cut Timber
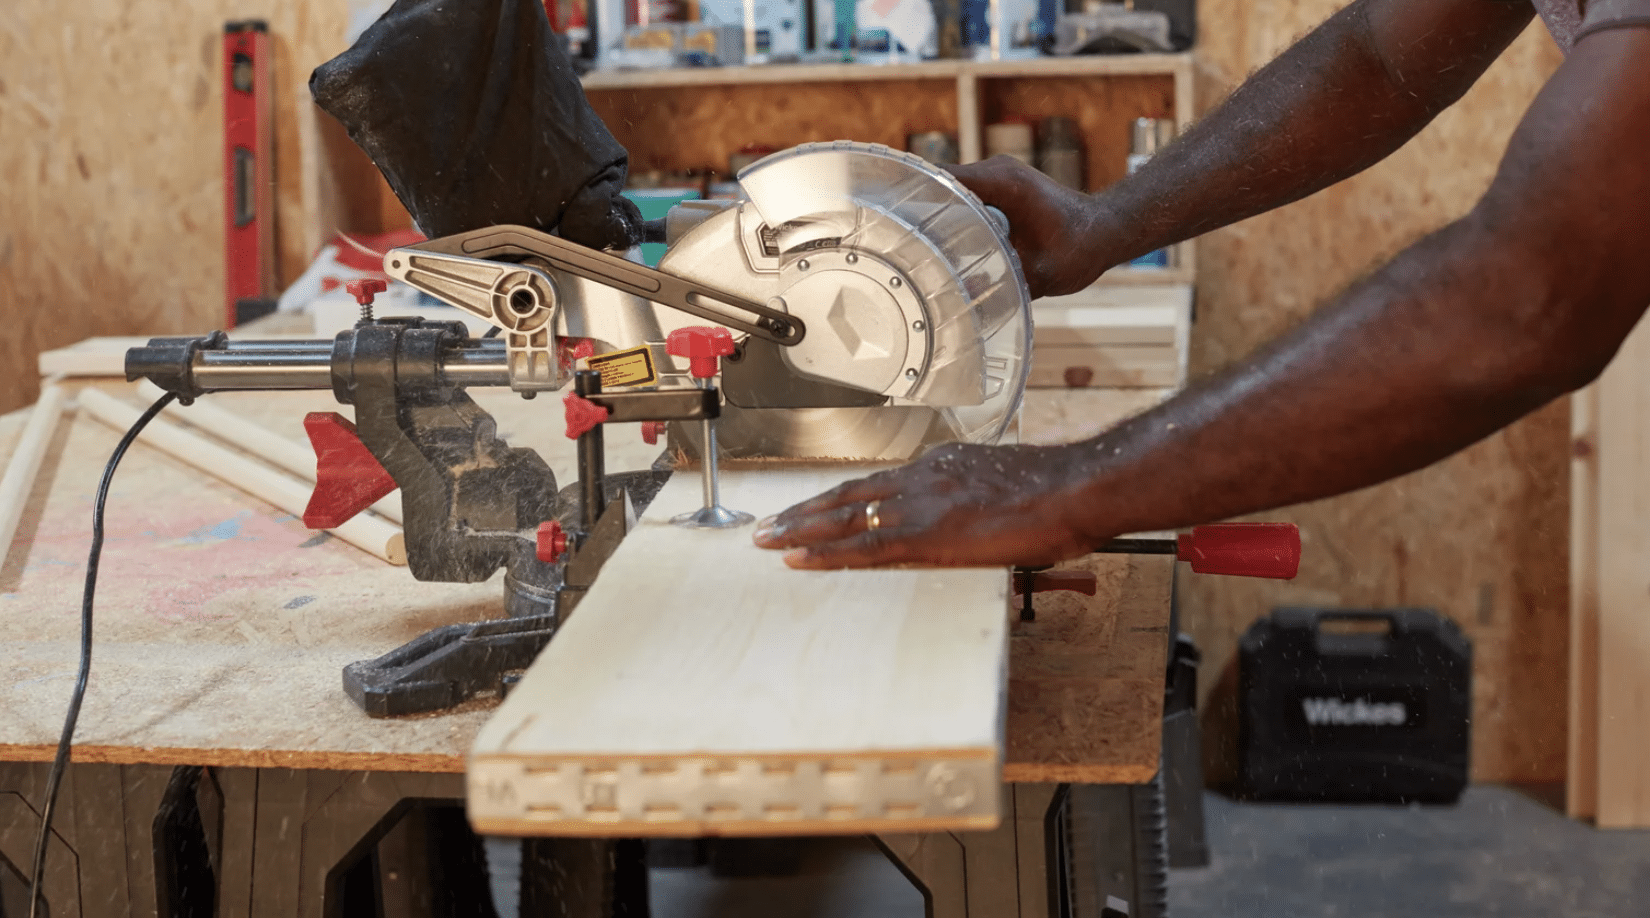
- Use a chop saw to cut the main pieces of the rack. First, stack spare timber or another surface to support the scaffold board level with the saw bed for stability.
- Cut three pieces of timber to your required length, using the first cut as a template for the other two to ensure consistent length. Smoothly sand all cut edges with an orbital sander.
3. Cut and Prepare Dowels
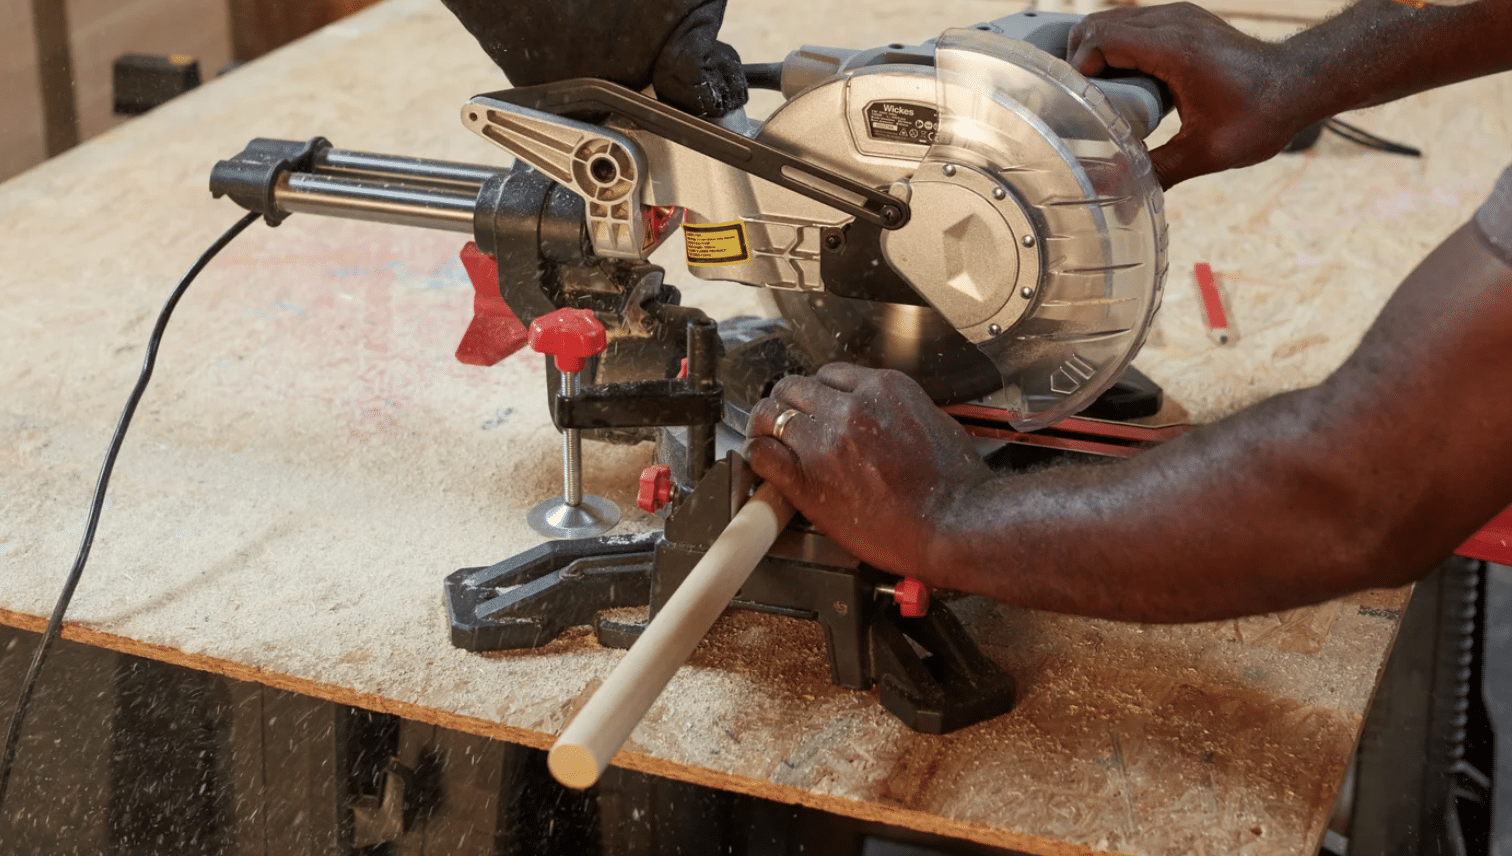
- Measure and cut dowels to fit the width of the boot rack. Sand the dowels thoroughly to remove rough edges and achieve a smooth finish. This will make inserting them into the drilled holes easier and more secure.
4. Attach Casters (Optional)
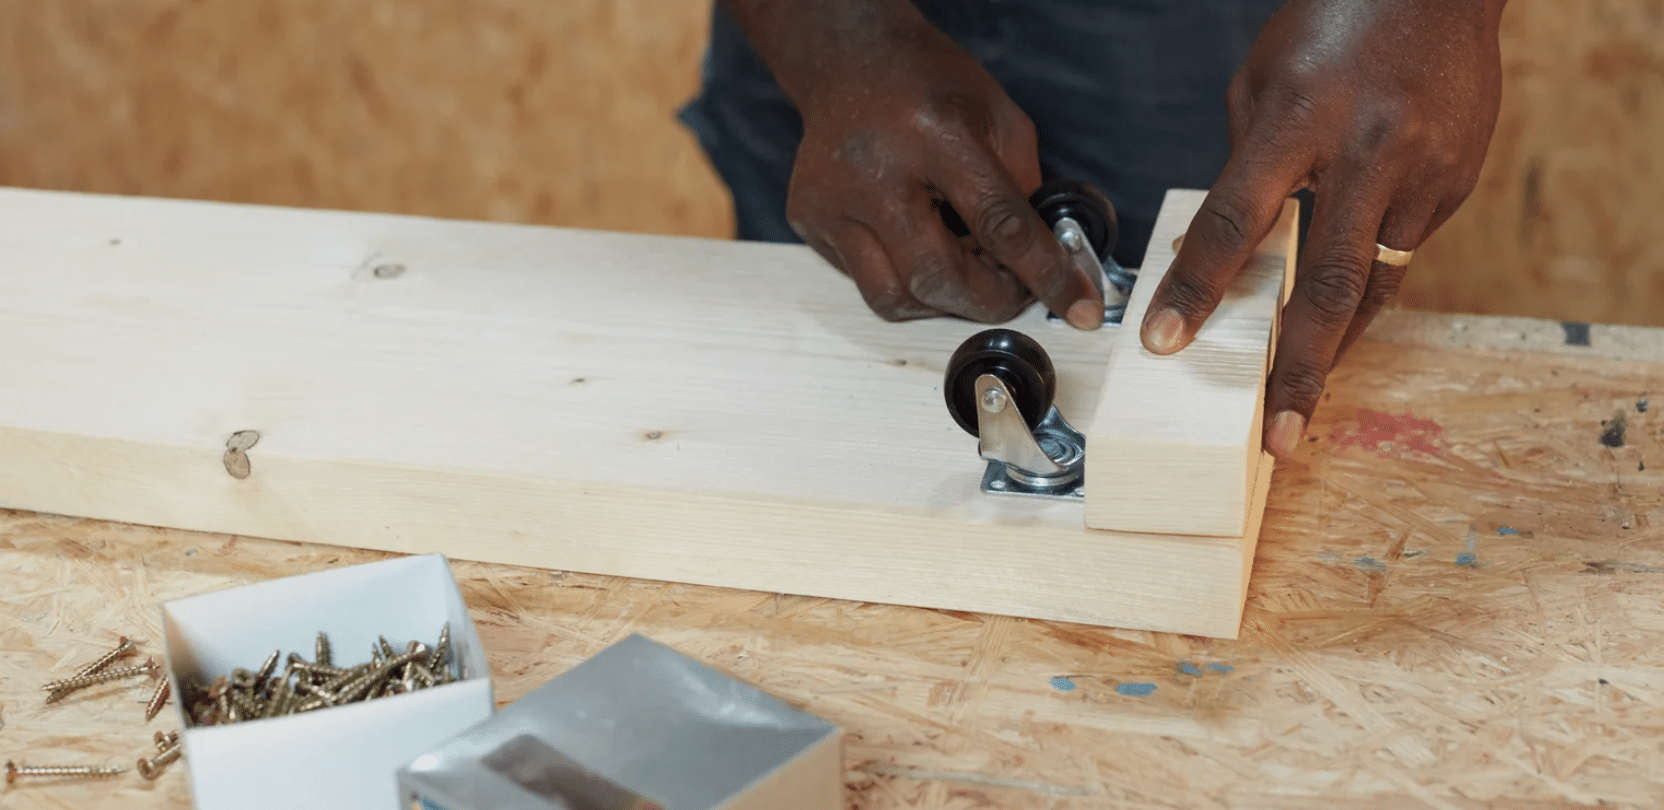
- Mark the positions for casters on the bottom board of the rack. Use a bradawl to make small indentations where screws will go.
- Drill pilot holes in these spots and attach the casters securely using screws. Ensure all casters align to keep the rack balanced.
5. Assemble Base and Attach Supports
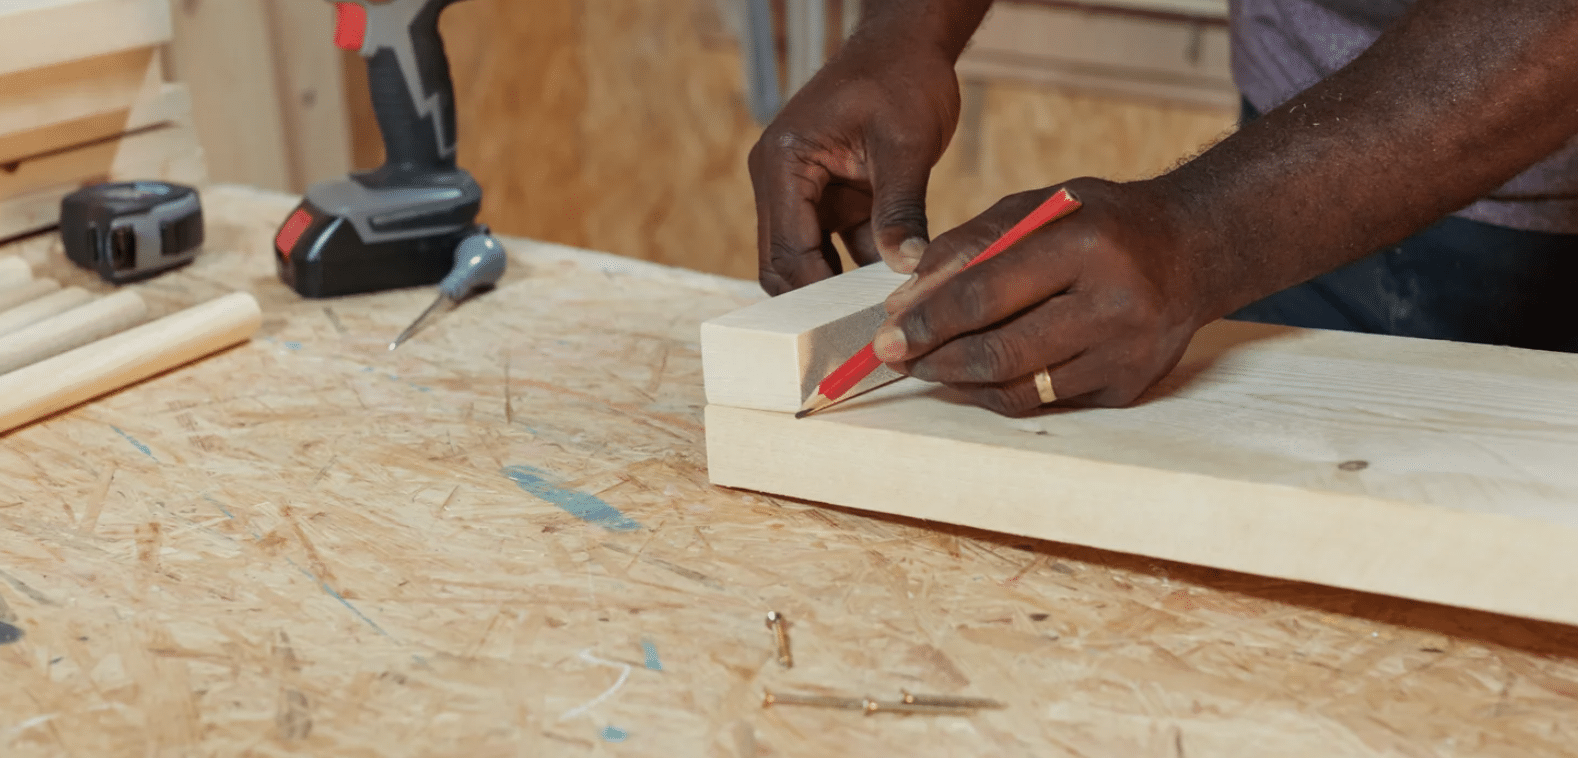
- Lay out the base pieces and attach them by securing screws below the surface of the wood. Check that each plank is flush with the others by aligning their edges with your fingers before screwing them together.
- Scribe a line across the joined planks to keep the support edges straight and even.
6. Drill Holes for Dowels
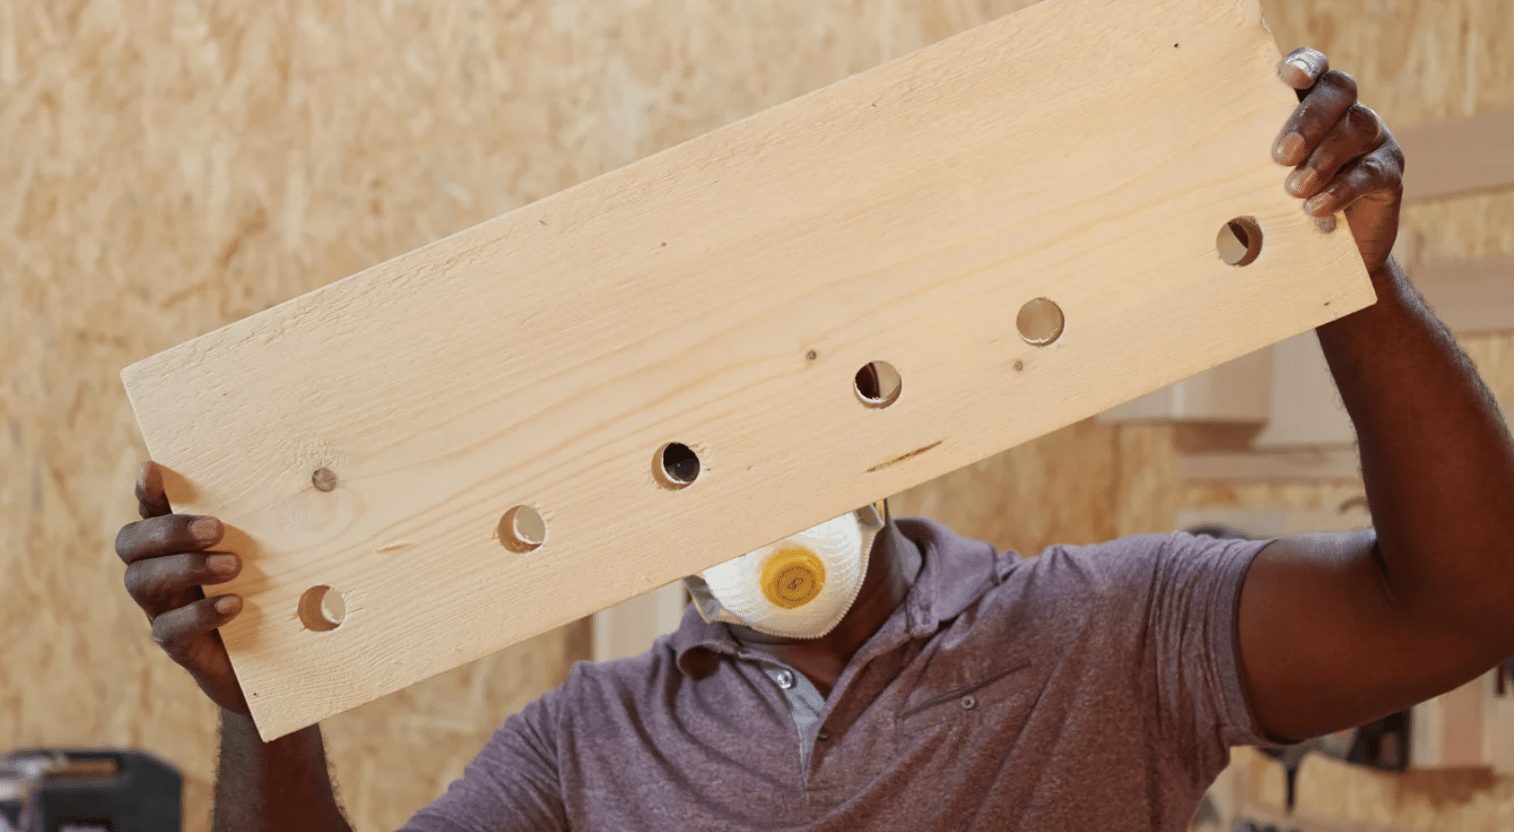
- Measure and mark locations for dowels on the baseboard, adjusting for the width of your boots. Drill pilot holes, then use a spade bit to widen each hole to the required size. Sand the inside edges of each hole for a snug dowel fit.
7. Install Dowels and Finish
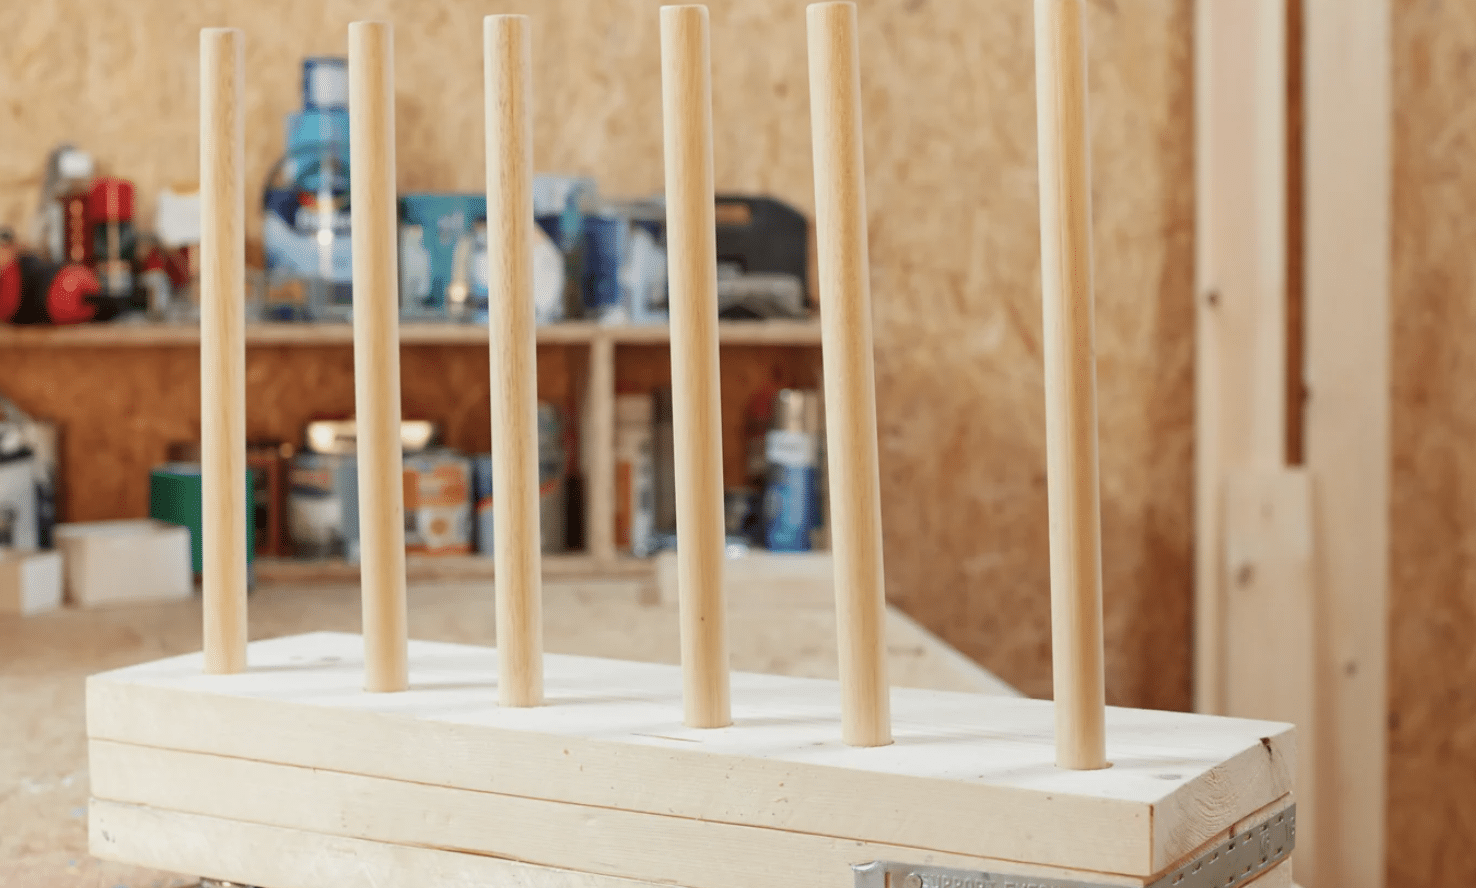
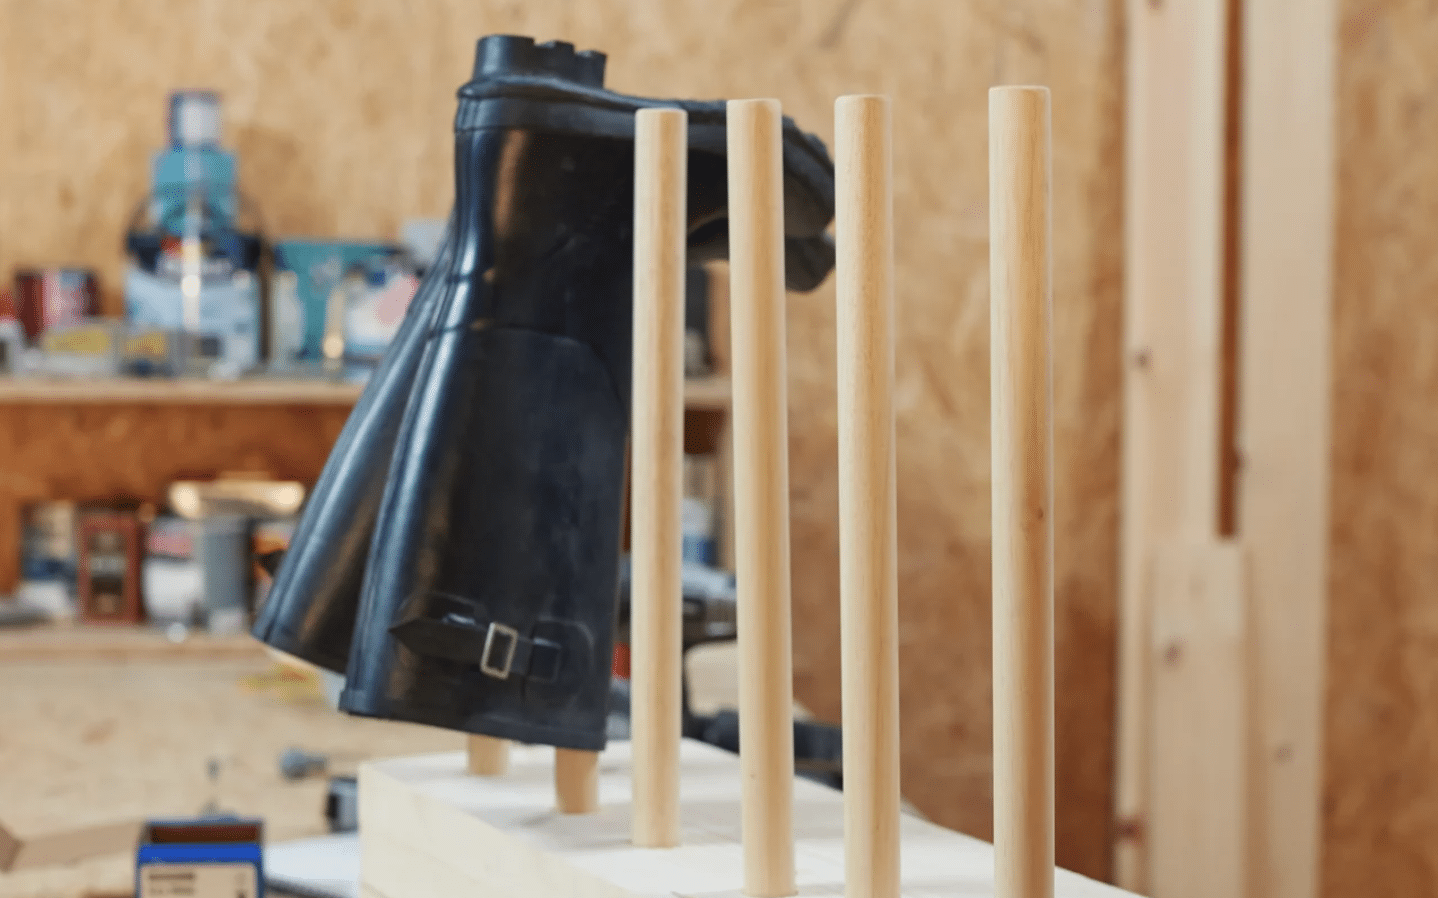
- Insert dowels into the holes. If the dowels are too tight, lightly sand the ends until they fit securely. Optionally, apply wood glue to the dowels for extra stability.
- If desired, apply wood treatment, stain, or paint to protect your rack from wear and weather, adding a personal touch to the finished piece.
Exploring Other Boot Rack Designs
I’ve tried several boot rack styles before finding my perfect match. Here’s what I learned about three other popular options:
Horseshoe Boot Rack
I like how this design brings a rustic touch to any room. The layout uses old horseshoes welded together to form boot holders. My friend made one that:
- Holds 4 pairs of boots
- Stays firmly on the ground
- Needs basic welding skills
- Costs about $20 in materials
For a detailed tutorial on Horseshoe Boot Rack, check out the below video:
Wall-Mounted Boot Rack with Dowels
This style worked well in my small apartment. The design:
- Saves floor space
- Uses wooden dowels as boot hangers
- Needs strong wall anchors
- Takes about 2 hours to build
- Costs roughly $25
For a detailed tutorial on Wall-Mounted Boot Racks with Dowels, check out the below video:
PVC Pipe Boot Rack for Outdoor Use
When I needed something for my muddy gardening boots, this option proved perfect:
- Uses water-resistant materials
- Costs under $15
- Takes 30 minutes to build
- Holds up to 6 pairs
- Works great for wet boots
For a detailed tutorial on PVC Pipe Boot Rack, check out the below video:
Maintenance and Care Tips for Boot Racks
Let me share the simple ways I keep both my boot rack and boots in top shape all year round.
1. Boot Rack Upkeep
I found that regular care makes my rack last longer. Here’s my routine:
- Wipe dust weekly with a dry cloth
- Clean spills right away to stop stains
- Check screws monthly – tighten if loose
- Apply fresh wood finish yearly
- Look for cracks or splits in the wood
Safety Check: I gently push the rack to test its stability every few months. Better safe than sorry!
2. Boot Care on the Rack
My boots have stayed in better shape since I started these habits:
- Stand boots straight up – no leaning
- Space pairs apart for good airflow
- Put lighter boots on top shelves
- Keep wet boots on lower levels
- Use shoe trees in tall boots
Quick Tip: On wet days, I place small fans near my rack. My boots dry faster and smell better.
Wrapping It Up
Building my DIY boot rack changed how I store footwear. This simple weekend project not only kept my boots tidy but also saved me money.
Through the process, I learned that careful planning and basic tools are all you need to create something useful for your home.
Remember, your boot rack doesn’t need to be perfect. What matters is that it works for your space and needs.
Whether you choose pine boards or PVC pipes, wall-mounted or freestanding, the key is to start with good measurements and basic safety checks.
Ready to build your own? Start now!

